Quilled Dreamcatcher: Complete Process, a Creative Exercise for Any Level | Colo Alonso | Skillshare
Search

Playback Speed


  • 0.5x
  • 1x (Normal)
  • 1.25x
  • 1.5x
  • 2x

Quilled Dreamcatcher: Complete Process, a Creative Exercise for Any Level

teacher avatar Colo Alonso, Industrial Designer + Wife + Mother

Watch this class and thousands more

Get unlimited access to every class
Taught by industry leaders & working professionals
Topics include illustration, design, photography, and more

Watch this class and thousands more

Get unlimited access to every class
Taught by industry leaders & working professionals
Topics include illustration, design, photography, and more

Lessons in This Class

    • 1.

      Presentacion

      1:28

    • 2.

      Project

      0:17

    • 3.

      Tools you will need

      0:20

    • 4.

      Project Ideas

      1:10

    • 5.

      How to Start

      3:06

    • 6.

      6 Putting All Together

      16:01

    • 7.

      7 Thank You

      0:47

  • --
  • Beginner level
  • Intermediate level
  • Advanced level
  • All levels

Community Generated

The level is determined by a majority opinion of students who have reviewed this class. The teacher's recommendation is shown until at least 5 student responses are collected.

105

Students

1

Project

About This Class

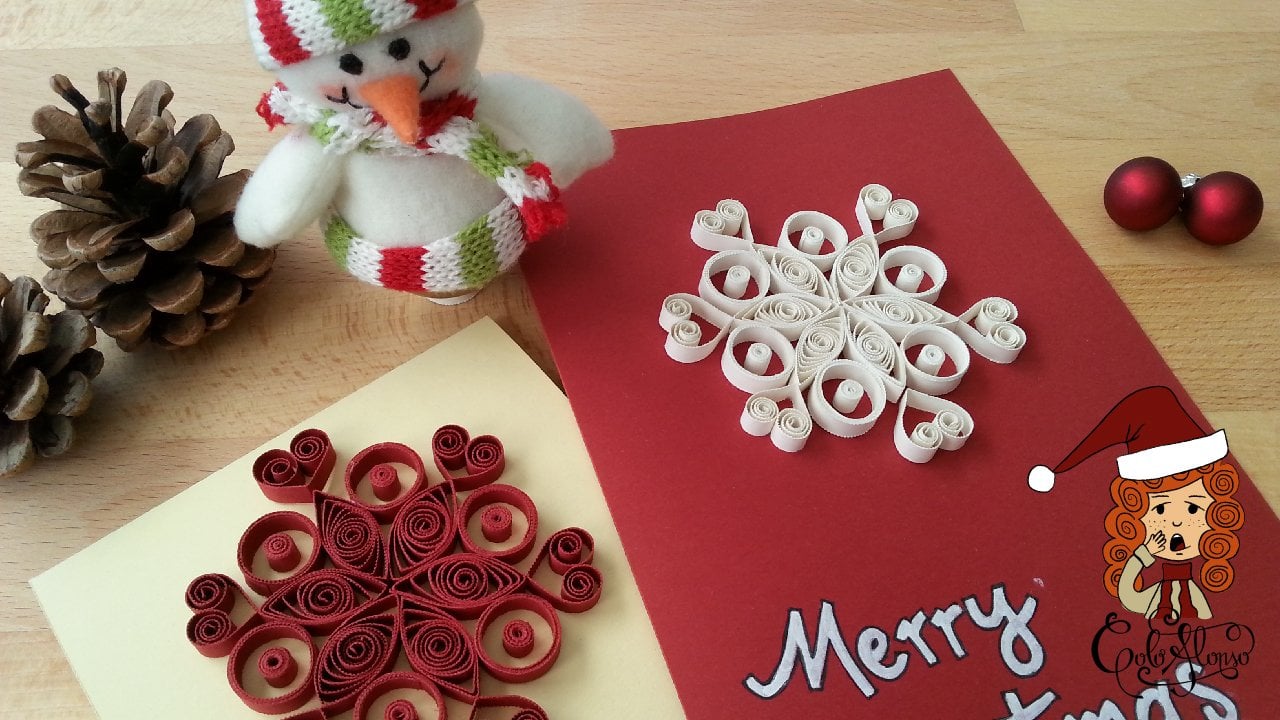
Since my last class, I wanted to show a complete process of design, just from the beginning, when you have an idea but don't know where to start. I think a Mandala or a Dreamcatcher will be an interesting project where anyone can complicate and decorate as you like.

I will devide it in little videos, don't want to make a heavy class, I want it to be short and engaging:

1-Introduction

2-Project

3-Tools you will need

4-Project Ideas

5-How to start

6-Putting all together.

7- Thank you

Music Driven to Success by Scott Holms

Meet Your Teacher

Teacher Profile Image

Colo Alonso

Industrial Designer + Wife + Mother

Teacher

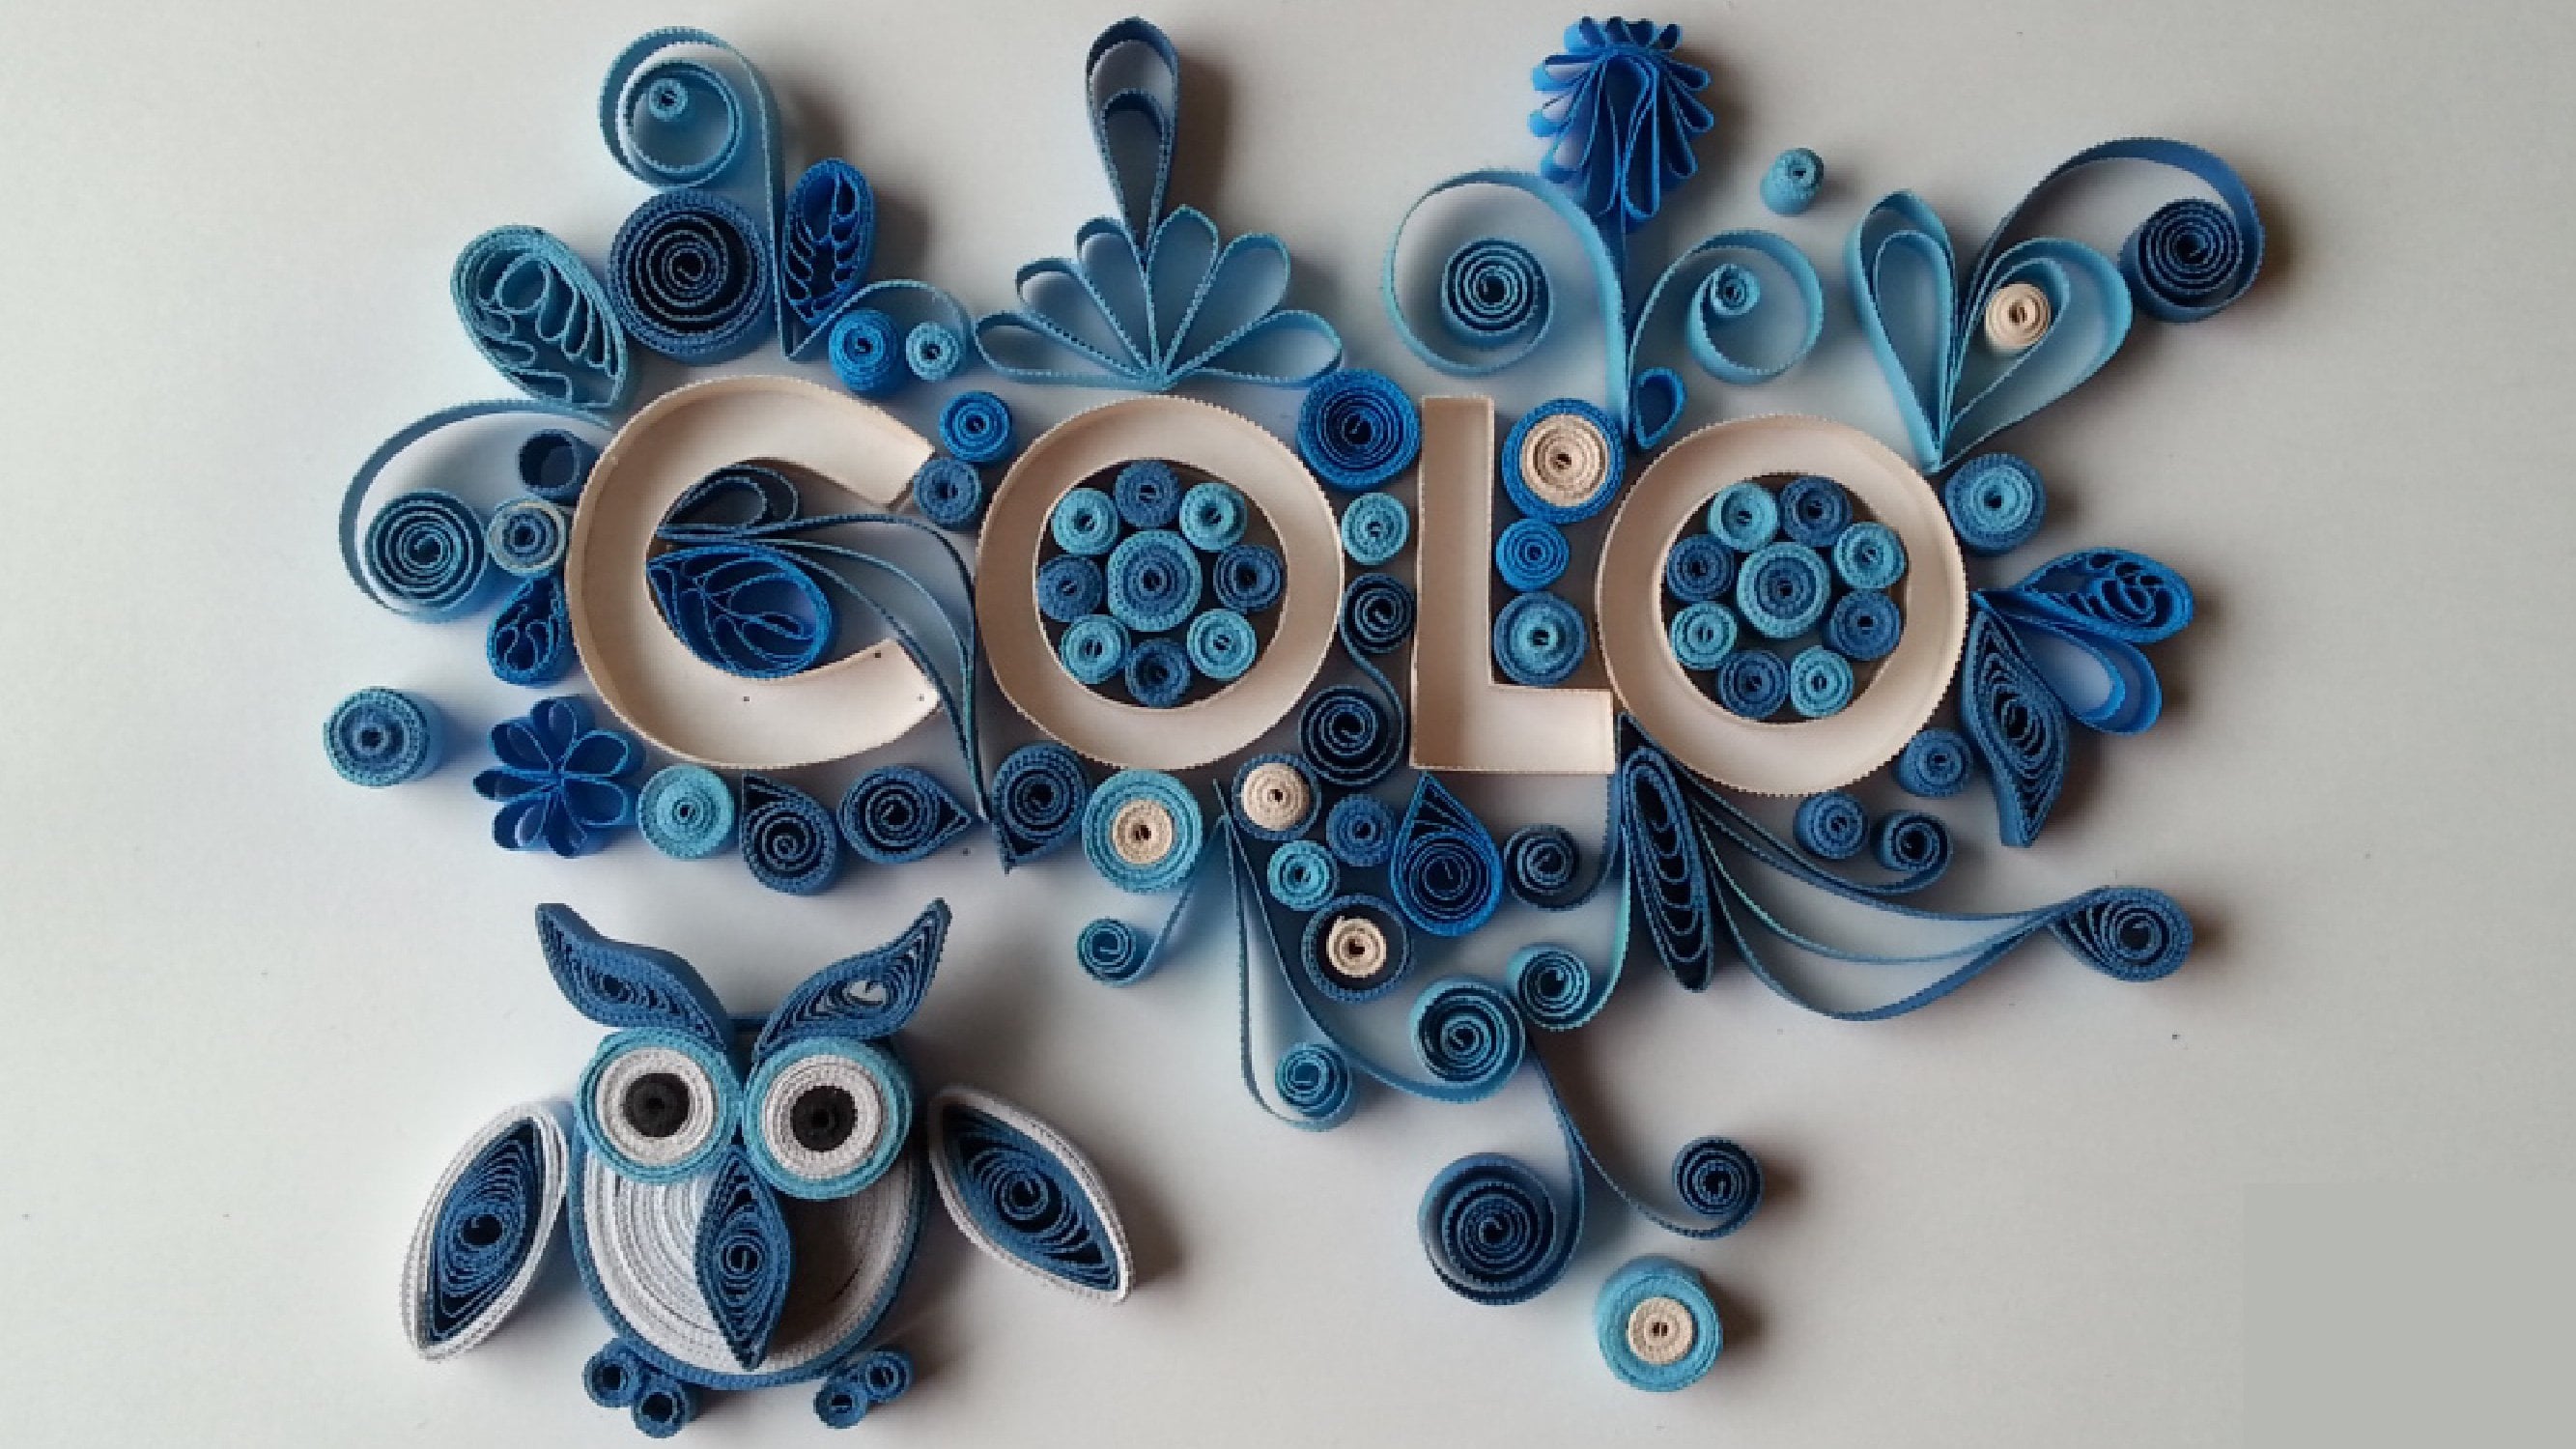
My name is Daniela Alonso, but my friends call me Colo because of my hair color.

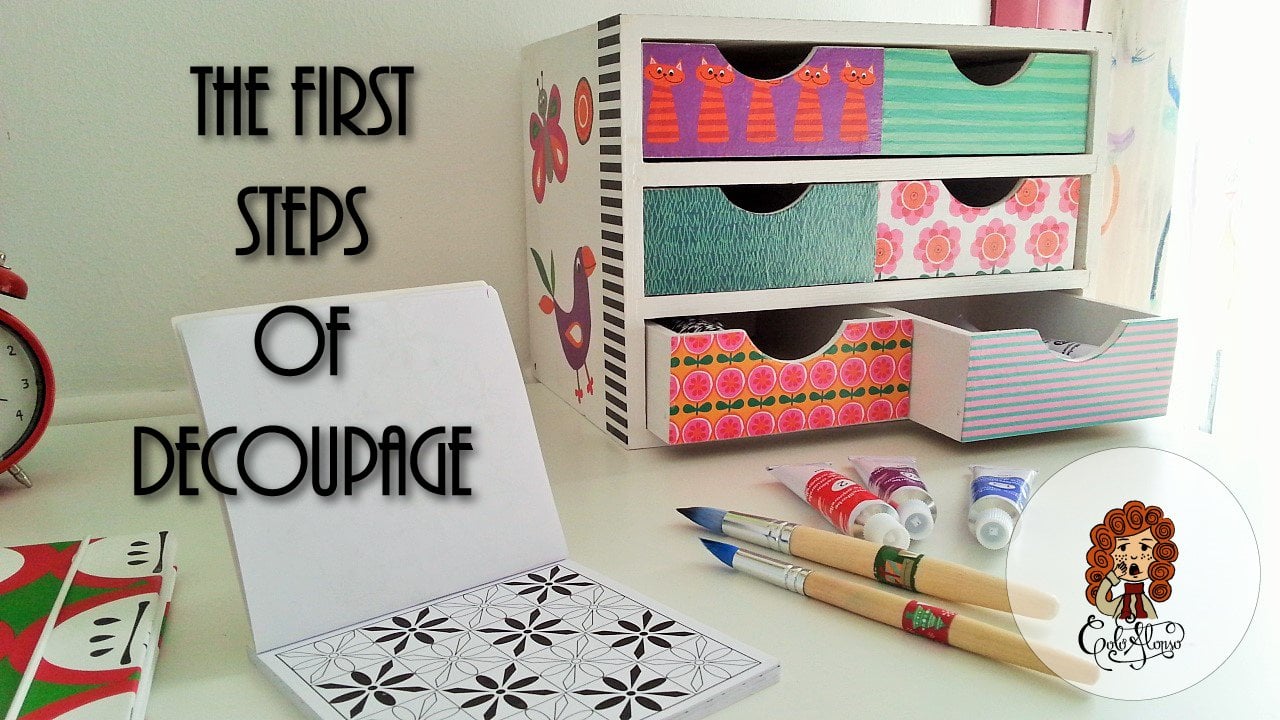
My studies of Industrial Design allow me to work in Argentina, Italy and Spain in technical design. But in my spare time I develop my artistic flair, creating my own candles, restouring furniture with decoupage, making origami, knitying, sewing, backing muffins etc...most of these activities I make them with my two kids (10 and 7 years old). They just love to make craft-work as much us me.

Everything I make has my personal touch and a piece of my essence. Thats the way I take care of my family and people around, why not to share it with the rest of the world?

I have actually two classes published about QUILLING and one about DECOUPAGE, TORTILLA DE PATATA and wha... See full profile

Level: Intermediate

Class Ratings

Expectations Met?
    Exceeded!
  • 0%
  • Yes
  • 0%
  • Somewhat
  • 0%
  • Not really
  • 0%

Why Join Skillshare?

Take award-winning Skillshare Original Classes

Each class has short lessons, hands-on projects

Your membership supports Skillshare teachers

Learn From Anywhere

Take classes on the go with the Skillshare app. Stream or download to watch on the plane, the subway, or wherever you learn best.

Transcripts

1. Presentacion: Hello, everyone. I have a fun project to share that I hope you will really enjoy in this class we're going to cover. How is the process too great A dreamcatcher for those people that are new in my class. My name is Carlo. I am an industrial designer wife, a mother of two kids. I also want to show you that I have other classes that explain from the beginning. Where is willing? Well, in my last push it this dreamcatcher I made many people love it and I thought that maybe a drink a terror Mandela could be a great idea for a special car for someone you love. And this is why I made this class. I want to show you my process on how I created So you can make it work for you. I want you to see however, satire ladies are really fun. This project is for any level. You can complicate it as much as you want. Be intimidated. I will show you how you can use a very simple concept to do it. I hope you like it. So park and see you in next class 2. Project: project to better. We're going to great a mandala or Adrian Cutter. You're going to personalize it with colors off your choice forms and combinations. See you in next class where I'm going to talk about tools you will need. 3. Tools you will need: to us you will need You will need come past something some form Also some white papers willing, Strip squealing New if you have to. Users are very good on also Ceasar some blue. 4. Project Ideas: first ideas. I really always started. My design project is studying. What does a six? This is where I learned when I was at the university. First, you have together as much information that you can. How do I get is inspired or how did I get this information? I go to Pinter's and I like to make a board with all the information I like. Maybe colors, maybe dream catchers that exist, Mandela, All one folder. I will show you how to date. If you don't know about Peters, See you in next class where we're going to talk about how to start your Bert. 5. How to Start: how to start. First thing we have to do with our mood board is to use it to make a sketch very simplified on a paper to give us an idea what shapes to follow on, what shapes we need. We have to use a paper that enders in our form area engaged. The size is a condition. Then, with a compass for any other technology or program, we have to start tracing the main lines. What I like from this Christian design is the big flower in the middle. Six barrels on that is all symmetrical. - Then I added three more little circles because I love this type of dreamcatcher. Another example is this designed more complicated. It reminds me a mix between a flower on spider webs. This other example is test circles. On the last one is a flower in the middle, with all ornaments on the agreement. At the end, I decided to give a tribe with a simple one. The circles Well, see you next class, putting all together 6. 6 Putting All Together: putting all together. First we have to fix the paper and finds an opportunity to help us. To make the cereals, we have to try to choose a color that will contrast with the rest because circles are going to be the characteristic of dispersion. - I had to put more glue to attach it better, but we have to try to use a little room. - Now that I have the circle Stan, I will do the centre combining two colors. I like to view the paper strips first and then start rolling. - Now I would reported three circles in center. Now that I have all the centers I like to make more remarkable the edge off their little circles. - Now that I have all the border Stan, I will put some things to maintain everything in place. In case I push it accidentally. I would feel the syrup all with a flower in a different color, - and now we feel the empty spaces with more firms. Now I will feel between two circles with little green worlds. - Next step will be to feel the big empty space, but I think I want to make some details first and now, with white color that contrasts with everything. I will fill the rest off spaces. Well, I have everything. Phil and I will make some feathers. Okay, Now we have to prepare a car board for this into we can trace the same skit with pencil, or we can use a bunch off shit in order not to live in trace on with a lot of patient. We have to start gluing on, try to use the same order, or at least placed important parts to guide us and then at the decorations. - If you have some extra, do that like it happens to me. Best choice is to take it as soon as possible before it dries. 7. 7 Thank You: Well, the drink cutter is finished, and I think I'm very pleased with the result. I hope you enjoy the class as much as I enjoy doing it. And thank you for everything. I would like to ask you a special favor, please. If you can leave a review on, say what you like from the class or what to improve. This is just going to be great on. Then. If you have any question or doubt, you can share it in the community section and I will answer it pretty soon. On the best part for me is when as to ensure a project. Well, thank you. Bye bye.