Transcripts
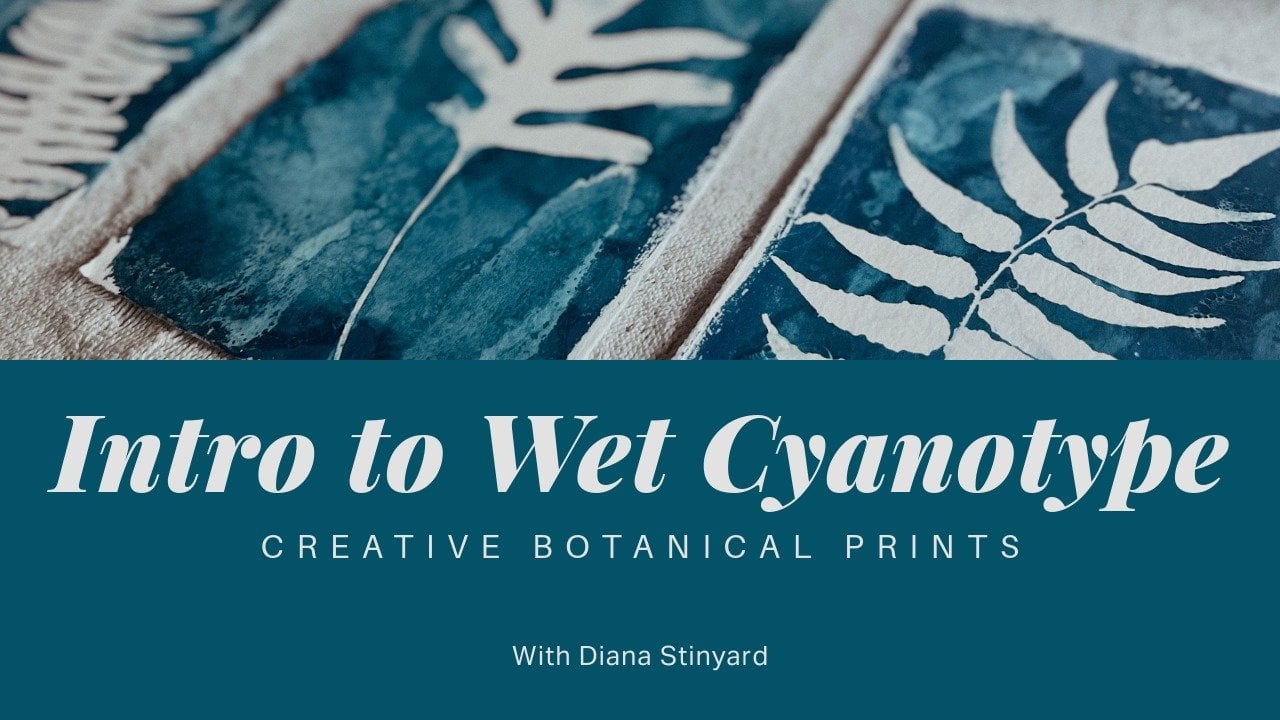
1. Introduction: Welcome to the
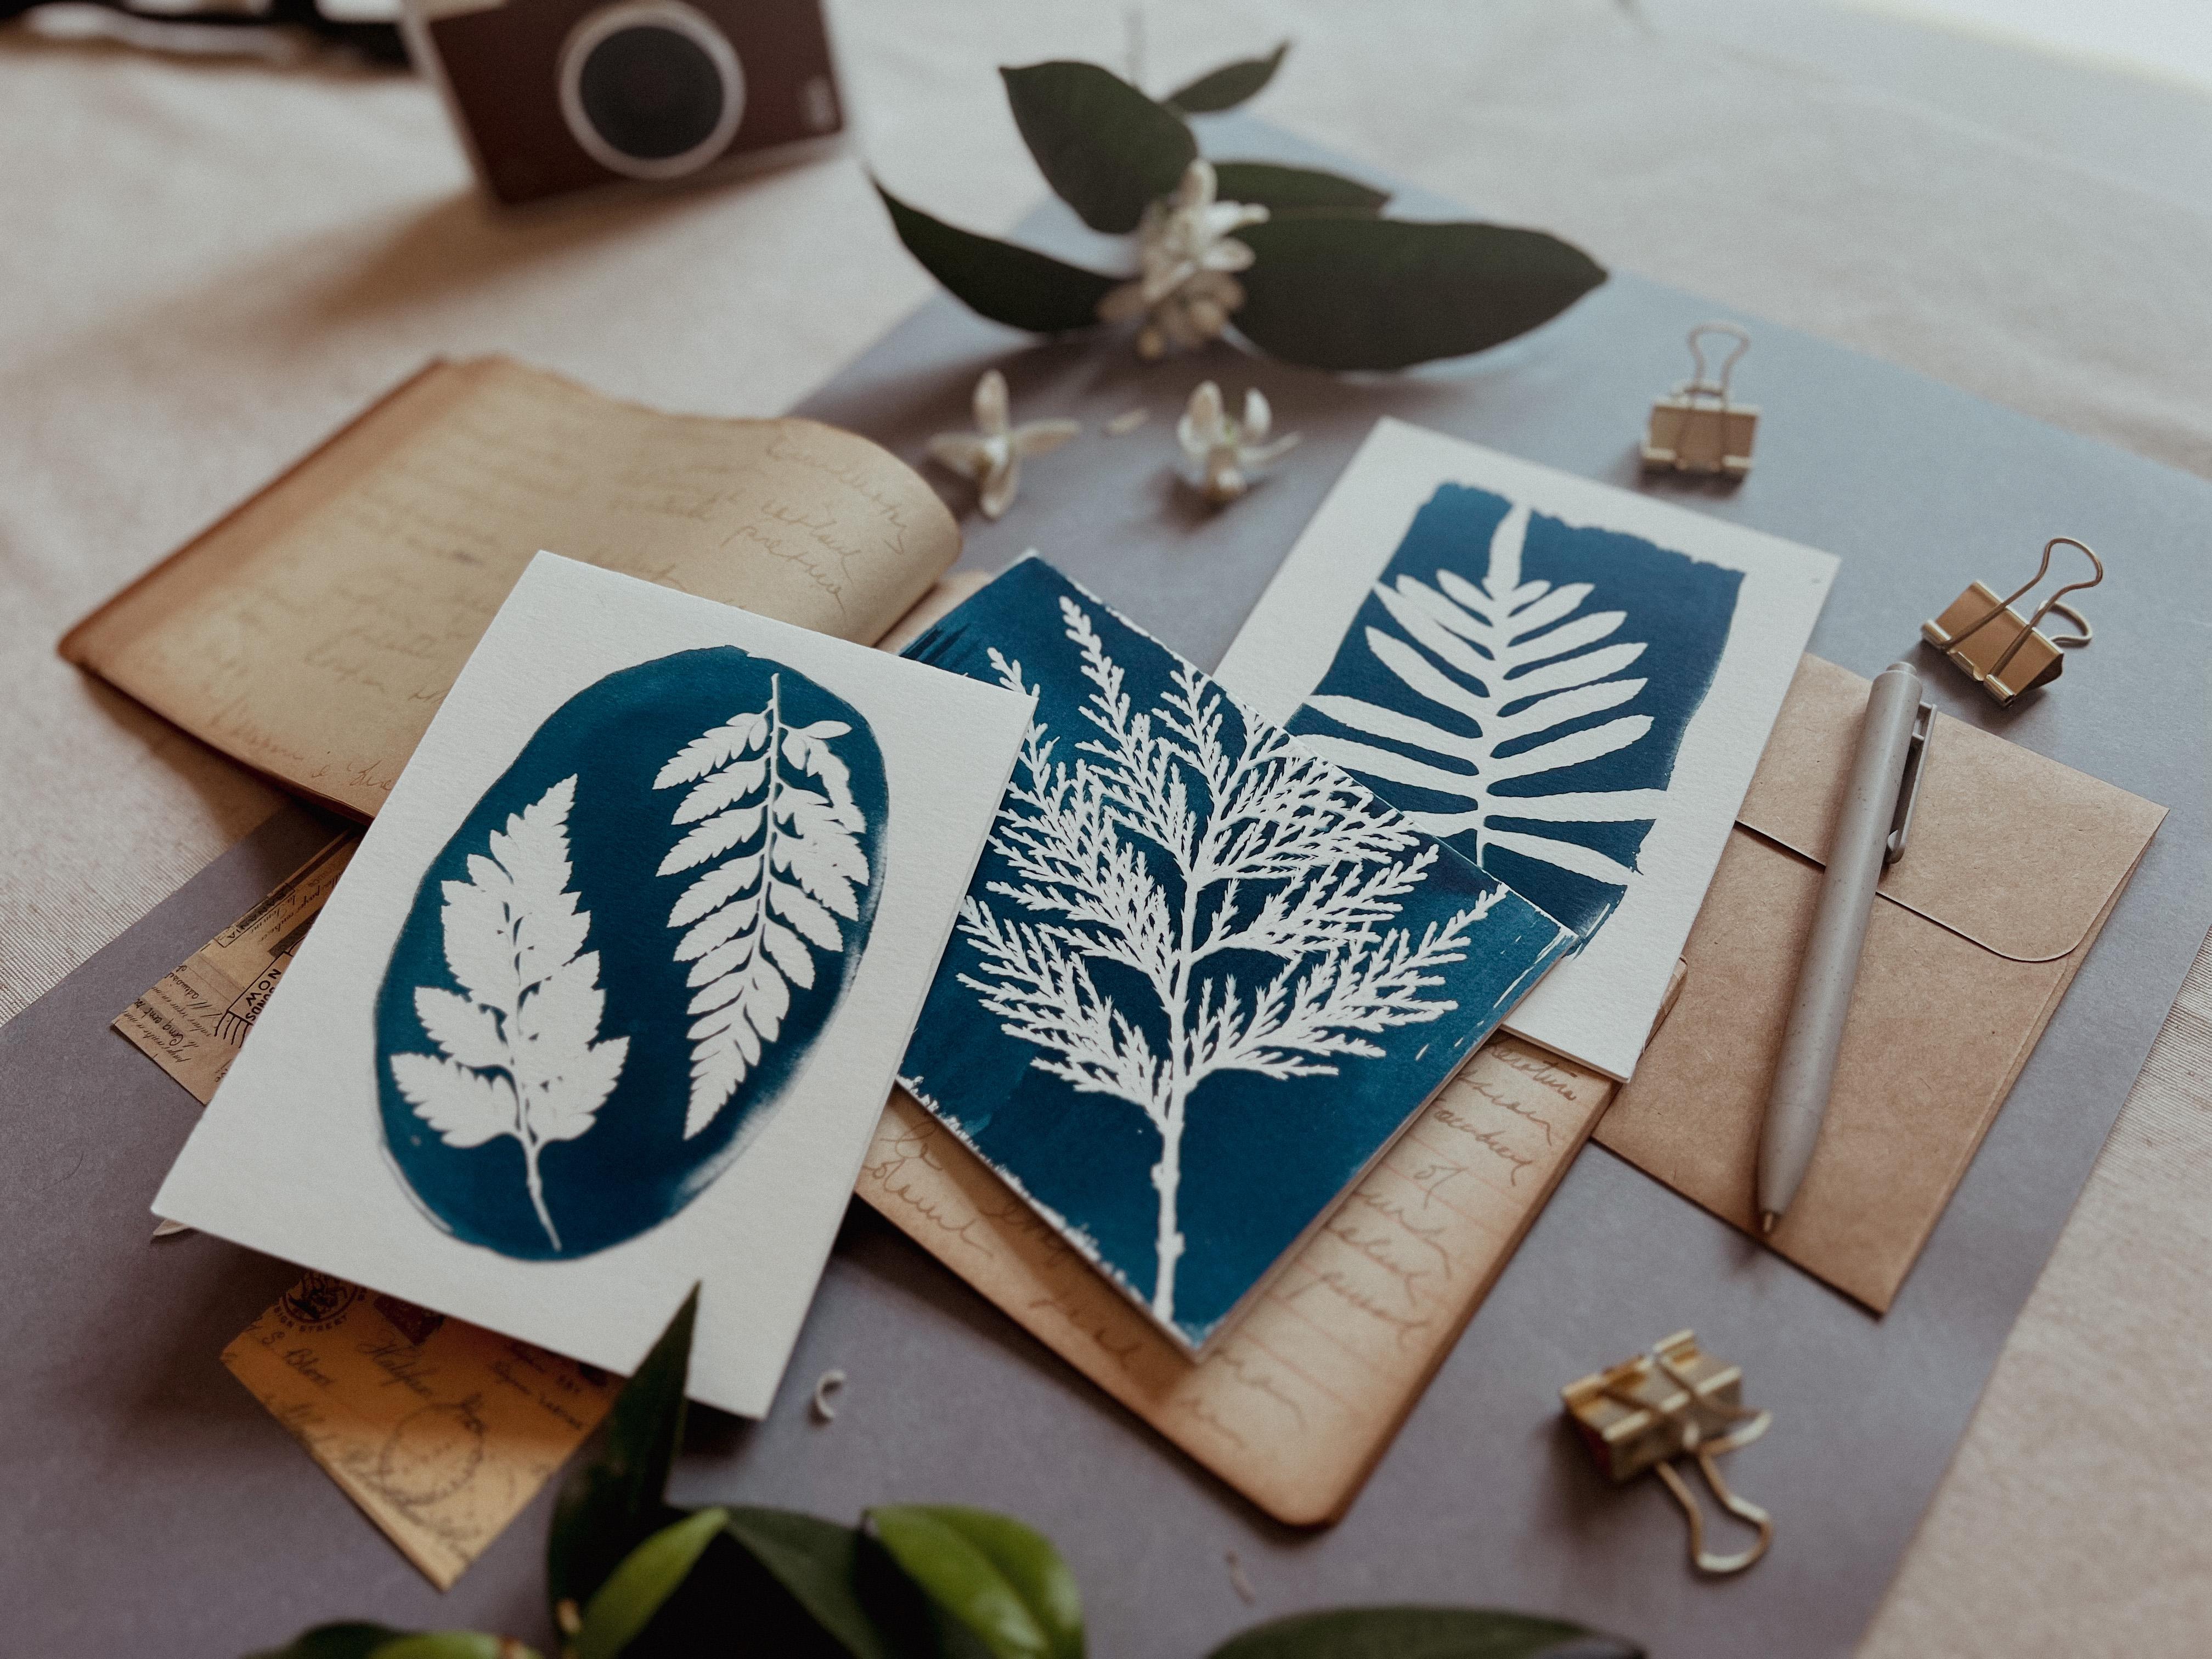
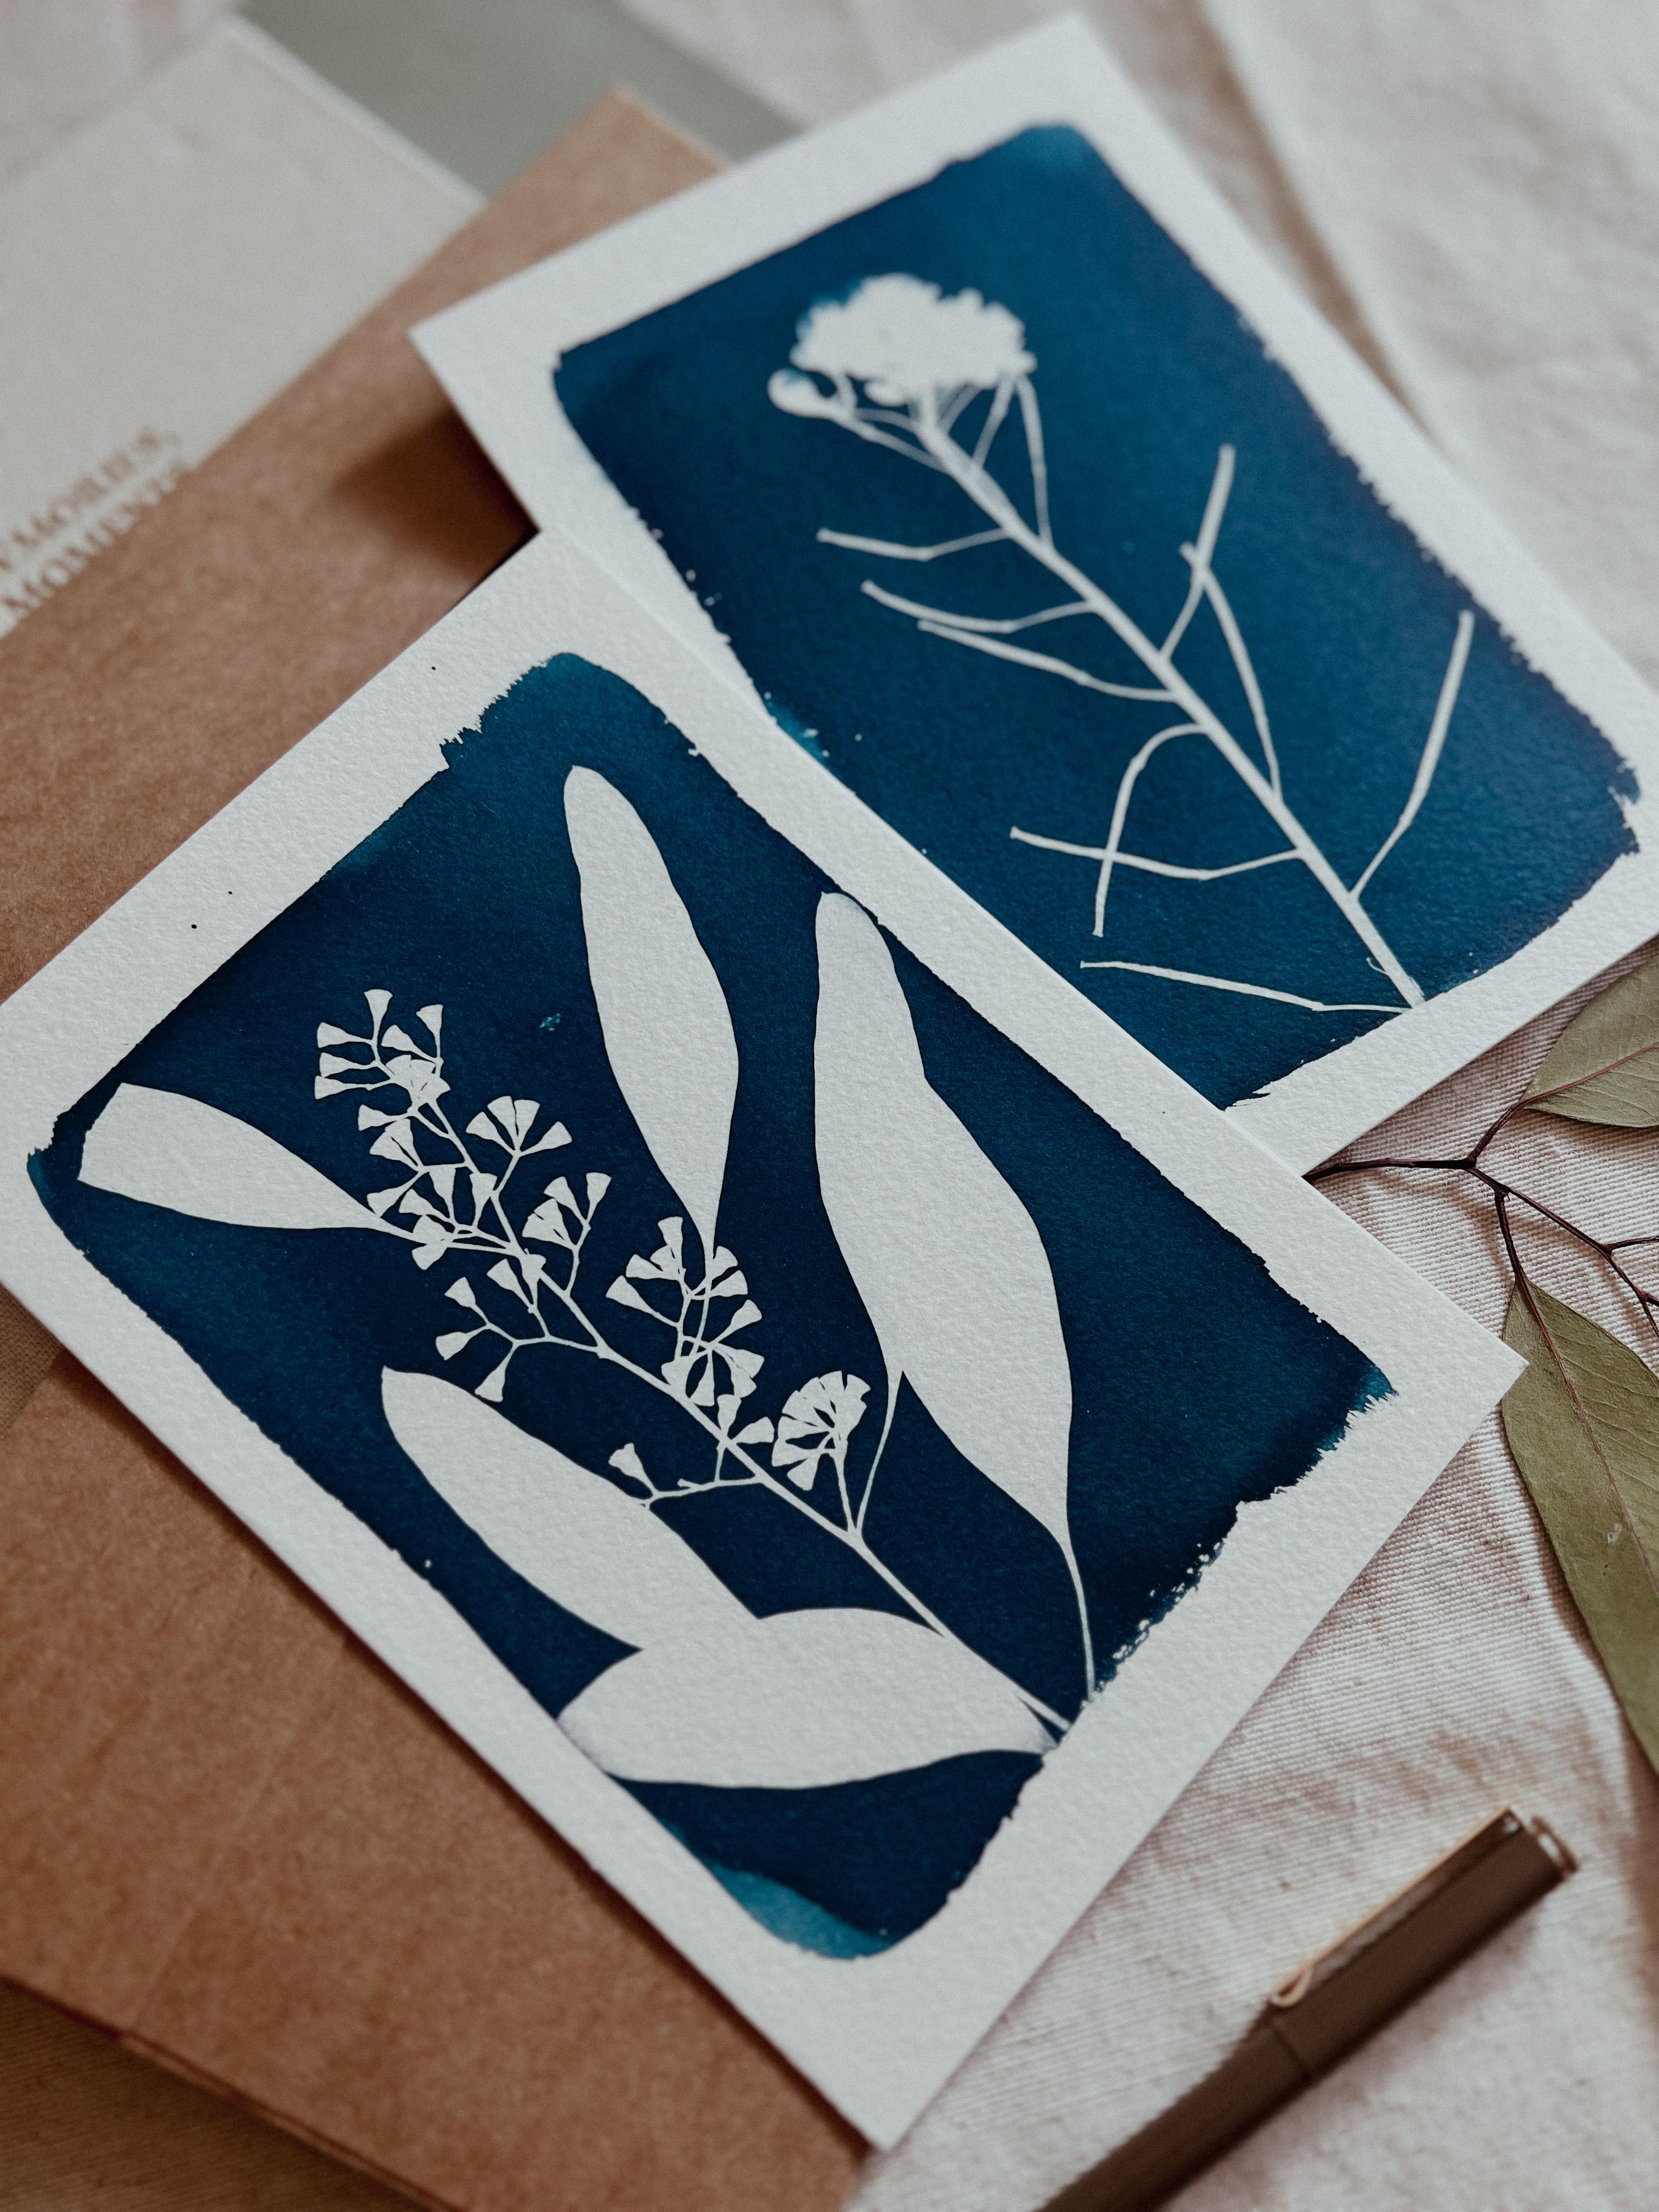
world of Cyanotype. Create your own botanical
greeting cards. Are you ready to blend art with nature in a beautiful
and sustainable way? Hi, my name is Diana, and I'm a cyanotype artist. In this tutorial,
we'll dive into the enchanting
cyanotype process, a stunning
photographic technique that captures the essence of botanical elements to create delightful
greeting cards. With just a few simple materials and a touch of creativity, you learn how to harness the sun's energy to
transform leaves, flowers, and other
natural treasures into vibrant blueprints. Not only will you create
personalized cards to share with loved ones, but you'll also connect
with the beauty of nature and the joy
of handmade art. Whether you're an
experienced artist or a curious beginner, this tutorial will
guide you step by step as you unlock the
magic of Cyanotype. Get ready to
celebrate creativity, sustainability, and the bountiful gifts
of the natural world. Let's get started on
this botanical journey.
2. Class Project: For the class project, you will create your own
botanical grading cards. Use everything that you
learn from the class. After you finish creating
your botanical grading cards, take photos and post them in
the class project section. I can't wait to see
what you create.
3. Materials: Here are the following materials you will need for this class. Watercolor paper. I prefer the Canson brand
and masking tape. Cyanotype kit. I use the Jaqard brand for all
my cyanotype prints. A glass or acrylic frame and a cardboard and
some binder clips. This will be for
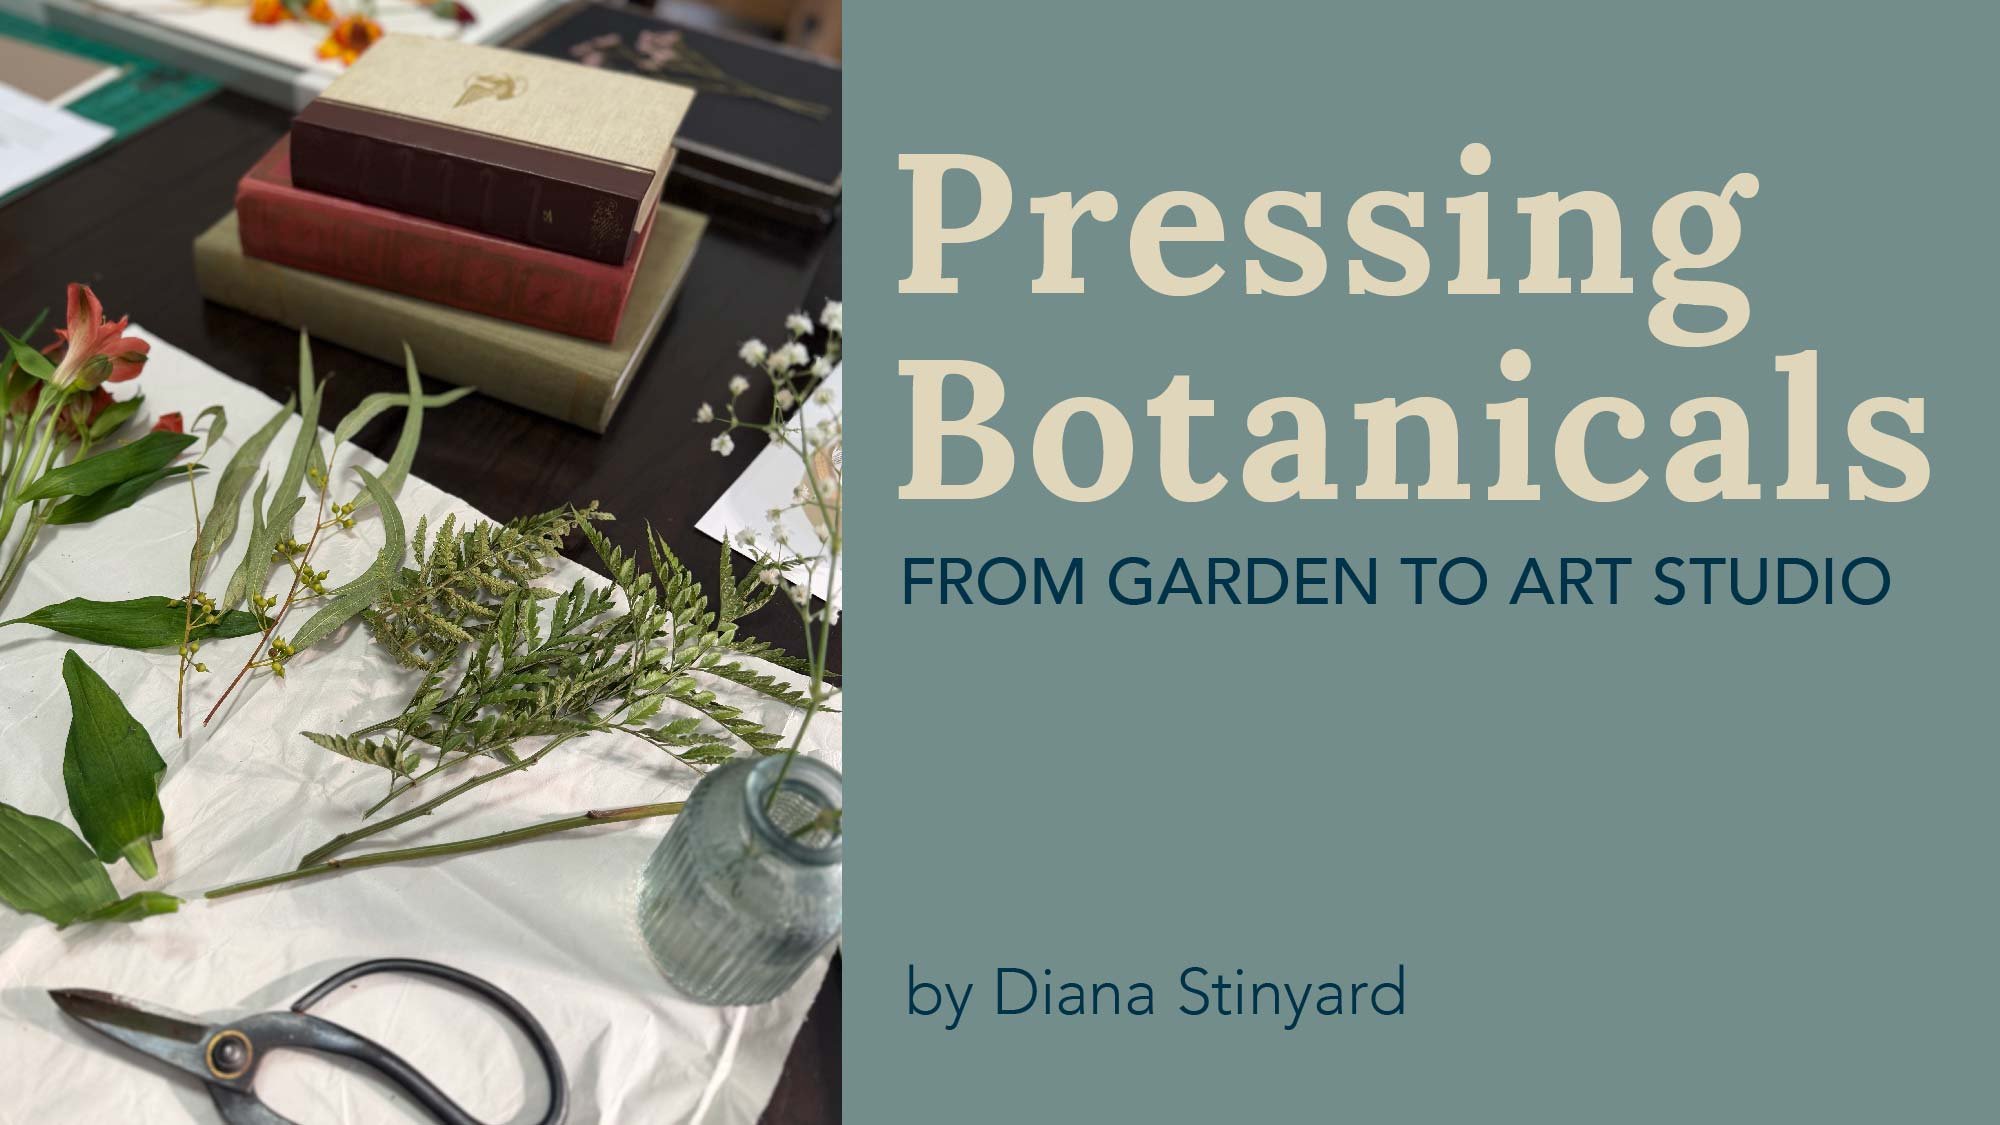
your contact prints. And some fresh or
dried botanicals, like leaves and flowers. A ceramic or glass mixing bowl
and a small measuring cup. This is for when you make your cyanotype emulsion and
hockey or a flat foam brush. Cutting mat and saco knife
for when we start cutting papers and stainless steel ruler and bone folder when we make
the folds to make the cards.
4. Cutting & Folding Papers: In this lesson, we will use the following
materials and tools. For the watercolor paper, I like to use the brand Canson, and I use the 140 pound weight, and I use stainless steel ruler, acto blade with rubber grip and bone folder to
fold the paper. So for the first cut
that I'm going to do, I'm going to place my paper horizontally on the mat board, going to make sure
to measure it and find the middle mark. Then I'm going to
carefully place my ruler right on that mark and
make my straight cut. Match the corners. Make sure it's perfectly
align with the other side, and then we take our bone folder and use it to fold it
right in the middle. We're going to score the
card multiple times until it's nicely fold and have that
nice crease in the middle. And now we have two perfectly cut papers
ready to be printed.
5. Cyanotype Chemistry: For this lesson, we will need the following
materials and tools. Before we begin, let's
prep our working area. Make sure to cover
your table with old newspaper or use
paper grocery bags. This will help protect
your surface from any spills once we start
making our solution. Most importantly,
make sure to turn off all lights in
the room and only allow a small amount of indirect light so we can still see while we
make our solution. Canatype chemistry are
sensitive to light, and we don't want to expose our papers once we
sensitize them. And I'll pour a small
amount into the cup. So the amount of
solution that we will use will vary on the number
of papers that we coat. For this one, I'm only going
to coke a couple of cards, so I will only need a
small amount of mixture. Next, we have this part B, which is the Berg
ammonium citrate. We'll measure it same equal
measurement as part A. And then we'll pour
it into the bowl. And this is our solution. And now I'll take
my hockey brush, my flat brush, and
mix it together. And there you go. And there's
our cyanotype emulsion. We will now cot our papers
with the cyanotype emulsion. By using a hockey brush
or any flat brush, you can apply the cyanotype
emulsion onto the paper. There are many ways
to do this and you can also get as
creative as you want. Or you can start with something
simple like this one. You can even use a flat sponge to coat the entire paper
evenly with emulsion. For this next one, we will
use a masking tape to create a frame with
a nice clean edge. Once you're done, coating all your papers, make sure to take all
your cards and let them dry in a dark room and not
exposed to any kind of light.
6. Design & Exposure: And Here's what you will need for this lesson. Welcome to the fun
part of the class, creating greeting card designs. Our botanicals are
ready to come out of their pages and create beautiful
greeting card designs. For this step, it's very
important that you do it on a sunny forecast as we will move to the next step,
which is exposure. Immediately after we finish
arranging our botanicals. Don't forget to keep your sensitized cards away
from direct exposure to light. Okay, so the first
thing we need to do is to lay out all our
pressed botanicals, so it's easier for us to find the right botanical that we will use to design
our greeting cards. Then we have our sensitized
card and our picture frame. First thing we need to do is remove the glass
part of the frame, and then we take
our sensitized card and lay it flat on the
back end of the frame. And then we will decide which botanical that we want to use
to create our first design. This could be anything
that you want to do. If you want to do
a single design, a simple design or multiple variations or combinations of
different botanicals. Now that I've decided that I'm going to go
for a simple design, I'm going to place my glass, part of the frame and put it over the card
and the botanical. Then I will secure it
with my binder clips. And I'll put it on each side to make sure that
the botanical is intact, and it doesn't move once we take it outside
and expose it. Okay, so I'm outside my
house with my print, and I will leave this exposed
for probably 5-7 minutes, and it will be ready
to be developed. Also, make sure to set your timer so you won't
forget about your print. Okay, so our print
has been exposed and now ready to soak
into the water bath.
7. Development: So for this lesson, the only materials that you will need are your exposed prints, a tray or a kitchen sink with
water and room temperature, and some old kitchen towels that you will need to
dry out your prints. Okay, so our kitchen
sink is ready, and we're gonna submerge the
print into the water bath. And we're going to
move it around and rinse off all that chemicals, the emulsion that
was not exposed. We're gonna keep
doing this until all that yellow residue
is completely removed. And what's left is just
purely white on the negative, which is the botanical part. We're gonna leave this print in the water bath for
a minute or so. Okay, so this print is ready to come out
of the water bath. We're going to place it on
top of the kitchen towel, and we're going to remove all that excess water that is
sitting on top of the paper by taking another kitchen towel and carefully lot all
that excess water. And continue to do that until all that water is gone and
absorbed by the kitchen towel. Now, there are two ways
that we can dry our prints. One is simply leaving
it dry flat on the kitchen towel or hang it up with clothespin on
a line like a shirt.
8. Class Summary : We have reached the
end of our class, but before we stop here, let's do a quick recap
of what we have learned. We have learned how to properly
cut and fold our papers. We learn how to create
our cyanotype chemistry. We use our press botanicals
and create designs, and we learn about the process of exposure
and development. Thank you for watching my class. I hope this class has sparked
a lasting interest in the cyanotype process
and that you continue exploring and experimenting
with this beautiful art form. Don't forget to have fun and get creative
with this process. Also, please share photos of your final botanical
greeting cards in our class project section. And if you would like to try other creative and fun
Siena type projects, please check out my other
classes here on Skillshare. Thank you so much. I welcome any feedback and
questions you might have. Please share them in the
discussion section. Thank you. M.
 Diana Caragan Stinyard, Artist/Designer/Photographer