Bold and Bright Sketching: Elevate Watercolor With Colored Pencils | Barbara Luel | Skillshare

Playback Speed


1.0x


  • 0.5x
  • 0.75x
  • 1x (Normal)
  • 1.25x
  • 1.5x
  • 1.75x
  • 2x

Bold and Bright Sketching: Elevate Watercolor With Colored Pencils

teacher avatar Barbara Luel, Architect, Author & Artist

Watch this class and thousands more

Get unlimited access to every class
Taught by industry leaders & working professionals
Topics include illustration, design, photography, and more

Watch this class and thousands more

Get unlimited access to every class
Taught by industry leaders & working professionals
Topics include illustration, design, photography, and more

Lessons in This Class

    • 1.

      Introduction and Classproject

      1:28

    • 2.

      Drawing, Shadows and Tea

      4:11

    • 3.

      Adding Details and Intensity

      6:53

  • --
  • Beginner level
  • Intermediate level
  • Advanced level
  • All levels

Community Generated

The level is determined by a majority opinion of students who have reviewed this class. The teacher's recommendation is shown until at least 5 student responses are collected.

351

Students

29

Projects

About This Class

Do you also fear the blank page? I do ! Except when I make teacups and thumbnails!

So here's a short class with another teacup!

Because I’m that kind of person which fills whole sketchbooks with teacups!

“oh no serious? are you making another teacup class? But you already have one!”


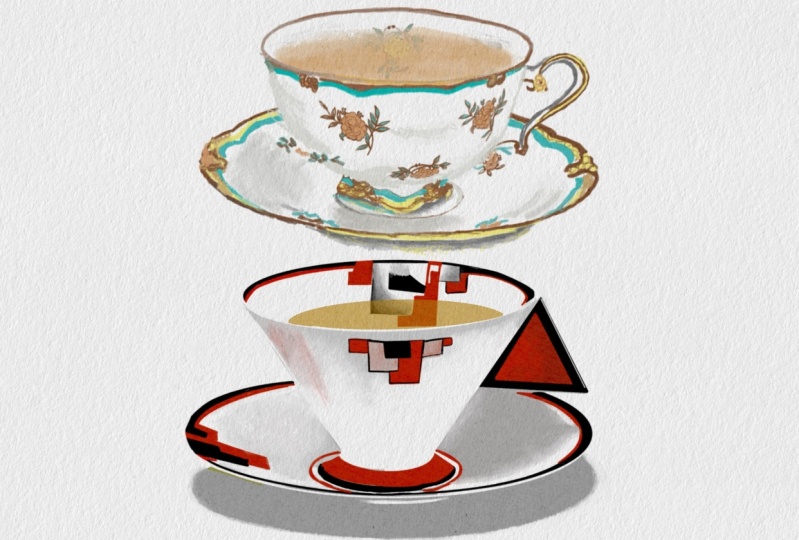
Yes why not? Never enough tea cups. I use teacups to experiment and relax, to play and try out new techniques.

In my art journey teacups play a crucial role so I want to share them with other people!


Teacups are my “go to” place when I’m creatively stuck : they are the perfect place to try new things,

In the class ressources I show you a teacup I made 12 years ago…. So you can appreciate the journey I made…. And how teacups made me a better artist…

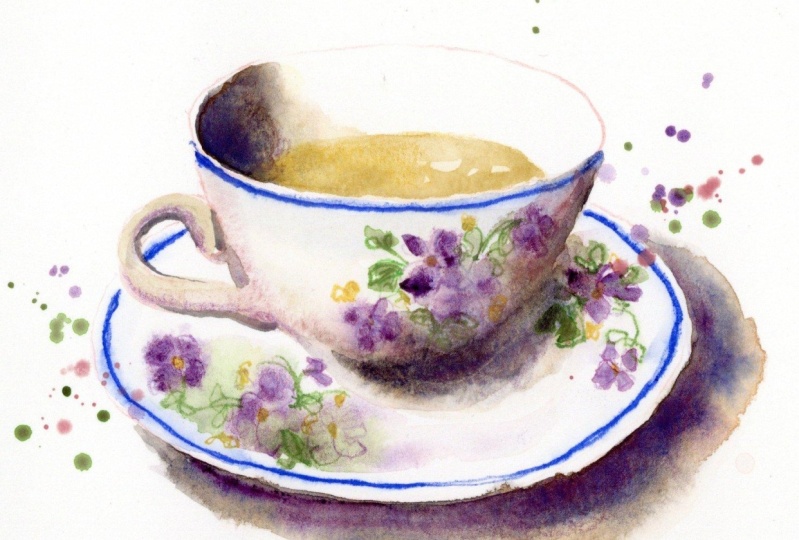
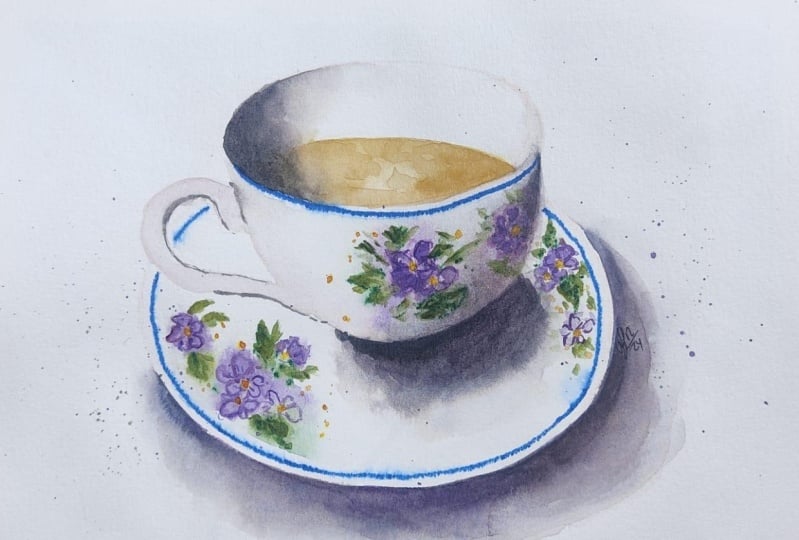
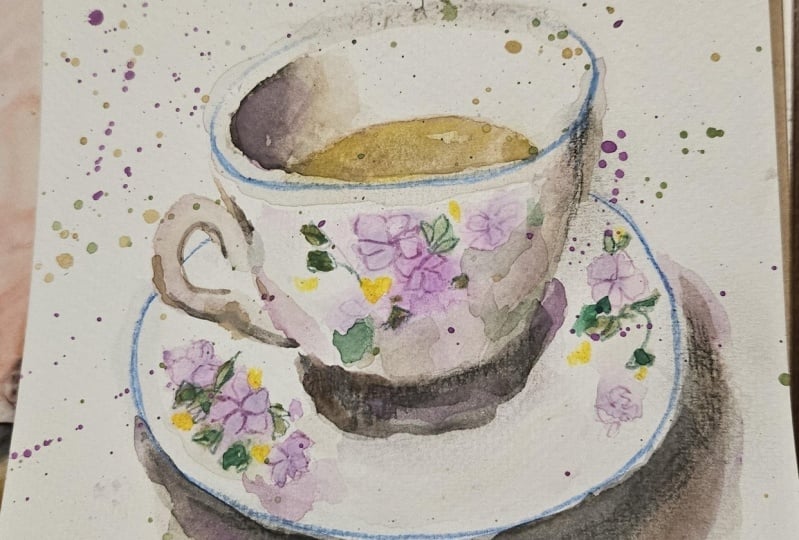
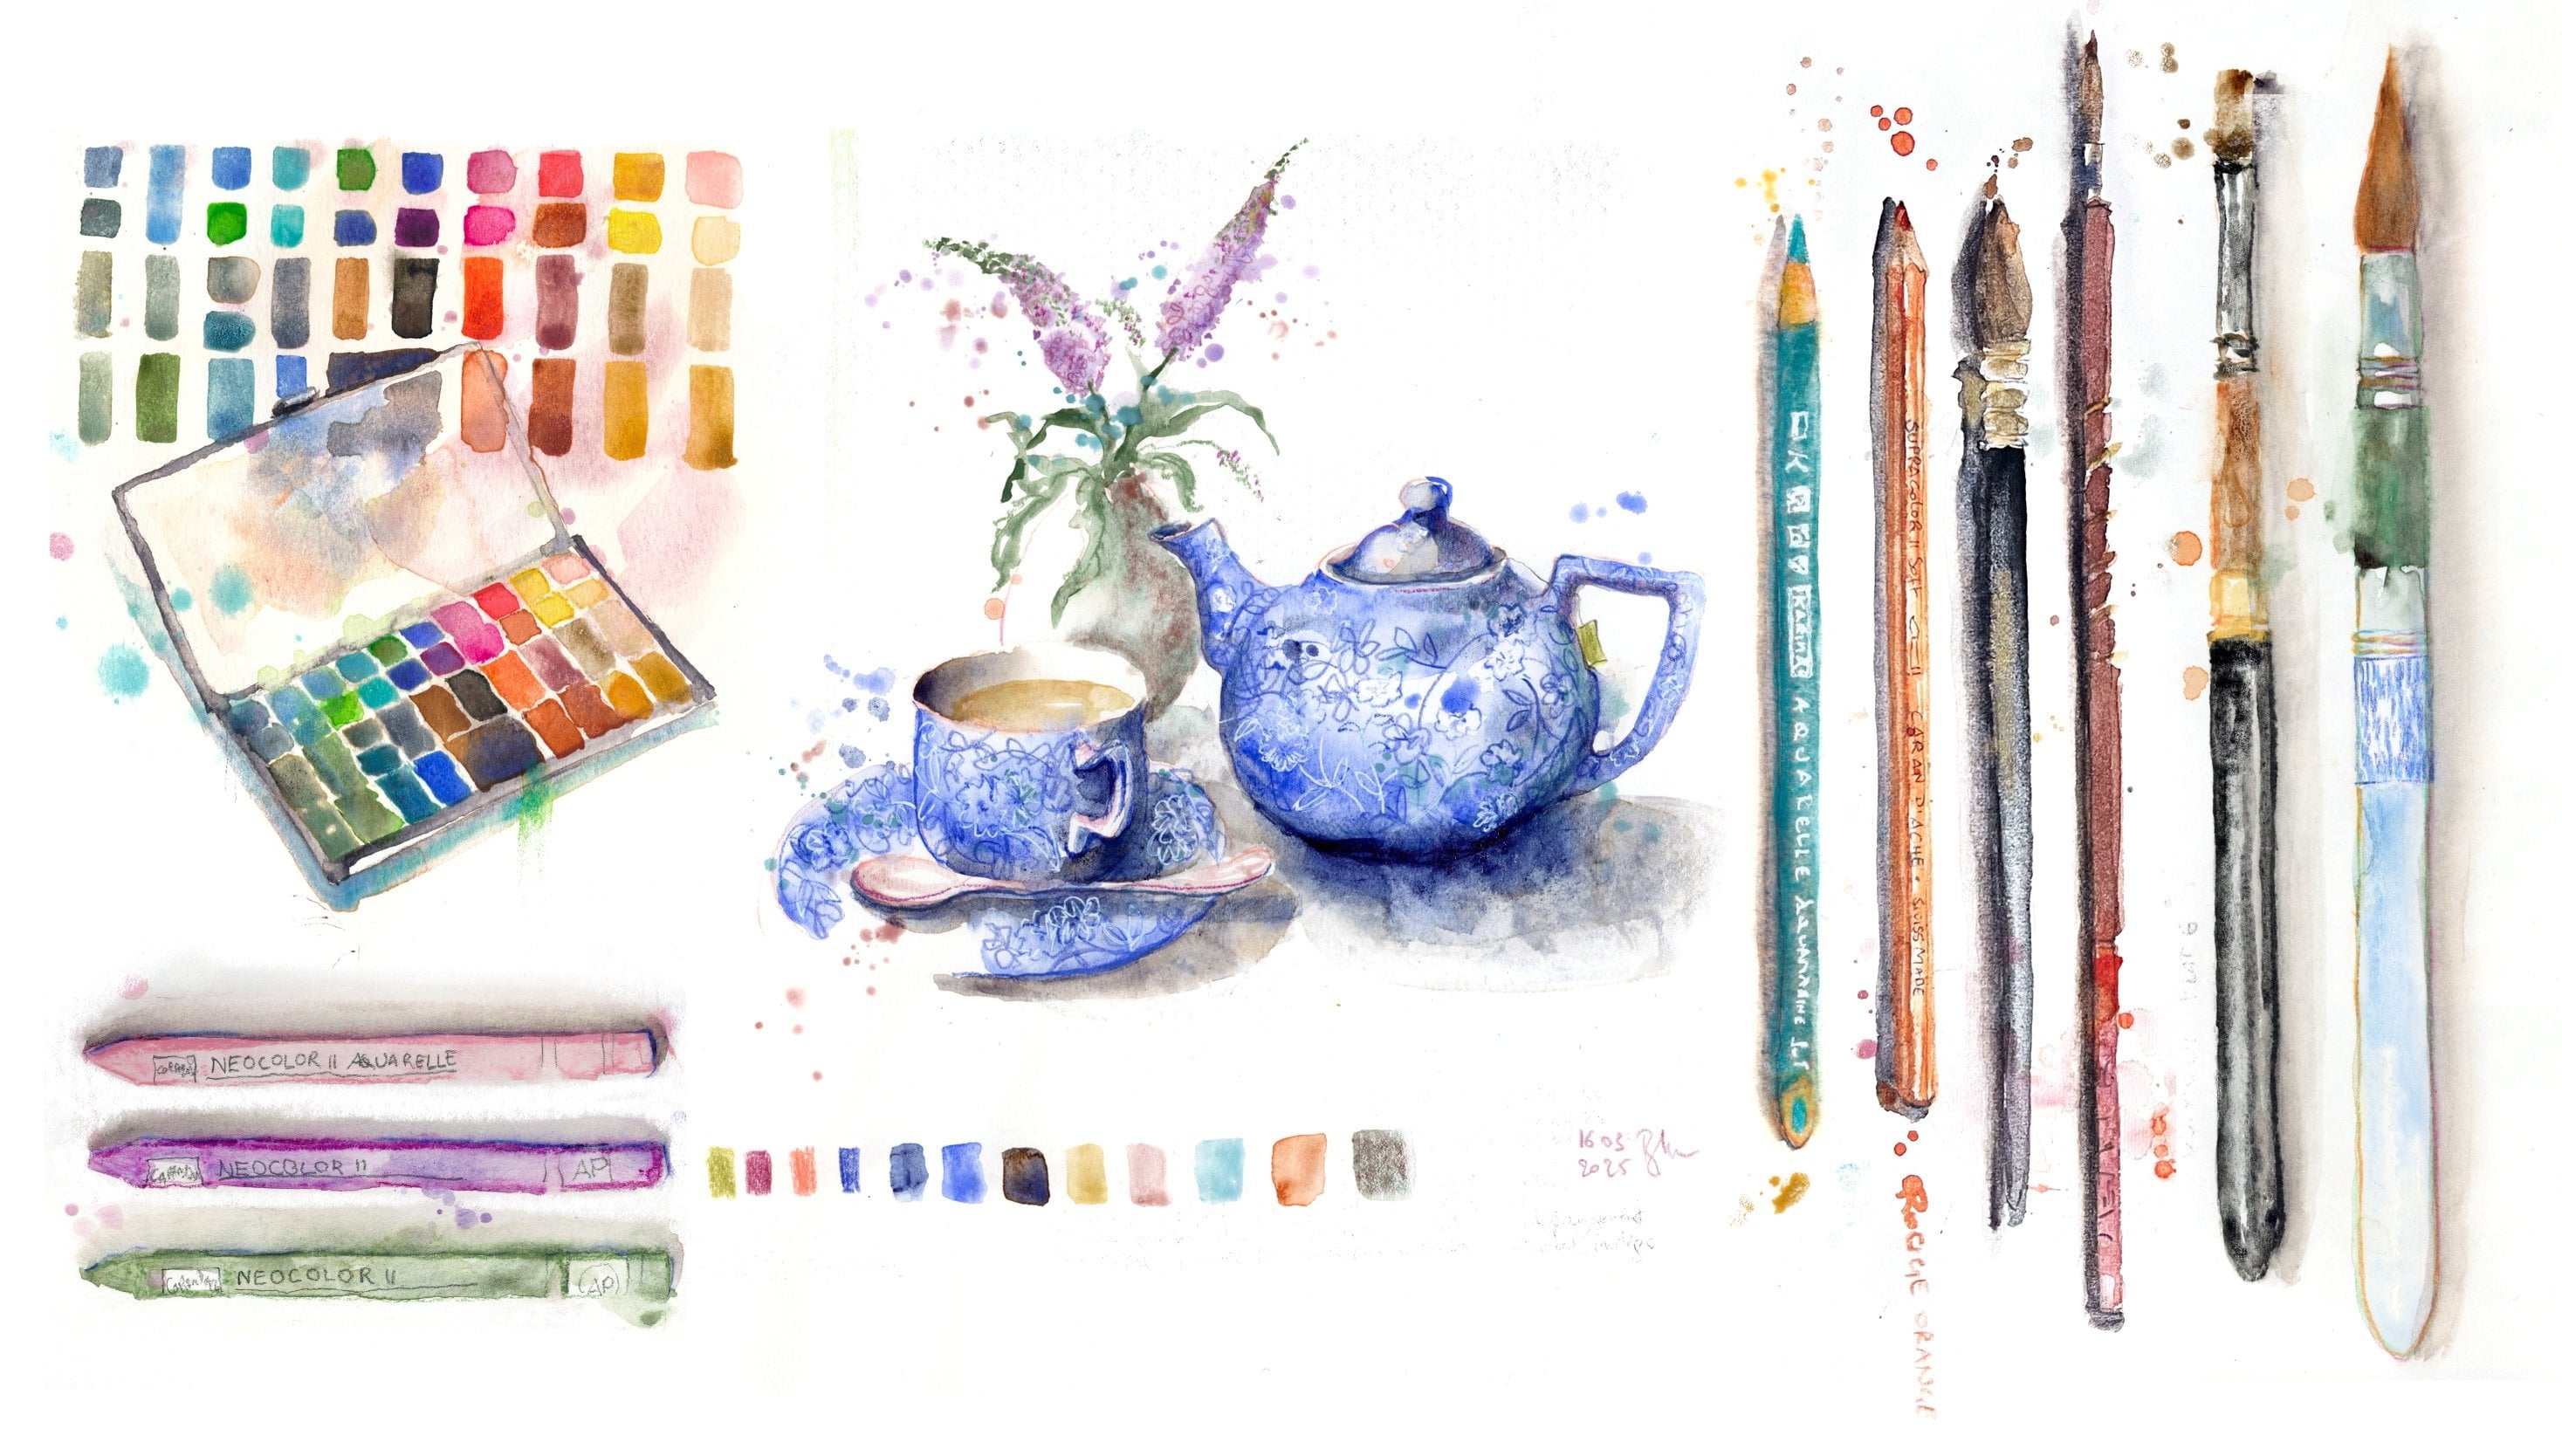
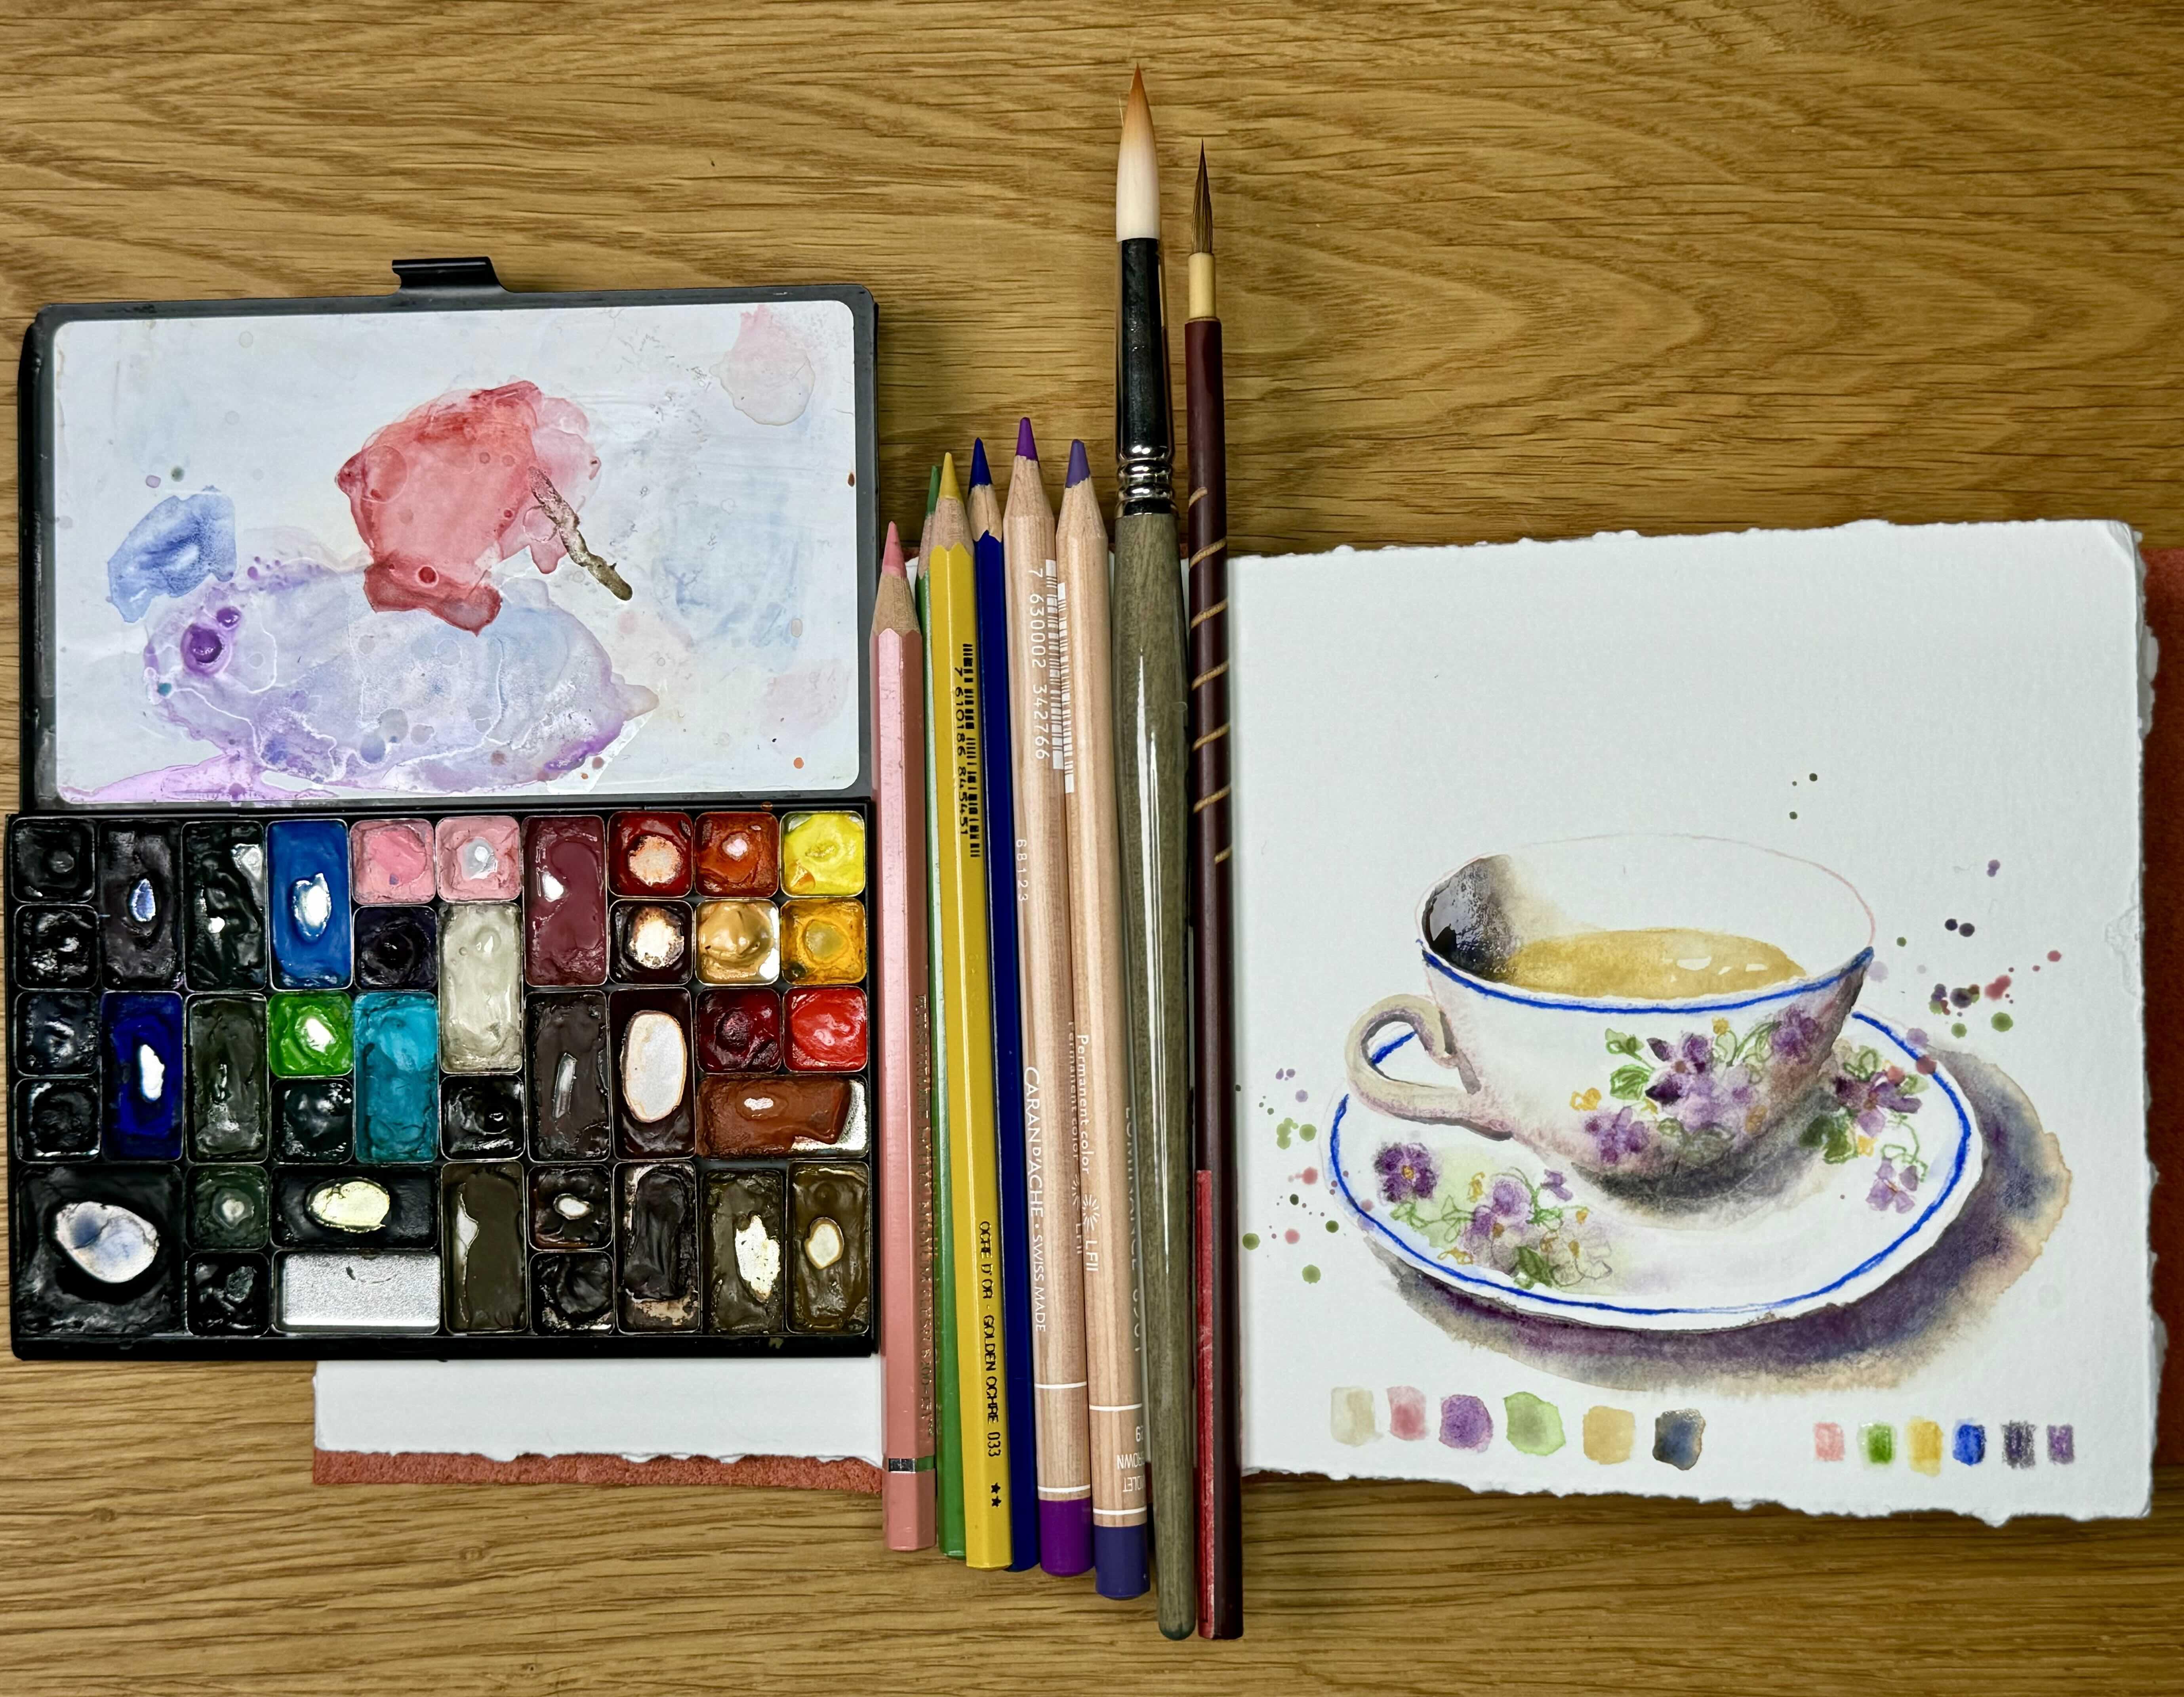
So in this class, I want to share with you how I use color pencil and watercolor pencil to add an extra dimension to my watercolor,

Your class project is painting a tea- or coffeecup and play!


Please share your work with others to spread the beauty.

I hope you’ll enjoy sketching teacups as much as I do!

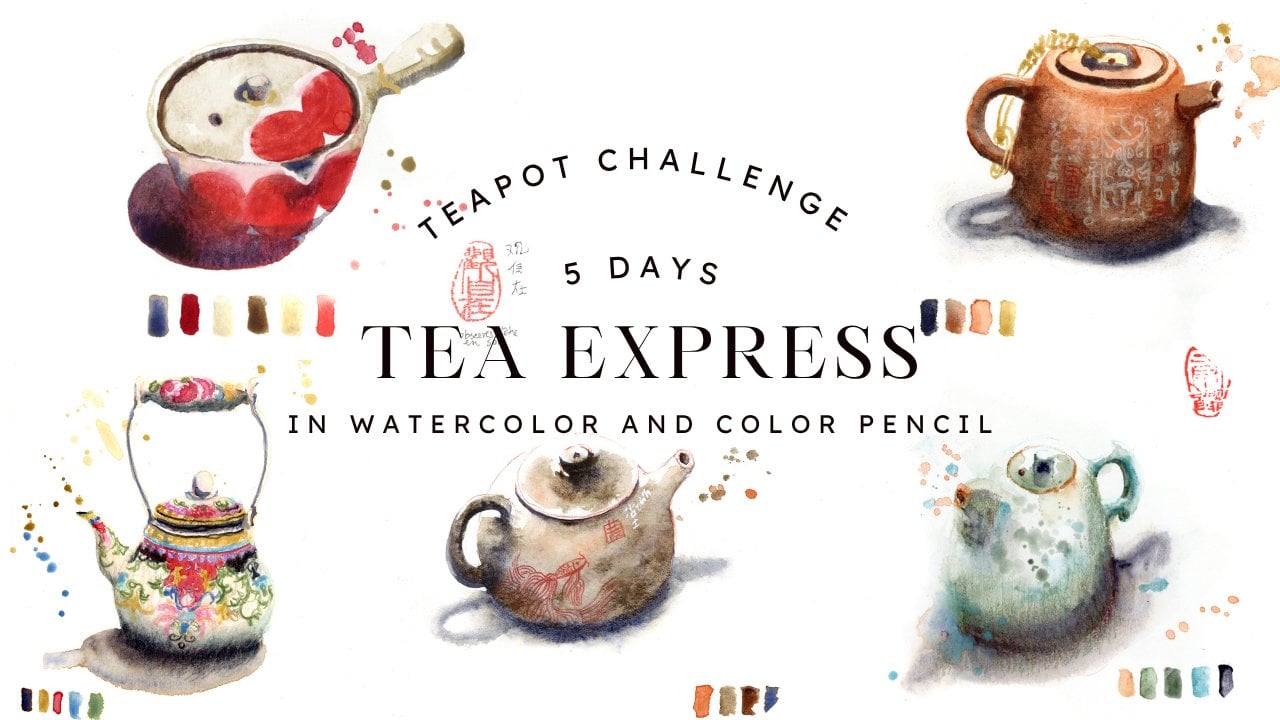
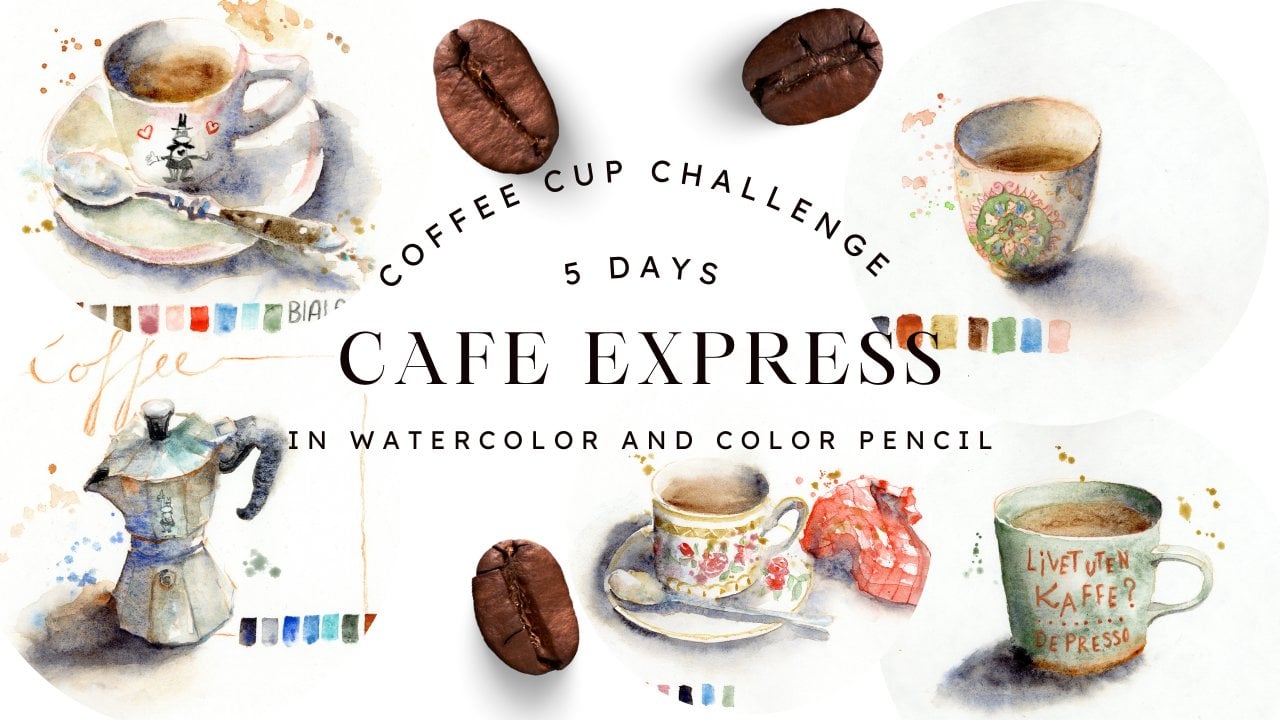
If you like to make more teacups, please head over to my teacup challenge class 
Meet Your Teacher

Teacher Profile Image

Barbara Luel

Architect, Author & Artist

Teacher

Hello !

I'm Barbara

I am a multipassionate architect, artist and author, teaching drawing to Architecture students at Brussels University and working as an architect every day restoring monuments. In my free time I make art and books, drawings and paintings. I also volunteer in an art workshop in a rest home for people with dementia. I draw and paint with them and give them human connection and a way to express themselves.

But most of all I want to commit myself to share my love of making art with as many people as possible.

Being a child I always wanted to become an artist, but my parents pushed me into university and I became an architect...Studying architecture was a lot of fun, but by the time I started working, ink and paper made place for the co... See full profile

Level: All Levels

Class Ratings

Expectations Met?
    Exceeded!
  • 0%
  • Yes
  • 0%
  • Somewhat
  • 0%
  • Not really
  • 0%

Why Join Skillshare?

Take award-winning Skillshare Original Classes

Each class has short lessons, hands-on projects

Your membership supports Skillshare teachers

Learn From Anywhere

Take classes on the go with the Skillshare app. Stream or download to watch on the plane, the subway, or wherever you learn best.

Transcripts

1. Introduction and Classproject: Do you also fear the flank page? I do, except when I make teacups and thumbnails. Oh, no, serious. Are you making another teacup class, but you already have one? Yes, why not? Never enough teacups. I use teacups to experiment and relax to play and try out new techniques. In my journey, teacups play a crucial role, so I want to share them with other people. Hello, I'm Barbara, and I'm that kind of person which fills whole sketchbooks with teacups. Tec ups are my go to place when I'm creatively stuck. They're the perfect place to try new things. And here I show you a teacup I made 12 years ago. So you can appreciate the journey I made and how teacups made me a better artist. So in this class, I want to share with you how I use color pencil and watercolor pencil to give an extra dimension to my watercolor. So your class project is simply painting a tea or coffee cup and clay. So please also share your work with other people to spread the beauty. And I hope you'll enjoy making te ups as much as I do. And if you like to make more teacups, please head over to my tickup challenge class. Enjoy. 2. Drawing, Shadows and Tea: So here I show you how I experiment with color pencil and watercolor pencil to enhance my watercolor sketches. I'm not going to use any graphite pencil because I don't want any black lines. I just want colored lines. If you want to use color pencil and watercolor pencil, it's very important to use smooth paper and no rough watercolor paper. So I start this sketch with watercolor pencil, a pink one. So I found this cap on interest, a picture. You can, of course, paint any cap you like you have at home or another picture if you want. Just paint something that you like. I'm going to wet the paper first to paint the tea and to paint the shadows. For the tea, I use raw umber or ochre. But of course, if you paint coffee, you will use some brownish color. And for the shadows, I'm wetting the paper first because I want smooth edges. So if you paint on wet paper, you have smooth edges, soft edges. And if you paint on dry paper, you have a very sharp edge. So for the shadow color, I use a mixture of ultramarine blue and transparent orange. And I wet the paper of the cap because I want soft edges to give the impression of a round cap. I will make several layers to darken the watercolor bit by bit. And I make the blue line of the cup on wet paper, and I wet also the watercolor pencil afterwards. And the more you wet it, the more blurry, the colour will fade onto the paper. So here you can play an experiment. If you want very juicy lines, you can press very hard on your pencil and you can blur the lines by making them more wet. And so the lines will get smooth and very intense. And I add some extra shadow, and the more dark you make your shadows, the more light you will have into your cup, because this will suggest that there's a strong light with very dark shadows. I do the same for the shadow. Inside the cup. I wet the paper first to give the impression to have a round object. So in the next video, we will add the ornaments on the cup, the flowers and the leaves, and we will darken the shadows a bit more. 3. Adding Details and Intensity: So in this video, I'm drawing the ornaments, and I start with a normal color pencil. So this is not a watercolor pencil, and it's a purple color. And I use this normal color pencil because I don't want the lines of these flowers to be erased by the water and watercolor. So this is a permanent color pencil and the lines will not dissolve. First, I wet the paper to give a little background color of the cup and to give some extra shadows in the cup. And I wet the paper because, again, I want smooth edges. And on the wet paper, I throw some green leaves of the ornaments in watercolor pencil because I want the lines to dissolve in the water. And these green leaves will dissolve bit in the water of the wet paper, and also later when I will add colors. And on the wet paper, I add some purple for the flowers, and I like to add them on the wet paper to have smooth edges, so they are blurry because I don't want to give a photographic impression of the cup. I want it to be loose and sketchy. I'm adding also some yellow buds of the flowers. And again, you can go as far as you want in this. If you want it to be very photographically detailed, of course, you can do it just play and experiment and do what you find beautiful. So I do the same for the saucer. I wet it first and add some green leaves in watercolor pencil and branches of the flowers and some yellow buds of the flowers. And then I will add some purple for these purple petals on the web page. And some are more precise and some are more blurry. And you can also splash around to give some playfulness to your teacup. And I make some more intense purple spots and some I leave more blurry. I also add some green splashes, and these splashes give a playfulness of the sketch. And they also connect different parts of the sketch together. Now I want also to add some color pencil to the shadows to give it some more intensity and more texture, and I make hatching in all different directions. There are a lot of things you can do in these hatches. Some make just hatches in lines going all in the same direction. So make some crosshatching, and you can make the hatching like you want. I like when it goes in all directions. Again, you can play an experiment with this like you want. I put some color swatches on the bottom of the page so you can see what colors I used. And I also add some ocher yellow color pencil in the tea to make it more intense on the shadow side. So this bech color is Titanium buff by Daniel Smith, and I add some butters pink because I love butters pink. Just use the colors that you like, even if they are not real in reality on the reference photo, use the colors that you like most. And at the end, I add some extra shadow to make the shadows stronger to bring more light in my sketch. And I add also some purple watercolor paint in the shadow to make a connection with the purple flowers. So I hope you enjoyed this teacup or coffee cup sketching and that it will make you want to play an experiment. Thank you for taking my class. Okay.