Transcripts
1. 1 ) Welcome To The Course!: Hello everyone and welcome to
the Blender basic tutorial. My name is Yesh and
I've been using and teaching blender
for several years. I've designed this course for absolute beginners in mind who have never touched blender or any other three
D software before. The purpose of this
course is to get you up to speed with
the fundamentals of blender within a day
so we can go out and start watching other
tutorial on Skillshare. We start out by looking at
the interface of Blender, then we'll learn
about how to navigate the software and create
some basic shapes. We'll also look at a little bit of poly
modeling using blenders. Edit more, and by the
end of this course, we'll have created a
simple snowman in blender complete with modifiers,
texturing and rendering. What are you waiting for?
Let's jump right into it.
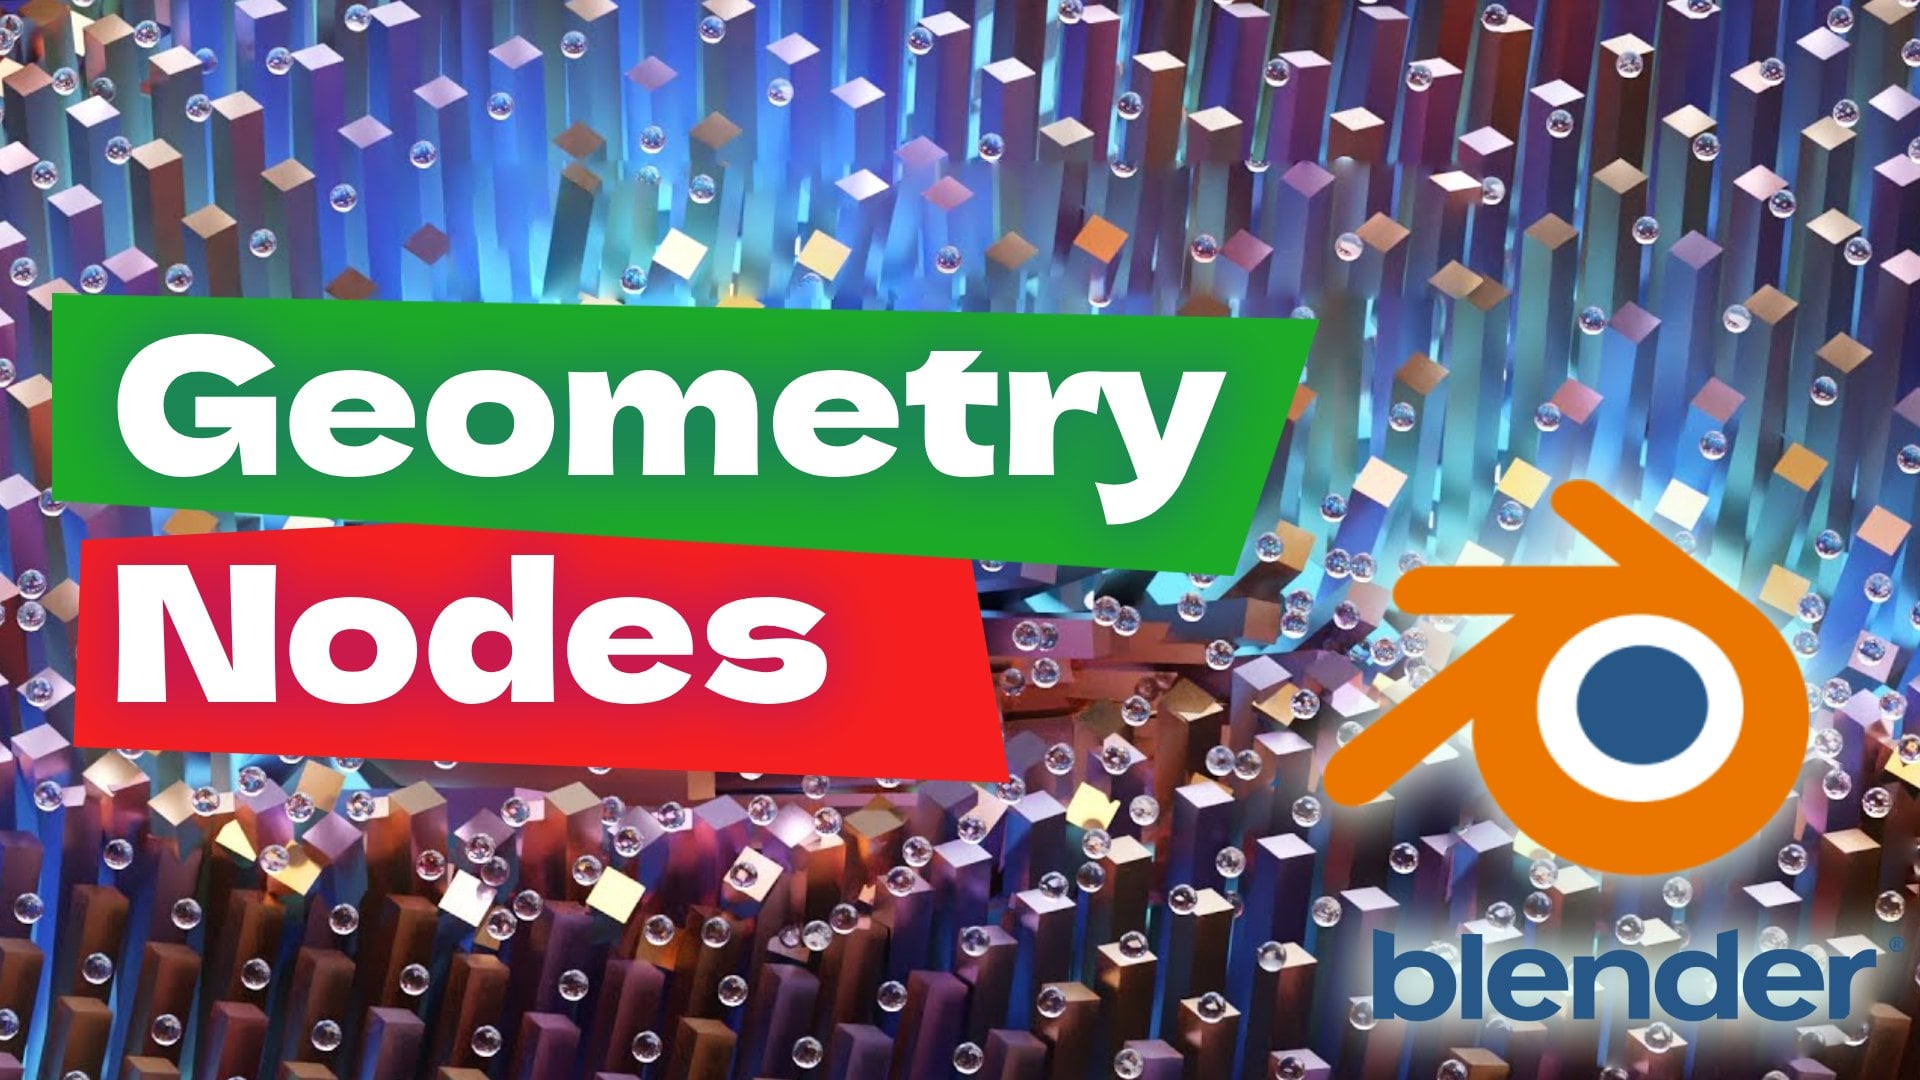
2. 2 ) Interface And Navigation: Once you open a blender
for the first time, you should be greeted
with this interface. But what does this interface do? That's what we'll look at today. I want to give you a
quick overview of what we are dealing with before
containing the course. This is basically
the interface in which all of blenders
power resides. On the top left
corner is our menu, which you can also find
in other programs. It's pretty standard and has the options for saving
and loading files, undoing and redoing,
among other stuff, which we'll talk about later on. The left hand corner are some of our most common
tools like select, move, rotate, and scale. On the right hand side,
you can see two panels. The top one is the outliner. As the name suggests, it shows an outline of all the objects
present in the scene. Below that is our
property spanel. This is one of the
most powerful tools and consists of many options, such as world settings, render options,
modifiers, and so on. In the center is our viewport, where you can actually see
what your scene looks like. To move through the viewport, click and drag with
your middle mouse button or scroll wheel. You can also hold shift. While doing this, it will
pan the viewport instead. Similarly, control plus middle mouse drag
zooms in and out. You can also do the
same thing using these gizmos On the
right select an object, then press this will
enter move mode, and now you can move the
object with your mouse. You can also go g plus x, Y or Z to only move
along that axis. Of course, you can
also do the same with R for rotate and for scale. Click wants to
finalize the movement. That's for this lecture. This should provide you with a basic understanding of
moving through Blender. From the next lecture, we can actually start
creating our models. See you in the next lecture.
3. 3 ) Creating A Basic Scene: Now that we have a
basic understanding of blenders environment, it's time to start
making an actual model. As you already know, we are trying to create a snowman here. This is our reference image. Think of what we can
start with here. I think the lower body is
a good starting point. Press Shift A to bring
up the Create menu, go to Mesh and UV sphere. This will add a sphere to
the center of the scene. Now we need to create another sphere on top of this sphere. To do this, press Shift D
to duplicate this sphere. As you can see, I can move the duplicated sphere
with my mouse, which also means I can hit Z. To only move it
along the z axis. I'm going to place the sphere somewhere around here
and scale it down. I'll repeat the same
process for the head. Now let's move on to
the eyes and nose. Another way to create
shapes other than the create menu is to use the
interactive creation menu. Select Cone right here. The benefit of this method
is that I can directly align my new shape to the face
of another existing shape. Drag to create the
base of the cone. If you hold Alt, you'll notice that it maintains
symmetry on both ends. Release the mouse and drag it up to create the
shape of the cone. Now select UV Sphere
from the menu. And repeat the same
process for the eyeballs. Now we can hit Shift again
and add plane scale it up. This will be a ground,
and that's it. In the next lecture,
we'll improve this model even
more. See you there.
4. 4 ) Improving Our Scene With Modifiers: Now that we have the
basic shape of the model, we want to start adding some details to make
it look better. The first thing you
might notice is that this is looking
pretty blocky, and the snow should
look much smoother. To fix this right
click and select Shade Smooth, that
looks much better. But you'll notice that even though the surface looks smooth, the corners still look blocky. Because this is not actually increasing the detail
in the sphere, but instead just treating two adjacent straight faces
as a single curved face. To fix that, we can
use a modifier. Modifiers and blender
are essentially non destructive ways of
changing an object as a whole. Let's say I want to
increase the detail in this object so I can go
over to the modifier, stab in the property spanel, and select subdivision surface. You can search for it and
now select the modifier. As you can see, the corners are starting to
look much smoother. Now, you can also change how many subdivisions
you want by increasing or decreasing
the subdivision level, but I suggest setting
that too for now. The next thing you
might think is that the snow shouldn't just
be a perfect sphere, it should have imperfections. To implement that, we use
a displacement modifier. Add the modifier and click on, now click on this
icon right here. This lets us choose what type
of displacement we want. If I select clouds
from the drop down, you can see this deformation. What's essentially
happening here is that it is generating a
noise map image. And it is using that image
to deform the geometry where the darker areas get lowered and the lighter
areas get raised up. Now go back to the modifier stab and lower the strength to 0.100 Now you'll notice that if I change the
order of the modifier, it changes the shape. This is because, like I said, modifiers are non destructive. Blender is essentially taking the primary object and applying modifiers one after
the other on it. If the displacement
modifier is used first, it is being applied to the less detailed original
version of the sphere, which gives us a less detailed
displacement compared to if we apply it after the
subdivision surface modifier. We can also repeat the
process with other spheres. I'm also going to do the same process for
the ground as well. I hope that was clear.
In the next lecture we can start texturing our
model. See you there.
5. 5 ) Edit Mode: Now that we have a
basic snowman ready, it's time to start making
a hat for a snowman. Now straightaway,
you'll notice that the hat isn't exactly a
simple primitive shape. It has a flat base, then it extends upwards. Now this is actually really
simple to deal with. The only thing that
we need to do is take a primitive shape and modify it into a
more complex shape. Think of this as sculpting, where you take a regular
rock and then you eventually chip away at it
until it turns into art. First of all, think
which primitive shape is most similar to this hat. I think a cylinder will
be a great choice. Come over to the
interactive creation menu and draw a small cylinder
on the head of the moment, this forms the base of our heat. Now if you come up here, you'll see that we are
currently in object mode, which is for dealing with
multiple, whole objects. But in order to deal with the specific geometry
of any object, we need to be able to
modify its polygons. To do that, expand this drop
down and select Edit mode. This will let you modify
the geometry of an object. Now, any three D object
is made up of polygons. Think of polygons
has three D pixels. Just like any image is made up by pixels which are
just small squares. A three D model is made of polygons arranged
in three D space. Every polygon has three
or more vertices, edges and a face. Right now, we only want to deal with the top face
of the cylinder. Come up here and
select face mode. Now select the top
face by clicking. Now press Eye, which stands for Inst, and
drag your mouse. As you can see, the
face is being moved in. We are inserting the face for the narrow
section of the hat. Now press, which means extrude
and drag up your mouse. You can see that the
face is moving up. Click to confirm
your modification. And I'm also going
to scale this face up a little bit because I
think that just looks better. That's it. We have successfully created the basic
model for our character. In the next lectures, we'll
be improving our model even further than texturing it and rendering it
out. See you there.
6. 6 ) Texturing Our Scene: All right, we have already
modeled our snowman. The only thing we have left to do is to texture our model. Now this is going to be a relatively short
lecture because we are simply doing some
basic texturing, which is pretty
simple to explain. To do that, just come down over to the
material properties. You should already have a
default material added for you here if you don't
simply hit New to Add. Now as you can see, the
default material type is principled BSDF, which basically
means it has most of the options to create
basically any kind of texture. You can also choose
more specific options like Glass BSDF in other cases, but for now we only need
the principled BSDF. Simply come over to the
base color right here, which is a bit
grazed by default, and slide up this slider to
make it completely white. You can also increase
other values such as roughness if you want to to see your material
supply to your model. Come over to this tab which is called the Viewport
Shading type. You can repeat the same process for all the other materials, which I'm going to do right now. That's it. In the next
and final lecture, we'll discuss about rendering
our model. See you there.
7. 7 ) Rendering Our Scene: With our scene ready, we can finally move on to rendering it. First up, I think the scene
is looking a little empty. To fix it, let's
add a sky texture. Come over to the World
properties right here, then click on Pillar and slit
sky texture from the menu. The default sky is named
Nishita, which is a bright sky. Other options are pre thum, which is an overcast sky, and sekilki is the evening sky. I'm going to go with
prethum for now. Now come over to this tab, which is the render settings. Come over to the Render tab. Now if you look at the options, the most used options
are Cycles and V. Now EV is a lightweight
render engine, but it's not very realistic because it only
calculates direct flight. You could achieve
some indirect shadows using ambient occlusion. But it takes a lot of skill to actually get a
good render with EV. If I go over to the render tab, which is showing my EV output, you'll notice that it's
not very realistic. Cycles. On the other hand is a rate sing engine meaning and can calculate light bounces. As you can see, it takes much longer to actually
render something, but it looks much more
realistic as well. This is what we are
going to use next. We'll be needing a camera to set the angle at which we
want to take our image from shift A and select camera. Now as you can see, a camera is in the middle of the screen, which I can see using the wireframe mode
through this step. Now let's go over to
Viewport Shading. Now I need you to set the angle at which you want to position the camera at once you're
looking at the angle. A line view, a line
active camera to view. There we go. A camera is now looking at our
rendering angle. Now if you accidentally
come out of camera view by
rotating the viewport, simply go to view
viewpoint camera. Now you can also set the
output properties and mess with stuff like output
resolution and output folder. Once you are done, go
to Render Render Image. That's for this course. Now I want you to make your own render and submit
it below the course. I really hope you enjoyed
and learned something new. So anyways, see you
in the next course.
 Yash Kejriwal