Transcripts
1. Mixed Media Beyond Paper: My friends, it's Tammy Prara. Thank you for joining me today. Today we are delving into
mixed media collage. Now, mixed media collage
may sound overwhelming, but I'm here to simplify things. We're going to talk about
categories of elements and all the different
things you could use when you are
creating a collage. And it will not be overwhelming. In fact, we're going
to have a great time. I have some practice
sessions for you. I have two projects that
I do from start to finish and give points and tips on
what creates a great collage. If you follow me on Instagram, you can see how much
I love to create. My latest love is collage. I love to create new things
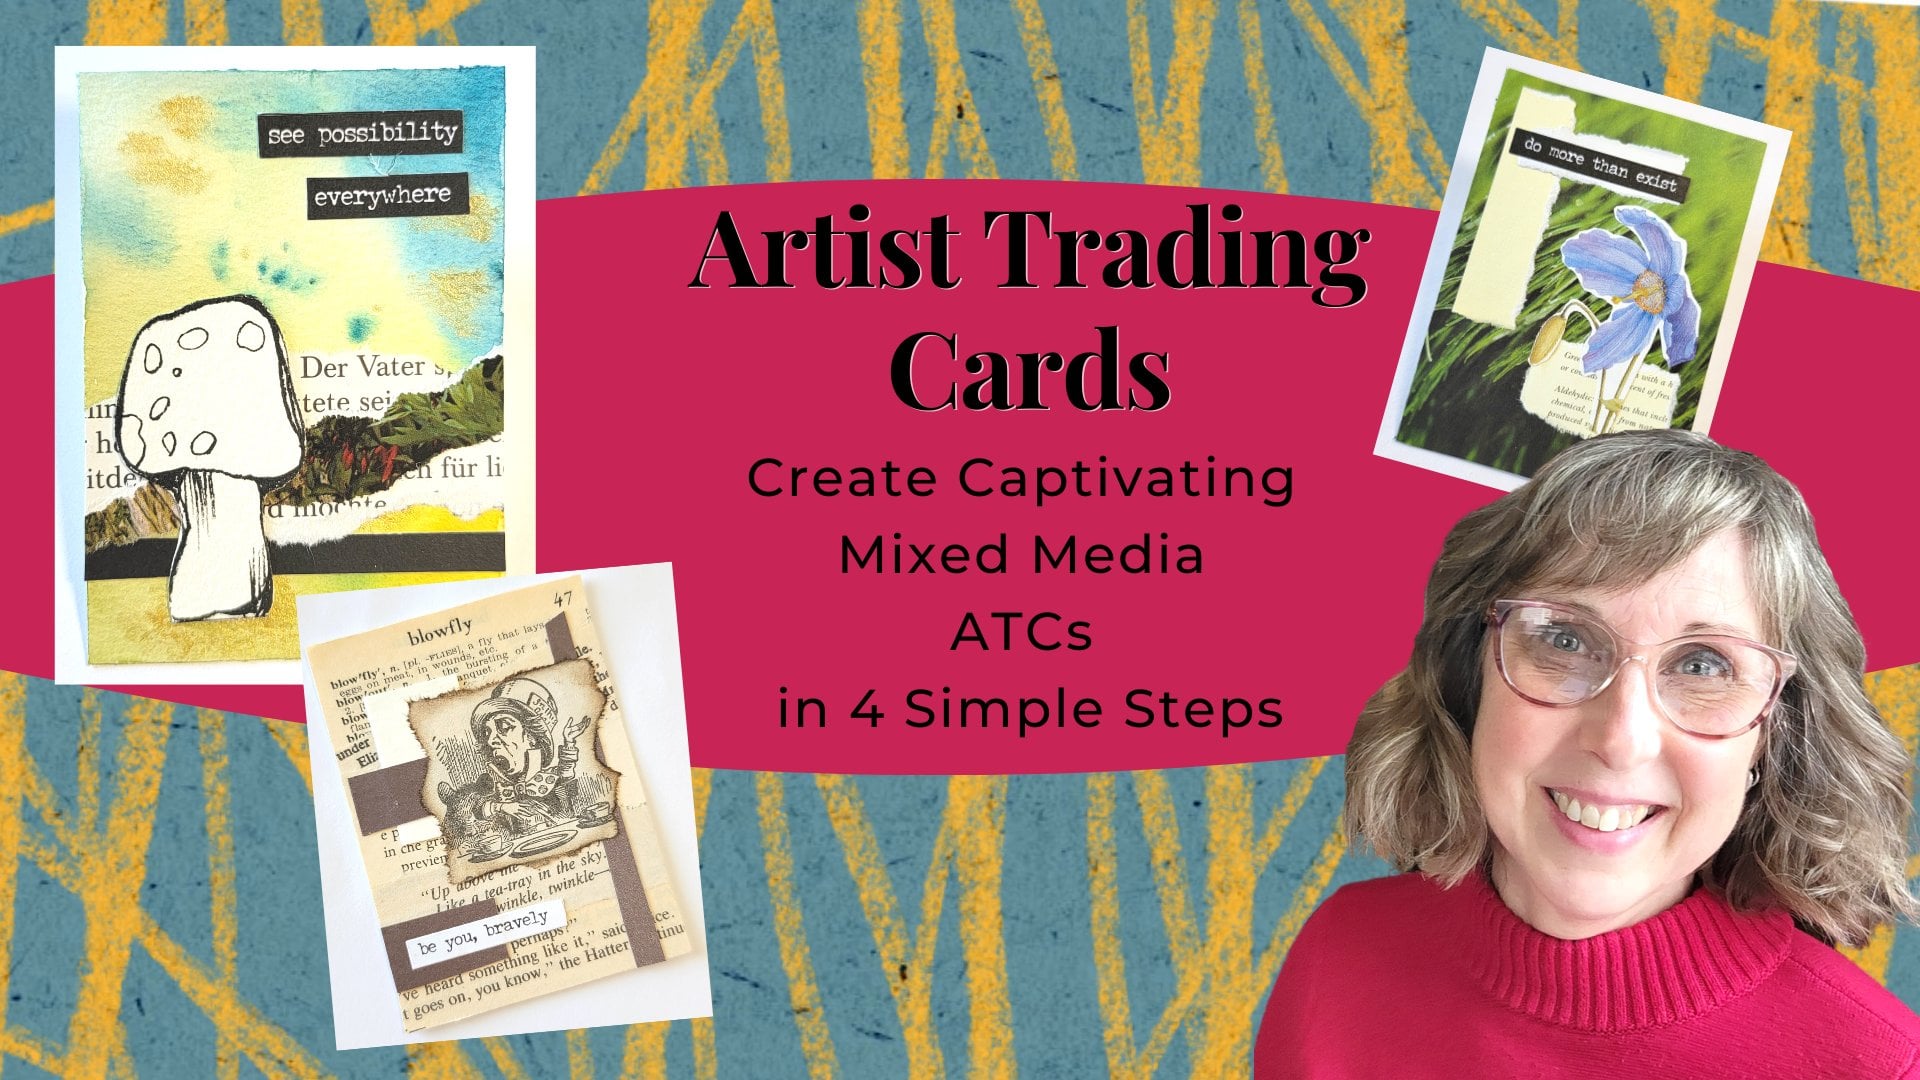
from old and then share it. I make cards and gift tags
and artists trading cards, and I share them in
swaps or for holidays or thank you's or
birthdays anniversaries. I love making cards, as you can tell, I
love collecting. So putting all those
elements that I have into collage
is so much fun. And I hope you break down
exactly what mixed media is. How to simplify the process. We're using pens
and paints and inkss and paper and fabric
and hard elements, you will be able to take
what you have on hand and make your own
mixed media collage. If you are a
beginner to collage, this is a great introduction. What I love most
about collage is how much is just a
snapshot of a moment. What were the supplies
I had on hand at that very moment and how I could create
something beautiful. The project will be fun and
you will be able to use what you have at home to create
a collage of your own. Or just follow the
practice lessons I have and experiment with the
supplies that you have. So let's create together and
make a mixed media collage.
2. Student Project: Your class project is to
make a collage of your own. Take what you have and do
the practice lessons I've offered and create your
own mixed media collage. Do you have markers
or fabric and lace? Do you have little do dads, beads, buttons, all
kinds of papers, textured papers, puzzle pieces, all these little
things can go into collage to create
something beautiful. So your class project
then is to go ahead and experiment
with textures and placements and found materials you might have around the house and create
your own collage. And don't forget to share it
in the project section when you are on the version of Skillshare that's
on your laptop, go ahead and click the project button and upload a photo of
what you've created. Tell me about it and if
you want some feedback, please let me know. I would love to see
your creations. Be sure to ask any questions
and let me know how you did. I can't wait to see
what you've created.
3. Collage Supplies: The supplies for
collage include glue, actually like a liquid
glue with a fine nozzle. And I really like this
Elmore's craft bond. It's an extra
strength craft glue. It's not the school
glue and scissors. A good pair of scissors. And a crafty pair of scissors, meaning Something you don't mind ruining and
getting glue all over. Another thing is
all your papers. I have watercolor paper and
scrapbook paper, card stock. I have little do dads. I have dye cuts, puzzle pieces or ribbon, used, teabags, grinded up, papers, all your collaging,
put in a pile. And we will discuss exactly how to use them in the
most efficient way.
4. What is Mixed Media Collage?: Mixed media collage
is about putting different kinds of
elements together. And what I mean by that
is with this example, there's hard elements,
soft elements like the fabric and ribbons
and end papers. There's mark-making. I used a crayon over here. There's paper items and this
tile I've found at $1 store, but it's a hard, thicker item. And together you have a mix of materials making it
a mixed media collage.
5. Just a Taste of Possibilities: The first of the mixed media, we'll dive into bins
to do with color. Do you have any, Let's
see, watercolor. You have any watercolor? Do you have any inks? Calligraphy inks would be great. How about inks, other ink
pads, water soluble markers, and I will show you how to
use water-soluble markers to mimic watercolor fabrics. Felt, scraps would be perfect. These scraps came well
from doggy grooming. Some from my mom, some I just found
at a thrift store. Threads, embroidery,
floss, ribbon, lace. And he twine or
any embellishment. I pulled this off a tag. Old books that have, that have great
illustrations for you to cut out and found words
would be perfect. This book in particular, I have really torn into, I'm using it for my school days. Collages, these great
watercolor paper once you've already worked
on tickets as Amira, little cards with that
with writing on it. Little checkout
from the library. I always am on the lookout
for great focal points. Old maps, and have even
typed my own found words. Do you have dye cuts? You have a cricket. That's how I made mine. Or you can buy them in
packages at your craft store. I've taken those
die cuts and made my own little potted plants, tea tags and tea bags make
great embellishments. I've even been sitting on this thread labeled because
I love that vintage look. Crayon rappers make another
great embellishment. Stamped images. You could even make your
own paper or fabric, runner tape, just so all
the pieces together. Here's a piece of
sheet music that I've stained and painted
on and good old scrap paper make excellent
paper choices for collage. Hard items include things with definite thickness in bulk and they're obviously
a hard element. Think buttons. I'm going to include
a candy wrapper and my heart item mostly
because this one is foil. You have any shells or beads. Those would be
considered hard items. Any broken pieces of jewelry
or decorative buttons, blacks, seals, because
of their thickness, they make great hard items. And even these are paper
buttons that I found. And they came with
their own thread. I'm putting that under the
hard item as well because of their thickness and
texture mark-making tools. These Micron pens come
in different colors. Crayons I love, especially when I find
something at a thrift store. Pens. Fat, chunky thick tens
are great mark making tools. Pencils. Obviously a great
mark making tool. Or chalks, chalk
pastels, oil pastels. This example is one
where you can see the heart items and soft items, the fabric, the crayon doodling, the paper, the watercolor. That's what mixed
media is about. Using different kinds of
materials to create a collage.
6. How to Choose: Decide, what are
you making it for. Now, I really am a
fan of flat items. I like how they can be mailed very easily
with less postage. I like how I can turn them into a card and write a
note on the inside. But what if I feel like
I want a magnet card? This would be something
you could hang on the refrigerator to
just bring a smile. Just know if you didn't mail it. That lumpy, bumpy part, you would need to put
this in a package, put it with some
protective paper over it, and that will cost
you more in postage. But if it's a gift that
might be very well received, you could make it a hanging item or something to
sit on your desk. So before you start, determine what's its purpose. And that might lead you to know exactly what kind of elements
you want to be able to use. Mixed media can seem
really overwhelming. You have so many choices and
even more than what's here. So how do you start to decide what am I doing and what do I feel like
today and how do I, Okay, I'm going to
break this down. We're gonna make it very simple. Let's look for a theme. What's captured your eye? What's inspiring you right now? And for me, these children
playing are so adorable, It's what I want to
collage with today. And so from there, let's start narrowing down. Probably not glittery purple. So we'll set that aside. Maybe not a mark making tool, that's an off colors. I don't know about
those purple pansies. This brown embroidery floss
could do really well. I like that vintage look. But maybe this white
does a contrasting. We'll put that in a maybe pile. Um, I really liked to distress this and make it
even more vintage. A tile, maybe a tile. This scrapbook paper, I think
would work really well. I like the color combo here. So we'll save that. Maybe some found
words here that, that's a maybe I don't know
about the felt I have. It's way too vibrant, although I could turn that down. So that's kind of a maybe and all the little
children's lace like on her panel for
That's a good one. I probably won't have room for all of the flower
embellishments. So I'm not going to
be needing that. I'm thinking about
the stain tea bag. I don't know about
the label though, so we can get rid of that. If it's about playing
maybe not a book. That Burgundy graph right there that looks
pretty good together. And so probably not. A pink card. White words always
seem to go well. It really pops and
captures your eye. Probably not any of these
very modern looking pieces. And probably not any
wax seals today. Perhaps a button
that might work. We'll save that. And I think we're good to go. We've narrowed down quite a bit of what would make
a great collage. Picking a theme. And for this one it's a color
theme, it's vintage theme. And I have a lot of
elements that fit that. So that's one way to
start narrowing down all your choices when you
are looking at mixed media.
7. Watercolor Practice: Playing with your colors
on watercolor paper. You just need something
water-soluble. Do you have watercolors? Great. Do you have pens? That's great. I'm going to use some inks
that I know are water-soluble. I have some Tombow
markers that I know work. I have this one,
Karnataka brush pen. These are all water-soluble
and I just found these stubs below pens and
they turned out to be markers. And you can use these
as water color. I'm going to use my gel plate and this will be my palette. This will be where I'm
going to be mixing. And I have a Spitzer
bottle to get it wet. So here's the game plan. I've chosen some colors. I've got purples and pinks. And let's just play, Let's see what happens. Let's experiment with
the colors together. I'm scribbling on my job plate. If you have a plastic lid from some product or
a piece of acetate, go ahead and use that. And their first off, we're just dabbing this
color on the watercolor. And that's it. If you want to keep
your colors clean, then use a piece of paper
towel, wipe that off. And that's vibrant. How fun. If you are a bright person, this should be right
up your alley. I just wanted to experiment
and see what would happen. Check that out. Fun, fun, fun. The more water I add, the more it bleeds, the less water you get that speckled look like
a, a speckled egg. Isn't that cool? Let's try a Tombow marker. It's a different
shade of purple. It's a great mix between
purple and pink. Let's try this side. Wow, that is really vibrant like a purple fuchsia,
don't you think? And just continue dabbing. You don't have to
clean the job plate. I'm curious as to what the
colors will bring out. So I am doing that. I want to go for
something dark now and I'm taking an ink pad, pouncing it on the job plate, getting that wet, turning
it into some watercolor. Oh, yeah. Having some darkness on
a page really makes the, the bright colors more vibrant. It really makes them stand out. But it can also mute
the overall look. And truthfully, I'm someone
who loves a vintage, a grunge look,
something that looks nostalgic, like all movies. And I just think that's
just a romantic style. You know what? You could even spray
your watercolor paper. I'm going to save that though. Let's try another dark color. Oh, this looks more
blue, so that's fine. That's fine. Then look kind of
purple and the light. But we'll see how
it does with, um, with waters, since that really helps to separate some colors. Let's put that down here. Oh, yeah. Love that. You know what, what you're
creating is a background. So when you start to collage, watercolor paper makes
a great substrate. And that just means it's heavy. And it can hold a lot of glue. It can hold a lot of paints. Seems to be drying
really quickly. Now we're getting some bleeds. I like that. I'm going to go until
most of this is covered. A little white is not a problem. I'm not going to
stress about that. Did we do this one already? I don't even remember. I have so many cool
colors out on my palette. I don t think we did. That's a fun one. How we look and what do I think? Bright, maybe something
bright up there. Some of that hot pot
pink and very wet. And we can make it run and move and play with
the other colors. That's coming along. Really cool. I think I wanna do something
up here in that corner. And man, I already forgot
what color that was. Was it this now? That was that
bright, light pink. I'm going to fill in
more space, more color. You can get it done in one shot. Here. Oh yeah, those
layers are looking great. Fine off the paper starting
to curl and not a problem. When it dries, it'll
be a bit more flat. Oh, look how bright that is. Not you like just
wearing your colors. Good thing. And there are water-soluble,
easy, easy cleanup. Alright, I'm going to leave
that there and let it dry. And there we go. That is a really cool
abstract of colors. We have a lot of
bleeding going on, but then we've got
the speckled areas. And we could cut this into cards and make that
a great background. And that is one medium. We're using
watercolor and that's one medium for our
mixed media collage.
8. Ink Blending Ideas: Inks can be another
type of medium. We've done a little
bit of watercolor. What if we're using inks? We can do some blending. I found this blending
brush at the Dollar Store. It's actually a makeup brush, but I use it for blending inks. I'm going to have a piece
of scrap paper here. Now, what if you want to
tone or change the look, grunge up or highlight a
piece of scrapbook paper. I actually like
scrapbook papers. To make note cards. This could be a perfectly
good note card, right? Right. Your friends
and family on a piece of scrapbook paper. We want to dress it up a little, or this is what we
want to collage on. So taking your blender brush, makeup brush, Dollar
Store brush, whichever. Actually I changed my mind. I want to grunge up this bright, cheerful piece of scrapbook
paper with this brown, because I already
picked up the brown. And we're going to slightly brush the corners,
brush the edge. And as those bristles
move across the page, you have grunge up. You're pretty white paper
to kind of antique it, give it a different look. It's just a light
sweeping motion. You're adding a medium
or adding inks to paper. So this is another
method of adding a different medium to
collage inks as a great way. And it's simple.
The side stamping, grunge up, you're pretty white note card and antique it really quickly. Really clean. Die cut. I found on my cricket. You can edge that. And one of the things I like
about doing that is it, It's like taking a pen and
highlighting and edging, outlining a piece so that it stands out against maybe a color
that's very similar. So you can just see that darker part that I just think that's
such a cool way. Another way I like to edge is taking my ink pad and putting
it straight on the ink pad. That gives a really
sharp edge to your work. Now that will look really
great on here, but boy, she's got a lot of
intricate parts, so brushing it on was
a really good option. Taking out a little bit of that brown I have in my
brush because I want to switch to this purple and edge
my card with this purple. The same method, just
a different color. The reason I fold that my card to have a little
bit of the white showing. When I fold a note card, I actually leave a little space. Lipids scrapbook paper, but I've made a line a little
darker right there. You could even do it on
the inside of your white. Look up that I just think
that's so neat looking. Alright, so taking a bit here, what if we buffs some
onto the bottom here? Again, it's another way
of adding or growing. Those are mixed
media collection.
9. Mark Making Experiments: Another way of mixed
media is mark-making. Grab some pens. Do you have Sharpey's
posca pens? I even have a Pentel Touch, liquid, metallic,
and it's a mess. I love what comes
out of the pen. I don't love how it
comes out of the pen. So that's just my
experience so far. Making marks is another
element of mixed media. And all we're looking to do, oh, and this is some paper that will make a postcard
and it's all perforated. I got this at the
thrift store somewhere and this is going
to be our practice. One of the shapes is
just mark-making. You're just random. Just practice, get
the juices flowing. Get having fun with this. See what your markers
are capable of. Identify the colors they make, the thicknesses, their weights. Check to see if your
pen still have ink. Any thicknesses you can make. And just feed doodling
and plain hash marks. You're just playing, you're
just experimenting your air, getting a feel for what
it is that you might want to put on your collage. A lot of people put these
embellishments on their cards. Okay, I want to play with this. This pen tip is not
great at writing. Okay, So you shake it up. You try to get that ink to flow. And I still don't
have luck writing, but I get this pool
of this liquid gold. It's just, it's so vibrant. It's, so, it's like It's,
it's liquid copper. This one, I have a gold one, I have a silver one. And I can pick that
up and place it. I love running it along the edge to kinda grunge up
a piece of paper. I just, I love it. I just wish it
would write nicely. I've, I've bent many tips
such just, I don't know. Maybe I'll get a
letter from Pentel telling me how I'm
doing it wrong. But that's stuff is just
stink and gorgeous. If you can get it out and make these highlight
marks on your art. It's very, very cool. Do you want to draw some shapes, even large squiggle areas, if you really love that abstract look or
filling the shapes. And these are mark making. And you're using another
medium to do that.
10. Putting it Together: So many choices. We've talked about mark making
and inks and watercolor. Now we're looking at the paper, the soft materials,
the hard materials. And I have many of them
out here in front of me. We had already sorted
because I wanted to recreate this vintage looking card with some school pictures I had from a book that were really
inspiring to me. I really liked the
little girl clapping, this one with the teacher
and the little boy. I think I'm going
to stick with that. So next is what's my
substrate going to be? What's my background? And go ahead and check it out. How do you like what you see? I really liked the Green. I think that makes
the best match. And so we've eliminated
choices right away. Remember this little scrap from this coordinating paper that might make a great mid layer. So we're saving that. Basically, I'm thinking
I already need to bring down this green a bit
and grunge up the sides. I have my scrap paper, my ground espresso,
and my blender brush. Let's dirty this up a bit. It kind of like this
green scrap of paper because it looks like a quilt. It looks like a blanket my
grandmother would have had. Now, quilting part, I think lens made to
thinking about the lace. I think I do like
this craft DIY look. But we are talking
about school days. That's kind of my theme. Like the teabag look. Also thinking, thinking,
we're imagining, we're working things out. Okay, so if at
school is my text, then here's a saying, we have fun at school, that might work or
just fun at school. Okay, we're still thinking
we're eliminating wear, eliminating what we don t need. I do think, um, because it's a little boy, maybe we want the brown
ribbon, a Burgundy. We're just placing
worth thinking. I want to cut out. We have fun at school. Although this little
boy is awfully cute. Okay, We're saving him. This brown paper. It's also has texture to it. That might look neat
under our text. I love torn pages.
What do you think? Does that work with
the Brown who? You know how much
I loved strips. So we could cut a smudge. Yes. Don't you love that
textured paper right there? Oh, that's kinda cool. That's very cool. And maybe my fun at school
can work with the burgundy. There we go, we're
starting to get there. And we had mentioned this green. Might keep that too. It's cool. Now what, what letter? G? I think I like G for George. There we are two points, two points down, up. Okay? We're getting there. Puzzles. Um, that's a, may be, save that as a maybe. Do think the handwriting
practice looks really clever. I love that idea. Oh, yeah. Especially with the C. Okay. And a number numbers are all wet and I don't
know. Can you tell I didn't do that. This book is so old that
came with original grunge. But hey, I just tore that. So maybe I need to
add a little bit of grunge instant and tiki. Look at that, okay. Now we're placing
out things that will remind us be
reminiscent of school. And he's drawing his
practicing writing. What else do we have? That might be enough. Although this looks great. If I took the turquoise off, Let's take that turquoise off. Keep that red. And keep that peach color. Always save. Always say it's not tearing
or ripping or anything. Should we grunge that up a bit? Fabric. Maybe fabric. Textured paper. And then fun at school. And George, yes, no. What do you think? It'll faces really become a focal point. I don't care what's
higher or taller. Your eye is always drawn
to a face, those eyes. And so that makes a
really good focal point. But how do you
highlight certain text? I think having
this background to it really sets it apart. Um, do we need more green? Do we need more paper? I don t know that
it adds anything. Did you see right when I
lifted that up, I thought, oh, I kind of like
another direction. It's going with the teacher. Maybe that's what caught
my eye that highlights her because the movement
is going with her. I think we have our setup. I take a picture because that helps to remind
me of placement. When things overlap, to hold
them in place and stick a bit of glue right inside
this very tiny skinny nozzle. It's not a watery glue. I do think it works really well. Okay, So that piece will
always be together. Now I liked that paper
right behind teach are moving with her. Like that. This paper is not overlapping
with anything that's kind of unusual for me and be very gentle with
vintage paper. It tears very easily. It's nice and vintage. This mixed media look is
really, you're adding texture. And when you think about
your rule of thirds, my fun at school and
teacher fit right in those parameters in a
little bit of more fabric. Just think it's a
really easy way to make mixed media
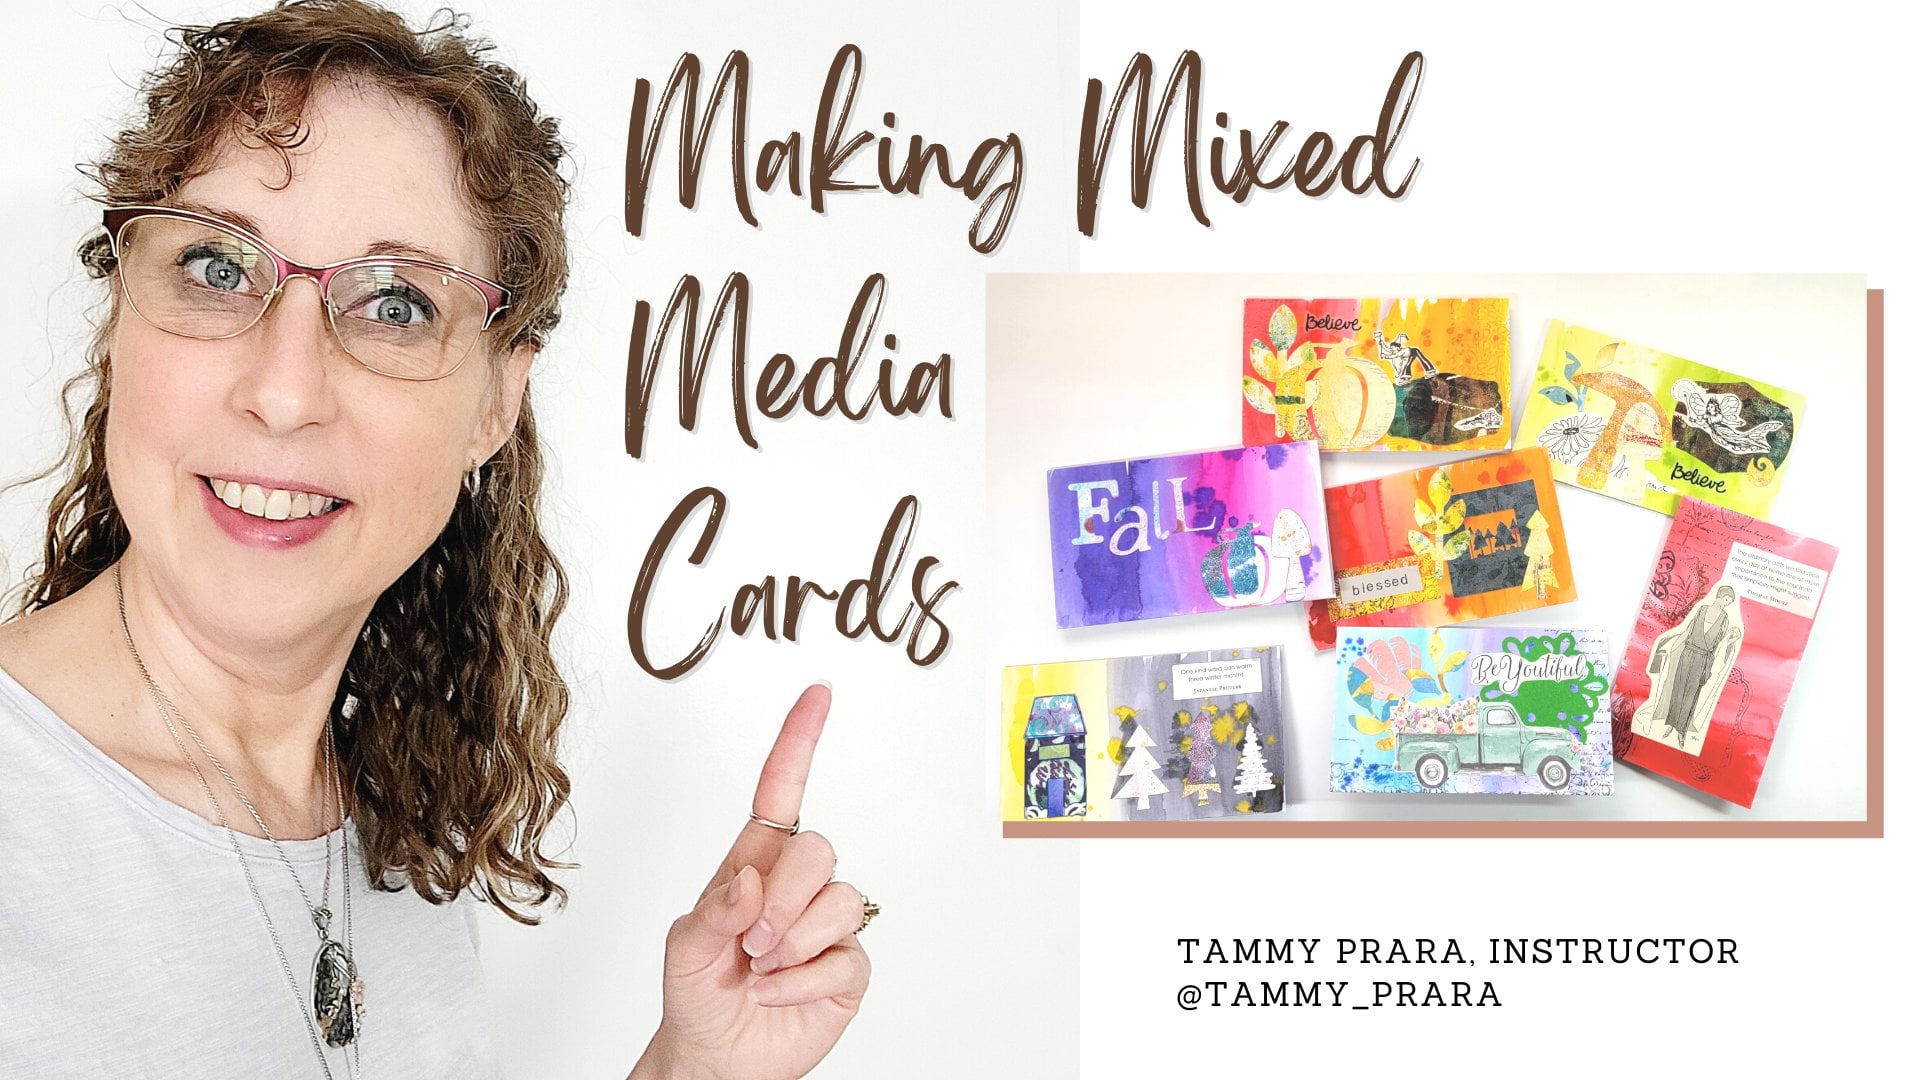
scraps of fabric. Easy. Your first collage. My school days, collage. We used inks. We use textured paper, a tile. Fabrics. Came out really cute.
11. Collage Flow 2: For this collage,
I wanted to use our mark-making ideas and a
little splatter paint too. I love this little girl
on her rollerskates, and I found a paper that already has some markings on
it to do more of that, Let's give it a go. Oh yeah, that looks great. That came out really clean. One of the things
when you are doing mark-making is the intuitive. Have some fun. Don't, don't get uptight, are worried about it because generally
it gets covered up. It might peek through
a little bit. And that's, that would be great. My white tends to
soak in right away. So I'm not sure how much
we're going to see of it. I think it might look best on the darker areas than
the light areas. So let's do more
around the red here. Some black. What could we do in black? I do like her dress has a
bit of square detailing, although our socks have
stripes, some scratch marks. There's already some
scratch marks on in here. So maybe that's where
I got the idea. Going horizontal. Now I said this crazy
liquid already. I still have some on here. Get a puddle. Oh, yeah, I'm getting
a bit of a puddle. It always looks cool that
to border with this liquid, it, it's such a shimmer you, you just can't hardly believe it talked about mark-making. This thing really
makes some marks. So we've started out with mark-making on our
scrapbook paper. How about a little
splatter paint? We haven't done any
paint paint yet. You could make mark-making
with acrylic paints. Definitely. I've got my goal. This fine tech goal is really, really outstanding with was just a water drop right there. See if I can get
some paint into it. So not you can probably see
it on my burgundy part. But what I love
about splatter paint is it's one of those
things you see up close. You are engaged with your
piece when you see that. All right. Let's give her a minute to dry a little Susie here
has her skates. You know what? I think I want to
mark on her also. One way to really highlight, here's my focal point. Here I am. She comes over
here, maybe down, right? She's facing more this way. So that's one reason
I'm picking this side. And we do have a
suite, all girls, so maybe a little bit
of lace on our page. And we had done that
turquoise so we could put on the blue on here. Any green. Really makes a nice
combo for this. I do kind of like that. I don't have any text
yet about rollerskates. This is a good day
for rollerskates, actually, I do like that. But I'm going to
decide if I want the entire quote or
just part of the quote. This is a good day
for rollerskates, said George, which is weird. We don't have George
and the picture. What did Betty say? I will get my skates. Do you want your skates? Yes, I do. How about
this as a good day? I just like happy thoughts. So that works for me. I like putting positive
messaging on my cards. This is a good day. Good day. It's always a good day to craft. So backing that,
that's really cool. I love that look,
that's really nice. I want to do double.
I think I do. We have pen and ink and
paper and lace and tea bags. And that's a mixed media
collage right there. Let's put her together. So I don't need all the greens. So remember Tammy, we
don't need tons of glue. I just mean up and
down the paper. Yes, I want to
cover it very well. I don t need to glue the entire strip because
I'm going to be trimming it and actually I didn't even give enough
glue. Look at that. At the edge. And that works
for me up to the edge. And then let's get our
little girl placed. Remember we're being gentle
with these fragile papers. Below. I think I
do want her below. Above and below that green
gives that nice lift. Now those look great together. So let's work on
our liquid glue. I do like that lace. And remember I don't
need all that lace. So let's put our
glue up to here. We're working, we're working. Good news, good news. And that's laid on here. A nice firm press. Remember my strip as
longer than I needed. So don't smother
everything in blue. And it went up to that green. Forgot my picture. That's okay. This one was very simple. It was coming together
practically by itself. Remember I said I
like to cluster. I don't mind edges of
my heavier things. Sticking up and picking a spot that's in my
rule of thirds area. I do want my lettering
to be good and firm, but my my tea bag
can be flexible. I think that's kinda neat. All right, Find your
craft scissors. I found my craft scissors. And we're going
to trim this off. Yes, it's fabric, but it also has blue and I did
not want that. I hope you weren't
worried about how I was trimming straight into my hand. That was not smart. I see my splatter paint on here. My chrome color all
around the edge. That's kinda cool.
12. Wrap Up: Thank you, Ramsey. I'm glad you joined
me and Ramsey as we walked through
mixed media collage. Now for your project, I'd love to see your results. What were your hard elements
and the soft elements? Your base layer, middle layer. And what was your focal point? Put all of those things
together and have fun. Did you use mark-making, splatter paint of
fabric or felt? Was your special
inspiration item. Please share that with
me at a discussion or make your project and
place it in the project area. I'd love to see it and maybe give you a
little bit of feedback. Other people always enjoy
watching other people's works. Because that just inspires us to create more and more and
to do better next time. I'd love it if you
would follow me, I would love to hear from you. You can find me on Instagram, share your projects there. And most of all, I would
love your feedback. If you would rate my class, I would so appreciate it. But most of all, thank you for joining me. I hope you enjoy mixed media
collage until next time.
 Tammy Prara, Making Matters