Transcripts
1. Welcome: Hello and welcome to this class. My name is Heidi. And today we are going to be painting ice creams in a calm. I will be guiding you through the whole process as always, choosing the right colors, making the step-by-step combs, and then adding the flavors. Your favorite
flavor of ice cream with the colors that you
choose in your watercolors. It is a very fun and easy class. And you would be able to paint this beautiful ice
creams and enjoy them. You can use them as a card
for a birthday party or to grading someone in summer
or for an invitation. But the insulin doesn't matter. I hope you can join
me for this class. And remember that if you follow me here and
I skipped channel, then you won't miss any updates on new classes
that I entered in with you. And you can also join me in my classes here on
skill share in. I am sure you will enjoy them. I will see you in
the next video.
2. Watercolor Ice Cream The Supplies: Let's take a look
at the splice that we are going to be using
during this class. We need watercolor paper. I am using ash. This is a very good
quality watercolor paper. You can use whatever you have
at hand to round brushes. We need a clean
towel. As always. Clean water. In watercolors, I
suggest you choose very bright and
happy summery colors to paint as your ice cream. So I will say during
the next video.
3. Ice Cream Watercolor Chart: Let's create our
watercolor chart so we can choose the
color for our ice cream. And here I will be playing with other colors that I have in mind to use during
the paintings. You can choose all the
bright and beautiful colors that you want and played with me creating
your own watercolor charts. This is a very important part in creating your art pieces. Because when you create your color palette
altered colored chart, you will interact with watercolors and say
how they react, how intense, or how light you
can play with this color. And then choose the shape that you really want to express. Injured painting. We're bringing here
on the summary pipes. So I will try to choose all the beautiful
vibrant colors to paint. And you will see that this
is a very fun activity. That it will bring you
the meditative state. And then your intuition
and your creativity will flow while you are just
playing with the colors. When you feel uninspired, just because your
watercolors and start painting in a clean page. And you will see how the ideas will flow into your
consciousness. You will feel inspired to
create something beautiful, just blending with watercolors. This is a activity that every artist need to include
in their daily practices. Because this will create
in your hands and in your mind and in your disposition to
create this openness. And then you will be inspired to create something different or
something beautiful, or just let a jury creativity
flows into the paper. Then you can mix the colors and see how they react together. Add more water or less
water, add more pigment. In some places of the painting. See how they react
when they are dry or when they are wet still. And then just see the
magic of watercolor. Because watercolors are really a magic medium to work with. And sometimes they have lives on themselves and
they make beautiful fin, final pieces that they didn't expect them to
turn them the way. I didn't just pledging with my colors that I am seeing job. Very nice combinations
that I will want to try. And please do the same. I will let this dry and then I will see you in the next period.
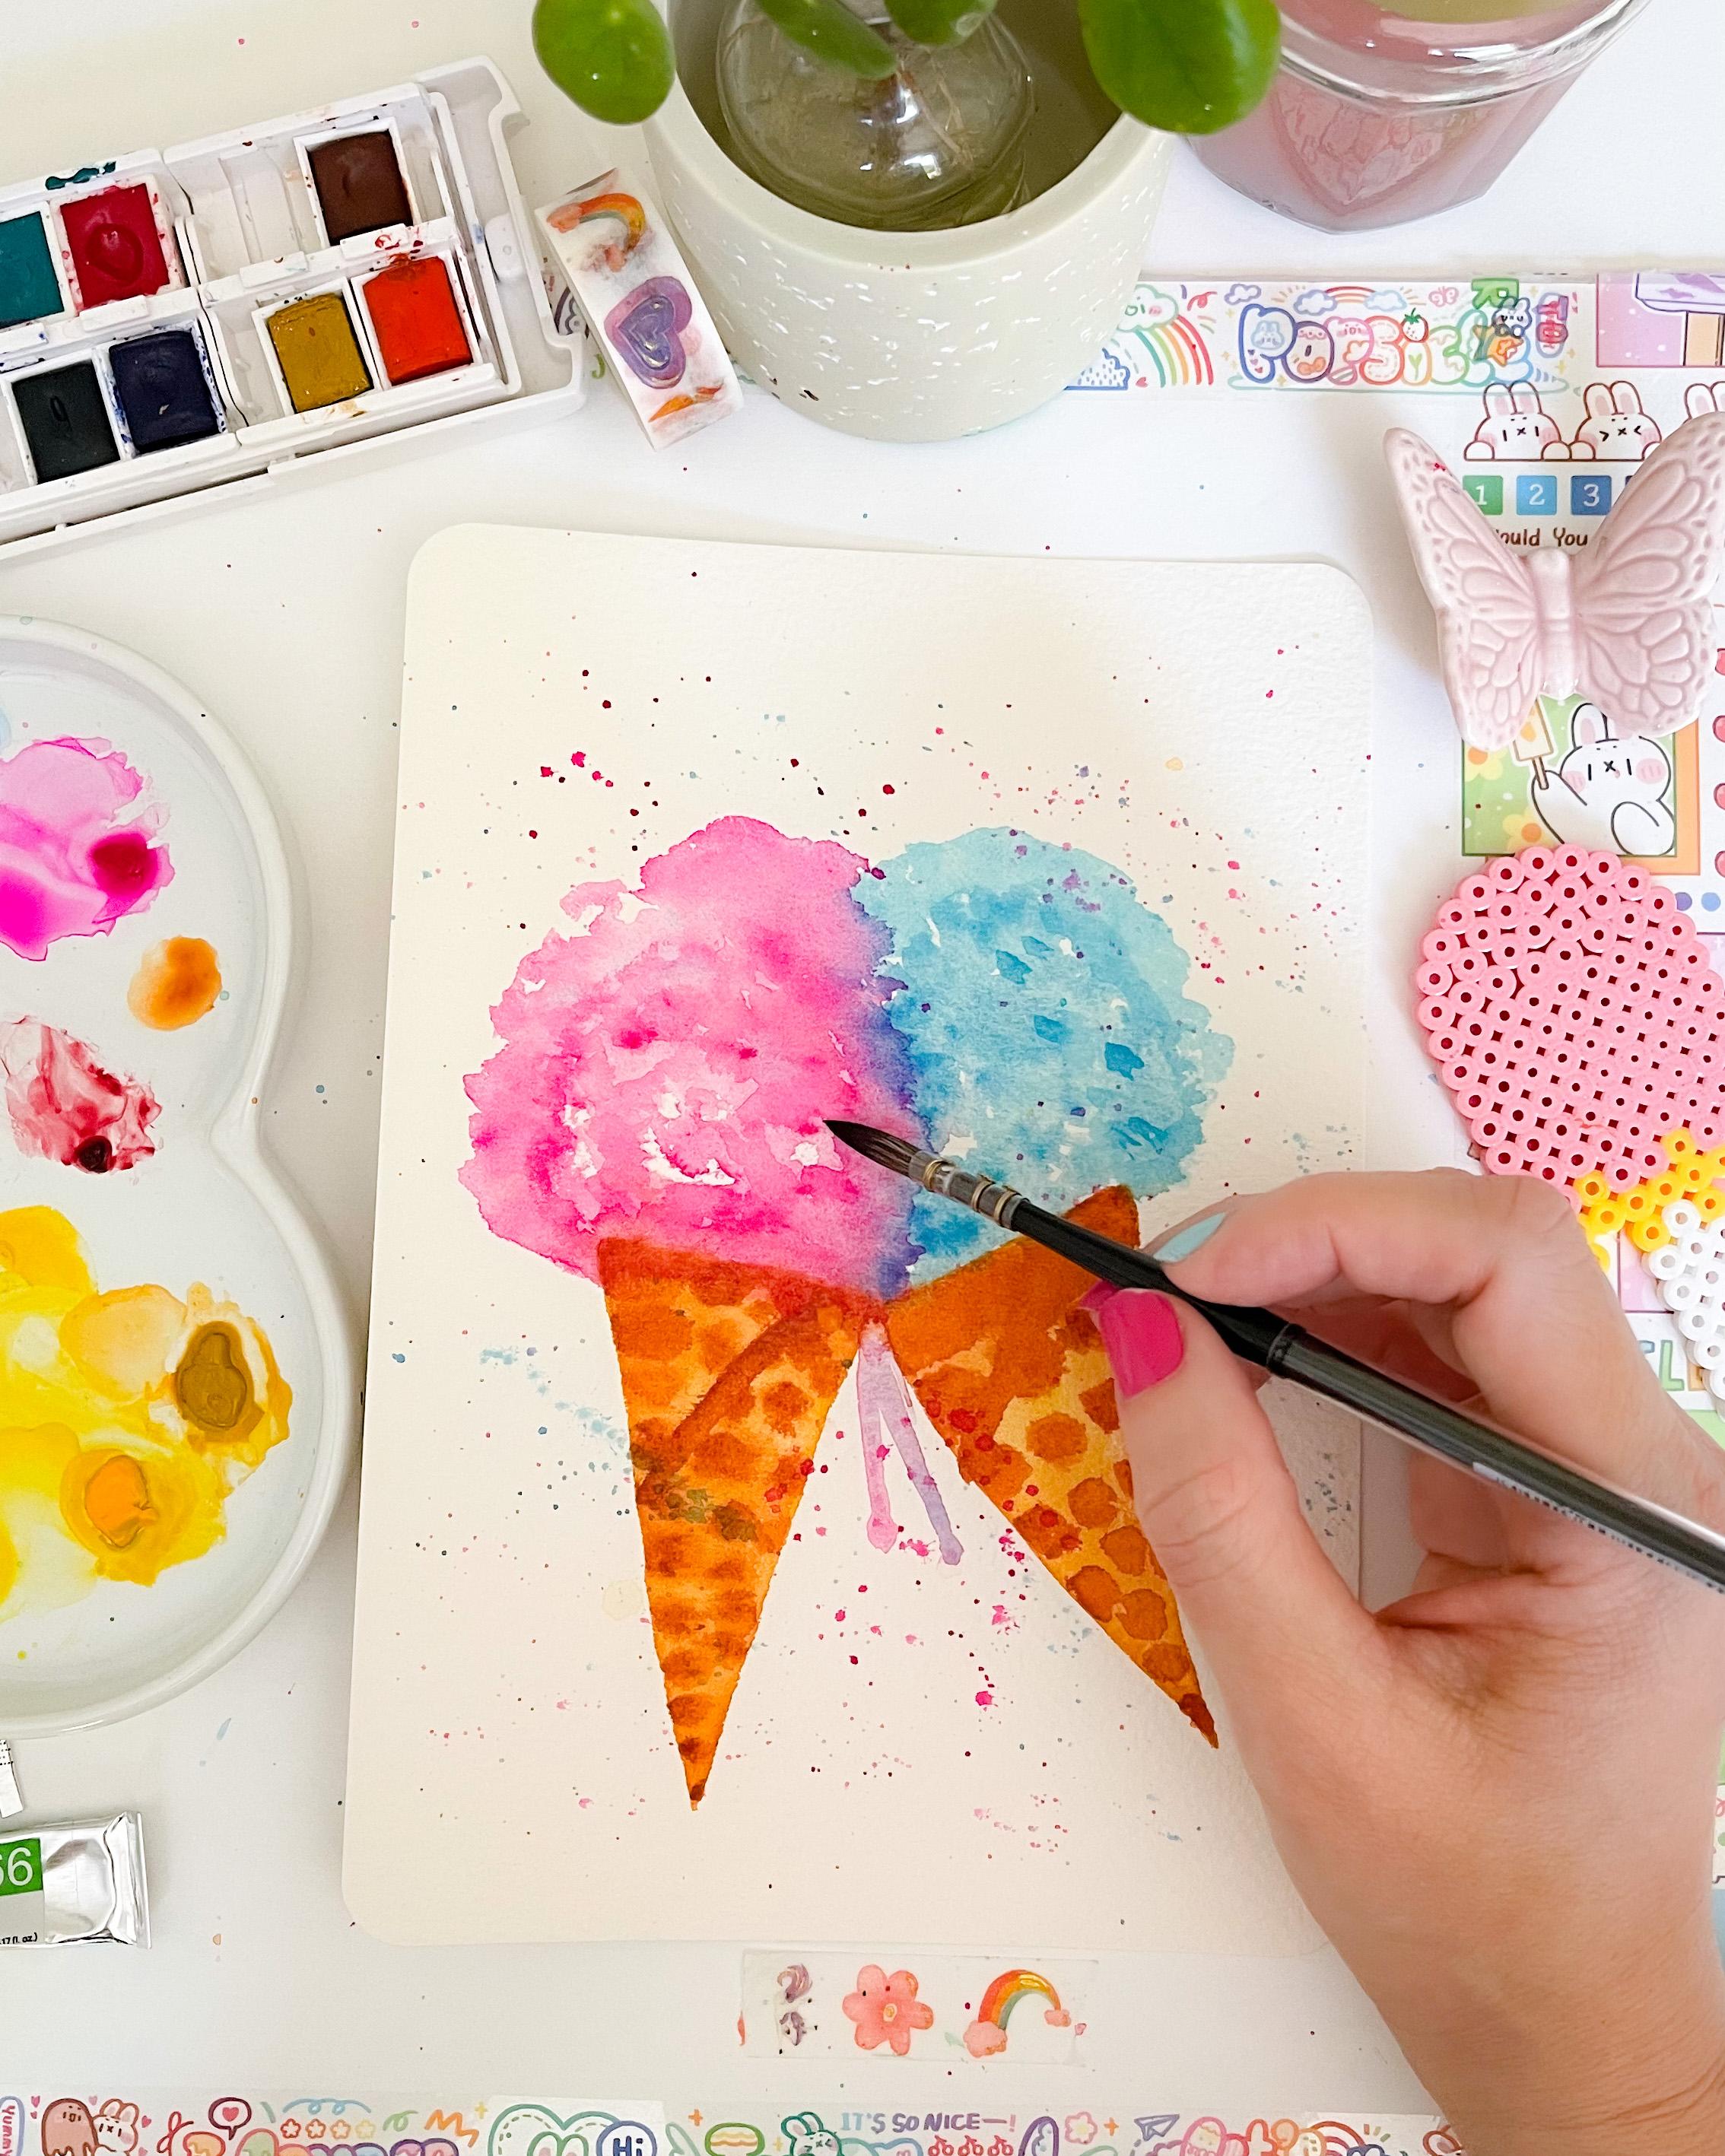
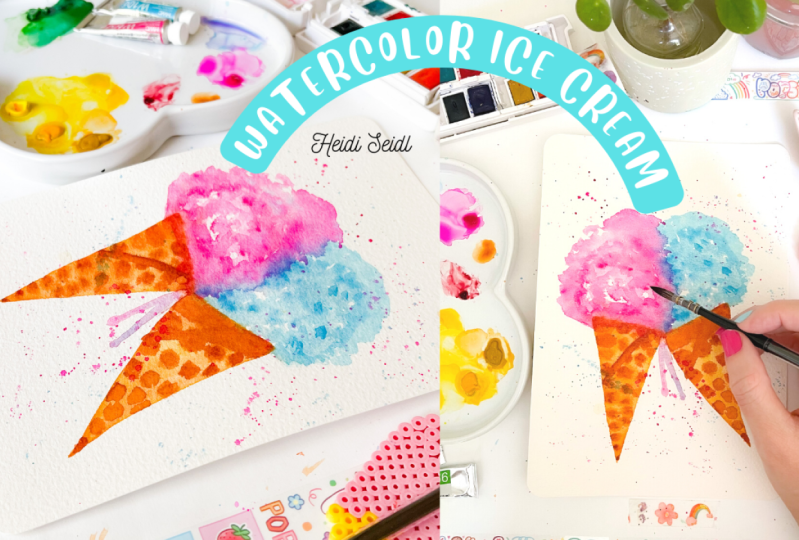
4. Watercolor Ice Cream: Painting the Cones: All right, It's moment to start creating or ice
cream in accounts. And my idea is to paint
two ice creams in a cone. Like they are
touching each other. And we're going to start by painting the cones,
how we do it. If you can paint a triangle, then do our set for this class. So I start painting your goal with your watercolor
in a very light brown. So we can create
the triangle shape. And then we are just
placing or cones. So we can have an idea on how
or painting will look like. I'm placing them like they are touching each other,
like saying cheers. And this is the
idea that I have, but you can paint in another
position if you prefer. Now I will start coloring with the watercolor in a very light tone of burn down. The center of the triangle. This is the first layer. We are going to be working
with a technique wet on dry as to us, as you can see, and just filling up or triangles with a very light
shade of brown or ocher. Brown. And I will do the same
with my second triangle. I will be painting
them simultaneously because the processes in layers, so we have the color's getting
dryer at the same time. So I am painting the cones
brown, but nowadays, the cones or evolve and you can find goals
in different flavors, like strawberries or pistachios
or with some sprinkles. These sugar sprinkles
do name it. There are many, many
options nowadays. So I then painting
the classical cones that we know from
from all the times. But you can get wild and use another color
for your cones. And use the same process as
I've been teaching do here. These processes in ledgers. So I let these dry and now we will apply the second
layer using a more darker brown and start shaping the squares on my
triangle or cone. And this is another
layer process. I will start painting those little squares
with my darker brown. It is a little with my painting. And that is why in my
colors are reacting. But don't worry, this is a ledger process
and this is good. I will try to add the layers and making
some, some spaces darker. So we started to get
the look of a cone. We're going to keep
adding layers and layers. And then we are going
to be shaping or squares more
visually. It is good. Is it as good idea that the fears and second
leisure or dry before you start shaping your
squares inside the triangle. So I will proceed painting in
those more tapered squares, as you can see, leaving a little bit of a
space between them. So we get the Luke
little by little. The cones are really fun
invention for eating ice cream. And malicious, Of course. So keep adding squares, living spaces between them. So you get the look. Then we are going to be
a certain thing with the second column of a squared. And then when they
add a little bit dry, we will add another
layer on top. So the colors get that. And we get the cone. Look like they're cooked. Betty, well, in crunchy. I do use a brush at the die. So the color of your
watercolors doesn't dilute. And as I told you, when the triangles
are dry is better to make the squares because the color will stay on the
paper and don't dilute. But if you have what the chorus is still a little
bit wet it Judas, add another layer
and another layer, and the color will
be more vibrant. Don't worry, you
can always correct. And I'd asked, you bring when
you are using watercolors. Sadly, weekend won't do. But we can correct. This is very satisfying
when we can do that. Take your time. As always, don't rush. Enjoy the process. And as you are painting
cones and you're waiting, go to the window and look
outside or God outside. And then you come
back and continue painting your cones,
letting them dry. It doesn't need to be
done in five minutes. You can start a
painting today and finish it by three days later, or five hours later. They take your time
and you will see that your colors will
be more beautiful In the final results will
be much more beautiful. Now, I didn't do this fault
line that the cones have. The more traditional
cones have to emulate this line with my brown. So we have our traditional
cone for the ice cream. And I don't want just
wondering which flavor. We'll just choose
what these cones, the most favorite color, the most favorite
flavored ice cream is said it is bunnies. And the second one is chocolate. But I, I don't, I
get it with it. My favorite flavors
for ice cream, Strawberry, and the
more fruity ones. Not too much chocolate. But I know, I know most
people of chocolates. I will not discuss that. So I will let this dry and I will see you in
the next video.
5. Ice Cream Balls Flavor: Now it's time to select or
flavors for the ice cream. And I select it pink and
blue for the colors, meaning raspberry and
bubble gum for the blue. And we're going to
start painting these. And using that technique. Wet on dry and wet my
brush with my round brush. I will start painting on the, on the paper, just touching the paper and leaving
some white spaces. This is the first layer. The worry, it will
be more darker. But by the end, we are going to be adding
pigment on some places. But to just touch the paper, leaving those white spaces. Clean your brush and start
painting the second, the second color tissues I am. They start painting
with the blue or the cover turkeys in, IN touching the fears. Ice cream bowl. Because
remember my DAs, they are like making cheers. And then the two ice creams at DOE and the color will
be mixing than selves. Add the second color and
use the same technique, just touching the paper with your wet color brush and
leaving some white spaces. Try to have your brush
very damper in water. So the color runs
freely on your paper. At pigment on those places
and shape your balls, your ice cream balls. As you are painting
your ice cream. I'm cleaning my brush
to use the pink IN, adding some touches of colors here and there to make it pop. My painting is still wet. It's not completely dry. And you start to see the
mixing of the color. Now I will be taped
my ice cream, having my brush almost dry. So the color is more deep. And now that my painting
is completely dry, I will add the second layer. In this case, the bubblegum
flavored ice cream. And you can see the color stays more vibrant on the paper. I ended up shaping
the ice cream bar. So it looks more like they
are melting or something. This is a hot summer. So ice cream we met. Now I will proceed with the other color, the
raspberry color. And I will do the same. Adding some, shaping
my ice cream and some color to
make it pop, pop. The module, wait for the
painting to dry them more. The second or the ledger. More pigment will have remembered those white
spaces are very important because they are the
reflection of the light and, or ice cream or the
frozen in this case. So keep in mind that those
white spaces must be there. They look like clouds by now. Really like the
ice creams. Okay. I will let this
dry and now it is dried medic of the camera. And now I will add
some sprinkles on the painting to make a
little bit of contrast. When we use the two colors, the pink and the Turkey's. What? Turquoise. And
picking up the color and doing some little
splashes onto the paper. Then I will let this
dry completely. And you can see it is looking
really cute and delicious. Now I have this idea of the
melting ice between the two. Let's start with the pink. And I will lift my paper
and just trace a line. My brush is wet and you can see that
the color is running. I will let this dry a little
bit before adding the second the second line
with the other color. Now I would proceed
with my second color. It doesn't matter if the
color is is mixing because when they are melting,
it doesn't matter. And I will do the same over to this because then it will look a little bit messy. Lifting the paper so
the drops dripping. And then I will let this dry. This is it. Or beautiful ice
cream in a cone is a red. And I can't wait to
see what you create, which flavor you choose for their painting and
deposition for your cones. I will see you in
the next video.
6. Ice Cream Class Project : Now finally, to show us what you have learned in
this class and for that, you can share with us in
the class project section. For this class, you
do work in progress, do materials and
ideas for the paint, your ice cream in a cone. And I will be so glad to see them and
review them for you. So I can't wait to
see what you create. Which flavor did you
choose for your ice cream? And how did it two
bank accounts, and I would say do
in the next video.
7. Thank You: Congratulations on
finishing the class, and thank you so much for
taking it and I hope to have so much fun as I
did tearing it with you. Now, I want to hear from you, I really appreciate you
review on this class, so I know what you
like about it or how can I improve
the next classes? So I will wait for that
and to interact with you. You can also follow me here on Skillshare to don't miss
any updating new classes. I am sharing with you and
to watch my other classes. And you can have one, you can follow me on Instagram and we can
interact over there as well. And if you upload your work that then I can share
it in my stories. Thank you so much
for taking my class again and keep creating. I will see you in my next class. Bye bye.
 Artjourneywithme Heidi, ARTIST AND FACILITATOR