Transcripts
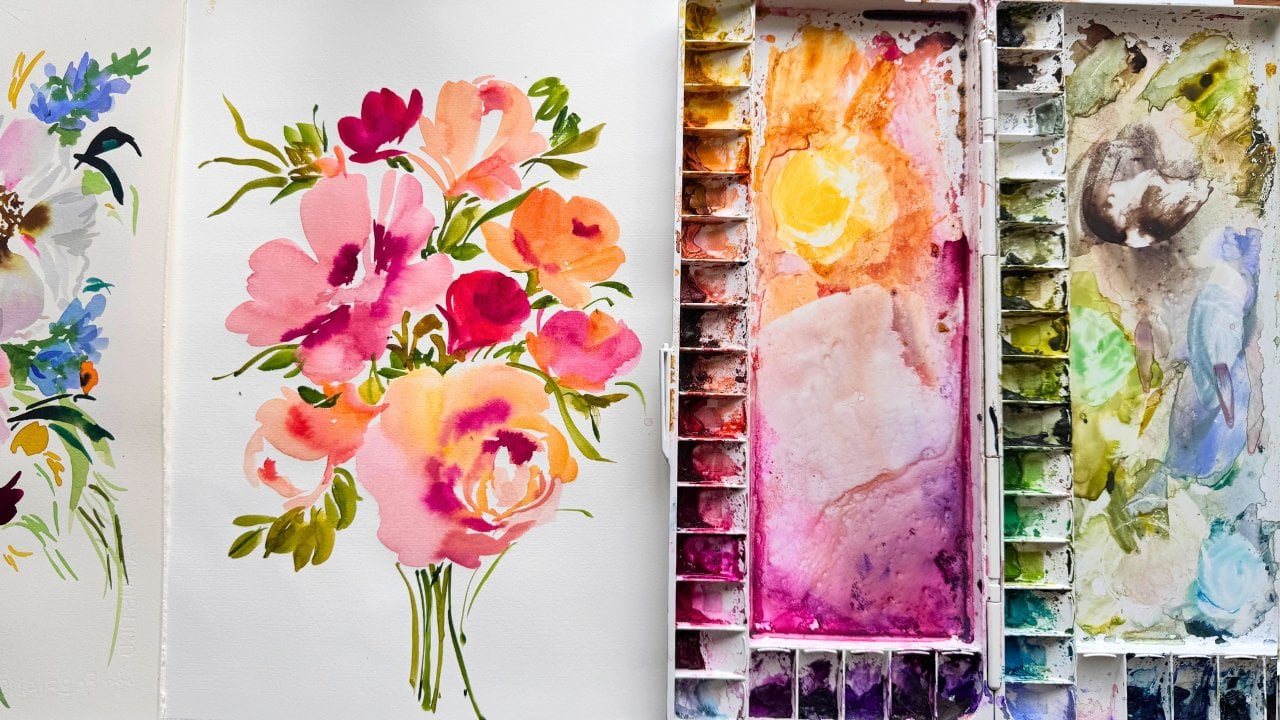
1. Introduction - Create an abstract floral bouquet class overview: Okay. Today is a
really quick tutorial on how to do some loose, fun, abstract flowers using
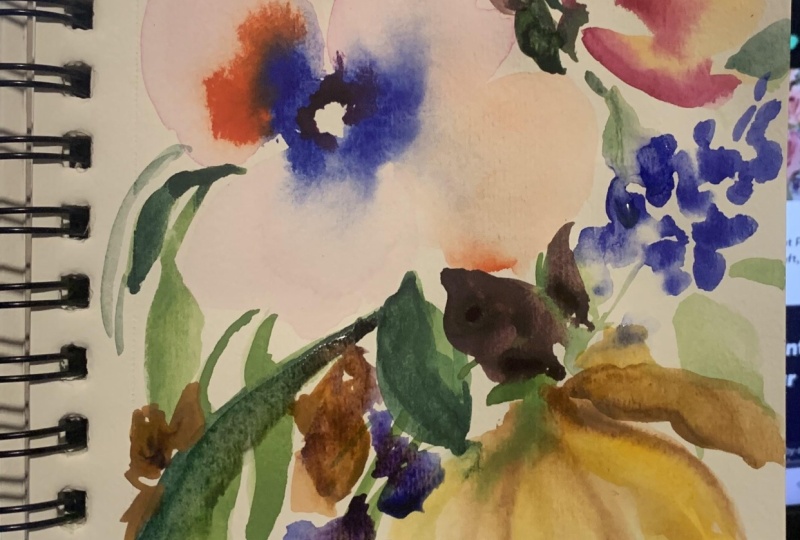
only liquid watercolors, going to be something
really light hearted and really relaxed and playful and we're just going to
let the colors flow.
2. Lesson 1 - Going through paints I’ll be using: One on the top. This
is the light rose, which I've spoken about before. I've got the pastel red. These are Ecoline and then I've got the apricot from
the Ecoline brand. Cyclomin mahogany from
doctor PH Martins and Madna from Ecoline. Then I've got the chartreus from doctor PH
Martins, OoliveGreen. This is Ecoline CPD. Hyacinth blue, burnt
orange, and golden brown. The idea of today's
tutorial is just to let go, loosen up and we're not going to be using any
inspiration today. It's just going to be
what flows from within. I'm going to start off
by using my Filbert.
3. Lesson 2 - Blocking out the main flowers : And I'm just going
to start making some marks on the
page that are quite I've just made some
marks on the page that represent petals and I'm going to start dipping
in the colors. I'm going to go in with my certain colors react to the water a lot
better than others. I'm just helping
the colors blend. Now I'm going to go in
with a very small brush. This is a four round
that I'm using. I'm going to go in with
this hyacinth blue just to make the colors pop. I'm going to add a bit
of this orange as well. Then just letting the colors flow. That's the main idea
of today's tutorial. Again, I'm going to go
in and this time I'm going to go in with my apricot. I'm just going to
do a side view. Very rough, very loose going in with my dagger brush because I find that this has a little bit more control
and I'm going to go in with cyclamen and just get some bleeding
happening here. Then I'm going to go in and start getting some green in to connect the colors together. I'm not being perfect about it. I'm just being very relaxed. Then I'm going to go in with a small ilbet and just
make some small marks. I'm going to use a bit of this cyclomon drop
coloring loosely. I think I'm going to
just add a bit of water to this and let
the color spread. Then I'm going to go in with my four round and connect
up all these shapes. And I want to grow in deeper with
this flower here, I'm going to go in
with my mahogany and get a bit more contrast. I've got a spare palate here. If I want to lighten
the colors up a bit so I'm going to
go in with my green. And see that helps,
lighten the color. Now, I feel like we need
a bit of golden yellow, so I'm going to go in with my
round fillet again and I'm just going to G. What feels like a
loose floral shape. Then I'm going to go in. I
find that the golden brown from the doctor
PH Martins reacts really well with water
and it likes water a lot. It spreads much better than
some of the other colors. Going with some apricot and just Okay. We're just trying to make
marks on the page that feel like they are florals. We're trying to think
about petal shapes and the way that they intertwine and
react with each other. I'm going to go in with a
bit of this SPIA and get move some of this.
4. Lesson 3- Adding some filler flowers and balancing the painting with colour: Now I'm going to go in with my small round
filbert and just make some dashes and dip colors into
those watermarks. I'm dabbing the paint on the dry areas as well just
to give a bit of contrast. I'm going to connect those
two colors up together now. I'm going to go in. And there's a space here that I feel like I
need to fill in, so I really like the way
this is turned out, I feel like I want
to do another one, and I'm going to do
another one here. I'm just being very loose with it all and
dropping the color in. I'm going to neck that up just
how you saw me do earlier. Okay. I'm not being
careful about this. I'm being very loose and carefree and going with
what feels right to me. Now I feel like I
want to maybe have another bit of golden
brown on this side. Instead of doing this flower, I'm going to try and do this, but over here, facing downwards. I'm using my fillbet and I'm going to go in
with my sit deep. And I feel like this needs a bit of detail. I'm going to use my
dagger brush here and I'm going to go in
with my pastel red again. I'm just doing some
faint soft lines, it doesn't give off the
feeling that this flower is so flat and to de. Then I'm going to go in and maybe get this flower
happening here, but just half. Y I'm going to have a bit of this orange. And a bit of this. I'll leave this flower
to your imagination. I'm not going to do
anything else to it. H.
5. Lesson 4 - foliage, filler flowers, finishing touches and final details: Then I'm going to go in and get some definition. I know I said I
would leave that B, but I feel like I need to add some definition
to this flower. Some contrast as well. I
need to add some contrast. Okay. And a little bit of detail. I want you to know
that basically, this is all coming
out from my head. This is not anything
that I have preplanned. It's something that I'm doing in an intuitive way and it
doesn't always go to plan. We need a bit of green
and I'm going to use my dagger brush because I love doing my leaves with
this brush here. No. Okay. So I just adding bit of definition to the leaves and Okay. Going in with CPR and my 12 round I find that
sometimes when I paint leaves, I try and paint them around these soft edges just to make the flower pop
a little bit more. I'm being loose and
relaxed about it. I'm not trying to paint
an actual leaf or a stem. I'm trying to fill a
space with a mark that represents a stem or a leaf. I feel like I need some of the cyclamen on this side here. I'm going to water down my
brush and just get a hint of this on this side of my page. I was really unsure
about what I wanted my next video to be I
really didn't want to overthink things
because it's so easy to feel like everyone else is doing this and this is what
I think we do really well. And you end up
actually not enjoying the painting process when you start thinking
about these things. I wanted to keep it so that
it's loose and intuitive. I hadn't planned
this bouquet at all. It was just what's
actually coming out and what feels right to me. Hopefully you can get an idea of the behind the
scenes of how I paint. I'm going to go in with a
bit of this golden brown. And instead of doing
the wet on wet, like I have done throughout
this whole painting, I'm just going to go over on dry areas just to add
a bit of interest. I feel like this is
coming to an end now. And I feel like there's just a few more
dahes that I need to do and then I'm going to
give it a rest. I feel like maybe I need a
dab of this hyacinth blue. I'm just going to got a hint of that happening there. I feel like there's something that has been
completely unplanned. This has turned out
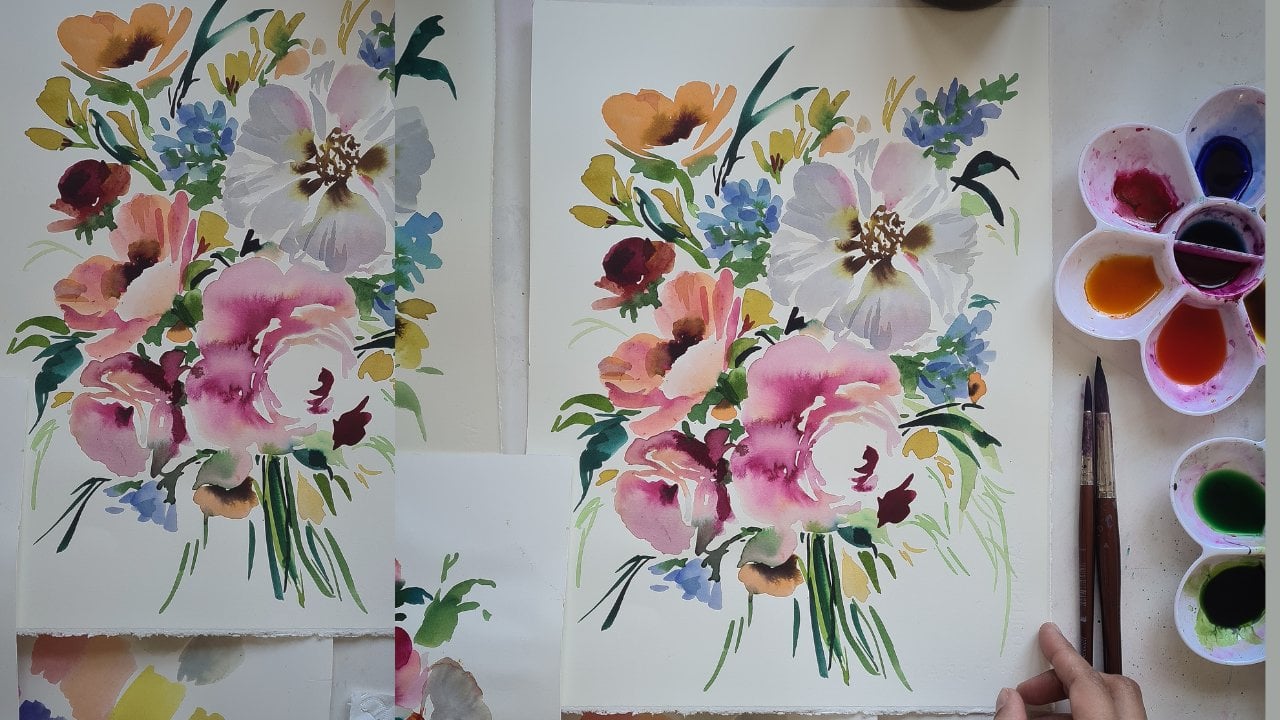
quite nice and that is the final painting and it's all been done
by liquid watercolors. I hope you really
enjoyed watching that. Thanks for watching, guys.
 Sophie C, null