Transcripts
1. Introduction - What you will learn & overview: Welcome to this
watercolor class. Today we are painting a soft, dreamy bouquet using the
wet on wet technique, a beautiful way to
let color flow, blend and settle gently
across the page. This class is perfect
for beginners and anyone who wants to
loosen up with watercolor. I'll walk you through
the brushes I use, how to prepare your page, how to control water, and how to build delicate layers as the paper slowly dries. You'll see every step clearly from mixing
colors to shaping each flower to adding soft definition without losing that flowing expressive look. By the end, you'll create your own wet on wet
bouquet with depth, color, and movement.
Let's begin.
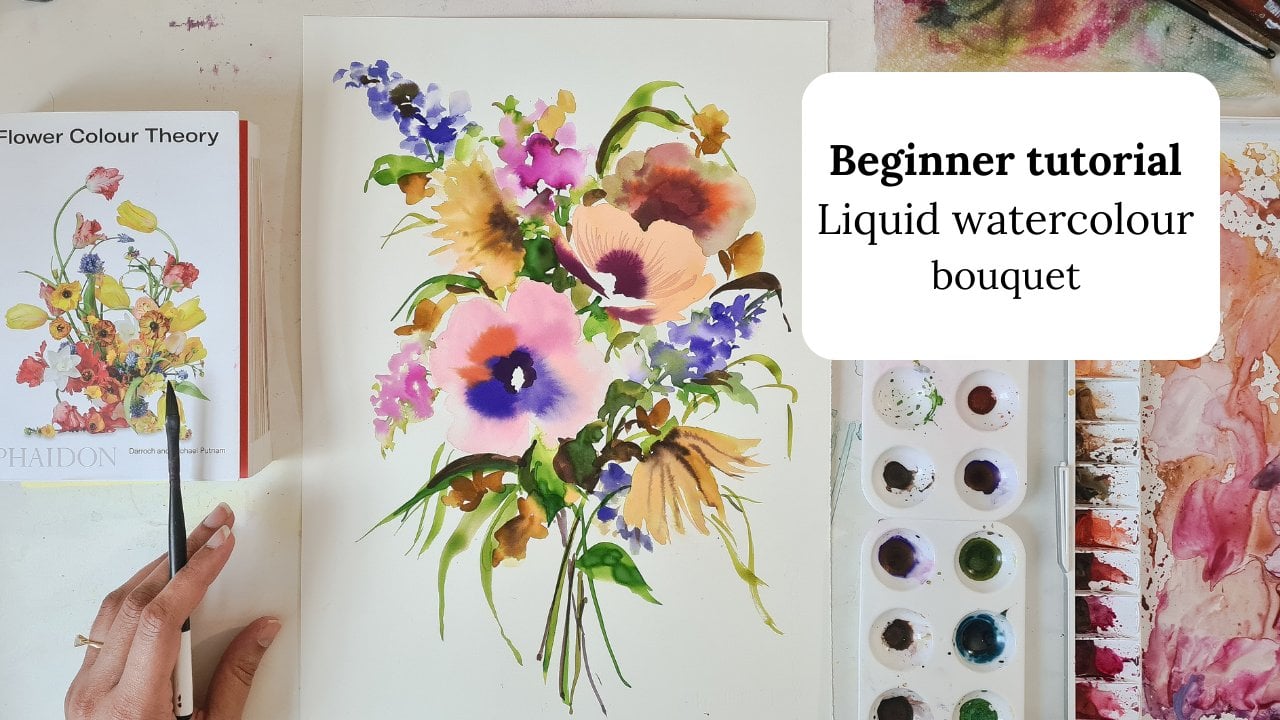
2. Lesson 1 - Brushes, Inspiration & wetting the page: Okay, so first things first, as we are doing the
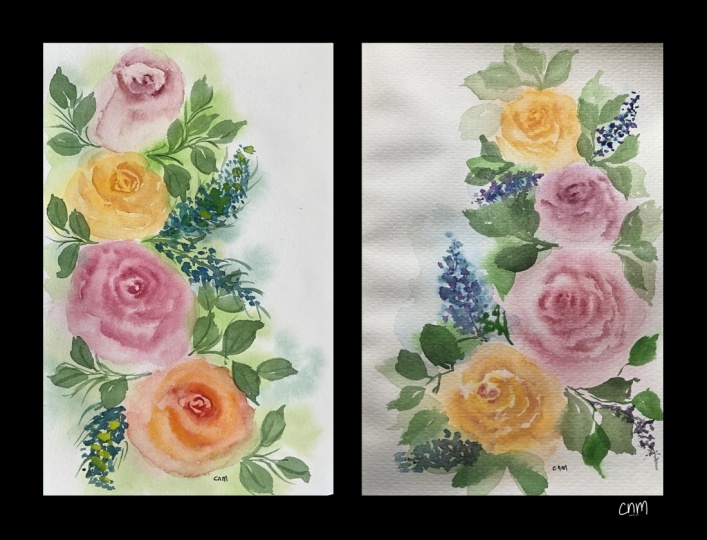
wet on wet technique, I'm going to work this paper. And my inspiration
for today's painting is actually one of my paintings that I've
painted previously. And this was a wet
on wet technique. So I'm going to use this kind
of as a rough guide to get some ideas on positioning of roses and things like
that and even colors. As this is a beginner tutorial, I'm not going to go into too
much detail about the colors because it's about nailing because it's about
nailing the technique. So we can talk about colors
in another video, maybe, um these are my professional
watercolor tubes I've been using and they're
a mix of different brands. Let's get started.
The first thing I'm going to do is wet my page. I've just got way bottle here. The idea is to wet
the entire page. I've got my large brush here
to spread the water evenly. I'm going to wet the back
of the page as well. It just helps with water control and just getting the colors to sit a bit better on the page. And you have to wait a little while before you actually apply the
paint on the page, otherwise, it will just spread, and it won't absorb in the
way that you'd like it to. And so I'm making sure that both sides of the paper are wet and there are no
bubbles on the page. And now I'm going to wait just about a minute for the water to
absorb onto the page. And whilst I do
that, I'm going to just reactivate my colors. Like I said before, these are professional watercolors of
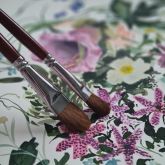
different makes and brands. So the brushes that I have
today are this half inch. I've got my dagger brush, which is a quarter inch, and I've got a six round I've got a six round
and a 12 round. These two are sable brushes and then these three are sable brushes and then
this one's a synthetic. This is for details, and then I'm also using this small round one
for details as well. Then this is for getting the
general shape of the roses, and this is also just to
get to fill out the shape. I'm going to start off with my quarter inch and
I'm going to go in with some warm tones.
3. Lesson 2 - Loosely blocking your composition: I'm going to mix a
light pink and a bit of orange or gentle. Okay. And I'm just going to dab the excess paint
onto my tissue, and I'm going to make a start. I'm just going to
go very loosely in. As you can see that
first brushstroke, it's very soft and light and it's just easy to manipulate
if you're not happy with it. So I'm using the flat brush
just to get some shape. And I'm going in with some more yellowy tones and mixing the
colors on the page. It gives the feel a
little bit more depth. We know that roses aren't
just one flat color. They have different
tones to them. That's what we're
trying to do here. I'm just getting a general
shape that I'm happy with. Then I'm going to go in with more of a yellowy
tone with a bit of peach and remember to dab the excess paint
off your brush. O. Now I'm doing the warm tones or the pinks inside this one. I'm going to go in
a bit deeper and just get some shading into this one and a
little bit there. So as the water
dries on the page, your brush strugs will
become more defined, and the idea is to work
quite quickly with this. The first thing you do
is get your flowers laid out on the page just like this, how
I've done it here. I'm just going to
keep going. I'm just going to maybe get a bit
more yellow, I think. It doesn't have to be a
exact shape of a rose. It can just be something that looks a little bit
like a rose and you can add definition to it later just to help
the eye figure it out. I'm going to do maybe a
bit of yellow on this side a bit of pink in there. Roses have this bowl shape, which I've spoken about in
one of my YouTube videos. And if you know where to put the darks and
the lights in the rose, then your eye can tell very easily that you've
painted a flower.
4. Lesson 3 - Filling out the composition with filler flowers and foliage.: Going to go in with
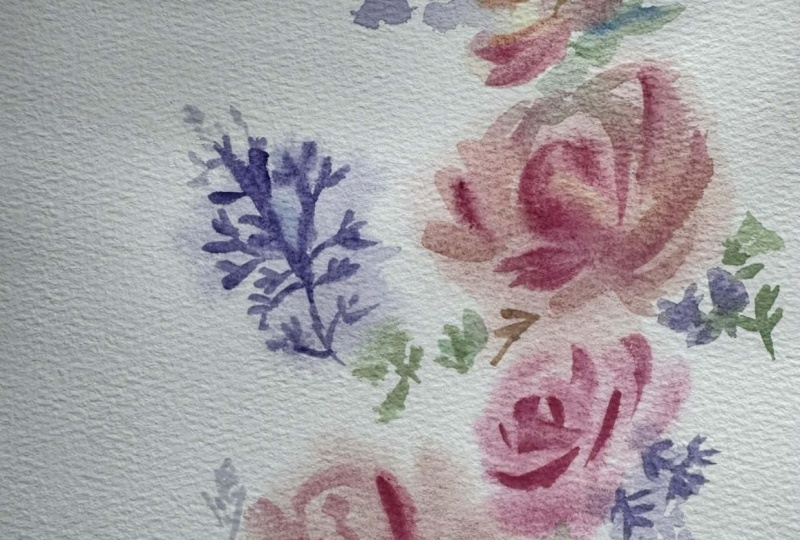
a bit of purple now or just get some purple
tones mixed into this. I'm just going to
make some dashes and I'm using a bit of lavender just to get some cool
tones into my work. These are just dashes. Mm. Mm. And I'm just now going to be connecting all of these
with some leaves. I'm using a bit of forest green and I'm just going to make some dashes. And I'm going to
use a little bit of blacky brown in my work just to give the
image a bit of depth being really loose and sometimes holding my brush like this and then sometimes
holding it flat. I think I'm going to go
back to my half inch and see what happens if I start to do the
leaves with this. It's nice to get a variety of different greens
happening on your page just to give your
painting a bit of depth. I like that I've got
some purples in here, so I'm going to try and get a bit of blue tones
within the leaves. And using the side of my
square brush and using the side of my flat brush
to get a bit of definition. Remember that even though these don't even though these
don't look so defined, once the page is drying, you can get more definition. I'm going to maybe wait, leave this space here. And I'm going in between some
of these flowers just to define it even more and separate the
flowers so they don't just look like they're
merging into each other. Don't be afraid to mix
the colors on the page. It actually looks quite nice. And when you're using
your flat brush, think about the angle in
which you're holding it. Okay.
5. Lesson 4 - Going into the flowers with definition : I think I'm going to start going in for a
bit of definition now. This is where the color comes out quite strong on the page. So I'm going in quite heavy
on my brush with the pigment. I'm just going to going back in with my flat brush
and seeing if I can kind of find a balance between this very dark shape and this lightness and try and
go for something in between. I've got a little bit
more paint on the brush, but not as much as I had
here and I'm just going in. You can see now the colors and the layers coming
up from this flower. I'm going to leave that
as it is because I think it just gives off
the right amount of information to figure
that you've painted a rose without really
painting every single petal. So I'm going to
do the same here. I go in quite dark. I then not so then I'm going to go
in with this color because we've got this
in the background. So it's just like this midtone that we're trying to capture. I Again, I'm not afraid of using
the tip of my flat brush. Even if it gives off these little details,
it's quite nice. I'm going to leave
that as it is, and I'm going to do the
same with the yellow. I'm going to start
off with this peachy, brownie orange color. I'm just I'm going to mark out which is going
to be the very dark colors. If I've gone dark
on this flower, you don't have to do
the same darkness on all the flowers. This one could be the same
in terms of the layers, but you could do a lighter tone you could do all the layers slightly
lighter than this flower here. And I'm going to go in
with my sixth round and just get a bit of
extra color in there. I've done the same
thing as I would here, but the colors are
just not as dark. And now, this one. So I've just used the tip of my brush
there just to slightly darken the middle
layer of this flower. I'm just going to
leave that as it is because I think it gives a nice contrast between
this flower here. You don't want all of them
looking just like this flower. Now I'm going to use
my sixth round and go in with my lavender and get some really nice
detailed petals in here. I think I might need to I think I might need to
get my 12 round actually. I'm mixing a tiny bit of this
indigo with my lavender. You get different shades.
6. Lesson 5 - Details in the composition. How to use the brush: It's okay if you wanted to go in and get a bit of definition. I've gone quite dark
with this indigo and just doing a few dabs. Okay. Now, I think I might get
a bit of definition on the leaves just
reactivate the pain. I'm just going to dab the excess off and as you can see, the paint and as you can see the page isn't
as wet as it was. I can get some really
defined marks now. I think it's nice to just get a bit
more definition. You don't have to be
perfect about it. This is about loose
expressive florals. H. Think about how you use this dagger brush as well because you've got the tip, you've also got the angle, and if you want a
really nice sharp edge, then you can just use that
tip and make your lines. If you want a flat edge, you just use your
brush at an angle. The nice thing about
this is that you can just keep going and
adding your layers. But sometimes I think
it's nice to leave some parts to the
imagination and just keep it looking
really dreamy.
7. Lesson 6 - Finishing Touches & Final Details: I'm going to leave this here, but I'm just going to paint
around it and on top of it. It's got this lovely
dreamy background. The nice thing about
this dagger brush is that it gives you these really nice delicate stems that you can
play around with. And if you want longer,
more flowy stems, then you can also create that. Okay. Looking at this now, I
feel like I would just need a tiny bit more
emphasis on this flower. Because the page is dry, it's allowing me to get a
tiny bit more definition in and this one. And I'm feeling as if
I could be finished. But it is really down to you. How far and how much do you want to paint and
create these layers? Okay. So there is
your wet on wet.
 Sophie C, null