Transcripts
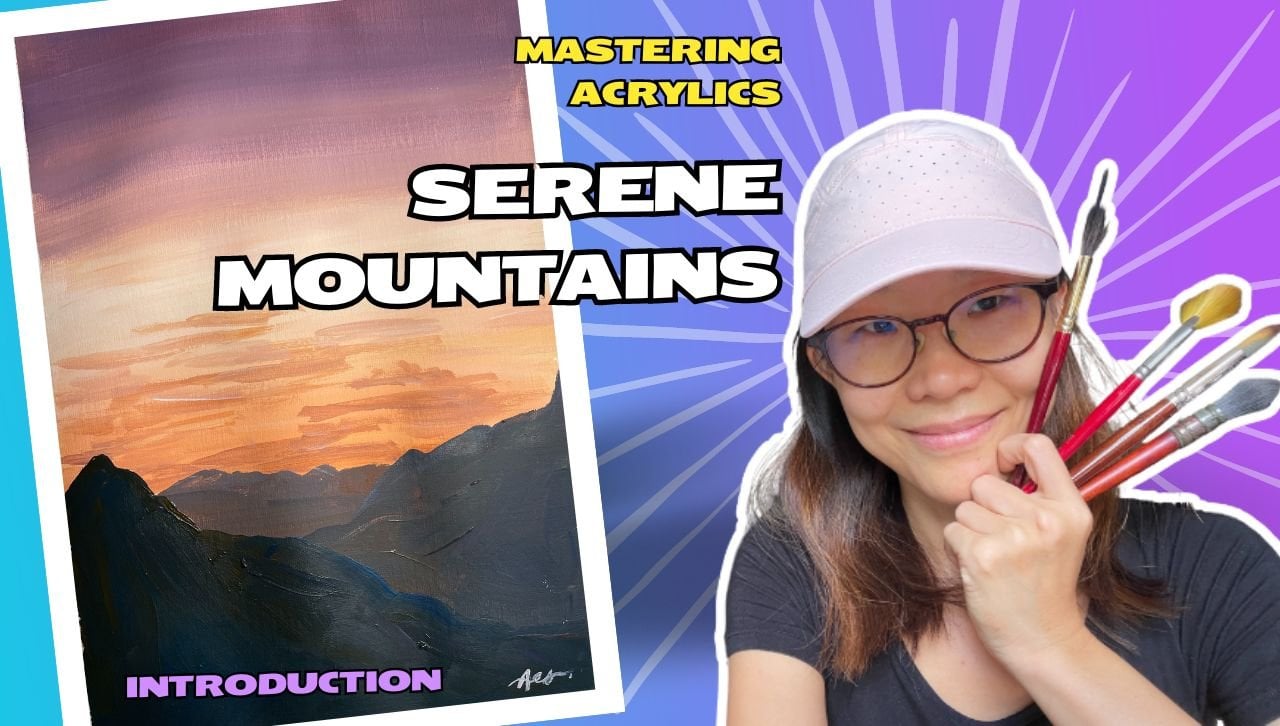
1. Introduction: Hi, I'm ESO. Welcome to the Mastering
Acrylic class. So for this series of class, you will see that we'll be
using very similar materials. Basically, my job here is to help you get started
with learning acrylics. That being said, the
materials that are needed for the class
will be very simple. My advice is get your hands on whatever acylate you can
get and just get started. Don't get stuck with, you know, I need a particular brand or I need that particular color. No. Nothing like that, okay? We're just going to use the
bare minimum, get started, and get our engines rolling so that we can continue to
create fantastic artwork. So for this particular class, it is called the Desert Oasis. It's a very simple scene. And what are some
of the challenges that you might
face? Color mixing. Okay. And blending. A lot of first timer
asked me, how do I blend. And in mastering acrylics, we are going to do a lot
of blending exercise, and you will notice that once you've done your
blending exercises, you can paint a lot of
different landscapes. So grab your supplies
and let's get started.
2. Materials: So for this art work, we're going to need the
following art materials. You're going to need
your acrylic paint. Yes. Any brand will do start with what you had and what you can
get your hands on. Don't get stuck on getting a particular brand or
artists brand net. Artists great net.
Don't worry about it. Let's get started first. As you gain more confidence, then you can acquire your
supplies as we go along. So other than your acid pains, you also need your brushes. I recommend using synthetic
brushes like this because this kind of brush
will have more bounds, meaning it's easier to
use for a beginner, okay? And then what kind
of shape or sizes, use what you have,
like I said, okay? As you're using and you're
painting, this is difficult. Then you might
acquire new brushes, but don't get stopped because
of what you don't have. Start first. I'm
here to support you. So other than brushes,
you also need a water container
to wash your brush. You don't need any
commercial ones. If you don't have this, you can always use any plastic
container, just get two. So one for pin water
and maybe one just to wash off your
dirty paints in that. So you just need two containers, and then you need a cloth. And of course, if
you're using canvas, you can buy a canvas,
stretch canvas, canvas board, or in my case, I'm just using a piece of paper. But my paper is
slightly thicker, is around 250 GSM. So for acrylic paint, Um, we want to use ticker paper so that it holds and it
doesn't work as much. Even though my paper is 250 GSM, you notice that I use
a tape to actually tape around the sides
before I start the artwork. So that's actually to hold
the paper down to my table. So you might need, you know, a tape if you are
like me using paper. So that's all for
materials easy enough, right? Let's get started.
3. Desert Oasis: Part 1 Sky: All right. Today,
we're going to be using some of these colors, white, yellow, orange,
red, and darker blue. So we're mixing in
this range of colors, and there are some other
colors that I'll be using like brown and black, which I haven't
squeezed on here. So what I'm going to do is
I'm going to attempt to mix those additional colors using the paints that I
already have here. So we're going to do a
sunset scene in the desert. Let's start. So you know me. I like to
mark out where my land is. Maybe somewhere. Yeah.
So like a desert, right. Something like that. So I want the point where they intersect
to be off the center. As a rule of tub, I don't like to have anything that cuts right in the middle. And then what I'm
going to have is the sun cutting down
on the right side. So I'm going to
work with my sun, which is a yellow. If I want it lighter,
I can stem some white. Start blending out. So this time around,
I'm blending out in a slightly radio manner. I want a slight
orange tin to it. It's a very something like this. Okay. So I want it go out. So remember, very
quick movements or the pain is still wet. Be very careful not
to move back into the yellow because yellow
is such a light color. When you move back in, it's
going to be really tricky. Now I want some pink,
a little bit of pink. Okay. So I'm going around Hg. So you notice the change
is in a very small area. Okay. Now I'm going to go into
purple and for the transition, I need more red, a
little bit of blue. So let's work out transitions
to hush and too dark. Sea work. Do you notice how my strokes are pretty fast and white spending? Like My strokes are all the way through because I'm trying
to bland a full area, right? I think I pull in too
close to the orange. So let me see if I can
back in the little. I'm not so sure
about the edge here. So what I'm going to do
is I'm going to go back to orange. The yellow. Get the tone again
and move it out. Okay. Into the. Good. Now in the propo. I'm going to move into the blue. On a little bit of a
white there still. Hit one. To move from
the ball into the blue. R, a bit of blue, a bit of fast. There's something consistency
here. Touch it up. Middle first, fix it
before I move on. Hey, I think that's
good enough for me. Now I'm going to go
into the darker shades. This is the blue and the red
giving me a darker purple. Can see it gets really
dark pretty fast, so I'm going to slow it down
by bringing some we here. Okay. Getting a bit wet. I
mean, it's getting a bit. I'm bringing a bit of water into my brush just to move
the pain along a bit. Okay. At the end, it
can be really darker. No. I want to make sure
that's a nice land. Okay. There you go.
4. Desert Oasis:Part 2 Sand: And now what I'm going to do
is I'm going to get the land over here and it's going
to be a bit of brown. I mentioned that I want to
attempt to mix my own brown, so let's take a look and see what I can create out
of the paint here. If I really don't like it, then I might have to
pick up a brown there. I'm not sure if I really like this brown, test it out a bit. I find it a bit dirty. It's too greenish for me. It's because the blue
that I have, okay. I think there's
some green content or some yellow content in it. If I don't have a
different blue, I have brown, then I
can use my small brush. So I've got my brown here. Let me So you notice even
when I picked up the blue, it mixes in and it turns
a little bit greenish. So what I'm going to do is instead of just using
orange and the blue, I'm going to use
a bit of the red. Okay. So I have this. I'm going to attempt
to make it darker. And I take care of the
edge because this is going to be my desert edge. And notice how I paint. I use the edge of the brush
to establish the edges. Not a flat surface, but rather something
that is moving. Warm toes here with the sun. Next, I'm going to paint
the other layer over here. And the furest part, I'm also going to use
the dark color, so I'm going to start mixing. So when I mix my
own dark colors, what happens is I get a dark
color that is a lot richer. Richer, meaning it has
a warm tint or it has a orange tint or a bluish tint. It no longer becomes flat. So on the edge, what I'm going to do is
I'm going to work with a lighter tone because I
want it to pick up the sun. So I picked up a bit
of yellow and orange. And I'm going to work
that into the Grow. So again, because my
paint is still wet, I can actually do
some kind of mixing. And I want it warmer, I picked up red. And I want to create a secondary
layer, which is white. There's a bit of a
duck in the middle. So I light, dark light. I have them. Pick up
the lighter color. Send on top. S. Now I have my desert. What I'm going to do
is, I'm going to add two little hikers or
people on the Asert and going to add two
spots and two legs. So they may not be able to
separate the legs. It's fine. Just make sure that the
bottom is skinnier. And maybe a tiny
spot on the head. Okay. Please do not make
the head way too big. That's our desert sky. And let's review our work.
5. Debrief: Hello. Congratulations. You have finished your
first ever acylic painting. Okay, no, may not be, right? It may be your first
ever class with me. Okay? I hope you enjoyed it. But if you have any difficulty, please do not hesitate
to post your work on the class project section
so that I can see what, you know, challenges you face. Type in your thoughts,
type in your process. And you can even
post more than one. I think that's
allowed, right? Yeah. Post more than one
picture if you think you need
additional support. Um What I would like to say is painting is a
journey. It's a process. So let us take time and
practice because even for me, I did many, many, many
lousy painting before I got to being really comfortable with adapting more
paintings, right? So I have a lot more
other painting tutorials that you can try
out on your own. So please feel free. Go try them out and start sharing maybe paint
one painting a week. So let's get better together.
 Ee Sock Ang, Artist. Teacher. Traveller.