Transcripts
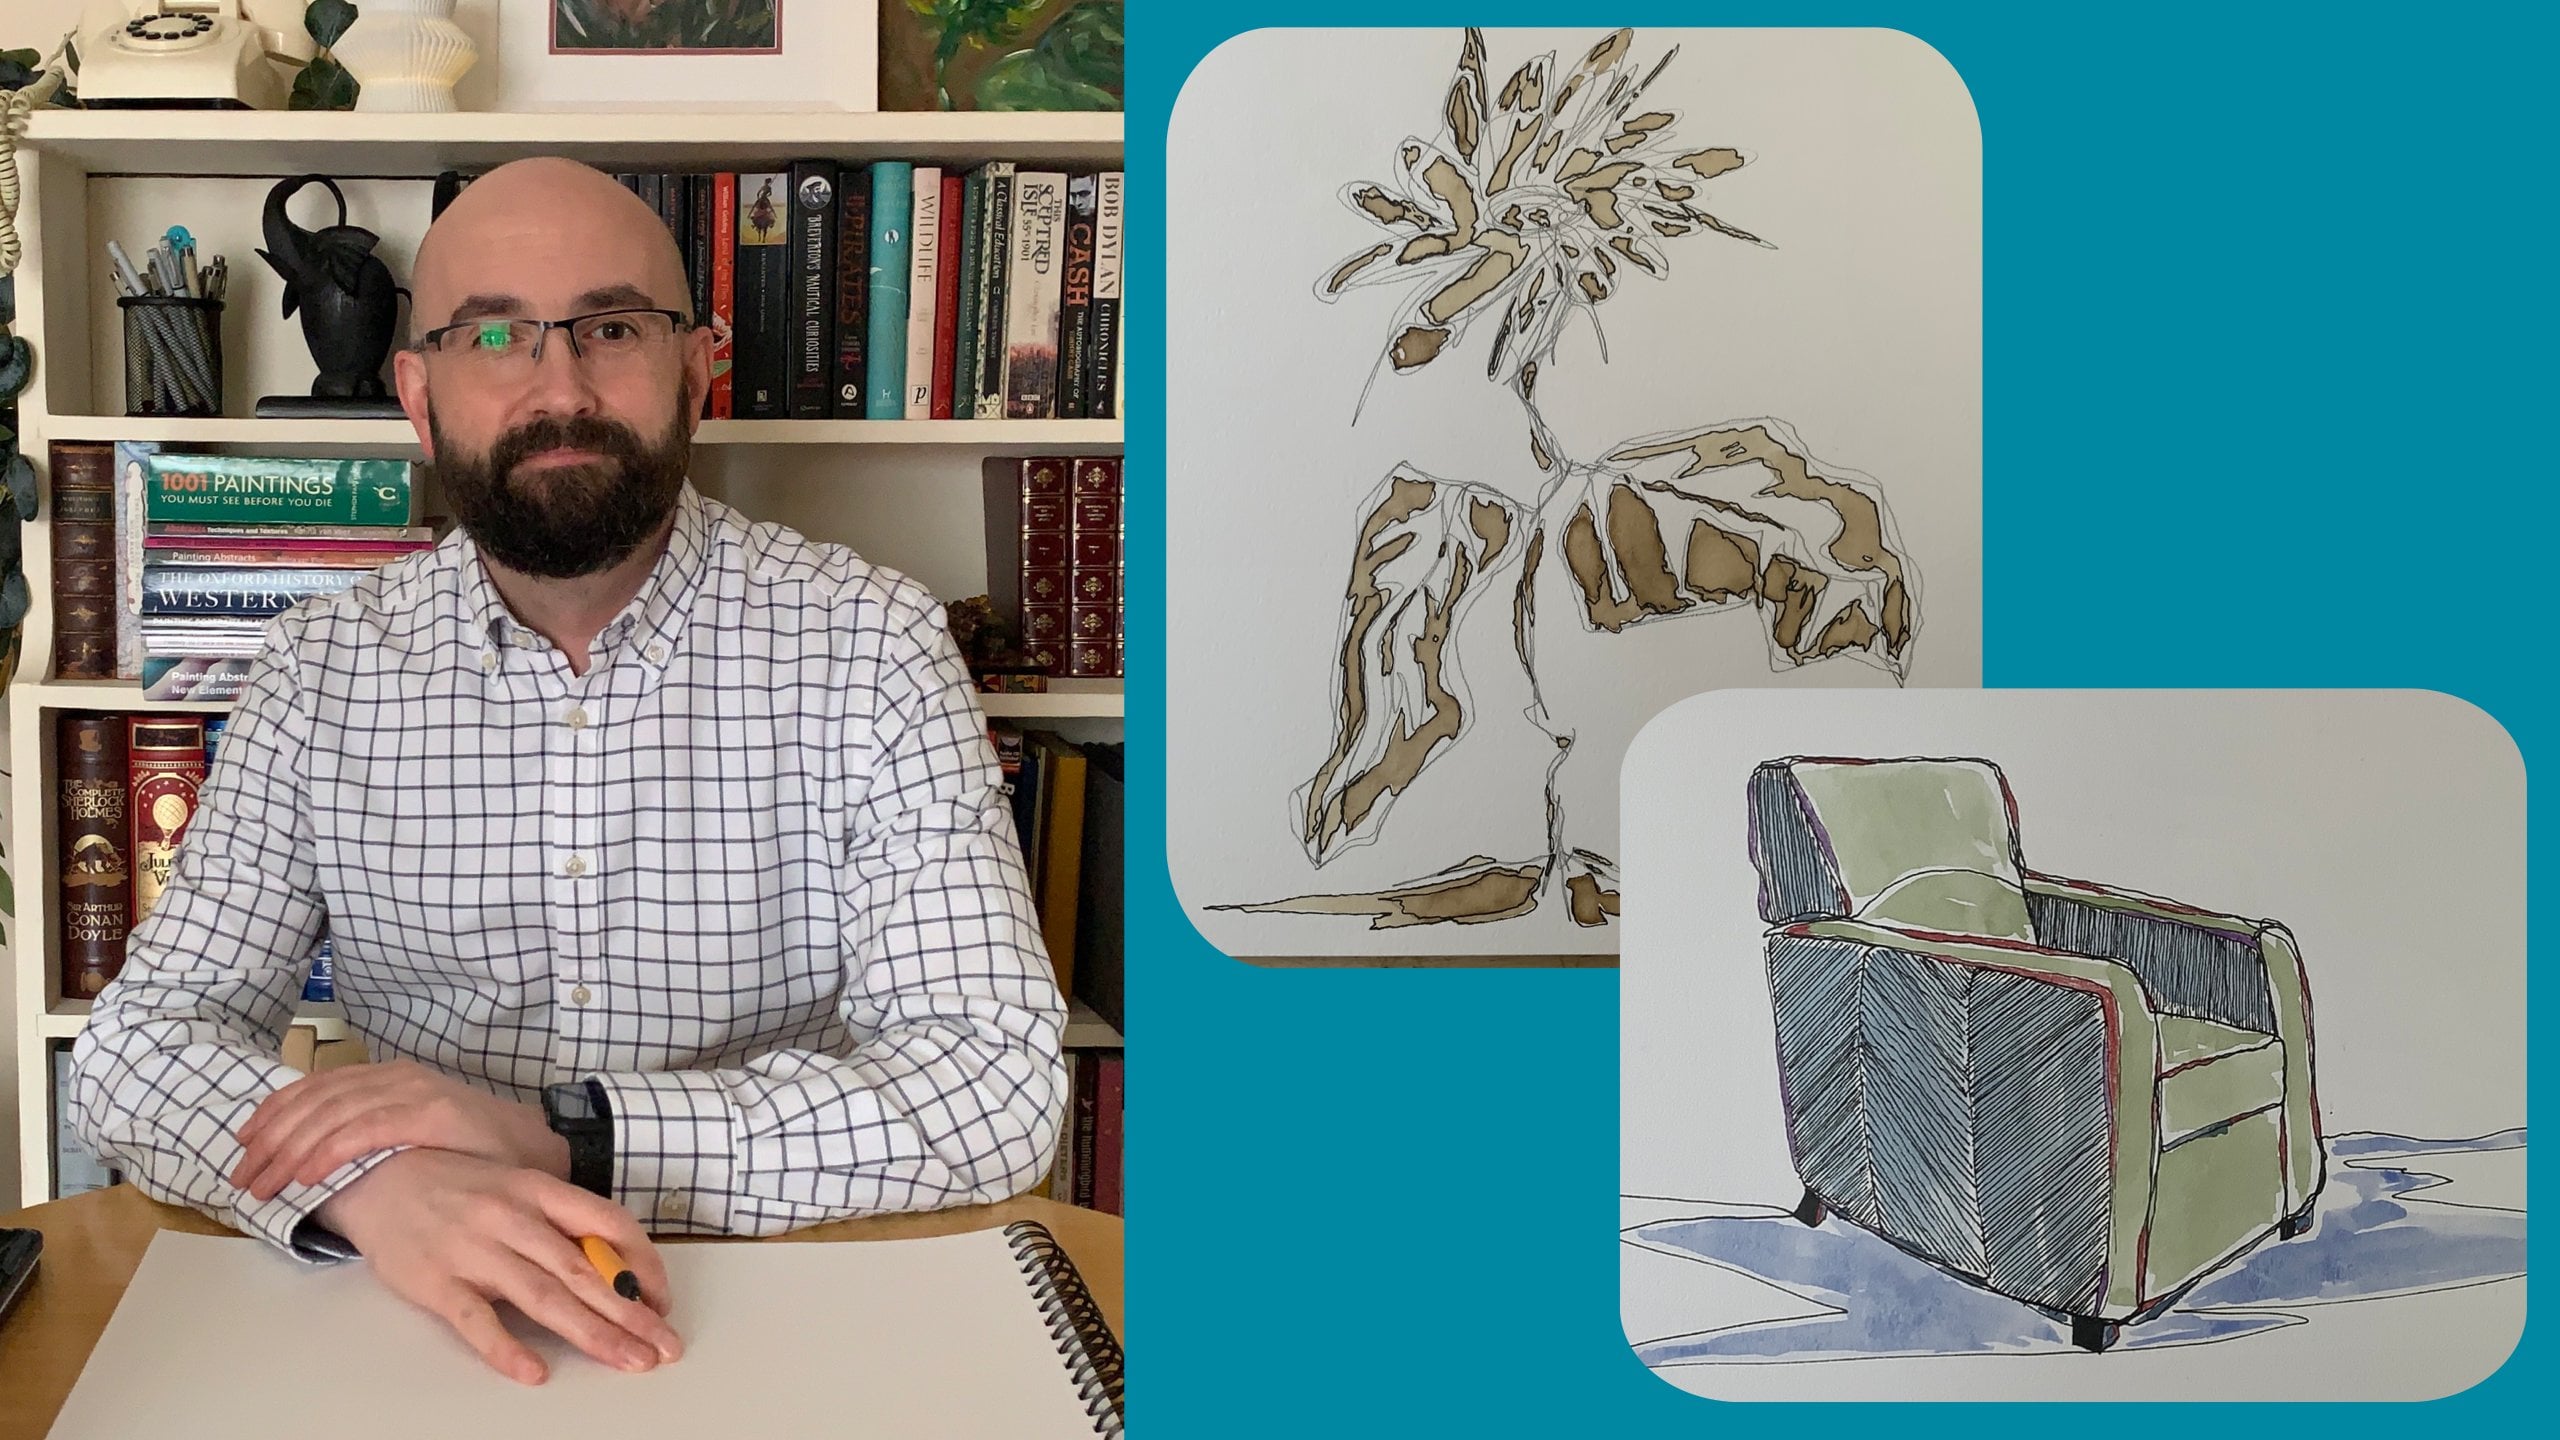
1. Introduction : Mindfulness is a skill that many people have learned to use in different areas of their lives. In this class, we'll use it to improve our creative work. As we take a mindful look at color. I'm Barry, visual artist living and working in Scotland. And I've learned through my own experience, both therapeutic and helpful and art practice can be. Together. We'll see how slowing down and being mindful towards our use of color can improve our arts and crucially help us to learn the skill of mindfulness that we can use in many areas of life. For the class project 2, you have the opportunity to choose just one or two simple items for a still life. And by mindfully paying attention to light and reflections, you'll be able to produce a bright and interesting piece of art. By the end of this class, you'll be seeing colors and an expanded way and filling the benefit of a mindful practice. Whether you're new to art and mindfulness or not, this class is for you. So let's get started.
2. Class Project : So for the class project, I would like you to choose an item, perhaps one or two items, to set up a very basic still life. I would like you to choose either fresh fruit or vegetables. No. Why am I asking you to choose that? Well, in line with the thought of using mindfulness and how we can apply that into high. We see color. Let me demonstrate. I heard that works. Now, if I was to say to you, What color is an orange? Well, you'd probably see the clue's in the name. But if I show you an orange, we find that yes. Predominantly with just a cursory glance. Yes, it's orange. But when we start taking notice, we stop and we look we look properly at what colors are there. So not only are there little imperfections, dimples, different tones in the skin that are naturally there. But based on the lighting, the orange is under, it's got very clear areas of white light reflecting on the top. It's also picking up some of the colors from the room. So there's a little bit of green. There's actually some blues I can see here, red coming in underneath. So when we just stop and just take a moment to look, to really look. That's what I mean by mindfully looking at color. The skill of approaching a particular thing in a mindful way suggests that we do. We slow down. We give our proper and full attention. And by doing that, we get the most out of it. One of the most common things that people will apply mindfulness to is breathing. The breathing is something that we do all the time without even thinking about it. But when we do, turn our attention to our breathing, we can slow it down, can increase and improve the quality of our breathing. That has so many other health benefits. But that's an example of how mindfulness can be used in a really beneficial weight. So of course, I didn't know what type of lighting you're working with. What color is the room, what color is the table that you'll say the objects on? All of those things are chosen by you and it doesn't really matter. What I'm really asking is for you to take the time to allow your eye to notice the colors that are present because of the other circumstantial things surround your still life, those other colors that are playing apart with what's there. And what that calls for in your part is to look more than you paint. Really. Don't just assume that you know what the colors, what the tones are, Luke, and paint what you see. And I promised that you will come up with a beautiful, colorful painting. Once you just take those extra few moments to pay attention to the colors that are actually there.
3. Materials : Let's take a moment to run through the materials that we'll need for this class and for our project. So first of all, this is my paper that I'm going to be painting on. So this is A3 size that I'm using, but whatever you have is fine. The weight of the paper is 250 grams per square meter. Now that's a reasonably heavy paper and you can get heavier. But to put it in context, the ordinary printer tape paper that you would buy for, for just your printer at home will normally be about 80 or 90 grams per square meter. So this is fairly heavy, but as a C, You can, can get heavier. The reason that I'm using heavy paper like this is because I'm going to be painting in acrylic. So the heavier the paper at all be able to manage those, those heavier pins. And you'll notice that this part is actually classed as a mixed media pad. So it means that you can use it for a number of different mediums to work on. So that's my pad. I'm going to sell a TPP, the page down with masking tape just to keep it secure, just on a wooden board. It's not absolutely necessary if you don't have a board or somewhere that you can tape the paper down. It's not absolutely necessary, but it just helps to keep things stable and secure while you work. I've got a pot for water for two things, really for cleaning my brushes, of course, is acrylic paint is as water soluble so long as it's wet once, once it dries. Acrylic paint can't be reactivated with water, but it's long as it's wet, water will clean it. And the other thing that I'll use a little bit of water for is just thinning down here in there. We don't want to overdo that because acrylic paint is water-soluble, you can thin it down a level with water if you need to do that while you're working. In terms of pimps. First of all, I've got this big tube of red acrylic, cadmium, red, deep, cute. This is, and I'm going to use this just for the background on my paper. And I'll talk about that a little bit more when we get to the pimps that I'll use to actually pinpoint the still life. I've chosen just a really basic palette. And I'll tell you the reason for that. So the colors that I've got are just our three primary colors. I've got blue, red, yellow. And then the other two that I've got this silver at Jupiter is just titanium white. And then this one here is pins gray. Now I like using a pins gray instead of black. It's very dark, but it has some lovely tones to it. Pins GRI, is more often than naught, has some form of blue as it's BCE. So it's a very dark color just off black has some lovely tones too, and I prefer to use this in place of a black and my work. There's nothing wrong with using black. Opinions vary on that. To be honest with you. I always like to use a pedigree. As I say, this is acrylic, but even if I'm painting in oil or water color, I like to use pins gray in place of a block as a dark color just because it gives you some more different tones and shades. My reason for choosing as my main colors, just these three primary colors, red, yellow, and blue, is because it's a good exercise in just learning to mix different colors that you need. Anything that you need be mixed from the three primary colors. So it's a good way to learn how to do that, to mix the different colors. The still life I'm going to do is actually just a plain apple. So as you can imagine, there's going to be green in there. So I'm going to mix green and different shades of brown. So just using these basic colors are primary colors, I should see we'll be able to do that. The other reason that it scooters as well as a good learning process to learn to mix from the primary colors. It's also a bit of a safeguard. You might have had the experience when you paint, and there's a great temptation to have lots of different colors on your palette. Every color you can get your hands-on. And quite quickly what happens is you end up with a very muddy brown, not very attractive color going down into your painting. And that happens when you mix too many different colors, too many pigment, too many pigments together, and you end up with that kind of brown, muddy color isn't always much good for anything really as you're working. So this helps us to avoid that as well. Working with as limited a pilot as we can is a good thing to do. I've also got just a little selection of brushes and I'll use each of them are flat brushes and that's just a reference to the bristles. You can see that they're arranged in a flat sheep as opposed to a round brush. Maybe you might be more used to seeing. This is really just my preference. I find flat brush is very versatile and easy to use. So that's my preference. And you'll notice these are long handled brushes as well as you'll see when I, when you watch me painting, you'll see that I'd much prefer to hold the brush further up the handle. And I find it's much more expressive and are really comfortable wheat. So they're long handled brushes and make that and much easier. And just to give you context, that's it next to an ordinary went brush, if you like. So you can see that it's almost not quite, but almost double the length. And then lastly, we just have a my palette that I'm going to use. So this is a tear-off palette. You might have seen these before. So we put our paint on here, of course, to work from. But when you buy these tear off pilots, it's, it's like a book. So there's just maybe 30 or 40 of these pages of waxed paper, so it's waterproof so that the paint doesn't sink into the paper. And when you put it there to work from. But then once you're finished, you've used all the painting that's here. It just makes the clean-up easier because this can just be disposed off. And then you move on to the next underneath. Meet me in the next lesson to discuss a couple of extra techniques that we can use to an answer artwork.
4. Extra Techniques : As well as our mindful attention to color. There are two extra things that I would like you to pay close attention to as you work on your project. Firstly, is we're to hold your paint brush. When you're new to painting. The natural tendency is to hold it quite far down like this as f. It's a pain or a pencil and you're going to write something and you hold quite far down like this so that you've got control. And it's all quite precise. But an excellent way to free up your style of painting and get into a more expressive style is to train yourself just to gradually work your handbag so that you're holding the brush much further away from the bristles like this. And as we worked through the demonstration videos, you'll see how I do it in practice. And you'll see exactly what I mean when you try it for yourself that just bringing your hand further back. I'm just allows you to just free up with those strokes and how expressive and you can be as you paint. And it might feel a bit odd, a little bit weird to begin with. But just naturally, if you're just conscious of it, naturally just work your hand back in you, you'll get used to the more that you paint and you'll find that it really benefits. And the floor and toe expressive, you can be with your brush marks on the page. A second thing, again, you'll see me doing the demonstration videos that I would really like you to try is rather than sketching your still life with pencil, as you might be inclined to do, just print our rough sketch down before you work on to it. I would really like you to do that initial sketch actually in print with one of your paint brushes. This is a great exercise, just building up confidence. When we sketch in pencil, there's always that safety net of you can just have, you know, happy with something. You just rub it out, erase it again. I'm sketching in paint is a great confidence builder. And to be honest, even sketching and pain. You know, it's, it's not it's not there for good. You can pin over, you can adjust. And again, you'll see me doing that. And actually what that looks like in practice in the demonstration videos. So have a look out for that as well. And those two things I would really like you to incorporate in your project if you can. Firstly, experiment with holding the brush further bike. And secondly, I'd like you to do that your initial sketch of your subject in paint. And just to build up that confidence with using paint and actually using it as a drawing medium, not just blocking in color. So let's get going with our still life.
5. Base Layers: So I've got my E3 page tape down onto my board with the masking tape. So we're good to go. And the first thing that I'm going to do is put down a base color, like a background color to work on top of. I really like doing that as part of my practice and there's a few reasons for it. So as I do it, I'll I'll work a week. So the reason that I'm putting the paint street on like this rather than putting it on my palette. First is because I don't know, I'm not going to mix this paint with any other color. It's just going down as it is. So by putting on the pilot risk, maybe losing some wasting, some says no need to straight onto the paper. And then I'm using just actually quite cheap, just flat brush. And this is the only thing that I'll use this brush for. And certainly in this painting I just put a little bit of water on there, possibly a little bit too much actually. But once we get down to more of the paint, we can do that. So there's a few reasons. I like doing this with my work for treating a solid base color down like this. First of all, it can help with confidence. You might have had the experience when you're setting and getting ready to work on a painting or picture. And just looking at that clean white piece of paper can be quite daunting just to know where to start. And by putting down a base color like this, it basically just takes that away. It gets rid of all the weight. You've you've already worked on the pH. So it just breaks down our initial apprehension that can that can be there. Other reasons for this in terms of the painting itself. It's really nice to put down quite a bright or a contrasting color like vested to what you're going to be painting. So my subject, as you can see as this plane up or so in a plane up or we've got a lot of green. And there's even tones of blue coming in. So there's some quite cold colors. So by putting down this contrast with this bright red and this behind. In my expressive we're painting there will be little bits of this red that will still be visible, that will show through. So it helps to just bring an extra bit of life and our extra bit of interest. And as well as the color you'll notice because of the body of the acrylic paint, we also get left with the brushstrokes on the pH, so those will dry as you see them, no. So some of that texture is left in the final piece of work as well. So it just tells all helps to add a little bit of extra interest to your final painting. Because of the water that I put in my brush and just the water in the paint itself. You'll see that the paper is just starting buckle a little bit, which is okay, that's normal. And just as it dries, it will settle back down again. And then we'll get in with our painting of her style leaf.
6. Sketching The Subject : My paper with the red background is dry enough to work with. Now, the paper is still just a little bit buckled, which tells me that it's maybe just slightly wet, hasn't dried completely, but it certainly dry enough to work with, so that's fine. So what I'm going to do first of all is sketch out just a rough guide for my painting of the pineapple. So as we spoke before, what I would really like you to do is do your sketch of your still life wherever you've chosen. I'd like you to do that sketch in print. Again, this is a confidence builder. You'll notice that I reference a lot of things are confidence builders when it comes to our painting. Using a limited palette, sketching and paint, the color back ground down. So you're not working on a white, just a plain white page to begin with. And it really starts to show through an artist's work. There you can see confidence in the marks that an artist will put on the page. So that's why a lot of these things, there's a lot of references to just building confidence. And I guess that's true with a lot of things and certainly with, with painting. A lot of it comes down to your confidence in what you're doing. So working with all these little techniques and putting them together is a really helpful thing. So to begin with, I want to decide where I'm going to position my still life. Where am I going to put the pineapple on the page? So I want to leave enough room to put in a little bit of a back ground behind it to give it some context. So if I'm going to see that this, this back edge of where the table meets the white background I've put. And I'm going to place I'm going to just see that that's around there. So I'm going to see that my BSW of my painter Paul is going to be here. Fit just a rough measurement. Just to give me some idea of what, in what proportions the fruit is. So if I use my paintbrush, There's a marker for the size of the actual body of the fruit. And if I measure that against leaves on the top, you can see the leaves are actually bigger than the fruit. So I need to bear that in mind. Here. This isn't a halfway point and there's more leaf then there is fruit. Now, with expressive work, you can play around with those proportions a little if you like, but I'm going to try and stay relatively close to that. So the pin that I'm sketching in is the blue that I'm going to use on my palette. So that red, yellow, and blue that I showed you before. This is the same blue that I'll use. So if I bring the top of the fruit to that point, I know that the leaves tough to be more source, so it probably needs to draw portal of exit doesn't leave me enough space. So if I measure that as that paint up with fruit, that would be exactly double. So it needs to be a little bit higher. Salary won't be top of the leaves to boot to be about here. So I'm just giving myself context where their sketch and the reason that this builds up confidence is because you start to think, well what it, what am I gonna do with these blue lines I'm drawing? Well, we'll be able to paint over those. They will disappear. And to be honest, when you're working in a kind of expressive week, having some of these sketch mark still left is actually quite a nice thing. In the finished piece, I think anybody that's mutant, that's maybe data opinion, but I think so. So let's think about how white this is. The top again and again until I'm using its own measurements to figure out the proportions. So there's the top of the fruit roughly. So it's a little less, is taller than it is white. So there's what I've gotten my page. So that's this week. So really probably the size of these lanes is probably about the width of the fruit. I want. It's actually quite story. I was put into quite a board and the Sade there, but it's actually quite street. This paint up all his enemy. So there's the body. Let's just about as rough as you can get. But remember this is just a gate for yourself before you start working in to the PNC. I know that here is the top of the leaves, so we can just start. Some of them are actually coming over onto the fruit and probably again, looking for proportion. They're just slightly wider than the actual body of the fruit. So if I bring a lane up, I really want can have here and here our kin of the extremities. So built up here are basically built a box. I don't want to hire than this and I don't want the leaves broader than this. So as thats a good little technique to remember whatever it is that you're painting. Use its own proportions to figure out what size one pieces in relation to everything else. So just about as rough as it gets. But we've got sketching. We can even start to think about We are, some of the shadows are going to set with our sketch. So let's just put in a really rough idea of the pattern on the painter Paul. So you can fill it in almost just with a crisscross, which is hugely simplifying the design that we see in this different segments of the pineapple. And it gives us the idea of what we're looking at. So I'm going to use some fairly watered down blue just to start to suggest where some shadow will be. So because we want to think a lot in this class about color, I've set up this still life with. And we just this white background, white paper underneath the pineapple. And this is actually a white canvas or the back of a white canvas that I've said, bind it just to give me a completely white and setting. But with with your still life, by all means, please feel free to use whatever colors you may choose to. Quite a bright color behind. Because that will interact with this, still WAF, interact with the object or objects that you've chosen. And we'll play a part in what you see. I've kept it white just to keep it simple. For the demonstration. And other colors that are in my little studio will start to play, play a part in what we're looking at. But it will all be fairly straightforward. But for yourself, once you get a little bit confidence, or if you feel like just making a bit more interesting by all means, you can use a much brighter, darker backgrounds for your still life.
7. Adding Colour: I've laid out each of the other colors I'm going to use. And one of the kind of hidden, hidden advantages of using a fairly limited palette as well is that you can spread those colors. I'm quite far away from each other on your palette and saves you mixing accidentally, or it just gives you much more free space to play with. So let's get into getting some color dime on our pineapple. So I'm going to start with the body of the fruit, and I'll start from the kinda lighter areas and get dark. So you can see just stay in the bottom here. We've got this of Louis yellow turning into green as we work our way through the sequence note blue and green, sorry, blue and yellow make green. So I'm not really ready for a green yet. So getting a kind of blue, yellow calls for just the tiniest amount of blue. And to be added. And working almost as working towards and the way that the segments are. So rather than glazing over the whole thing, I'm just looking at where are their little touches of yellow. And there's been a center of each segment where we've got this. I don't know what the proper name is, but almost like a leaf that sort of coming out from, from each segment. And there's just a little hint of yellowy white with brain underneath. So I'm just going to try and suggest that group I can add a bit more blue. We can start building towards a kind of darker green. Start getting a little bit more interest. And it's really just about building up these layers just a piece at a time. And you start to get a bit of texture as well. So because of my lighting and actually that the colors of the pinup self, this kinda top left hand corner is probably the darkest. About queer law. Shadow under here from where the leaves aren't allowing the light to get down. And there's a definite blue tone to some of these green segments. So that's the type of thing that I want you to look for. And it would be easy to look at us and just see the whole thing as green, maybe with just a little bit of yellow on the bottom. But there's actually, there's a lot of blue tones coming in here. Again, from the pineapple itself, but also from the light thing that I've got here. So all of that white and it's daylight bulbs. I've got my little studio. So those things, along with the other items in the room, are given a bit of a kinda bluey tinge to the green that we see. And there's always, there's always moments when you're painting. We're you really feel like it's just not going the way you want it to. And it's important to learn to work through those points because generally is a very rare that you'll do a piece of work and you won't have one of those moments. There will be points. And each piece that you do where you think this isn't just as not what I was trying to do. And you feel like describing it and doing something fresh, doing something new. And sometimes to be fair, that is. Is what happens. Sometimes I'll be working on a particular piece. And it, it just isn't, isn't working out the way I want it to. And you try and try to bring it rained in it, it just doesn't, doesn't happen. And you just decide to move on to something new. And that's okay. It's not wrong. It's not a failure and stuff failure by any means. Every painting that you do, even the ones that you don't like or you're not happy, you will have learned something. You know, if there's a particular mistake that you meet and you'll remember for next time, doesn't mean you won't make the same mistake again. We'll have taught yourself something by just persevering and even if it doesn't turn out exactly as you want, There's always something to be learned. So you never worry about that at all. So it's just, it's actually just a little bit later up in the top corner here that I've made it. So we'll just come in with a little bit more yellow. Just a kind of yellowy and lead to green coming here. And on this site as well, started to come in just a little bit too early with some of those white highlights, but we'll come back to that in a moment. No one color that I haven't used a toll years, my pins, pins gray. So I'm just going to use a little bit of the Payne's gray with the red. And that'll give us a bit of a kind of very dark purply, almost brighten up and brawny purple color. That'll be helpful just for some of these shadows in here. And again, it just gives a slightly different feel. And there is definitely a, I can have overtone of brain. And to the fruit would do well to, to just try and pick up on. And you can see what I was seeing about the red background or not. Not desperately tried to cover all up. In fact, I'm actively trying to leave some of it. Because it, again, it's just about creating interest in creating a bit of, a bit of a mood with your work. And learn to utilize color like that is a really great thing. Especially, but once you start getting into kind of expressive, expressive worker abstract where I can, you're really using those subtle colors and subtle different tones that you see you're using was to build quite an interesting piece of art. I'm just going to give a little bit more of an indication again about there. The different segments and just, and just gently, not, not solid ligands, but just a gentle indication of this crisscross pattern that's created. So mixed up just a little bit of fairly dark greeny blue. And some of the leaves are kind of overhanging onto the fruit. So as the paint that I've put down here dries, I'll be able to come back in and give a suggestion and a handle of those. But for now let's just concentrate on getting some of these colors and you'll notice you get a really nice effect when you don't, you're not too desperate to when you mix colors. So I've got my blue and yellow here to give me a green. But you'll see I haven't mixed them so well, deliberately so that some of it is coming through green, but I'm also getting quite clear areas of the yellow that hasn't mixed. There's a definite level, little hints of the blue that hasn't really mixed as well. Don't be too desperate when you're mixing colors together. Don't be too desperate to get every last bit mixed. Because when you're picking it up, you've really got three colors on the door. You've got the two you've mixed together, and then you've got what the mixed into. Working with is, again, just gives you quite an interesting, interesting effect. Once you start putting it down on the paper. I'm going to move to a slightly larger brush and start blocking in just a little bit of background between the table and the wall, bind my pineapple. So again, in terms of paying attention to color and painting, we want to shy away from thinking, well, this is y and this is why you just, just cool red and white. There's so much more going on here. There is if you really just take a few moments and just allow your eyes to settle to wherever your setup is and look beyond what the obvious colors and just allow your eyes to pick up on some of the reflections that will be being cast by your still life. Here with the pineapple, I've got shadow obviously, but there is a, there's definitely bluey, a blue, a green tinge, white. This is a lovely surfaces. At first glance there are white. Really when you start looking at the colors that are there, there's much more interest to it. And I suppose that really is. And the whole, the whole purpose of what I want you to think about in this class is just this mindful aspect to really pay attention. Just teak. Take time to look at really what you're seeing. Something that we just tend to not do a great deal. We just look at the obvious. And that's fine and that's good enough. And there's just so much more there that we can just pay attention to. So I've gone quite heavy of meta, quite a kilo ohms, pinky blue over this site. And actually that same color can have caries on the definite rate over there. So as well as this kind of blue color, there's, there's a pink hue to it as well. So I'm going to slightly gone over that shadow, but I'll come in and kind of restate that just in a moment. Managed to pick up some of the white there and pull it over to where I want it and the shadow. But that's okay. We can work. We can work with that. Nothing's nothing's panic stations just work. Work with the pain and you just gradually build up confidence and confidence, I think is probably much more important than An ability. Sometimes you can see the confidence in how paint has been put down. Some confidence in what you're doing. And it's a really important thing to just build up. And it really just comes with time. There's no there's no shortcut for that. Just comes with time. So for the wall at the back, I feel like it's much pink is heavier on the pink than it is on blue. So I'm going to go with this site. The right hand side is definitely much later than the left-hand. I'm going see again, haven't been I've been going crazy with mixing the color is going down quite yet. Again, a little bit of flavor of each of the blue and the white and the red. I've picked up just a little bit and my Payne's gray, there's a sense of a little bit of darker coming in from the top color. Quake can definitely just up here. We'll be able to come back in and just reinstate some of the areas here where I've gone over beliefs and the work that I've already done. So we can, we can come back and fix all about. So don't That's absolutely fine to work over some of the lines that you've already put in. And this is what I love about working in this kinda expressive way that you can put so much texture. I'm on the page. We're definitely going to come over to the blue can a slightly darker blue on this side away from the peak. So just by being quite expressive with your brushstrokes, if it just gives a great texture and just makes for a really interesting piece of art. So I'm just quite quickly walking in the background here. But feel free to take a little bit longer. And with yours. And I'm a lawyer, I'm working in acrylic. If you don't have acrylics, if you've got watercolor or oils or whatever it is. All of the principles, all the things that we've spoken about can all be carried over. So don't think I'll try this until I've got acrylic paints. This can all be carried over. To clarify table again. See yes, each of each of the things that was spoken about, they can be carried over. And the more that you use, the different techniques, the more that you practice. And just gain confidence, the more interesting, more expressive you, you'll be able to be with your artwork In the back and delicately. And it just helps to give a bit of context in his, helps us to feel that we're looking at a real object. Just a little hint of blue coming in underneath some of these leaves is when to give us an indication of some of that. Again, without overdoing it. And can even use it, cannot pass through the color. Just to show us some of those leaves come in dialogue with the fruit. Hi. So there is my very quick, expressive look at a pineapple. So you can spend a bit longer on your still life. But please carry over the different things that we mentioned. Thinking about the very subtle tones and colors that at first glance you don't see how is the style leaf interacting with the background. What colors, shadows and reflections DUC. Think about the lighting that you've got as well. All of those things will get teak, the range of colors, and the other in front of you. Just take a few extra moments to just take those things in. And I'm sure that you'll create a beautiful, expressive and interesting piece of artwork. So please don't forget to post your projects in the project section of the class. And I'm really looking forward to seeing what you are able to achieve.
8. Conclusion : Thank you so much for joining me. I really hope that this little class has been beneficial for you and for your art practice. So as you continue on making art, please remember to be mindful and your approach to colors and you'll see the benefits of that. And please remember those other things that we discussed as well. How to hold the brush, sketching in pink to build up confidence. Just as you move on to different and new pieces of work. Just gradually carry those things over. And I'm sure that you'll see the benefits of those and you are at work. So thank you once again, please don't forget to share your artwork in the project section of the class, I'd love to see what you were able to achieve. If you go over to Instagram and follow me, buried E Jones art, you'll be able to keep up to date with my artwork and more classes as I plan and film those for more tutorials like this one. So I'll see you there.
 Barrie Jones, Scottish Visual Artist