Transcripts
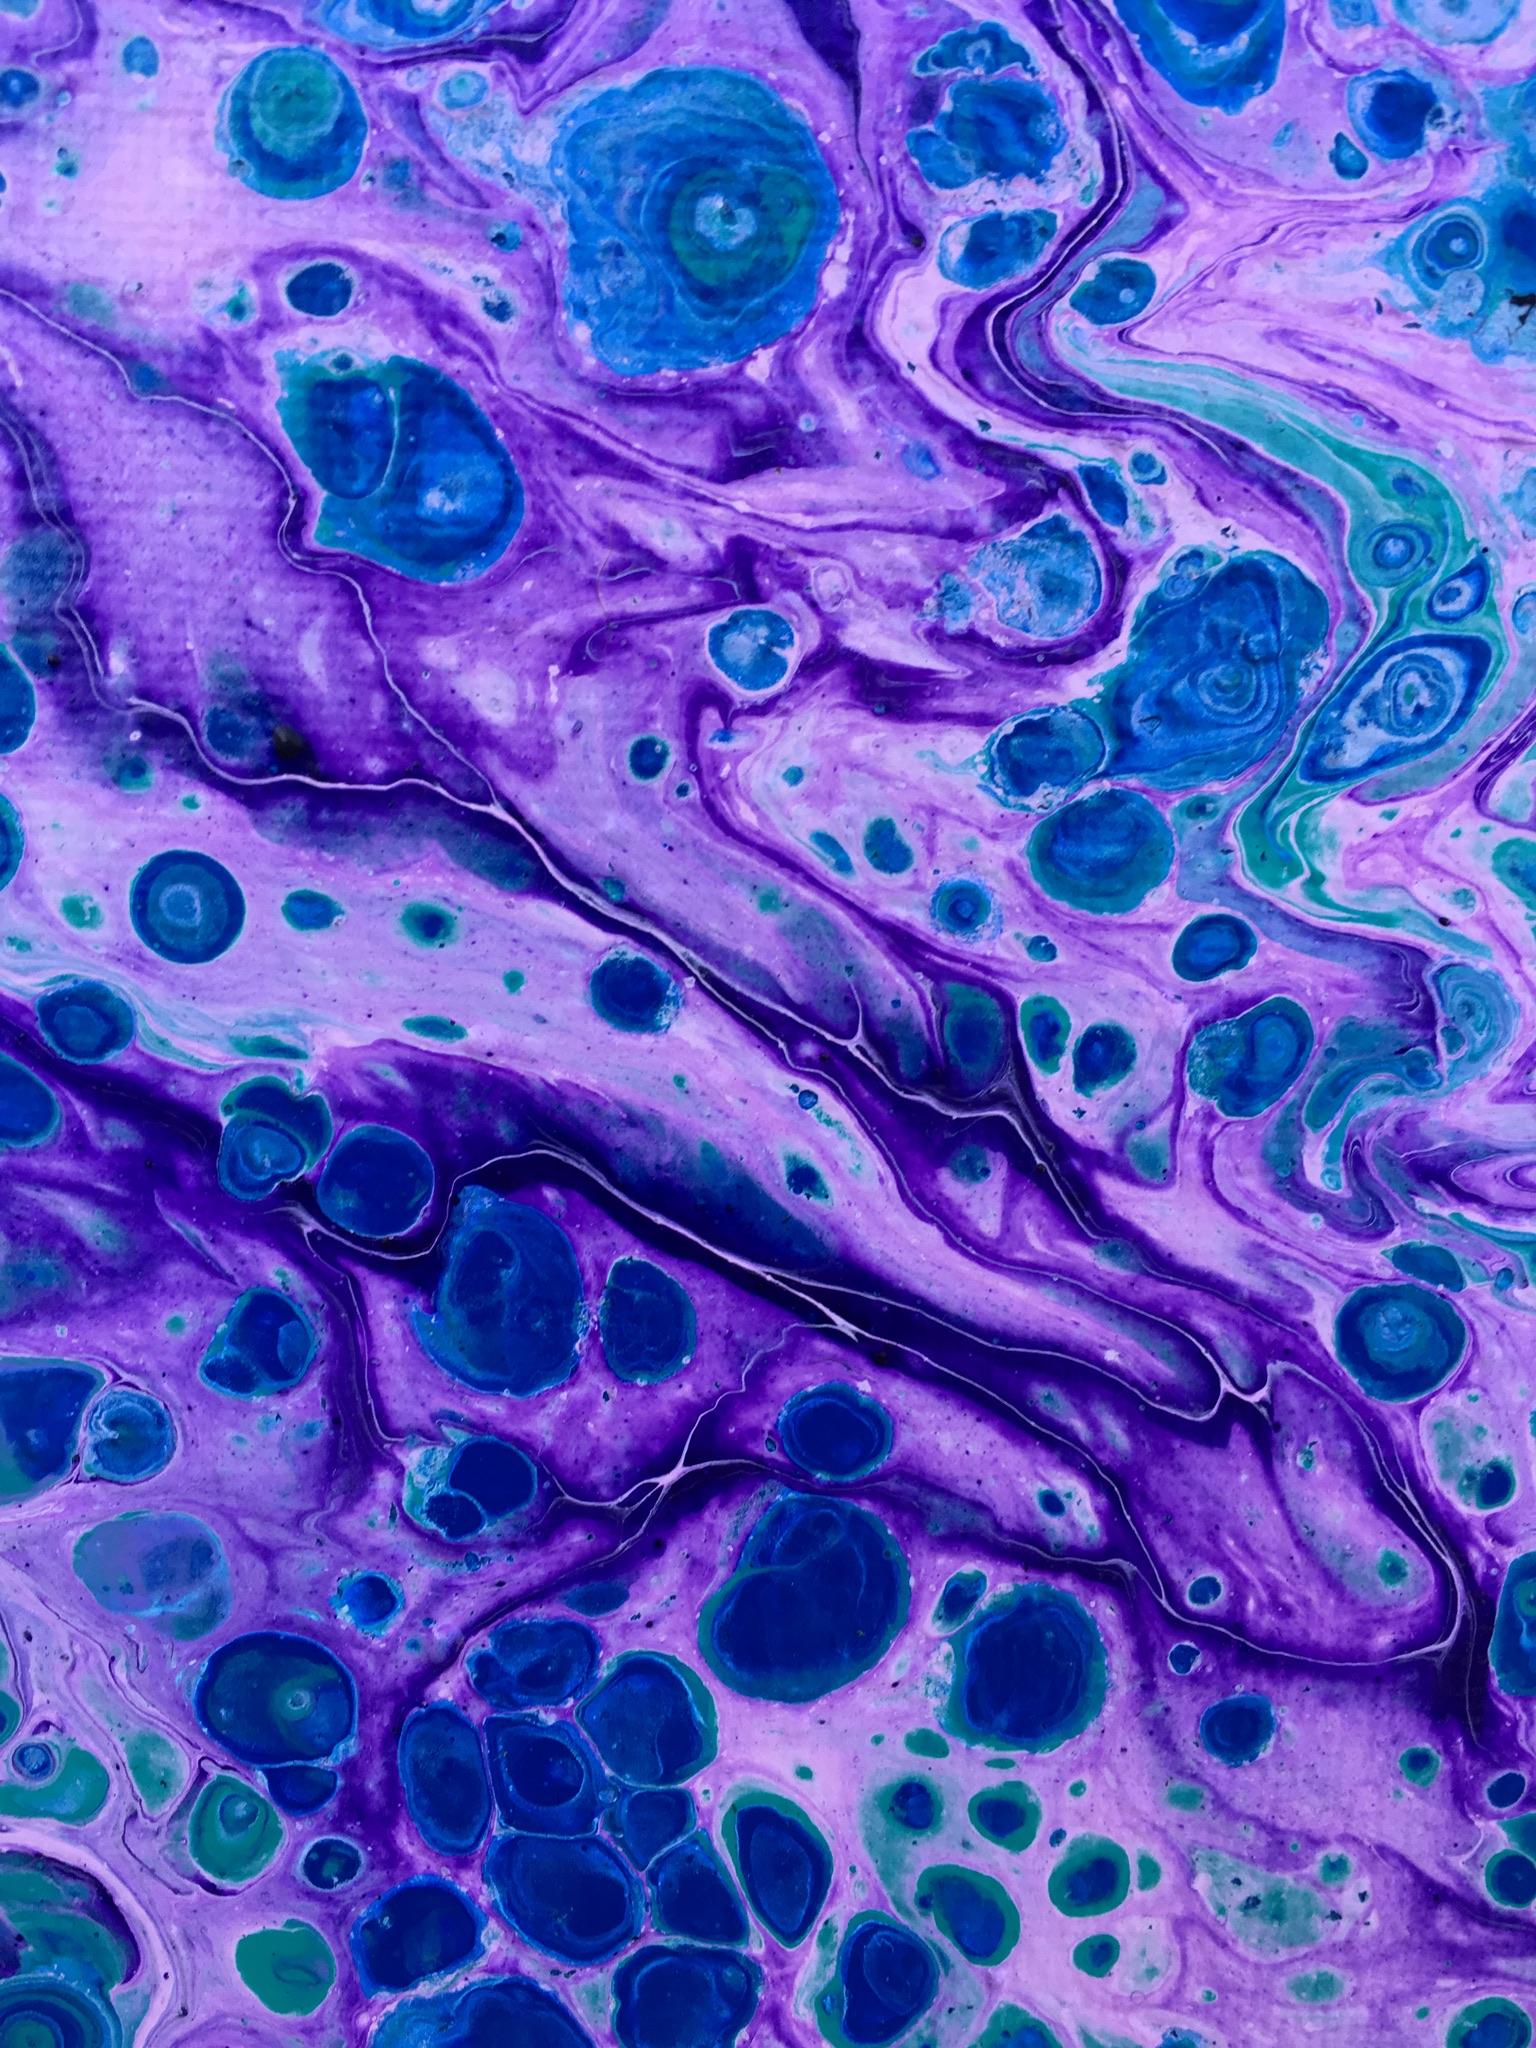
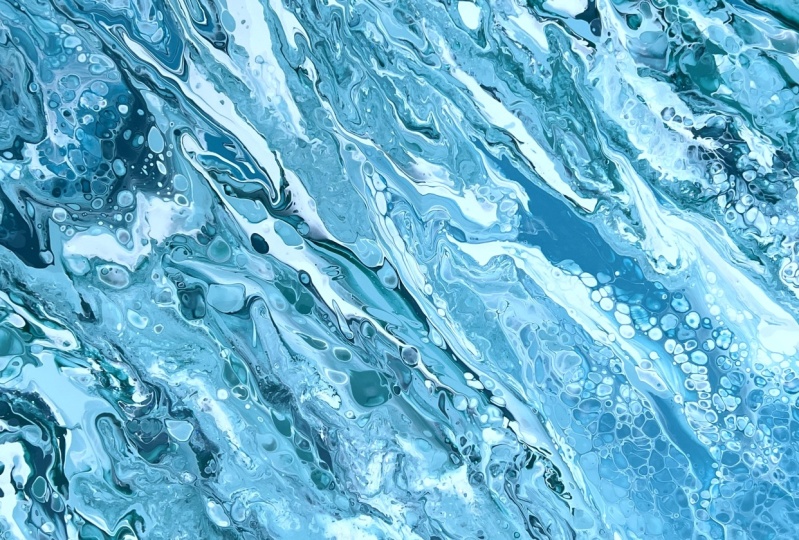
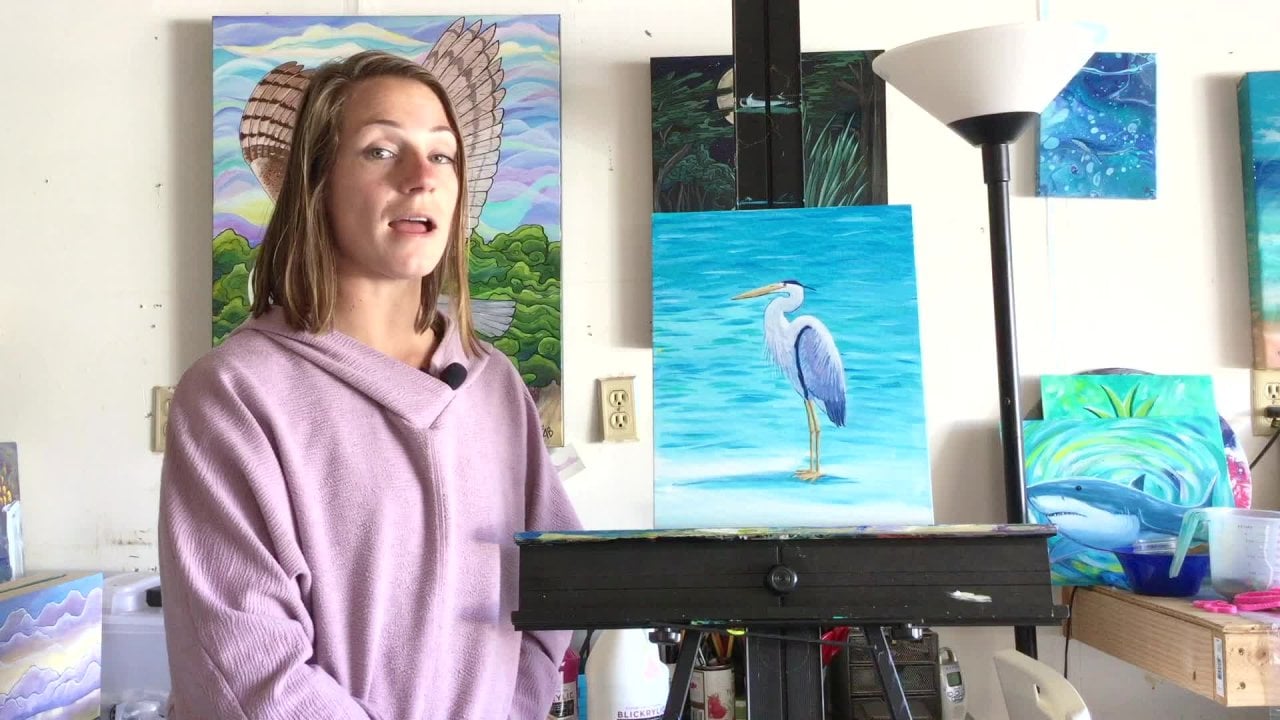
1. Welcome!: Hello and thanks for tuning in. My name is Anastasia am a full-time artist based in Santa Cruz, California, creating under my studio name follow the sun art. I've been painting and drawing my whole life and doing it professionally for about seven years now. And then I jumped into the world of teaching classes. My favorite thing about that as seeing the creativity of my students unfold and the wonder that comes with creating art. So in this class, I'm going to introduce you to the fine and addicting technique of acrylic pour painting. So with this method of painting, you get really cool effects of look like marble planets, even underwater worlds. You really don't have a lot of control over the paint when you do it, which is good because you don't need a lot of skill to do it. You just kind of pick your colors and see what happens in this class is great for all levels. Beginners, intermediate, advanced. Maybe you're trying to incorporate a different kind of style and method into your own practice. Or you're just a beginner artists, kinda dipping your toes into different types of painting. In this class I'm going to go over color mixing, a few different pouring techniques and the art of creating cells in your piece. So let's talk a little bit more about this technique, a little bit of history on the style of painting. The first artist they know about that did this technique was a Mexican artists in the 1930s named David Alfaro Siqueiros. And so he had developed a style of painting called accidental painting. And it's really cool because it kind of combines science and art. So the science behind it is the different paint pigments that they use to color paints. They are usually derived from different minerals, natural minerals. So they naturally have different densities. So when they are suspended in a really fluid medium and they're able to like intermingle and flow freely. The heavier pigments will sink to the bottom and the lighter pigments will rise to the surface. And that's what creates those characteristics cells. The style has or had a resurgence in popularity in the last few years. So if you go on Instagram Pinterest, you can find all sorts of videos. And there are literally endless techniques. I'm going to just show you a handful today. But there's not a lot of rules within this. Once you get the mixing of the consistency down, that's the most important thing, then you can really get creative with different tools and different pouring styles. Yeah, it's really fun and an addicting because you can try so many things and so many color combinations.
2. Supplies: Okay, so first let's go over the supplies you're going to need. The supplies are pretty simple. So the most important piece of the puzzle is acrylic paint, which you can use any brand. Acrylic paints, they come in different bodies, soft body, heavy body. And so you want to go for more fluid paints because obviously that all like flow over the canvas better. If you have like a really, um, if you have a really heavy viscous paint, it's just kinda like going to sit in a glob. But the most important thing to this technique is getting the right consistency. So having a paint that's already pretty fluid, we'll make the mixing process easier so you get the right consistency for it to actually poor and flow over your substrate, the surface that you're painting on. But yeah, you can use any brand. And even if it is a little on the thicker side, there are tricks to thin it down to the right consistency. And so the second piece of the puzzle is the medium. So the medium is what you're mixing with the paint to achieve that consistency that you're going for. So the medium that I use and love is this product called a flow, a trauma. And this is a commercial painting product use and latex wall paint. So you can get that at any hardware store paint storm. And a lot of professional artists whereby the stuff it yields really good results. So that's the medium that I use. Alternatively, you can also get a pouring medium from the paint brands themselves. Because most of the main ones like Liquitex, golden other paint brands, they have different mediums to get different effects, whether it's texture or flow or to extend drying time. There's like a whole other world. But a pouring medium is what you would look for from the paint brands themselves. And also you can use glue, Elmer's glue, that's, that's also a suitable medium. And those are kind of like different on the price range. So glue would be on the lower end of the scale. This flow, a trawl is kinda of like in the middle, the paint brands themselves that are formulated for this type of painting, they would be on the pricier side. Okay, and the third little piece of the puzzle is a silicone oils. So the silicone oil is lighter than the paint. So it's going to be pushing up through the layers of paint when you pour it onto your surface. And creating those cells that are so characteristic to this type of painting. And you just want to look for 100% silicone oil and you can find it pretty easily online. On art supply websites. A little bit harder to find in store, but maybe a few have like a pretty well stocked art store. You can find it in person. And also they use the silicon oil for lubricating treadmills. That's kind of a random product, but as long as it's 100% silicone oil, it'll do the trick. Okay, as for your surface you're painting on I usually do these on stretched canvas which you can get at any art store. You can also do this technique on wood panels on MDF board as well, which is condensed fiber board. The only things that wouldn't work on is anything non porous like plastic or glass, it'll just kinda peel right off. So you want something that has like a little bit of the gripping texture. So Canvas is a great option, wood and fibre board. And so one little trick that I do with my stretched canvases is all take some little push pins and actually put them in all the corners. So that way, when you go to put your Canvas on your table, it's propped up and because the paint drips over the sides. So I'm going to get stuck onto your table. So that's just little tricks and push pins in each corner to prop your painting up. And of course, if you have like a wood panel or a five board panel, you can just put something underneath it to prop it up so the paint can kinda flow under additional supplies you're going to need. I like to have a variety of little paper mixing cups in different sizes to mix my paint in and to do the dirty cop. Like the plastic solo cups are a great option for the flip cup, especially if you're doing a larger work. I'm going to do these mini demos, so I'm just going to use the size cup. And as you practice your kind of learn how much paint you need. The one thing to note is you do need quite a lot of paint for this technique. So, you know, I find it helpful to have more economical pants and things like that just so I'm not burning through through so much on my supplies. These little popsicle sticks are great for mixing your paints. You want to have something to protect your table. This is a really messy technique, messier than other types of painting. So something to cover your table. Maybe if you're like really on the messy side, you want to drop cloth on your floor. You want to wear clothes that you don't mind getting dirty or an apron? Some people like to wear gloves. I kinda don't mind getting the paint on my hands at washes off pretty easily. But you might want gloves. So just think about that. Make sure you've propped up a pretty nice area to make a big mess. Yeah, that's for your surface. You want something flat and fairly level because if you're painting is left to dry on a slight angle, the paint will continue to flow off the canvas for a little while. So fairly level surface, protect all your work areas and you're good to go.
3. Mixing the Paint: Okay, so once you've gathered all your supplies, we can start on the mixing part. So I'm mixing the paints. It's kind of like the biggest part of this whole painting experience. Because once you actually go and pour the paint on your Canvas, the painting goes really quickly. So you can take your time, you know, thinking about your colors and doing the mixing. It's kind of like a fun little science experiment, mixing different mixtures and potions and things like that. So it's a, it's a really cool process for that case. So I've got my different mixing cups for all of my colors. And I've got my colors that I'm going to use for this. And so in this bottle I've kind of made my own little mixture. So you're going to find that with all the different paint brands that you might experiment with, they have different consistencies. So you might need to kinda tweak your recipe a little bit for each paint. But I've kind of been consistently using these Blick relic student paints for acrylic pouring because they have great pigment and the consistency is pretty good. So I have my own little mixture in here. It's about three quarters of that flow trauma and 1 fourth water. And I like to keep a little water handy to just to headed down a little bit more if I need to. The only reason you don't want to use just water is because it'll kind of mess with the resonance in the acrylic paints so they won't really dry or cure properly if you water it down too much. So that's why we use a medium, but you can use a little bit of water to help them it down. So that's kind of my own little mixture here. And then from there it's about a one-to-one ratio medium or to paint. So pretty simple. So that's a good starting point. One-to-one meeting to paint. And then you can mix it up and check the consistency and adjust as needed. So if it's too thick, you add more medium. If it's too thin, you add more paint. Okay, So it doesn't matter too much which way you start. But if you want to mix your own unique colors, I find it a little bit easier to start with the paint first and kinda get your colors down and then add the medium. But you can also pour the medium into the cups first. One doesn't matter too much. And I'm just gonna go ahead and start by picking up my colors. Adding some white to lighten some of these. You can also darken colors by mixing in blue, brown, or black. So you can create all kinds of colors when you get your color mixing down. And one thing I like to do for color inspiration is go like on Pinterest and you can find different color palettes. There's also apps where you can actually take a photograph and find a color palette. It'll just kinda select some colors and then you can try to color match those. Kind of important to try to have enough contrast between all of the colors. So you don't want them to similar. You can always throw in a little bit of white or black to increase the contrast. The thing that happens if your colors are too similar is just that you won't see those effects as much. Okay, so I've got my different colour mixtures and a couple of colors just straight out of the tube to adjust to keep it simple. And then I can add in my medium. Going to give us a good little shake because sometimes these subtle little bit young for or less, it's pretty fine I think to just kind of eyeball it. The ratios, I mean, it doesn't have to be exact because you always have that option to adjust as needed. But yeah, then you just take your time stirring each color and incorporate the paint itself with the medium. If you don't store it well enough, you might get like chunks of paint that'll come up as texture in your painting, not the end of the world, but if you are making an effort to avoid it, do you want are like really stir your paint really well. And I'll just go ahead and go through and stir all of my colors together. And then we'll check the consistency. All right, So all the colors are mixed together, so let's check our consistency. So you're going for not too watery and not too thick. I would say the closest thing in real life we can compare it to is maybe like maple syrup consistency. Honey would be too thick for sure. And you don't want to water, you're also it's just going to pour right off of the canvas and not really hold its shape. So it's kinda like finding that right window of consistency. So one thing I like to do is I'll take a little scoop on my popsicle stick and let it run down. And it should go off in a pretty thin stream. Well like so. Let's see if we pour it into a, another cup will see the consistency as it flows. Saw a couple of chunks in there. I might want to mix it a little more, but it's got really nice flow to it. So I'm pretty happy with that. And I'll just go through and check all my other colors too. Fluid. And again, if you find that they're too sick, I think this might be a little on the thicker side, little chunky. If they're too thick, you can add more medium or a little bit of water just a little bit at a time because it's harder to take it out them to put it in. Okay, actually, I think that's quite good. This one feels like it might feel a little sick. Yes. So this one's like a little bit more gloopy running off the stick, but not like running and flowing. This one, I'll go ahead and just add a little bit more medium stirred and see if that helps. Interested drop of water to look and battery. Last color. I'm also looks pretty good. And you deal when I am to have like a pretty similar consistency between all of your different colors. If they're slightly different, that's fine. But what happens if like, one is a lot thicker than the other? The thicker ones look kinda slow down the other paints. So when you're tilting or Canvas, it'll kind of get stuck in like layer in where that slow paint is. So you want to try to get like pretty similar consistency. It doesn't have to be perfect, but just do the best that you can. Okay. And the next thing after you've got your colors all mixed up with the right consistency on the colors that you want. You don't want to forget this step is add the silicone oil. So the silicon oil, you need a very small amount, a little goes a long way. So just like two or three drops per color. And this again is what's creating those cells. On the piece. You can try without the silicon oil, you can still get really cool effects without any. But this is what's going to create a lot of those cells. So I usually just put it in all the colors. You can leave it out of some colors for a little bit of variation. Those colors won't have as many of the solids if you choose to do that. So that's something you can experiment with. You can try it without the oil. You couldn't try leaving it out of some colors and see what happens. You don't want to add any more than two or three drops. The only thing that happens is you might get like a lot of teeny tiny cells instead of like the big prominent ones. And also your painting will end up really oily on the finished surface. Because all that oil is going to be sitting there and then you kinda have to like wipe it off. It's like physically oily to the touch. So just keep that in mind. So just two or three drops of silicon oil per color.
4. Flip Cup Pour: I'm going to give each color a little bit of a stir to incorporate the silicone oil into the paint. And now we are ready to go. So I've got a slightly larger cup that I'm going to use for pouring. And so the first technique I'm going to show you is called the flip cup, using a dirty cups. So dirty cup means all of your colors are going to be layered inside this one copy. And then the flip cup part is you're flipping your cup onto the canvas and releasing the paint. So I'm going to just start running my paint into my larger cup that I'm going to flip. And I like to do a thin layers of each color and just alternate kinda frequently. I found the best thing is to not really overthink this. You do want to try to have enough contrast between each layer. So like those two colors I'd put together, they're really similar. So when they're next to each other, you're not going to see as many of those effects. Might be better to layer like a dark color in between those two and kinda separate them because they are so similar. Concentrate a little bit of golden boy right there together. A little more of this turquoise. And that should be enough paint to do our first pore. Okay, And so the easiest way to flip your cup is to actually flip the canvas over the cup. And then I'd like to put it in the middle for simplicity. And then you can kind of press your handler on the other side. Carefully. Controlled fashion. Give it a little flip. Make sure you have enough room around you to kind of maneuver your canvas so you can kind of clean up your workspace a little bit if you need to. And then when you're ready, you're going to release the suction and let that go. Cup is always so cool too. Okay, So from here, it's just tilting the canvas and spreading that paint all around and try to get all of the corners. And it's going to change a lot as you go. So you might get more colors appear as the layers get kinda stretched out, more cells are going to show up to super messy. So just let it run right off the edges. If there's any parts that you like, you can kinda stretch them out more using the tilting technique. So for example, I really want to look a little bit more of that gold so I can tilt my canvas up on that gold side and it'll stretch that area out. And another thing you'll notice as you tilt, so when you initially do your flip, all your cells are pretty perfect circles. But the more you tilt your canvas and maneuver it, those cells become warp. So you can see now they're kind of looking like little beans the air. And these are a little bit warped. So just keep that in mind. That's like one thing you can try to play with and control little bit is how the cells appear. So if you like how it looks, you can always have a little bit a blank canvas here. So if you have other areas to fill in, you can do an additional poor to kind of fill those little sections in as needed. And that way my paint will kinda maintain it. And then you can kinda finger paint little corners. And if you're missing any edges or anything like that, try to stretch them bold out a little bit more. And that's your flip cup, using a dirty cup with all the different colors stacked in.
5. Ribbon Pour: Okay, so now let's do the urban poor. So this one, we're also going to use a dirty cops. So it can go ahead and kinda stack are different layers in there, like we did with the flip cup round. It's just going to be a different pouring method. And for the Ribbon poor, you're basically just pouring the paint out of it lookup in a ribbon. You can go back and forth a couple of times. So you'll see, you'll get those cool ribbons of colors appear. And then the same idea as before. We're going to just kinda tilt the canvas around to stretch those layers of paint around. So it was taken quite a bit of effort to stretch. But it's pretty cool because he's still get some of those cells and you get all these ribbons of colors. I got a lot of movement and this one from the different directions that I tilted the Canvas sin. But yeah, it's a fun one to play around with.
6. Tree Ring Pour: Next up we have a tree ring or so. Again, we'll do our dirty cut using the swan. Got dirty cops. So let's pour. So for the tree ring, you're pouring like basically a puddle into the center of the canvas. And they can kind of go in a little circle. You'll see you get that look like tree rings, slice of wood. And then once again, we're going to tilt and spread out our paint. Right? So there's our tree ring pore and this was a good one to try actually without silicone oil because you'll get more of those rebellions. But here you can see those cells kind of popped up and they broke the ribbons up a little bit, which creates really cool effects. But there's just so much to play with so you can really get into it and see you just experiment and see what happens with everything that your tribe.
7. Swipe Method: Okay, So I'm going to demonstrate the swiping techniques. So this was a poor that I attempted to demonstrate here that didn't quite turn out how I like it. So the swiping technique is one way to kind of do a quick fix on your painting and get something entirely different if you're not really happy with your outcome. Alternatively, you can just begin with the swipe method, where you would just pour your individual colors onto the canvas kind of in a random fashion. Or you can kind of isolate your colors a little bit more. And then you're going to grab something thin and flat. I have these big plastic sheets which are pretty handy for this technique. You can also use a paper towel or a sheet of paper or something. Okay? And then you're just going to place the edge of that flat sheet onto the edge of your canvas and gently skim the surface of the painting in a controlled manner. Okay, and you'll see those cells reappear. And it's a really cool effect and it adds like a little bit of directional lines into your pieces as well. So that is called the swipe technique.
8. Combining Techniques: Mixing and matching techniques. So I have this ribbon poor that I demonstrated earlier. I didn't get all the way to the edges of my canvas, didn't get quite enough paint. So I'll just show you how to kind of continue on. You don't have to stick to one technique. You can kind of combine different methods in your painting as you go and just kinda go with the flow and decide what to do in the moment. The painting guide you into the unknown. I'm just going to try to use up all of my paint that I mixed up here. One thing some artists do is they actually have a tray under their Canvas to catch the paint. And then you can actually reuse that paint that drips on the table. Because a lot of times a lot of it goes to waste. One thing I've done off, so as I've gotten a little canvases and actually dip them into those puddles. And that gives a really cool effect too. But just one little way to minimize some waste. You can reuse your paint little bit. Okay. So let's see. I could do like another little ribbon pour in here, can even run this through the painting and create another ribbon there. Sometimes I'll take these little sticks and do like a little swipe in the corner to fill in areas like this little section not super happy with. So I'll just do a little skim on the surface here. Excellent stuff. Table event. We can also take your individual colors and do little ribbons through. It's actually turning into a pretty cool piece. So you know, if your results are and like what you hoped for in the beginning, you can kinda work, you're painting a little bit. I will say though, that there's only two things I found that can go wrong with this type of painting in my two years of teaching this class in person. But one thing is getting the wrong consistency. So again, if your paint is too watery, it's just gonna kinda pour off of your canvas and you won't get that substance. Father layers, like layered onto each other. And again, if it's too thick, it's not going to flow over the canvas circuits to chunky, It's clear gonna get a lot of weird things happening. The second thing that I've seen go wrong is overworking your paintings. So this is a very delicate process. The pain has a mind of its own and you kinda have to let it just do its own thing. You know, they say that about watercolors and paint a smarter than you are. So just remember that it's gonna do its own thing. All you have to do is mix the colors and pour it and be mesmerized. But so what happens when you overwork your paintings? So like I'm doing all these little touch ups and porins and swipes and everything is eventually the colors might start to blend all together and you'll just a little just turn into one solid color. Get kinda muddy looking, especially if you have a lot of different hues. So just keep that in mind. You don't want to work at too much. So if you feel like you're happy with that, that's probably a good place to stop because it's not going to really improve that much the more you work on it. Another little technique that's fun is. So those are techniques that are found there's so many early. You can also do a little bit of marbling. See this corners kinda like my experimental corner. So you can like around your little mixing sticks through here and do this sort of marbling effect. That's pretty cool. You can always do some splatter paint. And actually Jackson Pollock is another famous artists that does poor art because he has his canvas flat and pours his paint on. So you can always do a little bit of splatter ring in there. Yeah, and you can try different tools. See what else can we do? What else can we do to touch up this little corner? Some more paint on there, maybe do another swipe. Think that adds a nice little texture. So there you have just a handful of my favorite beginner friendly, poor painting techniques. Again, you can mix and match all of these methods and create your own. Get inspired by what other artists are doing because we all get inspiration from each other. I don't really believe in copying, you know, like the modern artists are all taken inspiration from the artists that have been known throughout history and all their methods and everything. So yeah, have fun, get inspired, see what happens.
9. Thanks for watching!: All right, thanks for watching. I hope you guys enjoyed the class and learn something new and had fun experimenting with these awesome techniques. I would love to see what you guys create it. So when you have a chance, take a photo of your artwork and upload it to the Projects tab. Check out what other people have made also. And if you have any questions or concerns or any trouble with the mixing or pouring, getting various effects, feel free to send me a message. I'm always here for you beyond these recordings. But yeah, with that, stay creative, have fun, and I'll see you in the next class.
 Anastasiya Bachmanova, Artist at www.followthesunart.com