Transcripts
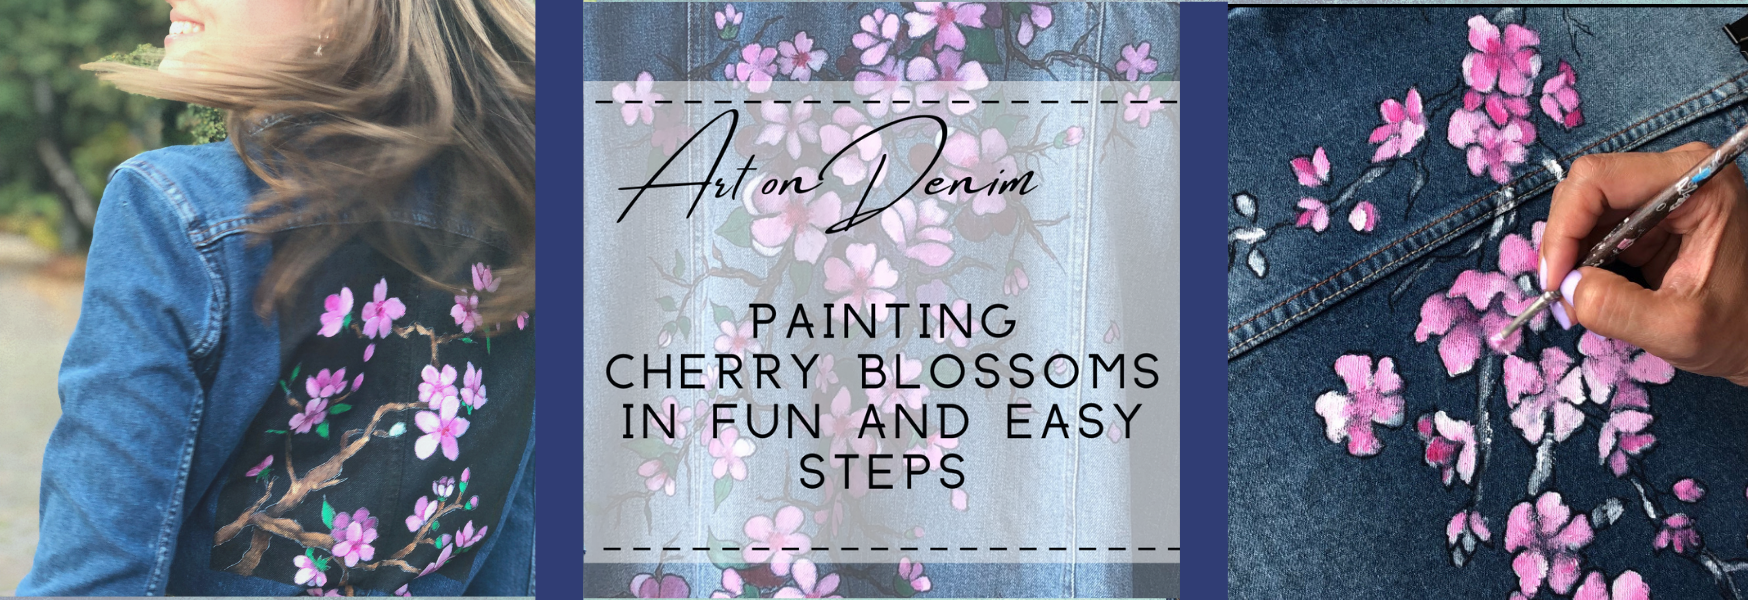
1. Introduction: Turn to peel of Dannon into wearable art by exploring the art of painting on fabric. Hi, I'm Eli Qiao. I'm a mixed media artist based in Manila, Philippines. My love for painting married with my passion in uptight reclose, led me to start my company and wasted. My goal is to give a lease of life to Dan and clothing that would otherwise end up in a landfill. I source use dunams from secondhand stores and work with sustainable that in companies to donate their rejected pieces from their production. For me took cycle. I paint a plate using fabrics and embroider designs and Danone's creating a beautiful, one of a kind piece that my clients love ever. K0_s is unique. Every piece is a story and every piece has an art. In this class, you will give a lease of life to a pre-lab dancing by painting a beautiful composition of cherry blossoms. This class will teach you all the skills you will need to successfully complete the class project. These skills will be valuable for both beginners, artists, and fashion of cyclers. We will cover art supplies I recommend including pain brands and brush types. The ideal data and to use and how to prep before painting. Tips for sketching out the perfect composition and finding inspiration. Mixing your own fabric paint to achieve vibrant colors. Brush control technique that were expressed in denim, layering and blending colored to prevent colored lead, fixing mistakes as you paint and turning it around. Adding final touches. Finally, kid setting and wash care. I am so excited or joining me on this class today. I will see you in the classroom. Okay.
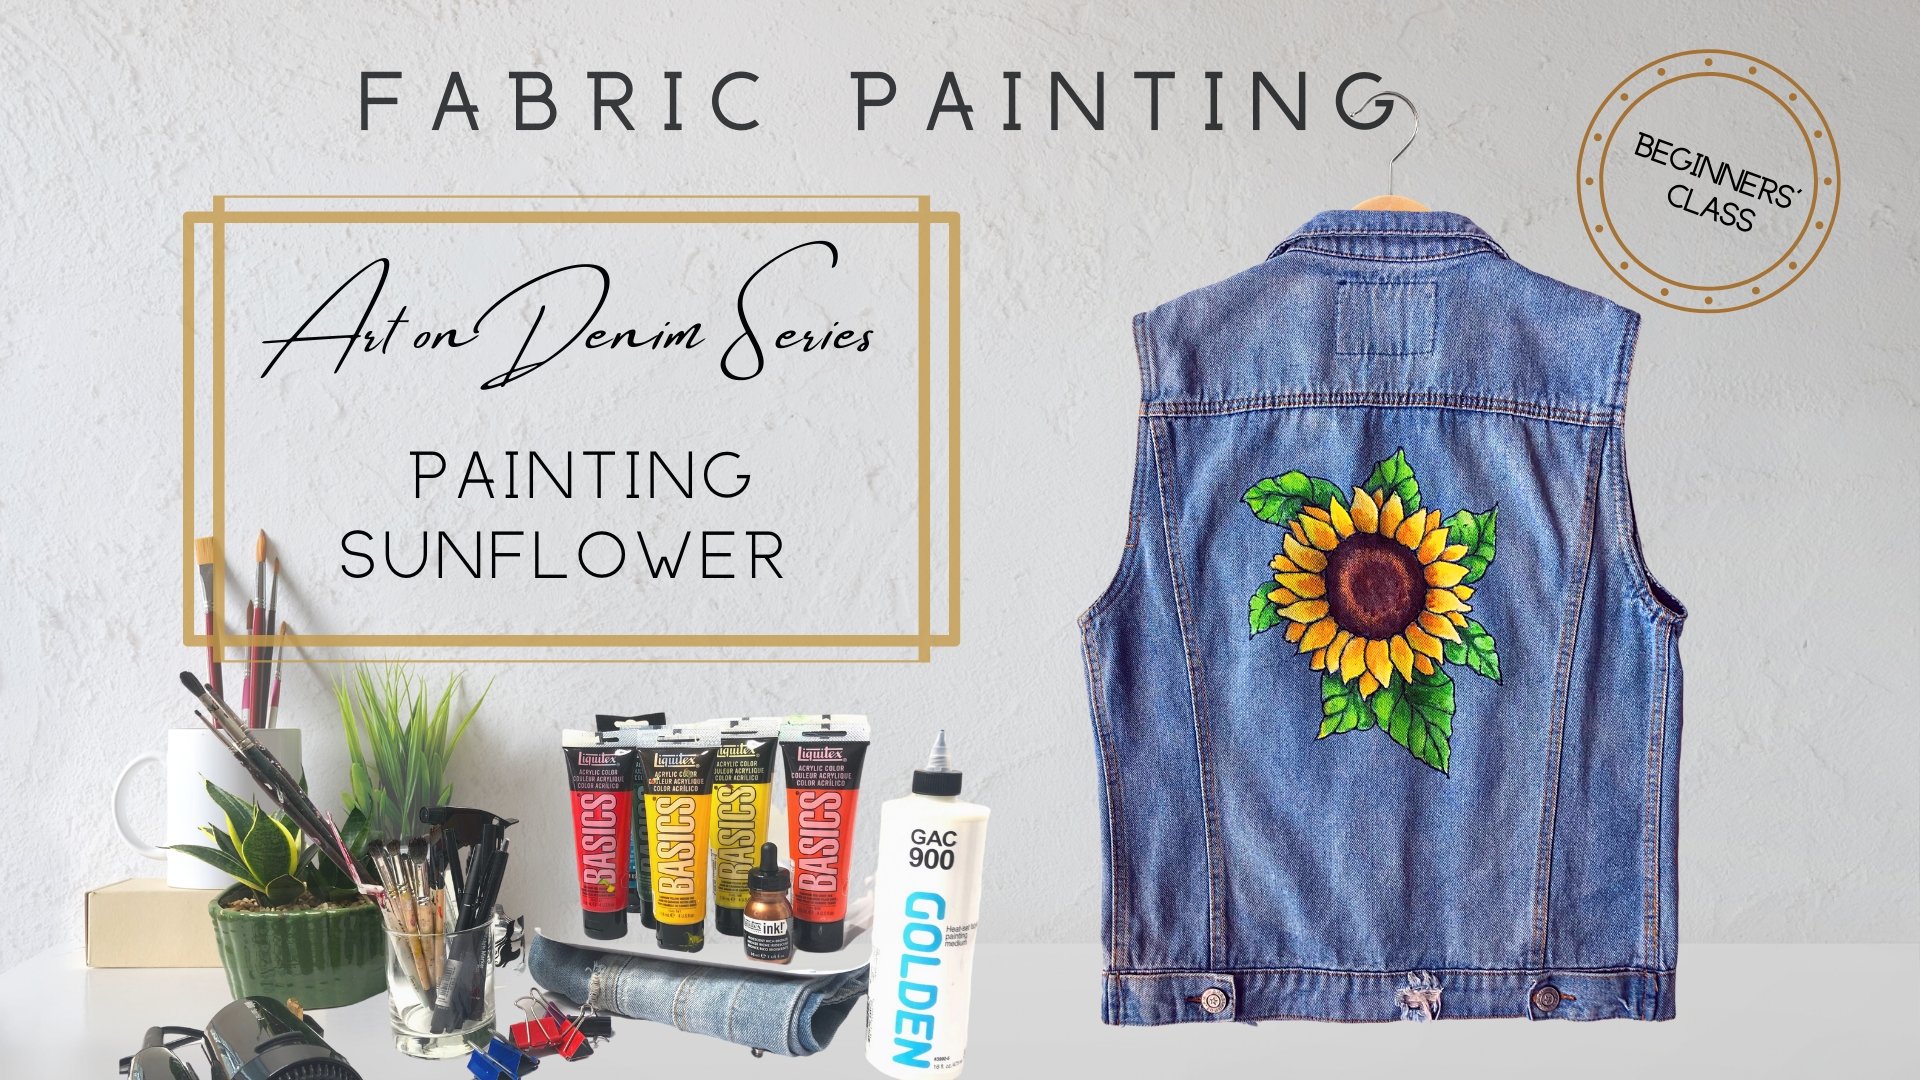
2. Materials: Let's talk about the material that you will need for this class. Your data has to be a 100% cotton. Make sure that it is washed, dried an iron before you start working on it. You need a port cut to the approximate size of the back of the Dennett. Cut-up hard corners occur for a better fit. Next you need ten medium-sized binder clips. You later Dan and clapped and encircled board and flip it over. Stretch. In security with binary types. It is important that when you are stretching the tannin but it is tight. There are no bumps and it is secure to the board. You want to make sure that you have a smooth surface word on when you start with nothing. They could tax. Professional heavy body is my favorite when painting and Dennis, It is high augmented and it's flexible when Dr. moreover, because the datum is not prime like a canvas, heavier consistency of paint is ADL specially pure mixing your acrylic with fabricate medium. The consistency of the medium is rather watery and ineffective, well adjusted and thickness of paint to just the right consistency. Other brands that I can recommend that could tax acrylic basic, This is a great option for a student grade brand. It comes in many different colors. Another favorite of mine is an LEA abstract acrylic. Or the brushes, you will need smaller sized synthetic brush. So I will be using Gilbert. So that's number to a number for flood brush, number four, round brush and line brush. So think they are number one and number 0. And my all around Raphael, heavy body, short bristle brush, fabric medium. I use liquid Tex fabric medium because it does not require heat setting after the paint is completely dry. If that is not available. I use Jade EC 900, Golden. This one requires heat setting. Black marker. If you cannot find fabric marker in your area. You can use any black marker that is water-based. Smudge proves waterproof in fine tip. You will also be needing two pots of water, one to wash your brush and one to rinse. This is to make sure that your colors don't get muddy. Paper towels. Very, very handy. In if your palette knife and your palate tray or I use a small RAM and can use that to mix your paint and you haven't medium. Another thing that you need is water spray bottle because it's really handy to keep the surface of the ten mm down. You need hairdryer to try it. So this is just a fast-track drying, the drying process between layers. You'll also need a lot of baby wipe. Usually use a lot of baby wipes. So these are the materials that you need. Check the list under the resource folder.
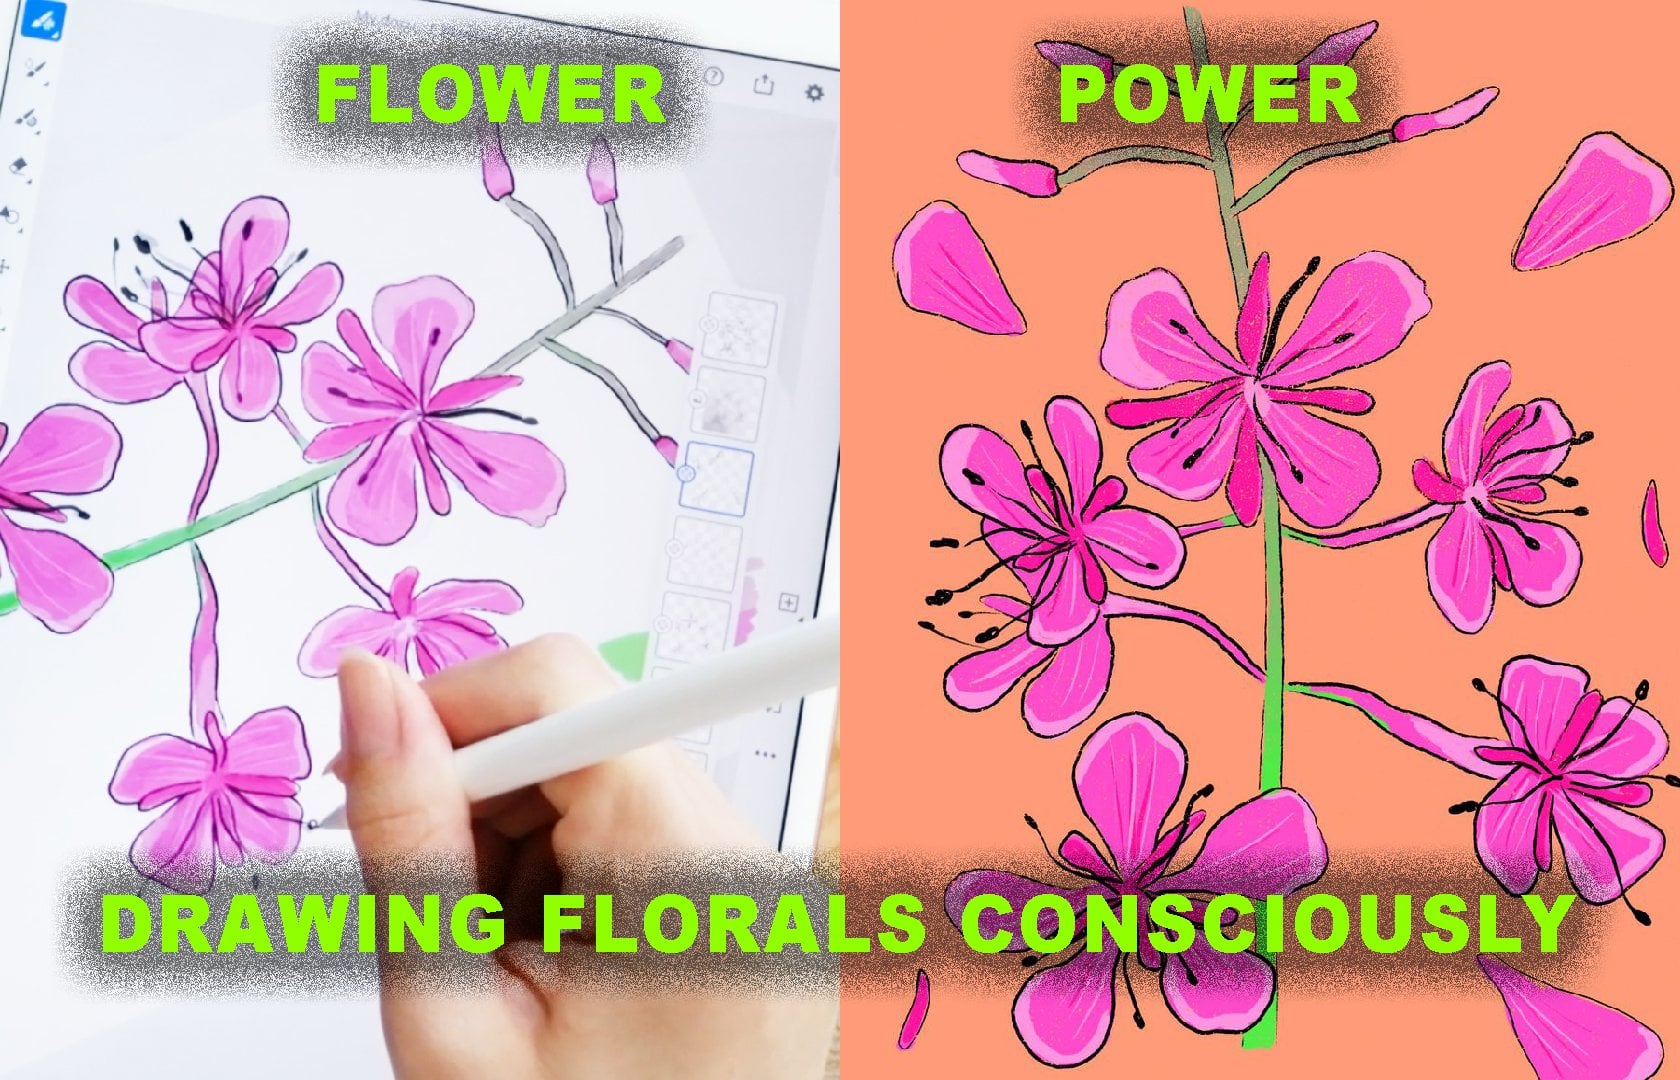
3. Warm Up: Now that we've covered the materials we need for this class, let's do some more. I'm trying to have a better feel of the shapes of the chair blossom flower. You can draw along with me. Or if your confidence and your ability to draw, you can skip this part of the tutorial. I have provided a PDF copy of the drawing that you can use under the resource folder. In this photo. Take note of the cherry blossom flower. It is important to understand the elements that makes up for this particular spring blue field treaties, other resources online that can help you better understand the important element of what you're drawing. Using a pencil, we will first draw a circle to get an idea of the size of the bloom you want to draw. Now we will divide it into five segments from there. And we'll continue and extend the line to create a more organic shape of a pedal like so. You can keep on practicing this and I encourage you to try different sizes and angles as well. Drawing a cluster of flowers. Think of the Rule of Odds. Composition will be more dynamic if there's an odd number of the element, say, three or seven towers in a cluster. But within an even number of say, two r six. It is also important to bury the sizes of the flowers for better composition. I start by drawing the flowers, adding more to form a cluster. Then I will add the half blooms and, but i will then work on the leaves and finally, connect all the pieces together by drawing the branches. Excellent. Now that you're all warmed up, they started to draw under Dan and I have this whole piece of jean jacket that I will be using to do our warmup exercise. Please make sure to stretch out the fabric and secure to avoid shifting when you start drawing. Don't be afraid to make mistakes. We do this warm up so you can better connect with canvas and paint in this project using your black marker. Slowly start drawing your composition. Take time to step back and assess if you're happy with how it's coming along. How do I smell gun extraction come by default. It's not about the financial details on the next floor, office pumps. Here's this exercise as a warm up, super happy to have her off. But for some other purpose, casa, it's an important question. Now. The question is going to be important. The question being asked, you can see the increase in income. Right? Yes.
4. Transfer Design: Refer to this list materials you will need for this part of the before we start, make sure the enemy stretched on board insecurity with clips so the surface don't shift when you start drawing. Using your Taylor's chalk, graffiti marring the placement of the flowers on the denim. So I wanted the branches to cascade from this side spreading diagonally to the bottles. I'd also like to mark where the cluster of flowers will go. So this two big clusters here. Then maybe a small one year, I'm going to add a branch there. And one small one here, and finally a bigger one here. Let's see how that work. The first option of transferring your design is by using carbon paper. For these project. I will be using this carbon paper that I bought from my local art store. The template that is provided to you under resource folder, and some pins that you'll use to secure. And the paper on top of the denim. So it does not shift when you start drawing. After pinning it in place. Using a pencil or pen. Trays all the lines on the template. And you can use that and repeat the pattern until you are happy with the composition that you are creating. In order for you to connect the pieces, you can add either extra flours or pedals, or connect them through adding branches. The second option in transferring the design is by drawing directly to the denim. We have done this in our warm-up class. So this time around each of the little bit easier, or at least you will be more familiar with the shapes and how it's supposed to be done to make sure that you continue to refer back to the complaint that is provided. Or if you're using your own photo reframes. Keeping in mind the kind of shapes and sizes that you want to bring in to your compensation? Okay. Okay.
5. Base Color Application: For this part of the class, you will need titanium white acrylic paint, fabric, medium, paint tray, or in my case, a tiny ceramic bowl and a pallet knife for mixing. If using Likud Tex fabric medium. The mixture is one part paint in one part CABAC medium. If you are using a different brand of fabric medium, be sure to check direction in the label for the correct ratio of mixing. So before we start, I'm just going to extend this line at to the shoulder. And looking at it, I would like to add a small branch and designed just for the sake of mammals. So I am using the Firebird person on the floor. I am slowly Canal, just dabbing the color, the paint onto the surface. Now before I studied painting, I made sure that the service is down. It helps with the application of the paint and you don't want the surface to also dry up so it's easier to absorb the colour this way. But you need to make sure that the surface is not two, that the paint will seep through to the other side. Applying a base code will ensure better adhesion of pain to the surface. It will also smooth in the surface and prevent the pain from bleeding through. It is worth to note that in general, using by branch cues in a warm tone such as magenta, applying white as a base color who achieve the best possible outcome. She is a big issue.
6. Building Layers: Now let's prepare a paint for this part of the class. So you will need your media magenta, titanium white, and your fabric medium. And then these happened. Oh my god guys, I am so sorry that camera did not focus the right way. So the first part is blurry, but I was able to fix it and it's all good now. This time we will work on pedals for now, adding layers and deaths as we go until we're happy with where it is. The only color you have on your pilot right now should be medium, magenta, titanium white and fabric medium. Focusing on one color at a time saves you from other paints drying. So your brush will not blend in with other colors that could potentially make your colors muddy and dao, and we don't want that, so I think it is for now and then we will move ahead with the rest later. Okay. We can't have that, right. We have an edge. We could have S. We put an else. Now that we have added enough layer on the pedals, we are going to move on to the leaves. And before you do that, make sure that you surfaces now. Use that spray bottle that you have. Now mix your green and fabric medium and use a small brush as we can. And while the leaves are drying, let's move on to painting the branches so you prepare your paint, raw, unburned with the fabric paint. And you can use a forward or a flat brush for this one. We can't have that. We touched her.
7. Details & Final Touches: In this last part of the class, we are going to break on refining those little details, starting with adding darker tones to our piece. So I am using the small round brush and really going under the pedals to add shadows. Now this is one of my favorite thing to do in painting. Finding line using the fine tip black marker. This is a great way of cleaning up the edges that will give your painting or crispier field. So you can use a marker to just clean up kind of like the edges. And this is also a perfect tool to add markings on the branches to add that extra layer of texture. Okay. You see. This is not the same as it is said to be the same. It's similar to the other. So you see the same signal that is the same. And they seem to consider spitzer is similar to the other two. So you see the same because it is a same decision to see. Suffice it to say. And you can see that this is meant to make the decisions in this history seems to work. And this is C, two. And this is meant to make the decision. And it seems to be similar to this. And this is the system. You see. This. It's good to see you soon. This is the system into two pieces. Okay, so now it's time. I step back and look at the how compensation and I feel like it is lacking details at the bottom. So I have decided that I will extend the design a bit far down and we'll add loose leaves and flowers. So some of the branches will also be extended. Charles had bet. So let's see how that Gaussian, if the speed is very similar to a suicide note in the center of the city. It is a same decision is to see it. We need to see it. And the system is easy to see. And that is that we are done. This is the denim jacket I did with the guys with the class project. For those of you who use JC 900 as fabric medium, make sure to read the label at the back and get all the details on how to heat set your piece.
8. Thank You!: Through this class, you learned how to paint an denim and personalize your design. You are the designer and the creator ins project. After all, the beauty of learning something new is enjoying the process and absorbing the tidbits of information that we picked up along the way. Remember, you alone can define what is perfect to you. I help in this process. It got messy. You made mistakes and was able to correct it, had fun and learn a new skill. But above all, you find a fun way to cycle and personalize your old favorite denim. Please share your process photos and final project in our gallery. If you have any questions relating to this project, please feel free to message me. Thank you for taking this class. I cannot wait to see what you made.
 Elie Quial, Mixed Media Artist & Fashion Upcycler