Transcripts
1. Introduction : Hello and welcome. My name is Karen dawn and I'm super excited today
to share with you an adventure in art journaling that I
think you're really, really going to
enjoy in this class. You are going to learn how to do several different things. And a lot of it's
going to depend on the supplies that you
have available to you. But the idea here is for
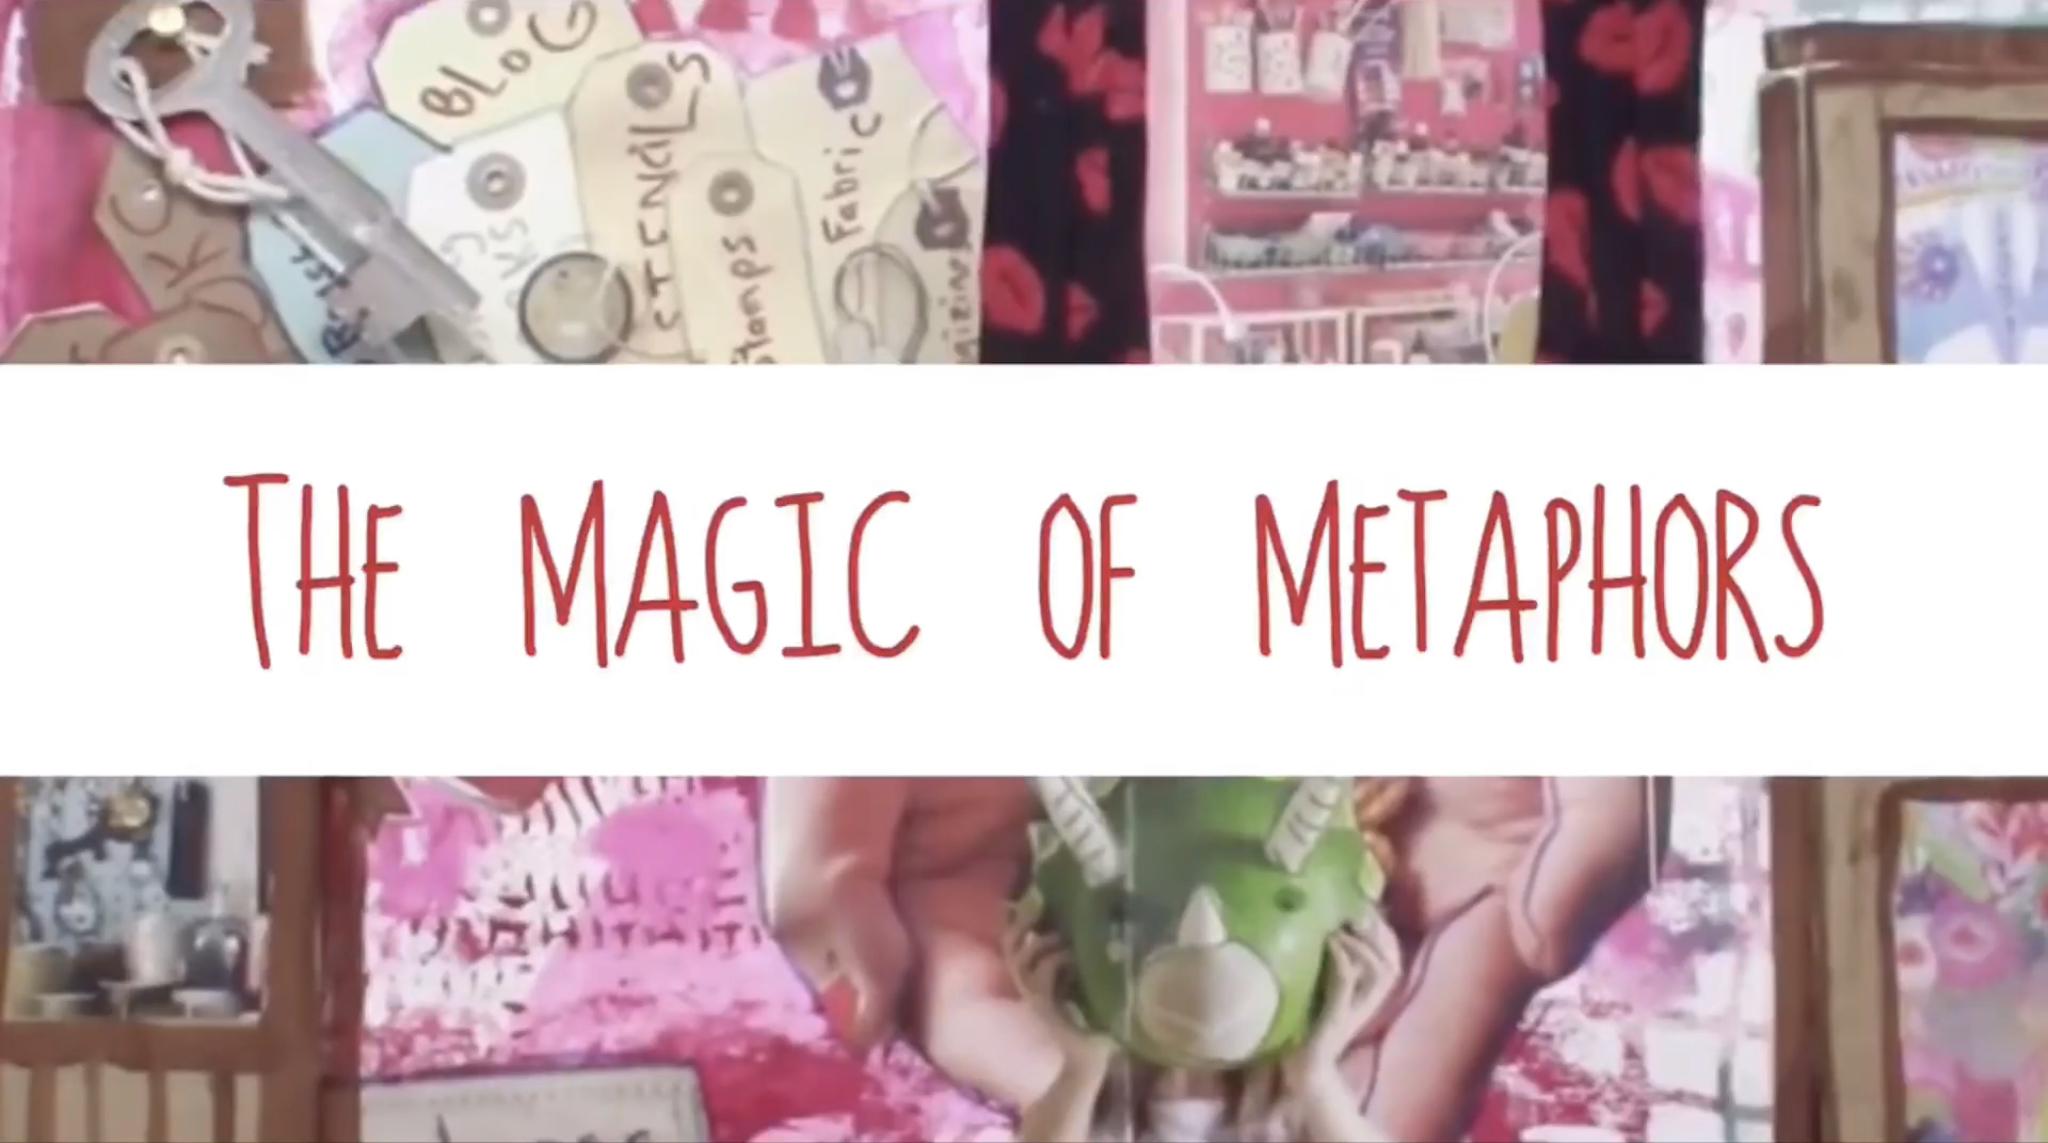
you to create a story. And one, a little
bit of magic happen. And by magic, I am in particularly referring
to the metaphors they can come out when we
allow ourselves to create from a place deep within us and not worry about the details, the
artistic expression. If it's going to look good, if this is going to work, none of that None
of that matters. What matters is that you can get something out of yourself on, to a page or a canvas and
learn from it, grow from it. Find something that maybe
you weren't seeing before. And when we work in a intuitive, creative way, magic happens. And that's what I'm here
to show you specifically. This is what I am going to
show you how I create it. And actually there's none little part here that
just kinda fell down. This is very interactive. And I don't want you to think that you have to create all
of these different things. This is, my goal in this class, is to teach you how
to just kinda go with whatever comes up
and get creative with it. And to create a story that's
going to help you to maybe resolve something or change your story or create
something new. Now, in this page, I was working with
reducing the clutter in my home and my art
studio in my mind, in my heart, in my life. All of that is just
some stuff just, just got to go. So I started with images that I thought might
help me to express that. But I didn't pick these images from a place
of thinking about it. I pick these images in
a very intuitive way. And what came out as I
was working on this was a very interesting story that
I will probably spend days, weeks, maybe months
learning from. Some of the elements
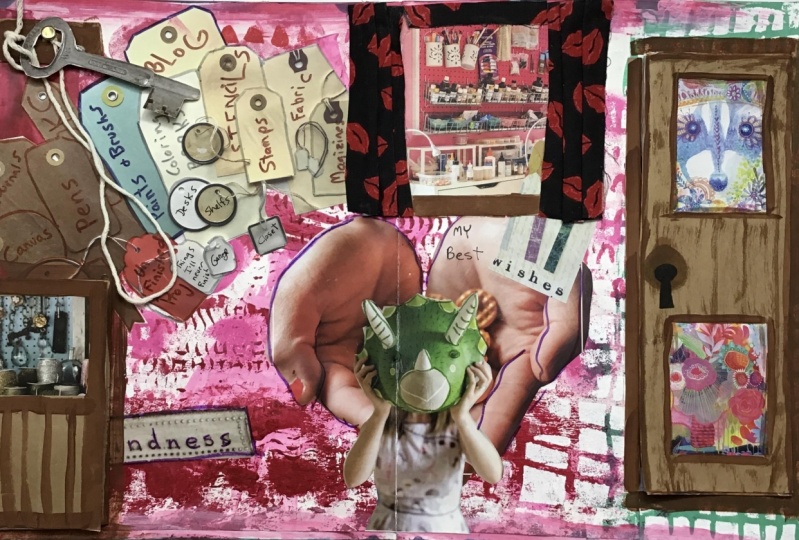
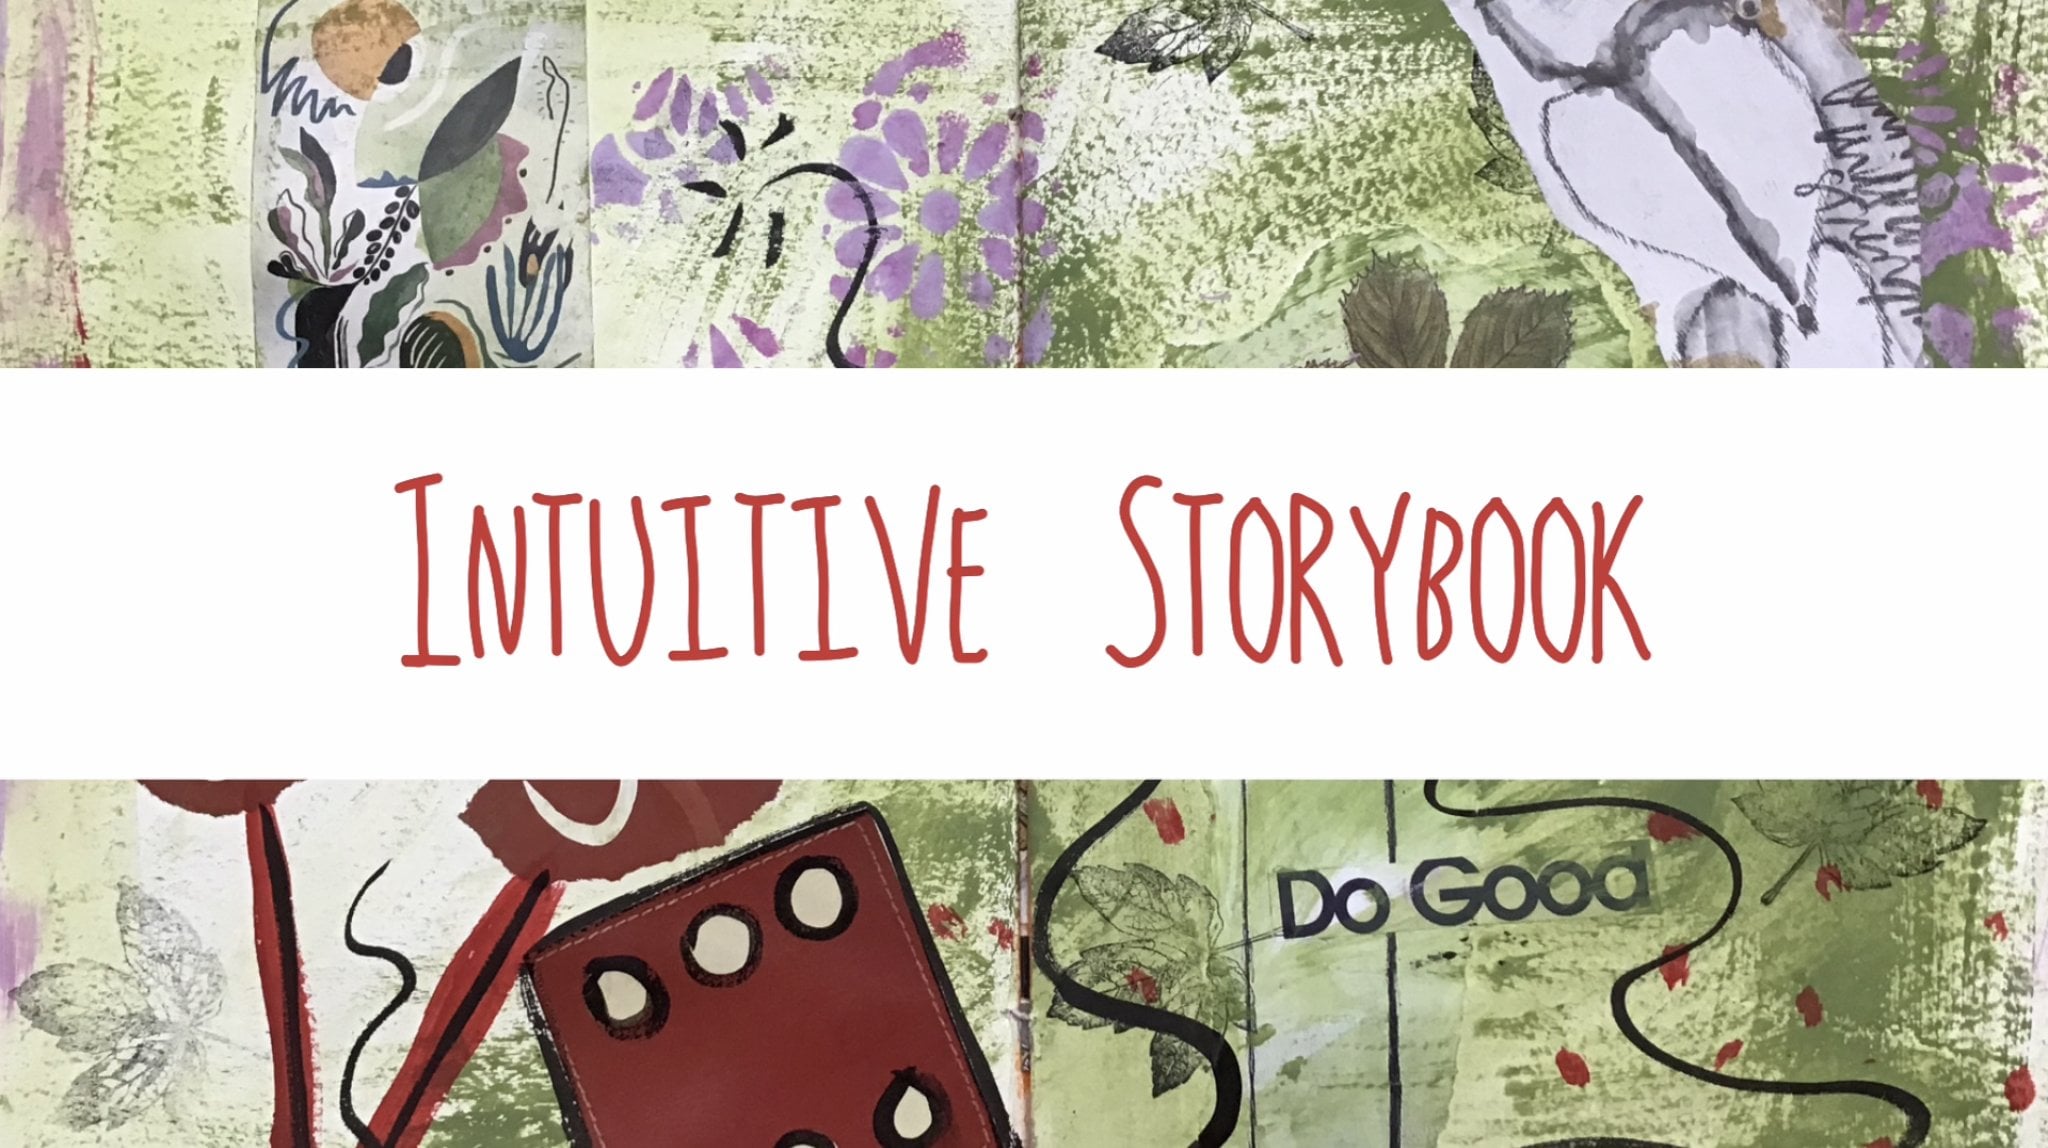
that I wanted to point out in this are, this is a, this is
very interactive. This is a key that I found. It was just a
magazine image and I turned it into
something interactive. And it unlocks this
door over here. And the story actually starts over here with all
of this clutter, all of this stop. This actually is
interactive too. So this is kinda like a little, I didn't even know what it
was when I first made it. But this is like a shed door. It's like an outdoor shed. All of my supplies, all of the ones that I'm
not using like right now, but not long-term
storage just out there in the shed
through there's still available,
they're still there. And then behind this door
is a very nice, simple, simple art studio corner in my home where I
can get creative. How wonderful is that? This right here is a window. In Windows or very, there's, there's
definitely metaphor is behind windows and doors. Windows and doors,
opening up opportunities. Looking through the glass, what can we see? What are we envisioning? And of course, this is just another little art area that I've been dreaming about. Just having, you know,
reducing my clutter, getting my space together
so that I can create. So in this video, I am going to start
at the beginning with this page spread and walk you
through how I created it. My hope is to give
you some inspiration. Okay? Goal here isn't for you to do. I do. My goal is to get
you, to do you, to get you to tell your
story in a creative way, in a way that gives you some insight into what's
going on in your life. I hope you'll join me, grab whatever you've got. And at the end, I really, really, really, really hope that you
will share your project. Okay, let's get started.
2. Selecting Collage Images: I'm going to start my piece with a couple of magazines to pick
out some collage elements. Now I have a couple of
different magazines. Hear my story that I am working on in this chapter
is my story of clutter. So I just have like a
whole lot of stuff. And so I know that the Somerset studio magazines are going to be
really wonderful. I'm gonna get all kinds of images in here that I
know are really going to help me to express that
clutter in my life. Most of my clutter
is just I have I just have way too
many art supplies. I mean, how many art
supplies does a girl need? Well, apparently a lot, but I'm trying to work on that. And then the other
magazine that I picked up was this,
where women create. This book is all
about women that have these organized
places to create in. And when I first started
looking at these, it was a little intimidating,
but it's like, oh, if I could only if I could only. So when you're working on
your story, um, you know, find those maybe, I
guess you could look at this as these are like kinda
like my before and after. And in this project, my goal is to learn
from my story. My goal is to learn
from all of my stuff. What is all of this
stuff trying to tell me. Okay. I have found a few
images that are several images probably
more than I will need, but this is, this is
how I like to work. I like to be able to do get more than I think
I'm going to need. So then I have some
things to pick from. When I'm working in magazines, I tend to take out
the whole page. It keeps my magazines
a little neater. And then if there's
something on the page, like if I cut these out, I can do these in the back side. I'll, I'll save this image. So I'll just kinda cut that out and then I can save that side. And I picked up this image
to kind of represent, well, you know, how many
tags does a girl need? Yeah. How many art supplies
does it grow? And then maybe on these
tags I can write in what I'm all of the stuff that
I have, I can label that. So I really liked that idea. This one really made me
feel like, wow, you know, in a way it's like there's this, there's this big mass, messy, messy background here. And my problem feels
like really big. It just feels really big. I almost want to take
this and put an image, draw myself in the background. And I may not use this. Use this as is in my closet. I may just use this as a reference because
I really liked that. So I'm actually
going to just set this up where I
can kinda see it. I have some little
binder clips and places where I can
clip things up so that I can They can be held
up while I'm working. So I really liked that. And I loved this one
because it has a key in it, which it signifies to me that
I have the key that will unlock what is happening for me. And then most of these are images I picked up because
they were just these really nice, well organized. Well, not that one. Remark. There's a few in here
that are these really nice, organized our creative spaces. And I really loved
the idea of this, this recycling,
upcycling things. And, you know, if I had
I know that in my home, if I make a place that
used to collect clutter, if I make it special like this, I won't just pack clutter on it. I will keep it nice. So sometimes just
having a nice space, We'll keep you from
cluttering it up. Now, as I said, I don't
know if I will use any of these images
in my artwork, but I certainly can. I have them available to me. So now I have taken some of those pages that I took
out of the magazines. And I have cut out
some of the images that I thought would
really work well in here. And I did a little bit of
combination of things. So I took this image which
I really liked the hands. Then this really playful image, which really reminded
me of a little girl. Do you know this is
a little girl and She, she's so excited to be creative and do all of
this really fun stuff. And of course that is my story, that is how I got started and one of the things that
I really want to remember, and so I cut this
out was kindness to be kind to that
little girl in me. That is just, it's still so excited about being able to
do all of this wonderful, all of these wonderful
things with art supplies. And then I, of course, I cut out my tags and I am going to put some little
labels on these to signify that these are all these
are all the things that I I want to can organize. Okay. I did cut out some of these images because
I have like tons of fabric and I just love
how these are organized. I don't know if they're
going to fit in this page, but that's okay. I still wanted to I so
wanted to have them available for me in case
I wanted to do something. And then this over here
is actually one of the, one of the images of a nice, organized, nice small work area. I loved this. And as I was thinking about
how can I put it on the page, doesn't get oh, I could
put it over here. I could turn it into
a doorway and then my key can unlock the door. I don't know how all of
that's going to work, but I'm going to start gluing
these things down next. And I might actually, I think I'll put some
color in the background. I'll do some, some paints and maybe even some stencil
work just to kinda get some texture
in the background. Which is, which I'm going to
use this as my inspiration. And somewhere in here I think I might put a figure like this, but I don't think I'm
going to use this. I think I'm going to use this
as a reference for that. I do have that up in my
space so that I can see it and be inspired by that. So that is my next step. Oh, and one more thing. When I cut these out, I just kinda had
them all in a pile. I just kinda went through
the pages and cut things out and was picked out the ones that I thought
I would use the most. This was actually
part of a whole, another thing and they've decided like only
wanted the key. And after I had my
pile of things, then I took it to the page and I started imagining how
it could play out. And I like to call
this auditioning. You put everything out, they're going to use
it and you might have some extra ones
off on the sides. Okay. And then you just start moving them around and
seeing how they fit. If they fit, some things like this, you know,
you might go, yeah, I really liked that,
but I'm just kinda put it maybe part of
it gets cut off. Or like I did with this one, instead of trying to pick
this fall on the page, I kinda wanted it
to make it hidden. So it was like this is what
I'm trying to lock this. So this was, this was a very intuitive process
that I went through. And I love doing this,
this little auditioning. It sets the stage without
making any commitments.
3. Creating the Background: I am ready to get started. I'm going to do a
background in this one. And I when I work, I like to have a lot
of things available. So I, you know, just the things that I
think I'm going to use. So I pick up my paints that are all going to work together. I have my tools, my water, my images, I put these off to
the side because I'm going to do the
background first. And I have some things to make, some textures with and
something to roll that out. And a, a paint palette
over here on the side. So I should be ready to roll. One of the reasons
that I like to have everything out like
this, and I have, I have more stuff on the
peripherals so I can, I can be very intuitive. Like, oh yeah, I want that. Oh, yeah, let's
put that in there. Let's do this. Because I work in such a intuitive way and I don't want to be slowed
down with, oh, where's that? I have to find that having everything available including
lots of paint brushes, when I work, I tend to not wash out paint
brushes in-between. I use a paintbrush and I
just stuck it in the water. And so these are just
all those inexpensive, cheap craft brushes
that don't fit. The bristles do not fall out. In some cases, I
think that's fine. Okay, So I'm gonna go
ahead and get started and we will see what happens. Well, I am wrapping up this last part of putting down my paint
in the background. I wanted to talk a
little bit about what going on in within me
while I'm doing this. Because for me, this process
that you see me doing right now is not about
just making it pretty, or putting down color, or making, making art
or making meaning. I am simply meditating on this. I'm letting it sink in. You know, I picked out my story. I kinda got my head around
how I wanted to expressive. I found images that I
thought would work well. And then I started
doing this part. In a way you could look at
this is the like the pause. This is where I'm pausing. I'm not just going
to dive right into the collage work
and the story work. I'm going to pause. And this, this is what a pause
looks like for me. Okay. I've taken a little
bit of time to clean up around
here and put away my paints and wash my my sponges out and give this
a chance to dry. I always take all of
those opportunities and I need to pause and let it dry to kinda pick up as I go so my area doesn't
get too crazy. Crazy is good, but too crazy. One of the things I do
want to point out though, is that when I'm
working on a project, even though I may think
I'm done with the paint, I keep my paint off to the side. I don't put them back
where they came from. Because if I put some some something more on here and then I want to add
some more color on top. I'm going to want to use the colors that are going to
match with the background. And there's a very
important reason for that and I will be doing that. So when you clean up, don't clean up too much. Just keep those keep
those colors handy.
4. Let the Collage Begin: Okay, So I'm going to get
started gluing my images down. So I'm going to put them back
out here like I had before. Auditioning them. Again, ensuring that that is
what I want to do with it. Again, this is another one
of those processes that I really encourage you
not to over think. It's really easy to overthink
it and spend too much time fussing and filling and that is not going
to serve you. Okay. So check your brain at the door and left that little
girl out to play. I am going to be
using some, well, I was going to use
something else so I could use mod mod podge, I guess I'll, I'll use
that since I have it out. I'm just going to use mod podge. You can use any glue that you want to glue down your images. Now, if you are using
magazine images, a lot of magazines
are very thin. And so you're gonna get, you're gonna get a lot of wrinkles on your
images when you use a wet glue like mod podge or even gel medium or matte medium. This because it is they are wet. So if you have very
thin magazine pages, you probably going to want
to grab a glue stick. I don't like working
with glue sticks, but sometimes you just
gotta you just have to know the magazines that I used are
really quality magazines. So the paper is pretty
thick and I don't have problems with that kind
of wrinkling in this. But then again, I don't
usually use mod podge, so I might be eating my words. I usually do use a matte medium. I have a lot of mod
podge, so, you know, I don't want what I
have to go to waste. I want to use the resources
that I've already purchased. And I'm using a brayer
to flatten these out, to push out any bubbles. Absolutely not necessary. You can do this with your hands. I just I I have one and I like to use the things that I
have bought to create with. I used to be I used to have a hard time buying art supplies and
then using them. And I hesitated and it took me a while to develop the habit. It really is a habit now
it's almost like a rule. If I buy something as
soon as I get home, I rip open the packages, I get it out. I put it out in a place
where I'm going to use it. Otherwise, I'm
going to be tempted to being the polemic
sharper that I am. I tend to, I had a really bad problem
with returning thing. So I was always
buying and returning. So I break everything open. Use it if I can right away. I'm that helps. When you're gluing images down. You know, it's always going
to be those edges that don't seem to catch the glue, just run your brush
underneath it. I also like to seal my
images and mod podge. It works very well for
that price ceiling. I mean, taking, taking the leg glue and
brushing over the top, which is another great way to push out any of the bubbles. Now I'm gonna go over
the top and I am going to seal all of my images. And the reason I do this is because when I add
more layers on top, whether it'd be, you
know, paint or ink. I want to I want my surface to be consistent and I don't want my like the some surfaces might be more absorbent
than other surfaces. So if I take like a gel pen
and write over the top, that gel pens going to behave differently on
different surfaces. So I kinda think
of when I do this, when I seal it in and
I'm sealing everything, not just the images, I'm sealing the background. So I'm covering this with my glue and it just kinda
levels the playing field. Now, do you have to do this? Absolutely not. You do not have to do this. This is just an extra step. But it truly is extra. So don't do it if you don't have the if you
don't have the resources, if you don't have enough glue. And even on this, see now
that I'm going over this, these images, some of the magazine images
are wrinkling up. And I can go over
them with my brush and push those,
those bubbles out. And a little bit of wrinkling
is, I think it's great. I love the little
bit of wrinkles. They just don't like a lot of wrinkles and I don't
want things curling up. Okay, so that is pretty much
going to take care of that. So at this point, I'm not
going to put that away. At this point, this is very, very wet and I'm going
to set it aside to dry. Now, you could take
a heat tool to it. But the problem with doing this write-off is
that first off, I glued down the images and
then I seal them right away. So if I take this
heat tool to it, it's going to seal
this top surface, but things are still going
to be wet underneath. So it's really better to just
kinda let it let it dry. And I'm in a half an hour. If I want to come back
and work on this, I can I can do a quick
little heat on it, but it's really best to
just kinda set it aside. And while that is
setting aside to dry, I am going to I'm gonna
do one more thing. And I'm going to do
something with this key. Because this key is
just, you know, it's on. I want to make it a
little bit more sturdy. So I don't know if I
necessarily need watercolor. I think, you know, a
mixed media weight at your card stock will
work just fine. I don't have to do
anything too thick, but I want something that's
going to be thick enough so that I can do something with this and it's not just
going to flop around on me. I think this should
probably be good enough. One of the things that
you might notice as I'm using a different brush
than I was before. And that is because I put
the brush in the water. And if I took that brush out of the water and even if I
dried it with paper towel, it's still going to
be a lot wetter. And that's going to increase the chances of my
magazine image. You know, getting all
wrinkled and stuff. That is why I really like
having just a lot of brushes around because sometimes you
want to take a wet brush, Let's say I wanted to put
some some paint down, but I want a nice thin layer. I can take a wet brush and
then do that on my page. But for this, I didn't
want anything wet, so I'm going to let this dry completely along
with my other image. And then I will come back
and see what's next. This is another wonderful
opportunity to pause, stepping away from
your art work. Now if you want to keep working, you might consider doing
some journal writing around what kinda
came up for you so far while you
were doing this, all of this, this glue
and these mediums, these are going to
dry pretty quick. I'd say this thing is
probably going to be ready to go and about 15 min. So we're not talking a
long period of time, but I also let my
layers dry in between. If you have a big soggy, wet surface, it's obviously
going to take a lot longer. So be patient and take
your time with this. I love to do that, that journaling
process in-between. You could also look
for some more images. Maybe you're starting
to feel like, Wow, maybe you can have a
little bit more on there. But I caution you.
Try not to overdo it. You'll just end up with
a big cluttered mess, which maybe what you want. And it might not.
5. Pen Detail: What I think I'm gonna do
next is I'm going to play around with these tags in here. And what I'm going
to use for that is I have some of these Pitt pens, these are Indian ink,
so they're permanent. And I might wanna do
some more things on top. So I don't want to
start working with water-soluble mediums just yet. What I, I've found is these
Pitt pens really play well on top of the mod podge
that I had put down. In fact, you generally don't need to wait until it's really, really, really dry in order
to be able to use these. But of course this has
been dried overnight. So I'm just going to kind of outline things,
highlight things, maybe start putting in some of the tag names
and what they are, and maybe bringing out
some of this imagery. I'm still wondering
what to do about this. I really want it to
be like a doorway, but I need to make it
look like a doorway. So this is something that
I will put in the back of my mind that I want to have some sort of answer
resolved that. And it gives like, what it does when you
do that is it gives a part of your brain a task, it to keep your left side of
your brain like occupied. Okay? You know, focus on what
you're gonna do about this. And you get to just kinda play. If that makes sense. I love having these little, these little tricks that we do. So I'm just kinda get started
and see where it goes. I have I have no plan, no idea of what this is going to look like and what this is, what's going to happen. But I'm diving in. Thank you. Well, my pen work feels
complete account a lot of my a lot of the stuff that
I wanted to try to declutter written
on my little tags. So that was me
coming in my head. It kinda gave me
an idea of, okay, these are the things that I
really want to be able to obviously keep paints and pans and my stamps and
all of these things, but I don't need
as much as I have. And then I was thinking with
these hands because they are in this position where
they're giving made me think, well, where can I take these resources and give
them back to the community? And that's where I
realized what was happening here with what I imagine is a little
girl playing with, with crafts and creativity. I could put my excess supplies
into the hands of people that will help our
younger generation to bring out creativity, which I think is
incredibly important. Because there's just been
so much cutting of funding for art time in schools. So this is a really
important element. So I can really
see funneling this into a place where it's
going to do some good.
6. Making it Interactive: So the next thing
that I'm going to I think I'm going to try
to tackle the door, but I feel like there's more that needs to
happen in here. So I may play a little bit with collage and see
what comes up here. And I'm just going to
just see what happens.
7. Understanding the Story: Well, I got pretty far on this. I will probably still kinda play around with
it a little bit, bring out some of the
little details and stuff. But I really think that this, this tells a story. This tells what's going on. And I know in the beginning my talked
about, you know, having, having some sort of
conflict in the story because that is what makes
the story is the conflict. And so I am going to, I am looking at
this up here with these little tags which
represent all of my clutter. And this key that is
hanging right here, this is the conflict. I have the key to
unlock the door. To have a nice creative space, which doesn't have to be
any bigger than this, just this little corner in this little table on
this little shelf. It can really be
just that simple. And what I think I'm, I'm looking at is I'm
looking through this window. This window that shows,
Wow, look at this. You can have this all organized. But the problem is, I got too much
stuff to get into. This, this window right here. This is the window of
opportunity is what I'm, what I'm looking into. And as I said earlier, that this really represents where my stuff can
go to good use. If I can put this, if I can put my art supplies in the
hands of somebody that can give children the
experience of creativity. Hey, that wouldn't really
make me very happy. What this is over here. I'm not trying to share. I made a little doorway, put a little piece
of Velcro on there. It's just another
possibility, you know, Oh, this might represent like because it looks like it's kinda like out in a like
a garage area. Maybe I have like a
little storage shed, not some place
where I'm going to have to pay for storage, but my own little storage shed where my stuff is organized, but it's out of the way
of my working area. So this is my area where
I can work and play. And this is where maybe I can I can keep some of the things that I'm
not using right now, but that I can bring
in to my space and the rest of it can
all be gifted out. So i'm I'm pretty happy
with the way this came out. This came out has
a lot more depth than I imagined it
would when I started. So I'm glad I kept
going with it. I didn't get a little discouraged in the beginning
because I was just like, okay, Karen, This is just
not this is not good. This isn't going to work out. But it is. And I think that
there's still more that I can do in here. I hope this gave you some ideas, especially around
some of the things, the mediums that I use. You notice I kept my
glue gun out and I use that in combination with
matte gel medium the mat, the gel is the thicker stuff
and that really made it easy to glue down
these curtains, yet still kind of
keep them soft. Where I used the hot glue to actually adhere the
curtains to the page. Otherwise, I would've
been I would've had to stand here and if you
don't have one glucagon, you can glue fabric
down, no problem. You don't need anything special. Just Elmer's glue will work. But you just got to be aware that it's going
to take a little longer to dry and it's not gonna be fully adhered until it dries. And then this crave abuse of some little Velcro scraps
that I had around. I always save things like
that because you never know when they're going
to come in handy. So I hope that gave you some ideas and we'll get
you going. All right.
8. Class Project: Okay, Now that you've completed watching the videos, hopefully can play along as you've as as we went along. But if not, if you haven't gotten started, That's fine. You know. Now's the time for you to share, share, share, share, share, share, share your wins, share your struggles. Share where you got stuck. Share the obstacles that you overcame. Share the metaphors that you found as you explored your story, whatever story that is, it doesn't have to be my story. My story was about clutter, you know, um, and I don't mean just stop stop that stall about stuff. Right. We all have lots of stuff. So if you wanted to do that story, that's great. You do you and share. There is power, there is empowerment in the sharing. I have seen some amazing things happen when we share. So please share.
 Karen Dawn, Creative Soul Journeys