Transcripts
1. Welcome!: Do you have questions about hand lettering in
affinity designer? Can you even do this
in a vector program? What if you want to add a
little hand lettering to your portfolio or make an encouraging post to
share with your followers? But are you worried that you don't have the
skills or the time? May be thinking, I
don't have time to draw all those letters,
numbers, or symbols. I hear you. I get it. I'm going to show you
a way that we can work smarter and not harder. I'm Jennifer, a surface
pattern designer, creator, and lifelong learner. I know it sounds a little teesy, but I really do enjoy learning new things and
sharing them with you. I believe everyone is creative. Welcome to class. If you've taken one
of my classes before, you probably know I'm a big
fan of using and re using. Let's not reinvent the wheel. I love creating templates and assets that makes our
work easier next time. This class will use uppercase and lowercase
hand drawn Alphabet stamps. That are already
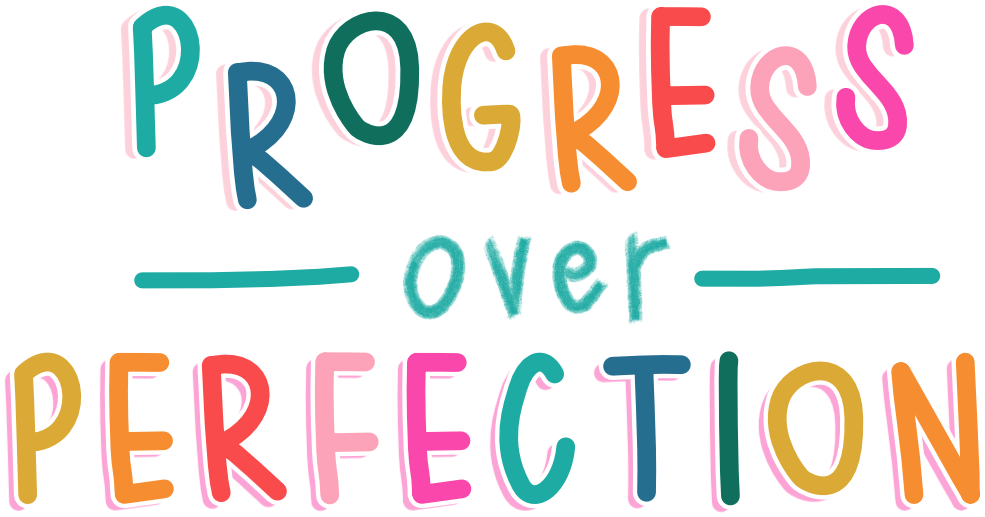
saved as assets. To design a stand out, short, but encouraging saying. I've also included a few
stars to jazz up our design. This class assumes basic
knowledge of affinity designer. If you're a beginner, be
patient with yourself and be sure to pause the
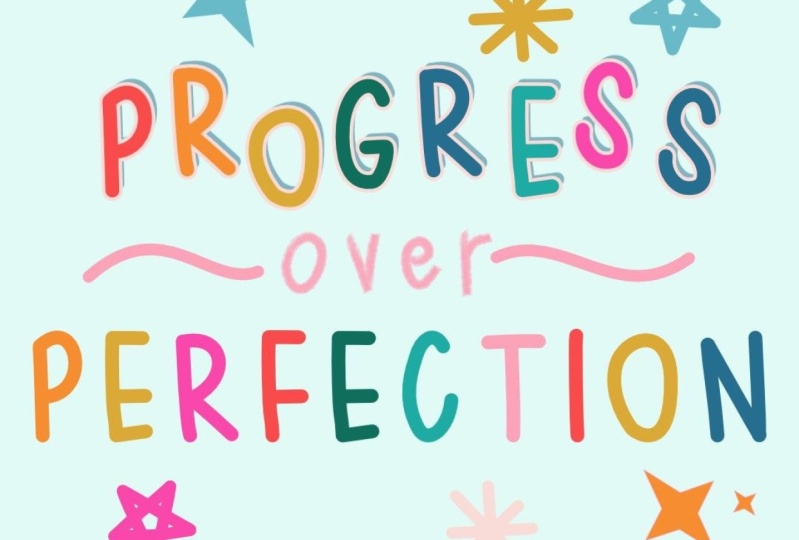
video if you need to. Remember, perfection
is not the goal. Progress If you've
used designer before, I hope this sparks
your creative name. Be sure to ask any questions on the class discussion page. If you're wondering it, I can guarantee
someone else is to. In this class, we'll look at
some tools like the align, transform, some layer effects. Some of the letters are
already saved this asset, we won't go into the
pen or pencil tool. If you'd like to learn
more about these tools, then my class introduction to Tiny Designer two
could be helpful. I have a lesson on the Pen and
Pencil tool in that class. If you're ready to use hand
lettering in your work, then this class is for you. I'm glad you're here. Let's get started by looking at the resources and projects.
2. Import Assets: Now that you have your
resources downloaded, let's open a new document. Tap on new and new document. I'm going to use the
Social Media Square Post, which is under the web category. You might need to scroll
down to see the web section, and then tap on Social
Media Square post. And then be sure to change
your DPI to 300 and tap. In our new document, we'll
use the assets panel on the right hand side
to import our assets. This is the third from the
bottom on the right hand side. After you tap on assets, we'll need to import
our category. Tap on the three
horizontal lines or the hamburger and
import category. Mine's open to a folder
that I've been working in, yours could open to a folder, or it might be in
your rests wherever you decided to save and
download the resources. Once you found it, go ahead and tap progress over perfection, and these assets will
automatically load into our panel. I'll meet you in the next
lesson to get started.
3. Spell words: In this lesson, let's start
flying out the word progress. Tap on the letter
P, and then insert. With your move tool selected, you can move the P over
to the left sum and then continue tapping
on the next letter that you need in tapping insert. Once you have all the
letters on your artboard, with your move tool selected, you can select them by
starting in the top, left hand corner and dragging across to the bottom,
right hand corner. Then we'll use our
transform menu, which is in the bottom,
right hand corner. Tap on transform, and then you will probably
see this option here. Then we'll need alignment
options in the bottom. Now on the alignment options, I'd like to align the
letters horizontally, and I'd like to
space them evenly. I'll use the fourth option. The program has automatically spaced the letters out for us. Now, since we know
that progress isn't always a smooth
and easy process, I'm not going to
align my letters vertically because
I do want to move individual letters just up
and down a little bit to give them feel that progress
isn't always perfect. Perfection really
isn't the goal. We're really striving
to make progress. So something like this
will get us started, and then I might
need to come back and refine it a bit more later. Our next word perfection. And this word is
going to be aligned horizontally and
vertically to make it look as perfect as possible. Head back to our assets panel, and go ahead and start
tapping on the letters and inserting the letters you need
again to spell perfection. I'll drag mine over
to the left again. I will say that I is a
little tricky to grab. So if it gives you any problems, I recommend zooming in on your
screen and then trying to really tap on one of those white circles that you
see in the middle there. You don't grab those
white circles. Sometimes you can end up stretching and
pulling like this. If that's the case, just
double tap on your screen, and it should reverse any
changes that you've made. With all of our
letters spelled out, make sure we have our move tool. Start on the top left
and drag over to the right to select
all of the letters. Let's go back to our
transform panel, which should now stay
open to the alignment, where I will go ahead and do the same thing with spacing
horizontally my letters, I would like to
align vertically. Here you can align to the
center, if you'd like. I'm going to align
to the bottom. And as you can tell,
it doesn't do much. I like to use just
to the center, the second option to the right. Let's spell our last word over. Back on our assets panel, we have our lower case letters
needed to go ahead and insert the O and
the other letters. The brush I use for
the lowercase letters is actually a pencil. It's a classic pencil H Bam. If you'd like to use this
brush in the future, this is what it would look
like with some hand lettering. The progress perfection, I
actually used a custom brush. I just kind of
messed with some of the settings until I found
something that I liked. So that one isn't actually
available as a preset. With a remove tool selected, I'm going to select
all letters for over. Using my transform panel, I'll align them horizontally
and vertically. Now, with all of our
letters spelled out, we'll start looking at layer effects and adding
a few embellishments.
4. Color: Before we start
adding some effects, let's change the colors
on some of our letters. I'll come to the color studio in the top right hand corner. Once your color panel opens, find swatches at the
bottom and tap swatches. Now beside our swatches panel, there's another hamburger menu. You can tap and we
will import palette. Tap, import palette. As an application palette, this means the palette will
be available throughout the entire application and any document that
you're working in. We import as a document palette, I will only be available
in this specific document. I'm going to go ahead and
choose as application palette. Find the file that you've
already downloaded. Should be popcolor AF palette. Tap the file, and then your colors will load
into your panel. Now that we have our
color palette imported, we can select an individual
letter and change its color. Make sure you tap on
the second circle to the right and then
choose a new color. I'm going to just go
through an order here, tapping a new letter and
choosing a different color. I'll do the same
thing for perfection. Although, I don't want to start the words with the same color, so I'll actually start
with this yellow. And then I'll go
to the next color, which is orange, and then red. And I'll follow
the same pattern, but it won't start with
the exact same color. I'm not using my
lightest pink color here as it's ale h to see, so I'm going to skip that one. The lighter pink works really well for a background color. I For now, I'm going to leave
over in my teal color. I do want to add
the horizontal line to the left and to
the right of over. So with my vector brush
selected on the left hand side, I'll tap on the brush on the right hand side to
bring up my brush studio. And here, I think
I'd just like to use the solid pin with pressure
under the pins category. Feel free to play around with the different pins
as some really have texture or opacity that you might really
be looking for. But for now, I'm
going to stick with the solid pin with pressure. I'll make sure that I have
my stroke and my fill as my teal color and draw a horizontal line on
the left and the right. With my node tool selected
on the top left hand corner, I'm going to straight in
my line just a little bit. Using the handles and the nodes. I should be able to make my line just a little
bit straighter. Although I don't want
it to be perfect, but I do want it to be a little bit straighter than
what I just drew. Something like that
I think works well. If I move tool selected, I'm going to go ahead
and select both of the horizontal lines
and the word over. Then with our
alignment tools again, I'm going to align
vertically to the center. So now our two lines will be
aligned with the word over. I'll see you in the next lesson.
5. Layer Effects: O In this lesson, we'll start arranging
our letters and adding and layer effects. I'll select all of progress and move it just
a little bit closer to over and the same
thing with perfection. Oops, trying to get all
the letters selected. If you'd like, you can turn on your snapping in the
top right hand corner, which will help you
align to the center. So I'm just selecting all of my letters and with the
snapping tool on and making sure that they're
aligned to the center here. With my letters still selected, I'm now going to look
at the, the layer effX. Layer X is actually the F X symbol kind of in the middle of the panel
on the right hand side. God and tap F X, Layer effX. And now we have a lot of different options
to choose from. I'm going to show you the
two that I really like, and then we'll look
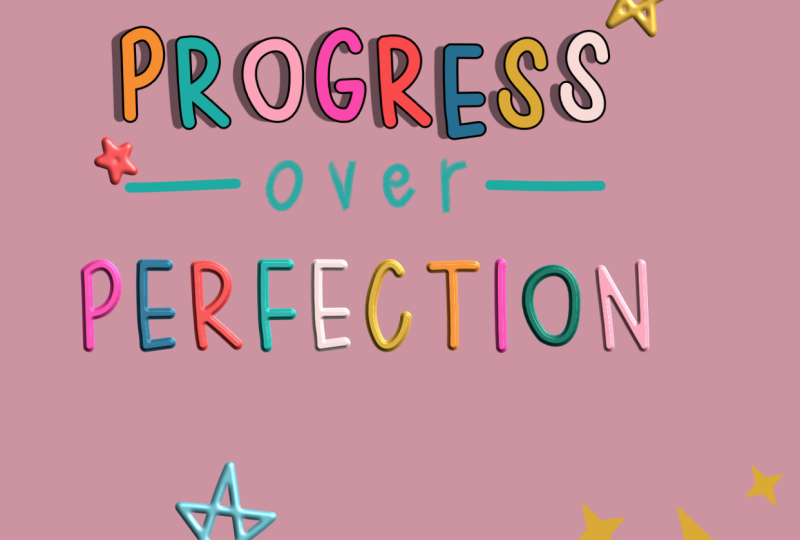
at a few more. The first one I really like
to add is an outer shadow. I'll toggle on the outer shadow. And then tap outer shadow. When you tap this outer shadow, the toolbar at the top
should have changed. So now we see multiply and
a color dot at the top. We can't see much
of our shadow just yet because we need
to put our pen or pencil on the screen and then drag to the right or up
or down or to the left. So you can arrange the shadow as much or
as little as you want. I can have mine, maybe you go down and over to the
left just a little bit. Once you're happy with
where the shadows at, then you can choose
the color dot and the top context toolbar. You can find our color palette. And choose any of
the colors that you'd like for the shadow. I'm liking that pink, so I think I'm going to leave it as pink. The next layer effect that
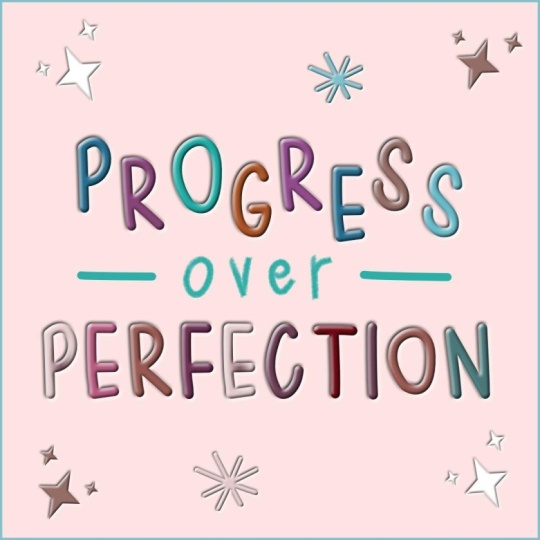
I really like is outline. Toggle on the layer effect
that you'd like to use, and then ta outlide. Once you tap outline, the toolbar at the top should change to give you
different options. Now on the top, we have normal which are our blend modes
that we can choose from. We have some options for where the outline will be on the
outside or the center. And then if we want a
solid color or contour, and we have our color dot again. I'm going to leave
mine on normal. I do want on the
outside a solid color, and I would like my
solid color to be white. Then go ahead and put your
pencil back on the screen. I like to put it off
of the artboard. I'm going to put it
towards the bottom, and then drag to the right. And as you can see, now the
outline starts to show. It's a little hard
to see on the white. So I'll go ahead and change my color dot just to
black to give you an idea of how wide the
stroke is for the outline. You want to change it,
just put your pencil back on the screen and looks
like I'm actually dragging it to the left
to make it a little bit wider and then to the
right to make it smaller. I'm going to change my
color dot one more time, maybe to this pink, the darker pink with
the lighter shadow. You really can't go wrong here. It's just a matter of choosing
which one that you want. So maybe I'll go ahead
and stick with white. With our move tool selected, select all of our
letters in perfection. I accidentally have over a
couple of letters selected, so I'm going to do that again. More towards the
middle of the letters instead of from the top corners. Now I have all of my
letters selected again. Just to show you a few
of the other options. When you toggle on
Bevel or Emboss, you have a lot more
options at the top. So you'll need to kind of click through and play
with some of these. This is the pillow option. I also have an emboss
or an outer option. So there's a lot up here
on the top toolbar. So make sure that you play
around with some of these. And then if you don't want
to use the layer effect, you can always toggle it off. So I encourage you
to really play around with some of
these layer effects, as I think you'll find some combinations that
you really like to use. I'm going to go
ahead and stick with the outer shadow and the
outline on Perfection. I'll do that, and then I'll
meet you in the next lesson.
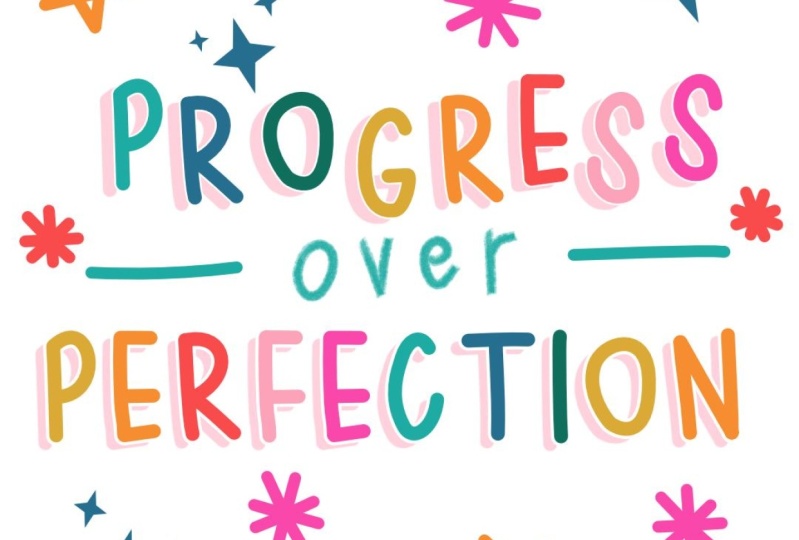
6. Add stars: Next step, let's add
some stars to add a little embellishment and
make this really sparkle. I'll go back to my assets panel. And then I have my
stars to choose from. Just like the letters,
we'll tap the star that we want and tap insert. To resize, grab one
of the corners, and then hold your finger
on the screen just to make sure it maintains
the proportions. Then you can slide
and move where you would like and
change the colors. Then you can change
the fill color to a color that you would like. I'm not going to have a stroke. I'm just going to
have a fill here. Once you're happy
with your colors, I'm going to duplicate
my group by coming to the three dots at the top of
our edit menu to duplicate. Now with my move tool selected, I'll need to drag the
duplicate that was created on top to
a different place. Maybe somewhere up here. Resizing. And then also, I like to use the flip
horizontal or vertical. I'll go and do a
flip horizontal, to change it up a little bit. And then I'd like to
duplicate one last time. Tapping on the three
dots and tap duplicate. And then let's add another star. You can add as many or as
few stars as you want. We'll change our fill color. Pink, and again, I'll duplicate
and drag to a new place. We'll rotate this
one a little bit. And I'll duplicate
one more time. And then let's add
one more star. Insert, resize and
change the color. I'll finish adding some
embellishment with the stars, and I'll meet you
in the next lesson.
7. Export & Share: Now that we have
our image finished, we'll export as a JPEG to post to social media and
to our class gallery. Tap on the three
horizontal lines on the Top context toolbar
and tap Export. A JPEG will work
perfectly for this. We'll change the file name. I'm just going to
type in Pop progress over perfection,
to keep it simple. I like to tap preview
just to make sure that I'm thinking what
the programs thinking. And then tap, Okay, save it to where you would like. And now you have a uplifting, encouraging saying to post
and to share with us.
8. Thank you!: Thank you for taking this plus. I hope you've learned
how to incorporate hand lettered assets into your work to really
make it stand out. Be sure to share your work
in the project gallery. I know you'll put new
skills to good use. I can't wait to see them. You're already making progress. Keep going. Thanks
for being here.
 Jennifer Gottleber, surface pattern designer + iPad art