Transcripts
1. Introduction: Welcome to Adobe
Illustrator for beginners. In this class, you
will learn how to use the very powerful
tool, pen tool. We are going to learn the
basics of the pen tool, the advanced options
of this tool. And I will give
you some exercises to practice and master it. So if you want to learn
and master the pen tool, this class is for you. Open up Adobe Illustrator
and let's start.
2. The Basics of Pen Tool: Hello and welcome back. In this class we are going to start with the very beginning. And for a better understanding
how Pen tool works, we need to learn what is a
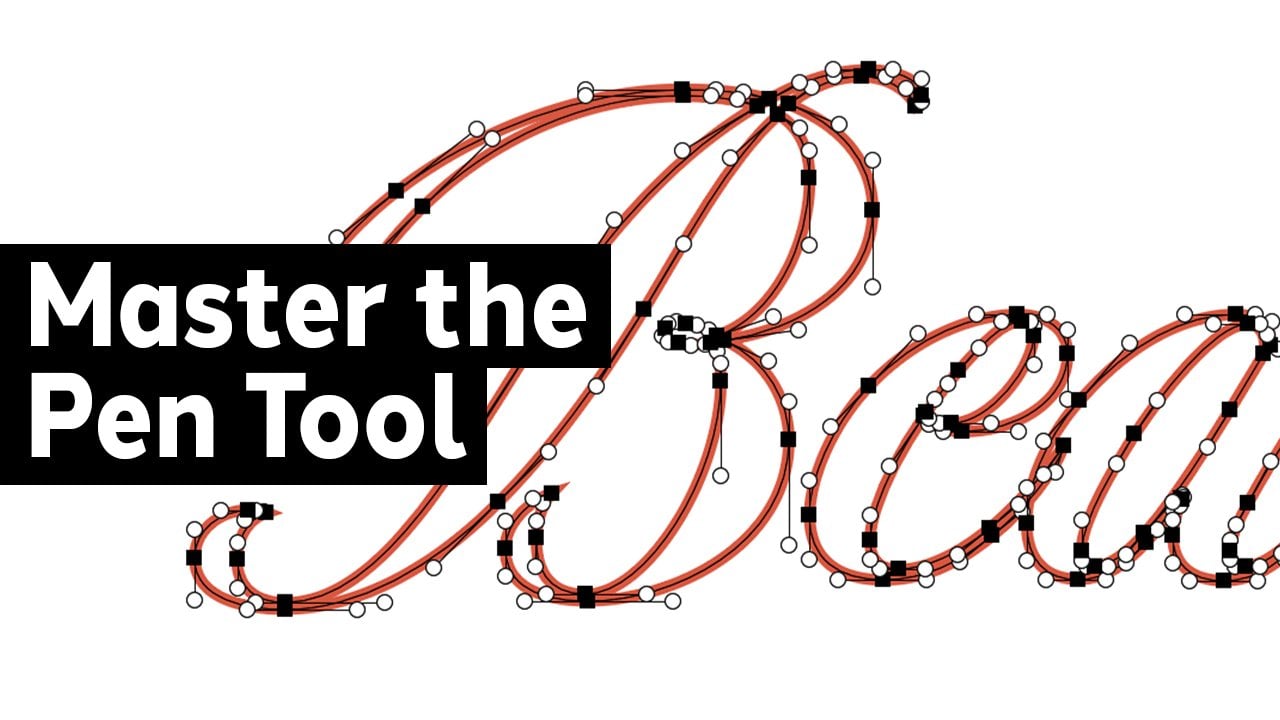
path and an anchor point. Let's start. Path is the line that unites two
or more anchor points. There are two types
of paths, open paths. This kind of path
can be, for example, a simple line with two
endpoints, closed paths. It's a closed path that
have no endpoints, can be, for example, a circle or a rectangle. A path is made up of
anchor points and lines that connects
these anchor points. If we click with the
direct select tool on an anchor point of
a closed path like encircle to control handles and to control handle
lines will appear. The control handles are
too small squares on the path which allow you to control the direction
of the curved path. There are two types
of anchor points. One, smooth points. This points have two
linked control handles and doesn't allow the path to
change direction abruptly. Two corner points, this points allow the
path to change direction. There are three types of
corner anchor points. Straight corner point, this point have no
link control handles. If we click with the direct select tool on the anchor point, we will see that no control
handles will appear. We can use as example, the corner of a rectangle. Curved corner points. This point have
two linked control handles and the angle is
formed by two curved lines, straight and curved
corner point. This point have only one
link control handle and the angle is formed
by one straight line in one curved line.
3. How Pen Tool Works: Hello and welcome back. In this class we are going
to learn how Pen tool works. Let's start to
select the Pen tool. You can go to the Tools Panel and click on the Pen tool icon, or you can press the key P
with the pen tool selected. We are going to create the
same paths that we have here to create with me, go to the Projects
and Resources section and download the resources
I have prepared for you. For this part of the class, open the file named
how Pen tool works. Before we start, let's go to
the fill and stroke section. Delete, fill and choose for the stroke 20 points
and the color red. Let's start with the simplest
path, the straight path. We're going to click here in
the center of the square, which represent an anchor point, and go to the other square in the center of which
we will click again. We will notice that after we have created a straight line, if we move the cursor, we still have a thin line
connected by it. This line helps us
see the direction in which we want to create
another anchor point. But we want to create
only this straight line. We will press P and
the path is complete. To create a curved path, we first click in the center
of the first anchor point, and then in the second anchor
point we click and drag. As you can see by
clicking and dragging the control handles will appear in by moving
these handles, we can curve the path
and the way we want to, we will finish this path by clicking in the
last anchor point. We will do the same with
the next curved path. Click in the center
of the first square. Click and drag in the
center of the next square, and click in the center
of the last square.
4. Pen Tool Practice: Hello and welcome back. In this class I have prepared
some exercises for you. Go and download the file named Pen Tool practice.
And let's start. Before we start, let's
go again and select the stroke with 20
points in red color. The Pen Tool
practice number one, we are going to trace the
paths in the example. If we press and hold Shift key, we will have a straight angle. We will click here in
the center of square, press and hold shift and click in the center of
the second square. Then we press the key P to finish the path and
start a new one. Again, we click here, press and hold shift and
click in the next square. Press and hold Shift and click
again in the last square. We're going to do the same thing with all the paths
in the example. The Pen Tool
practice number two, we're going to click
in the first square, click and drag in
the next square and click again in
the third square, where we see only square, we will only click
and where we see the square and the
control handles, we will click and drag the Pen Tool practice
number three, we are going to draw
some simple shapes with straight corner points. The Pen Tool practice
number four, we are going to draw some simple shapes with smooth point. We will click and drag
in the first square, click and drag in the
second square and click and drag again in the first
square to close the path.
5. Pen Tool Master Practice: Hello and welcome back. In this class we're going to
trace a more complex image. Go and download the file named Pen Tool master practice.
And let's start. It may seem difficult to
use this tool at first. Even if you can't trace it exactly, It's perfectly normal. The more you practice, the easier it will seem to you. Re-create the paths from the Pen Tool practice file
as many times as you can. Once you understand
how this tool works, it will be easier and
easier for you to use it.
6. Additional Options of Pen Tool: Hello and welcome back. In this class we
are going to learn some additional options
of this incredible tool. Add anchor point tool, delete anchor point tool, and the Anchor Point Tool. Add Anchor Point tool. This tool, as its name suggests, adds a new anchor point. We can find it by going
to the toolbar and clicking and holding
on the Pen tool icon. The shortcut for this
tool is p and plus key. If I have a square and I
want to add an anchor point, I will go to the pen tool icon, click and hold and shows
that anchor point tool, the Add Anchor Point
tool selected. We will go to our
square and click where we want to add
an anchor point. We can add as many anchor
points as we want. Delete anchor point tool. Now, if we want to delete
one or more anchor points, we will use Delete
Anchor Point tool. We can find this tool in the same place as Add
Anchor Point tool. Click and hold on
the Pen tool icon and choose Delete
Anchor Point tool. The shortcut for this
tool is p and minus key. With the Delete Anchor
Point Tool selected, go to our shape and click on the anchor point that
we want to delete. We will see that that the
anchor point will be deleted. We can click again and delete as many anchor
points as we want. Anchor point tool. We can find this tool in the same
place as the other two. Press and hold on Pen Tool icon and choose Anchor Point tool. This tool help us to add
or remove control handles. If we click on the
anchor points of a path that have
control handles, we will see that the control
handles will be removed. If we click and drag
on the anchor points of a path that don't
have control handles. We will see that the control
handles will be added and the street corner point will be transformed into a smooth point.
7. The Project: For this class project, I want you to go
and create again all the exercises from the
Pen Tool practice file. Then choose an image
like the one I traced in the example
and trace it.
8. Conclusions & Thank You!: At the end of this class, I want to thank you for
choosing to study with me. I want you to know
that everything I've taught you is
just the basis. You will need a lot of
practice and it will take a while for you to master
this tool very well. If you have any other questions, please leave them in
the comments section. Thank you again for
choosing this course. I hope you found it useful
and see you in the next one.
 Ovidiu Timplaru, Illustrator | Graphic Designer