Transcripts
1. Introduction: In this class, we'll
learn to add texture in Procreate using three
easy techniques. You'll learn key skills like color selection and you'll get to know the
Procreate brushes. I'll show you how to transform
your art with texture, taking it from flat to fabulous. We'll explore layers
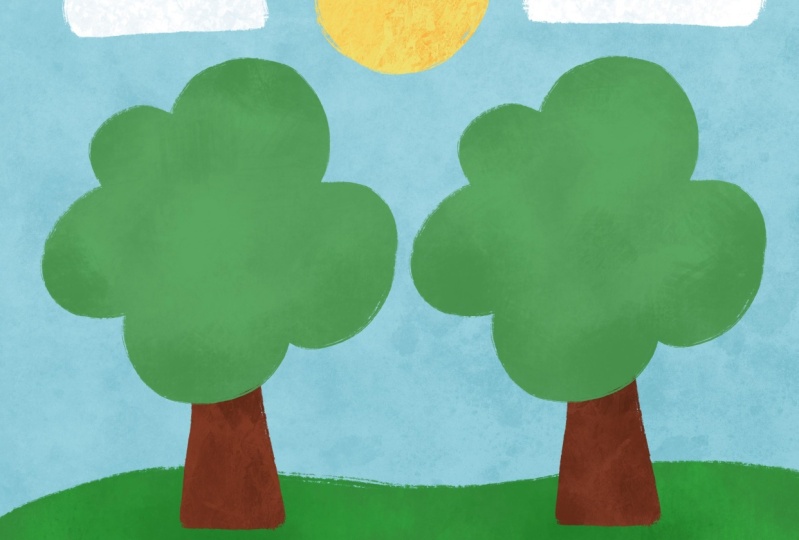
and blene modes, and I'll even give you a cute park scene to
get you started. The class is suitable for all abilities from beginners
to more experienced users. I'll share tips and tricks to help you level up
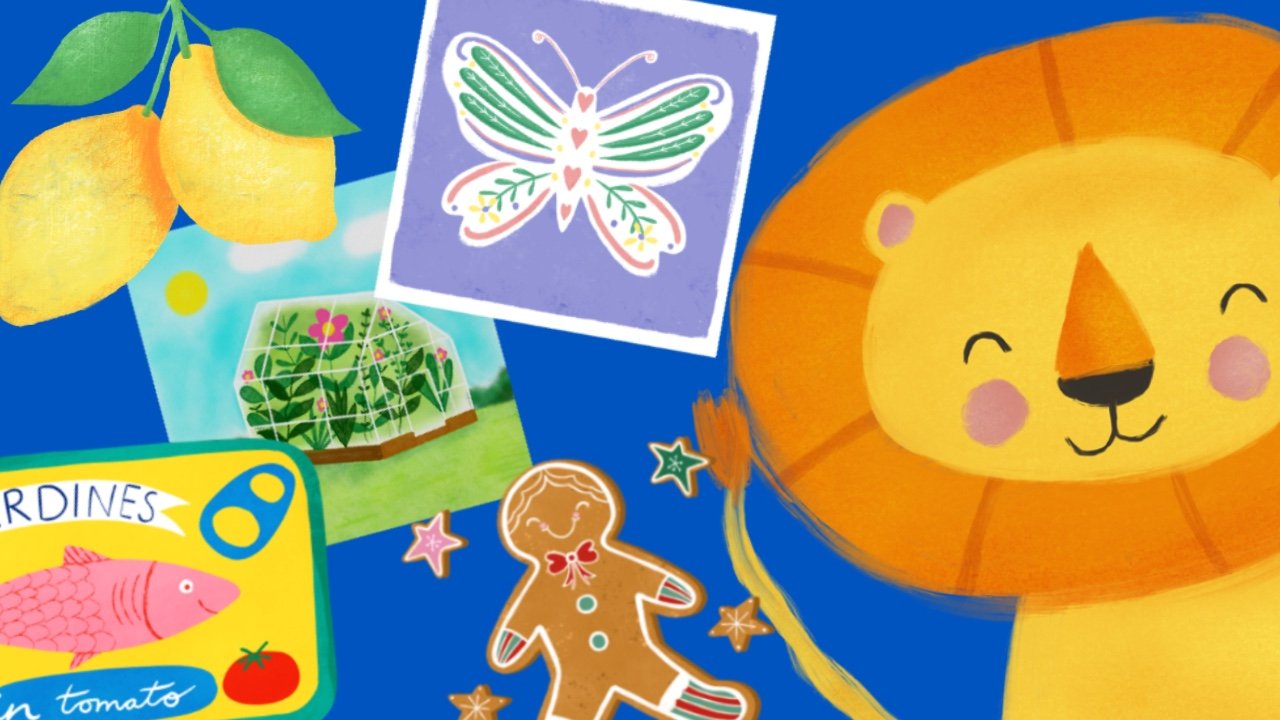
your art in seconds. I'm Dee Smith, a
professional illustrator and qualified teacher based
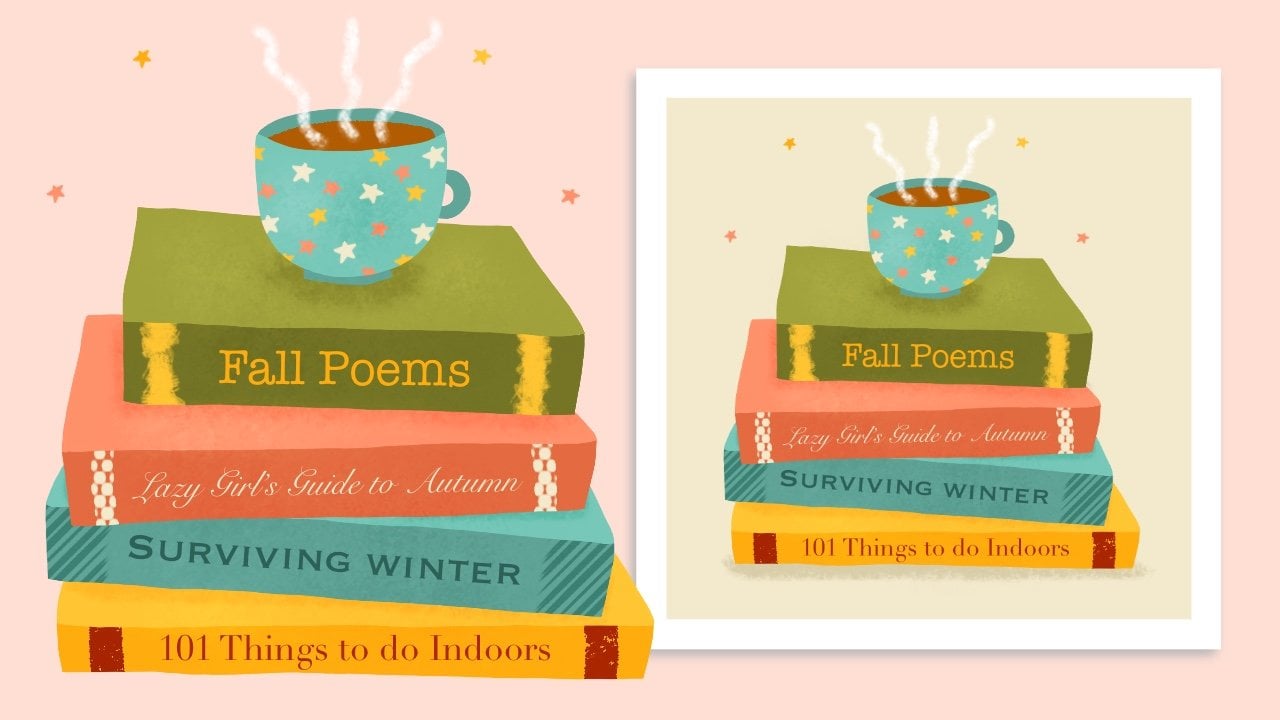
in Scotland in the UK. I have illustrated
everything from children's book to
greetings cards that have been
licensed worldwide. I use Troqut for all
of my art because it's super intuitive
and it's great fun too. In this class, I will share all of my skills
and experience with you.
2. Using Alpha Lock: Let's use Alpha ok to add
texture to our illustration. Import the park scene into
procreate to practice with. Tap on the sky layer
and select Alpha ok. Open brushes and select the industrial set and
choose rusted decay. Set the brush opacity to about 51% and the brush size
all the way up to 100%. Press and hold a finger
on the blue sky. This is now our active color. Open the color library and select a darker
blue from the disc. Pain tone some
texture onto the sky. Go back to colors and this time, choose a lighter blue and continue to add some
lighter texture. Experiment by changing
the brush opacity, Mount is at 71%. Open layers, and
you will see that our texture is now locked
onto the sky layer. Tap the grass layer
and select Alpha O. Again, press and
hold a finger on the grass to make this
our active color. In the color disc, this time, choose
a lighter green. Open brushes and from the industrial set,
select heavy metal. Set the brush size to about 41% and then begin
to paint on some texture. You can experiment with changing the opacity and also
the brush size. Open the color library and
choose a darker green. Increase the brush
size if you need to and begin to paint on
some darker texture. I'm going to go for an
even darker green this time and paint some
shadows under the trees. Open layers and select the leaves layer and
set this to alpha ok. Press and hold a finger on the green to make this
our active color, and from the color disc, select a lighter green. Open brushes and choose
the texture brush set and then select the
brush called grunge. Set the size to 100% and begin to paint some
texture onto the leaves. You can see that although
the texture is subtle, it really does make a change. Open colors and select
a darker green and begin to paint some texture around the outside of the trees. This creates more depth
to our illustration. Open up layers and
select the cloud layer, tap on this and set to alpha op. Press and hold a finger on the cloud color
to activate this. And then from the
color disk we want to select a blue gray color. Open up brushes
and from textures, select the brush
called Dove lake. Change the brush size to about 34% and begin to
paint on some texture. You can try to reduce the brush size and see
what effects this creates. I think that looks really nice. Open layers and choose the sun layer and then
set this to Alpha p. Press and hold a finger on the sun to make this our active color and then choose an
orangy color from the disc. Open brushes, and from textures, select rectangle and
set it to about 31%. Begin to paint on some texture. Let's go back to colors and choose a darker
orange this time. I'm going to go for an
even brighter orange and see what this looks like. I think that looks really good. Open layers and select the tree chunk layer
and set an alpha ope. Press and hold a finger
on the tree chunk to make this active color and
then from the color disc, select a lighter brown. Increase the brush size and begin to paint on some texture. You can experiment with different brush sizes to see what interesting
textures you can make. From the color library, select a darker brown and
apply some more texture. I'm going to reduce
the brush size, and I'm going to choose
an even darker brown and apply texture under the
leafy parts for shadows. Our flat image now
has much more depth. Let's have a look at the before
and then the after image. I think the one with texture just has so much more
visual interest. Great job, everyone.
3. Using Layer Stack and Blend Modes: Let's add texture using
layer stack and blend modes. Import the park scene into
Procreate to practice with. Open layers and tap
on the sun layer. Tap plus and add a
new layer above. Tap the N to open the blend
modes and select overlay. Open colors and select a
mid gray from the disk. With overlay blend modes, we will stick with light
and darker shades of gray. Select a light gray. Open brushes and choose the industrial set
and rusted Dickey. Paint texture over the
entire illustration. Open colors and from the
disc, select dark grey. Experiment by reducing
the brush size and the brush opacity. Paint on some darker texture. This is a quick
and effective way to add texture to
our illustration. Open layers. Use the slider to experiment
with changing the opacity. I'll set mine to 60%. Tap plus to add a
new layer above. Set the blend mode
to color burn. Open colors and
select a MD degree. Increase brush opacity to 100%, and open brushes and
select the artistic set. From here, select
the heart's brush or another one that
appeals to you. Increase the brush size to 100% and begin to paint
texture over the illustration. If the texture is too intense, you can change the opacity. I'll go with 52%. Open colors and
select a darker gray. Paint on a darker texture and reduce the
opacity if needed. Tap plus to add a final
layer at the top. Set the brush size to 38%
and pain on some texture. Open layers and experiment
with different blend modes. Notice the different effects
that can be created. Set a blend mode you like. Overlay wins for me. Remember, you can reduce
the layer opacity to soot. We've stacked three
layers of texture. We can uncheck these to compare. Let's turn our texture layers
back on and group them. Swipe right on each of the texture layers
and tap on group. You can tap the small arrow to minimize or maximize the group. Let's pinch two fingers
and sum in on our canvas. Look at all that lovely texture. Overlay doesn't show up
well on yellow and white. We can add texture to
these layers individually. Tap the cloud layer and tap
plus to add a layer above. Tap this new layer and
select clipping mask. Press and hold a finger on the cloud to
activate this color. Open colors and in the disc, select a blue gray. Open brushes and select
the materials set. Choose Tony or another
brush you like the look of. Set the brush size to 12% and begin to paint
on some texture. Open brushes and choose another brush from
the material set. Choose a different gray color and paint on some more texture. Let's add some
texture to the sun. Tap on the sun layer and then tap plus to add a
new layer above. Set a clipping mask
on this layer. Press and hold on the sun
to activate this color. In the color disc,
select an orange. Reduce the brush size and
paint on some texture. I think that texture
looks really nice. We have learned to
stack layers and apply blend modes to add texture
4. Using Select: Let's learn to add
texture using select. Import the park scene into
Procrit to practice with. We will apply texture to
each individual layer. Tap on the sun layer
and choose Select. This is now our active layer. Open layers and tap plus
to add a new layer above. Press and hold in the sun to
make this our active color. Then open colors and from the color disc,
select an orange. Open brushes and select
the organic set. Let's select the
mountain ash brush. Set the brush size to around 43% and then begin to paint some texture
onto the active sun layer. You can try different
brush sizes to create different
effects here. Tap on the selection tool at the top to deselect this layer. Let's open layers
again and this time, select the cloud layer. Tap on clouds and choose Select. Open layers and tap plus to
add a layer above the clouds. Press and hold the cloud to
make this our active color. Open colors and from the disc, choose a blue gray this time. Let's open brushes. We will stick with
the organic set, but this time, let's
choose the cotton brush. Set your brush size to about 29% and begin to paint some texture
onto the clouds. Tap the selection
tool to deselect. Open layers and this
time, select leaves. Tap on this layer
and choose Select. Open layers and tap plus
to add a layer above. Auto select the green color, and then from the color disc
choose a lighter green. Open up brushes and this time, select the clay brush. Set this to about 35%. Begin to pin on some texture. Repeat this process with a
darker green color this time. Tap select to deselect. Next, tap on the
tree chunk layer and again choose Select. Add a new layer above this. Auto select the brown color and choose a lighter brown
from the color disc. Next, open brushes, and we're going to select the
Hessian brush this time. Begin to pin on some texture. You can experiment with brush size when applying
the texture here. Let's go back to
colors and choose a darker brown and
repeat this process. Remember to tap the selection
tool to deselect the layer. Open layers again, tap and
select the grass layer, and as before, add
a new layer above. Press and hold a finger to auto select the
green grass color, and then in the color disc, you want to choose
a lighter green. Let's open up our brushes. I'm going to select
the rain forest brush. Apply texture to the grass and change the color if you feel you need a
bit more contrast. From the color disc, select a darker green and add some shadows
under the trees. You can deselect the layer by
tapping the selection tool. Finally, select the sky
layer and add a layer above. Auto select the blue color
and then from the color disc, choose a lighter blue. Open brushes and select
the brush called spires. Begin to paint some
texture onto the sky. If you feel this
texture is too intense, you can open layers and reduce the opacity of the
texture layer. You can experiment by adding darker blue
texture here too. I'm going to use the clay
brush for texture this time. Open layers and go
through each layer, and you can reduce the opacity if you feel the texture
is too intense. The clouds were a
little too dark for me, so I'm going to reduce the
opacity of that texture layer. You can now apply texture using select. Great job, everyone.
5. Conclusion: Let's celebrate our success
by sharing our work. Go to the Projects and Resources tab and click Submit Project. Fill in the details such as project title
and description, then add your image
and click Publish. I really hope you continue
your appriate journey and apply these new skills to
your own unique works of art. I can't wait to see
your finished projects. If you enjoyed my class, then please give me a
follow by clicking on the Follow button next to my name on top of the
video lesson player. You can learn more
about me and my work by visiting my website or by
following me on Instagram. You can share your work
on Instagram if you like, but please tag me so I can see your post and offer you
some positive feedback. Thanks for drawing
with me. See you soon.
 Dee Smith, Professional Illustrator and Teacher