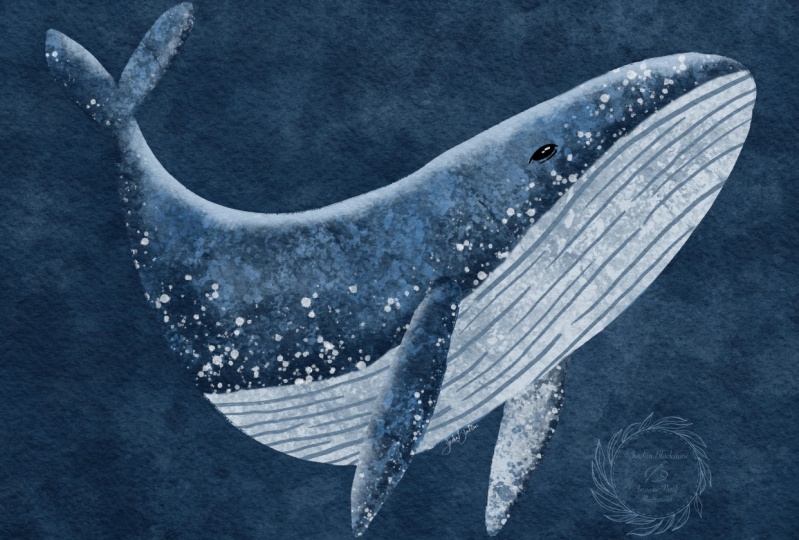
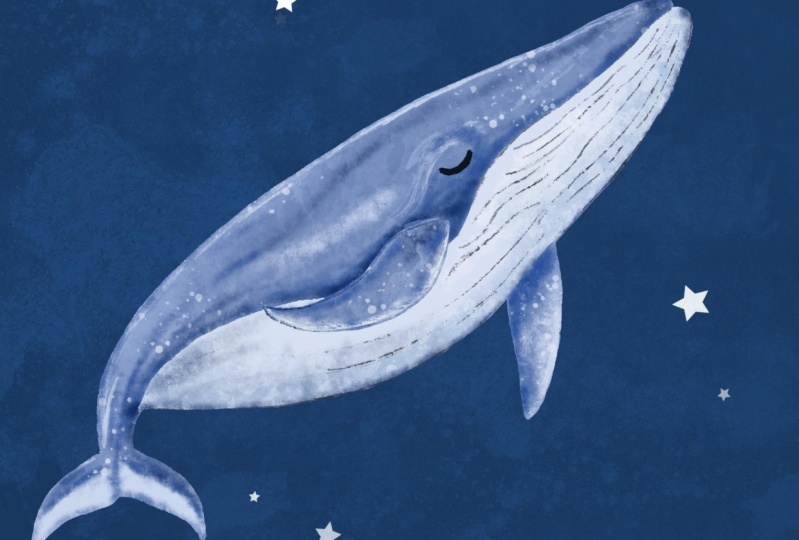
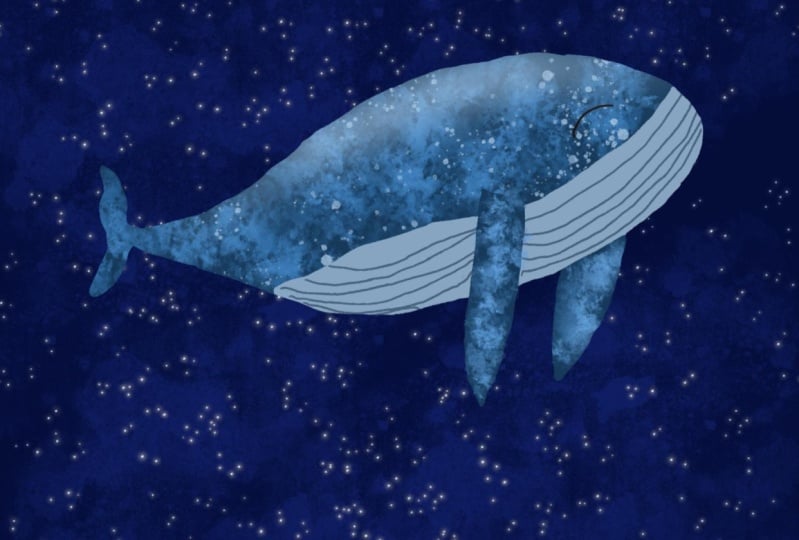
15 Minute Procreate Projects: Draw a Dreamy Whale
 Dee Smith, Professional Illustrator and Teacher
Watch this class and thousands more
Watch this class and thousands more
Lessons in This Class
-
-
1.
Introduction
0:54
-
2.
Draw a Whale Part 1
9:14
-
3.
Draw a Whale Part 2
7:31
-
4.
Final Thoughts
1:20
-
-
- --
- Beginner level
- Intermediate level
- Advanced level
- All levels
Community Generated
The level is determined by a majority opinion of students who have reviewed this class. The teacher's recommendation is shown until at least 5 student responses are collected.
144
Students
21
Projects
About This Class
Why Take This Class?
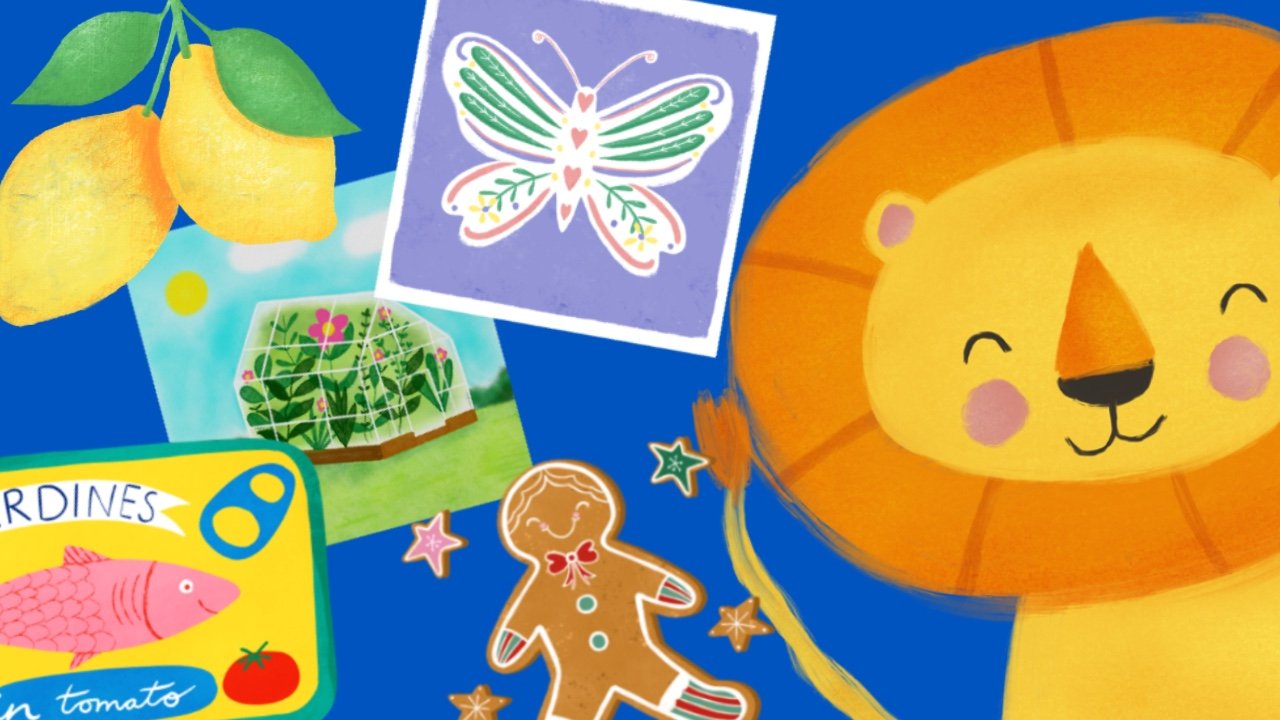
Do you want to draw some cute animals but don’t know where to start?
Does the thought of drawing animals overwhelm you?
Are you unsure how to tackle things like colour selection and shading?
Do you have dreams of illustrating a children’s book?
Do you want to build a daily drawing habit but don’t have lots of time to dedicate to your art?
If you answered yes to any of the above, then this class is for you!
In this class, I will show you how to draw a dreamy whale using my tried and tested formula. Learn how to break an animal down to its basic shapes and create cute, fun and stylised animal illustrations while also learning the basics of the digital drawing app Procreate. I will show you some of the built in Procreate brushes that I use to render my own animal drawings and the best part…I will teach you to do this in just 15 minutes!
Why use Procreate?
As a professional artist I use procreate for all my work, I have illustrated everything from children's books to greetings cards that I have licenced worldwide, I do this solely using procreate. It is my digital art tool of choice because it is super intuitive, it has so many amazing features and tools that produce professional level results and if I have my iPad, I can make art anywhere. And my favourite thing there is no mess to clean up at the end of a project!
Why Learn with Me?
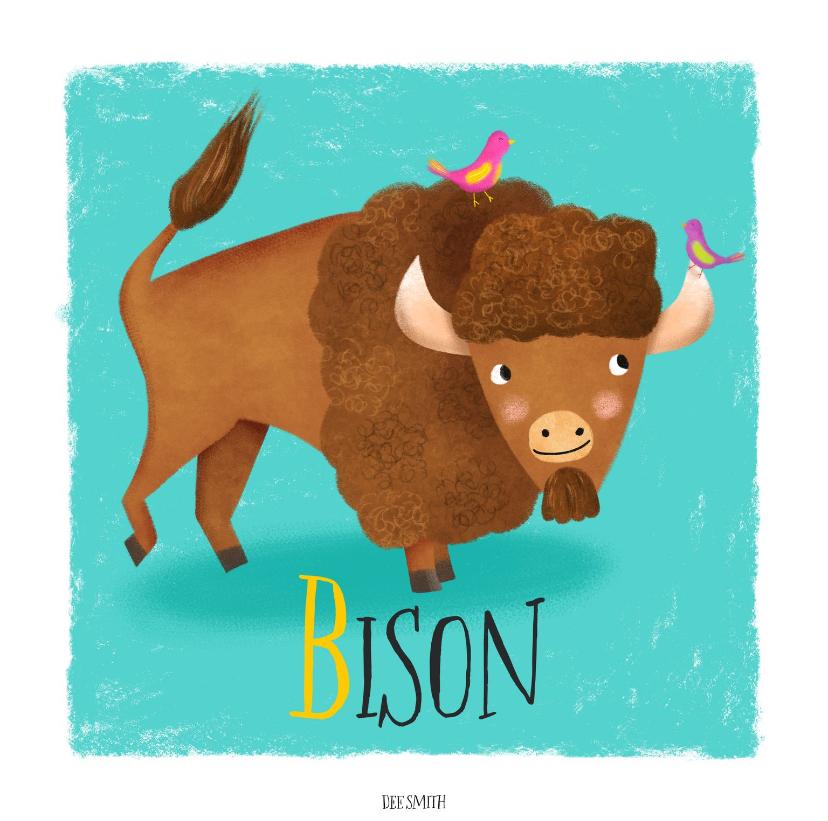
My name is Dee Smith and I'm a professional illustrator and qualified teacher based in Scotland in the UK. I have been drawing for a lifetime and teaching for 17 years and I am excited to share my skills and experience with you. Since discovering Procreate two years ago I have gone on to illustrate two children’s books, worked on various design briefs for BIG clients, and I have licensed my drawings worldwide. I want to teach you all I have learned so that you can have the same level of success without the guess work! To learn more about me and the projects I’m working on you can visit my website or find me on Instagram.
https://www.instagram.com/dee_smith_83/
In this class you'll learn the following skills:
- How to gather reference images
- How to draw a whale in simple steps
- How to use these skills to draw ANY animal
- How to select colours
- How to access and use Procreate Brushes and other Procreate Tools
- Procreate Gestures such as undo/redo that will save you loads of time
- How to use layers and why this is important
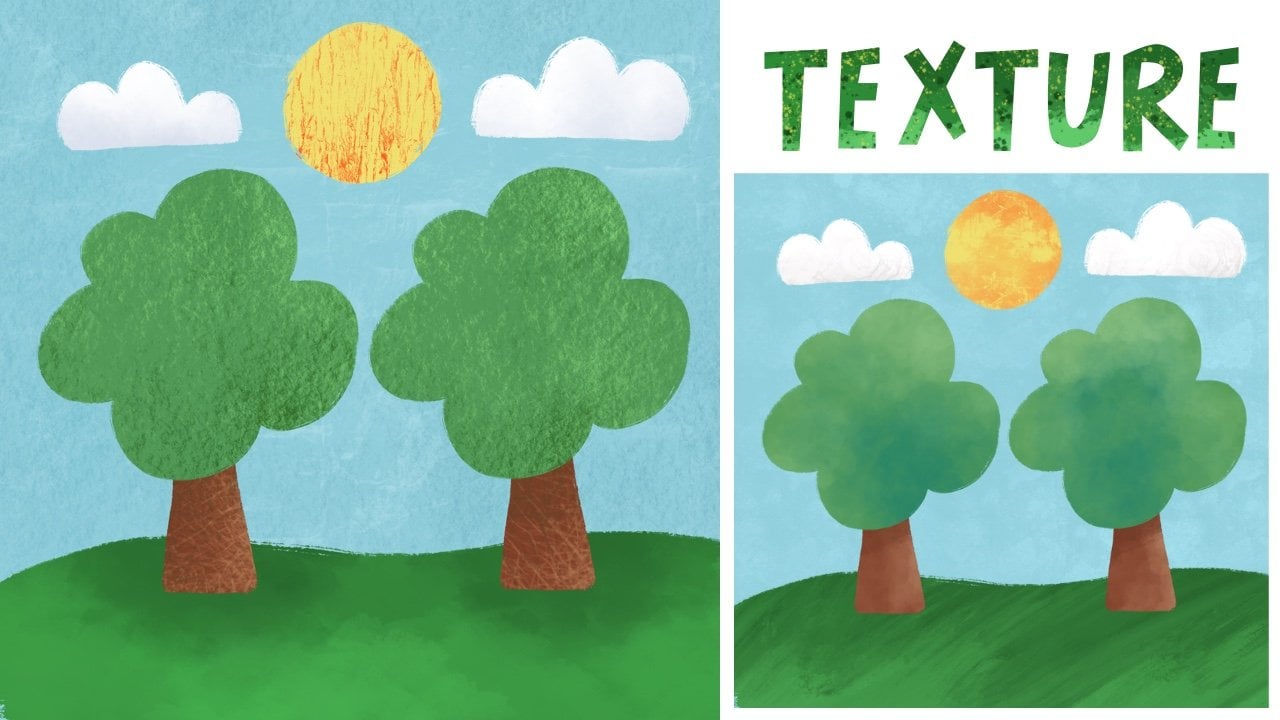
- How to apply texture to create depth to a piece
- Other Procreate features and functions
You’ll be creating:
- An adorable whale illustration
Who is this class for?
- All Ability Levels
- Beginners – I will talk you through each step of the illustration process and show you how to select suitable colours and brushes to render your whale.
- Intermediate and Advanced Users – You will build on existing skills and can put your own unique spin on the class to create cute animal characters with lots of style
- Aspiring Artists and illustrators– Being able to draw whales and other animals can open so many opportunities for you and including animals in your portfolio will make it stronger and give it more commercial relevance
Plus, this class is just great fun!
What Materials do I Need to Take This Class?
- iPad
- Procreate App
- Apple Pencil/Stylus
Meet Your Teacher

Hello, I'm Dee, a professional illustrator and qualified teacher based in Scotland, UK. I create fun, cute and playful art on my iPad. I have illustrated everything from children's books, to napkins and greeting cards that have been licensed worldwide. I am inspired by my family, daily life and the world around me and I try to take the ordinary and mundane and give it my own touch of magic. I look forward to sharing all my skills and experience with you.
See full profileHands-on Class Project


Project Instructions
Your class project is to illustrate a dreamy whale in Procreate!
You will learn my basic formula to create a stylised and adorable whale in simple steps -
- Gathering reference
- Looking at an animal closely and breaking it into its basic shapes
- Rough sketching using basic shapes
- Refining a sketch
- Adding key details
- Colouring and rendering tips and techniques
You can then apply these skills to illustrate ANY animal
I can't wait to see your project!
Materials Required:
ipad
Apple Pen or Stylus
Procreate Drawing App
Share your Project in the Project Gallery
- Navigate to your class and head to the Projects & Resources tab.
- Click Submit Project.
- Optional: Add a cover image that represents your project. The ideal size for this is 690 x 388 pixels; maximum 8 MB.
- Add a project title and project description for your project.
- Add any related content for your project, such as images, video (YouTube, Vimeo, or other streaming links), or an external link. Inline images should be 1000 x 690 pixels for them to display properly, and cannot exceed 2 MB in size.
- Optional: If you want to make your project private, i.e., not visible in the class’s project gallery, check Make this project private.
- Once your project is fully uploaded, scroll back to the top of the page and click Publish.

Class Ratings
Why Join Skillshare?
Take award-winning Skillshare Original Classes
Each class has short lessons, hands-on projects
Your membership supports Skillshare teachers
Learn From Anywhere
Take classes on the go with the Skillshare app. Stream or download to watch on the plane, the subway, or wherever you learn best.