Transcripts
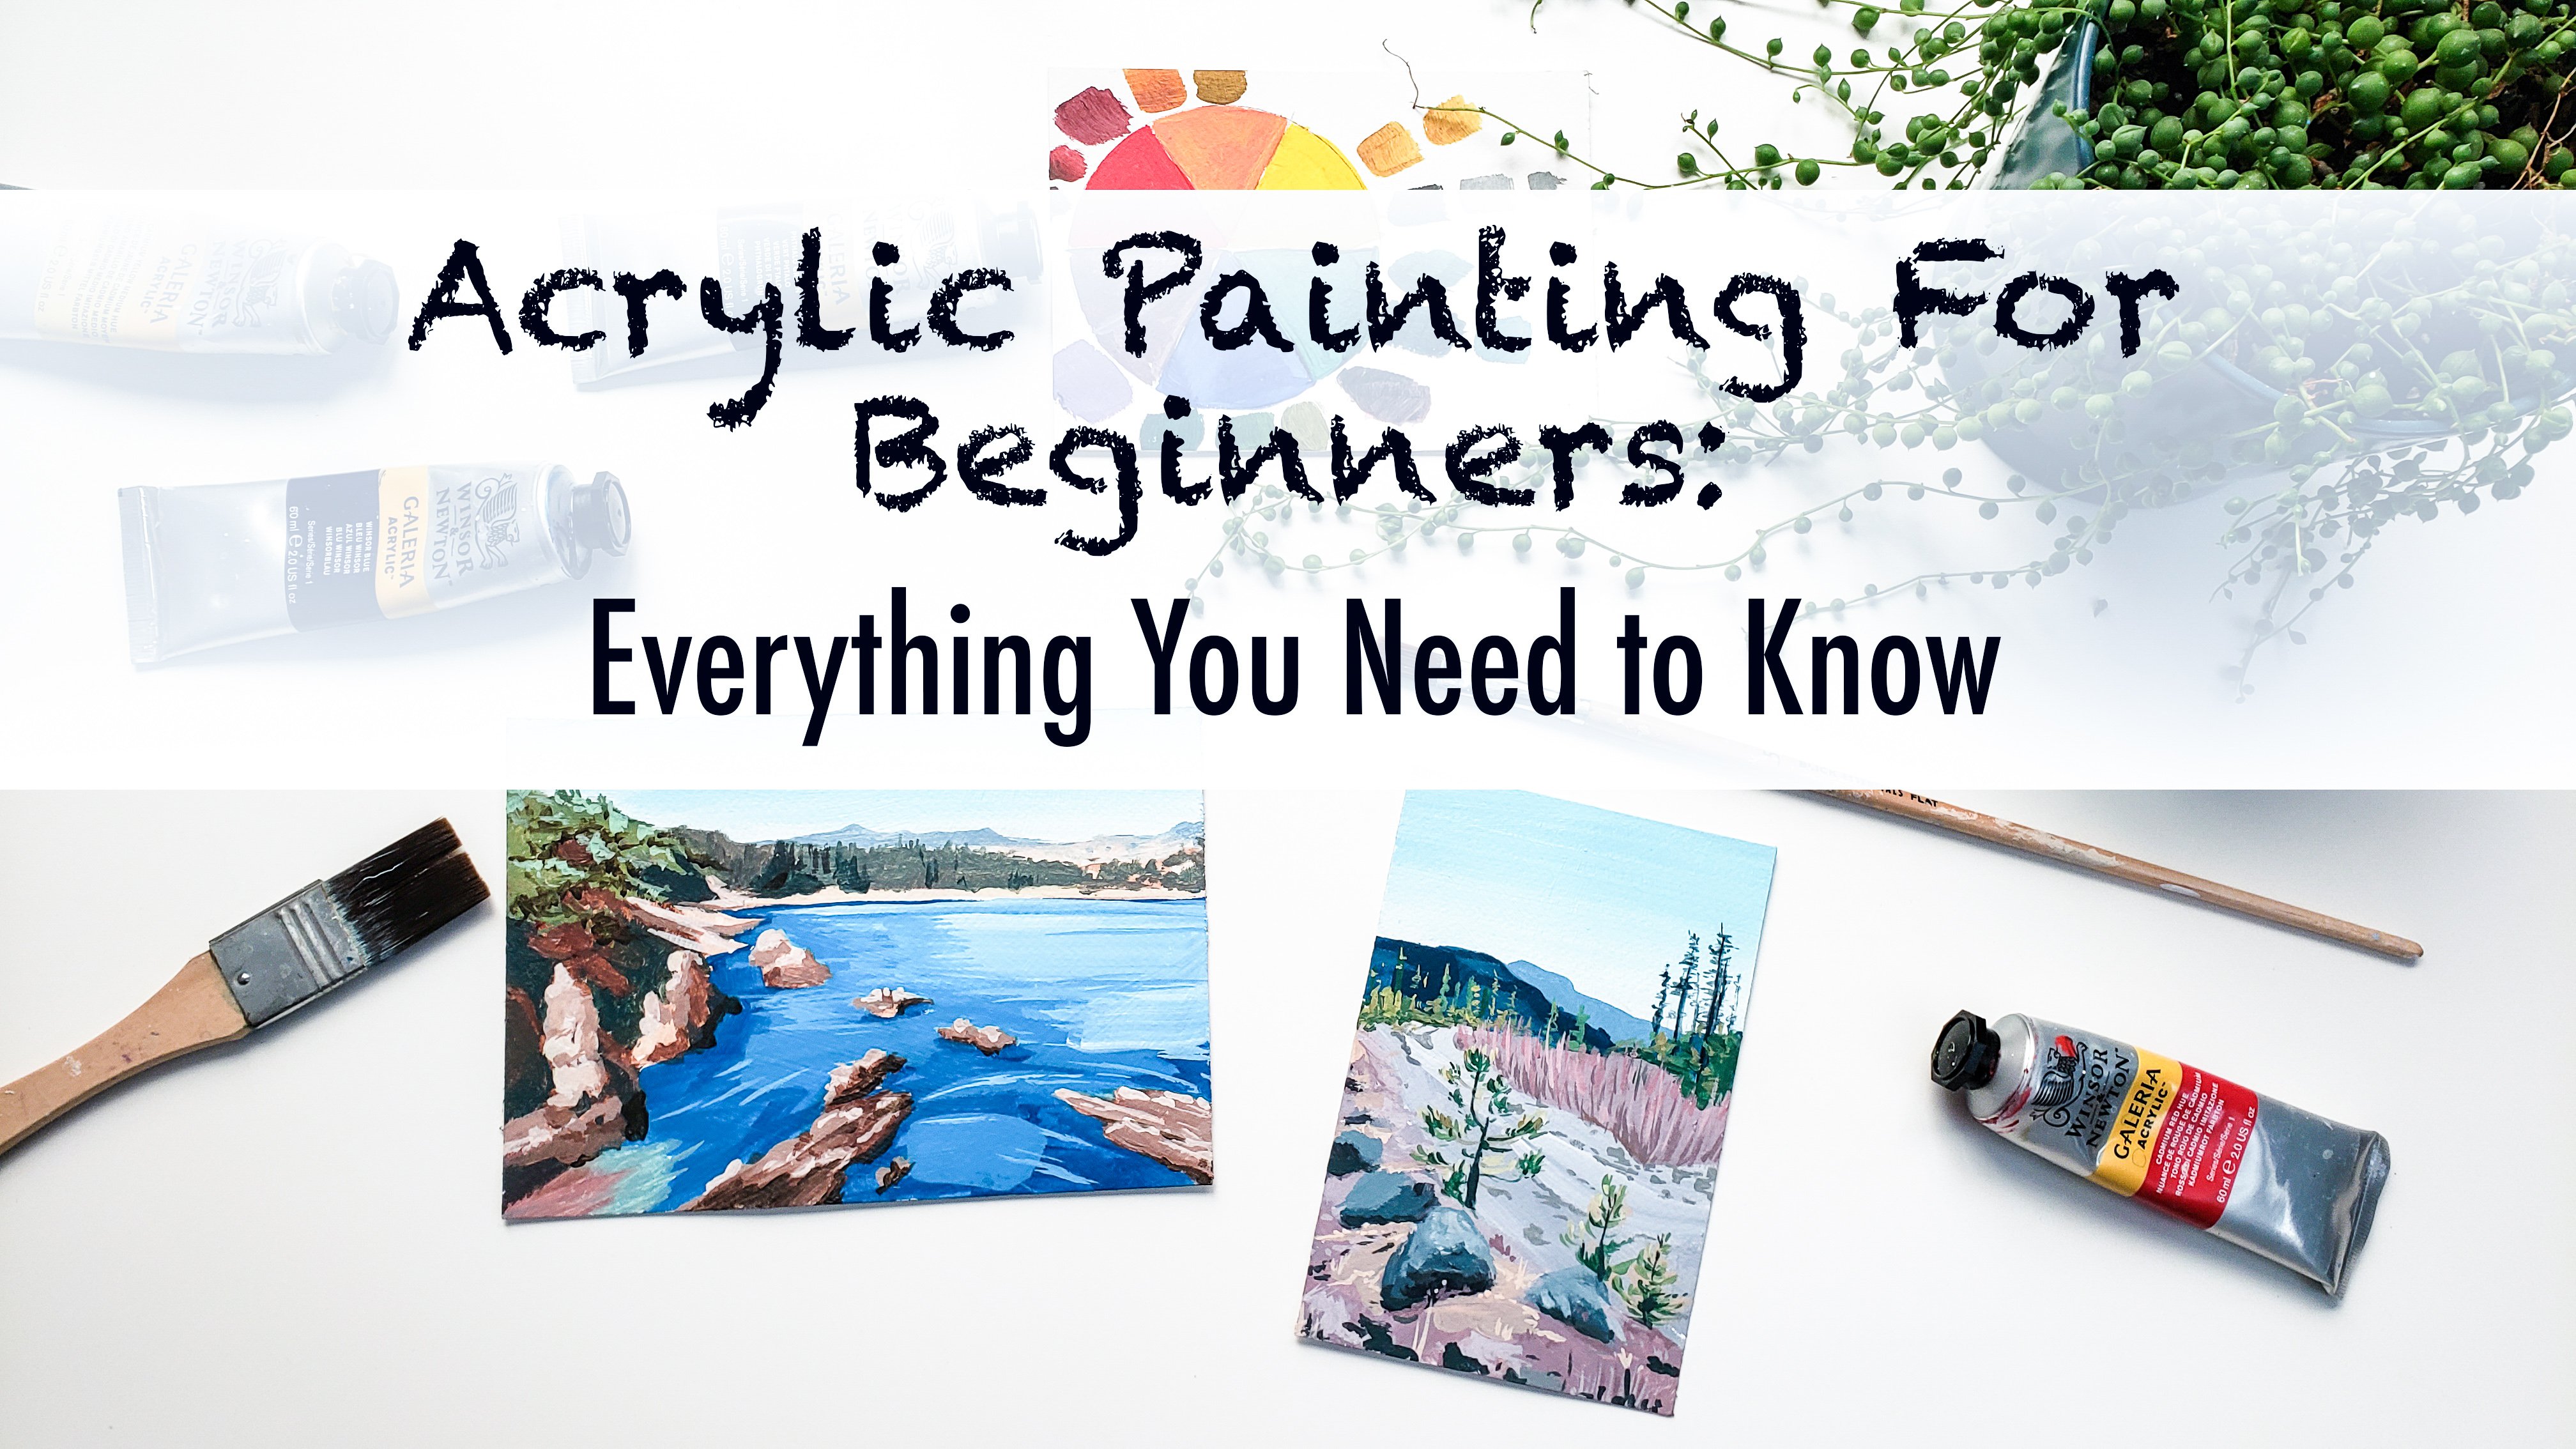
1. Intro and Materials: everyone. My name is Yvette Lab and I create ocean paintings and landscape paintings out of my small studio in Portland, Oregon. In this class, I'm gonna be showing you guys how to paint a beautiful sunset landscape painting this guy right here, I'll be showing you guys how to paint the clouds, how to mix colors, what colors to use and how to create really interesting texture and brush strokes with your paint. I really recommend this cross from anyone from a beginner to award bats painter if you want to learn a new skill, because I will be painting right along with you, showing you guys each and every color that I mix, and every time that I apply it to the paper, seek and see exactly what I'm doing and follow right along with me. I'll also be giving you guys lots of tips and tricks and telling you guys things that I think about when I'm painting and strategies that I So for this class, you will mean something to paint on. I use watercolor paper primed with Jessa, which I will show you guys how to do, and I also recommend having some brushes of pores, I recommend having at least a one inch flat brush a media round brush. This is a size seven, which just means it's a good all round sized paintbrush on one small detail brush, forgetting little dots, texture and details into your small painting. In addition to about you, of course, need acrylic paint. This isn't acrylic painting tutorial. I will list all of the colors that I use in the description below. I got this set on Michael's for about $15 then I use just a couple other colors, so it's not too many colors. I'll show you guys how I mix them and you can make your own. So, yeah, go grab your supplies and meet me back here and we'll get started.
2. Surface Preparation: All right. So to start out this project will be starting with either a wooden panel or watercolor paper, whatever you have and would prefer to use. And we're going to go ahead on prime these with some just so, And I'm gonna show you guys how I do that. Okay, so this is a really simple process for the wooden panel. We're just gonna take some just so right here and for a bit on there, not too much so that you it can always add more later. It's easier to do it that way. And then we're just gonna take a big, white, flat brush on spread it all across the painting. Justice is essentially just a cheap white paint on. The reason that I like to use just so is because it makes the acrylic paint. Once you're painting on top, sit much nicer, go much farther. You don't have to waste as much paint that gets soaked into the wood. And it also gives it a really nice underneath and texture. One tip I do have is if you're making a landscape oriented painting to make sure that all your strokes at the end after you covered it or going the same way in the landscape. Orientation versus If you were doing a horizontal painting, you would want them to go that way with, and then you will just wait for this to dry. If you're hoping to paint the sides of the painting, I recommend also just doing those today. We're not gonna be doing that. And it's really the vaccine thing with watercolor paper. This is on a block. You don't need to tape it down. If you don't have enough block, it's totally fine. Just painted. Um, you do want to use a watercolor paper that's at least 300 GSM, which just means it's a little bit thicker and can stand up to the paint better and for the papers. Same thing. We'll just apply some just so I may have done too much. So I was going to What about off over here? No big deal, and you just want to make sure that you cover every card of the paper. I actually really love painting on paper. I think it's one of my favorite things to paint on, so if that's what you have, definitely just use it painting on wood or campuses is by no way any better or worse. They're all just different tools. But I think that it's really fun to paint on paper. It gives a really interesting, cool texture, and it's really easy to frame afterwards.
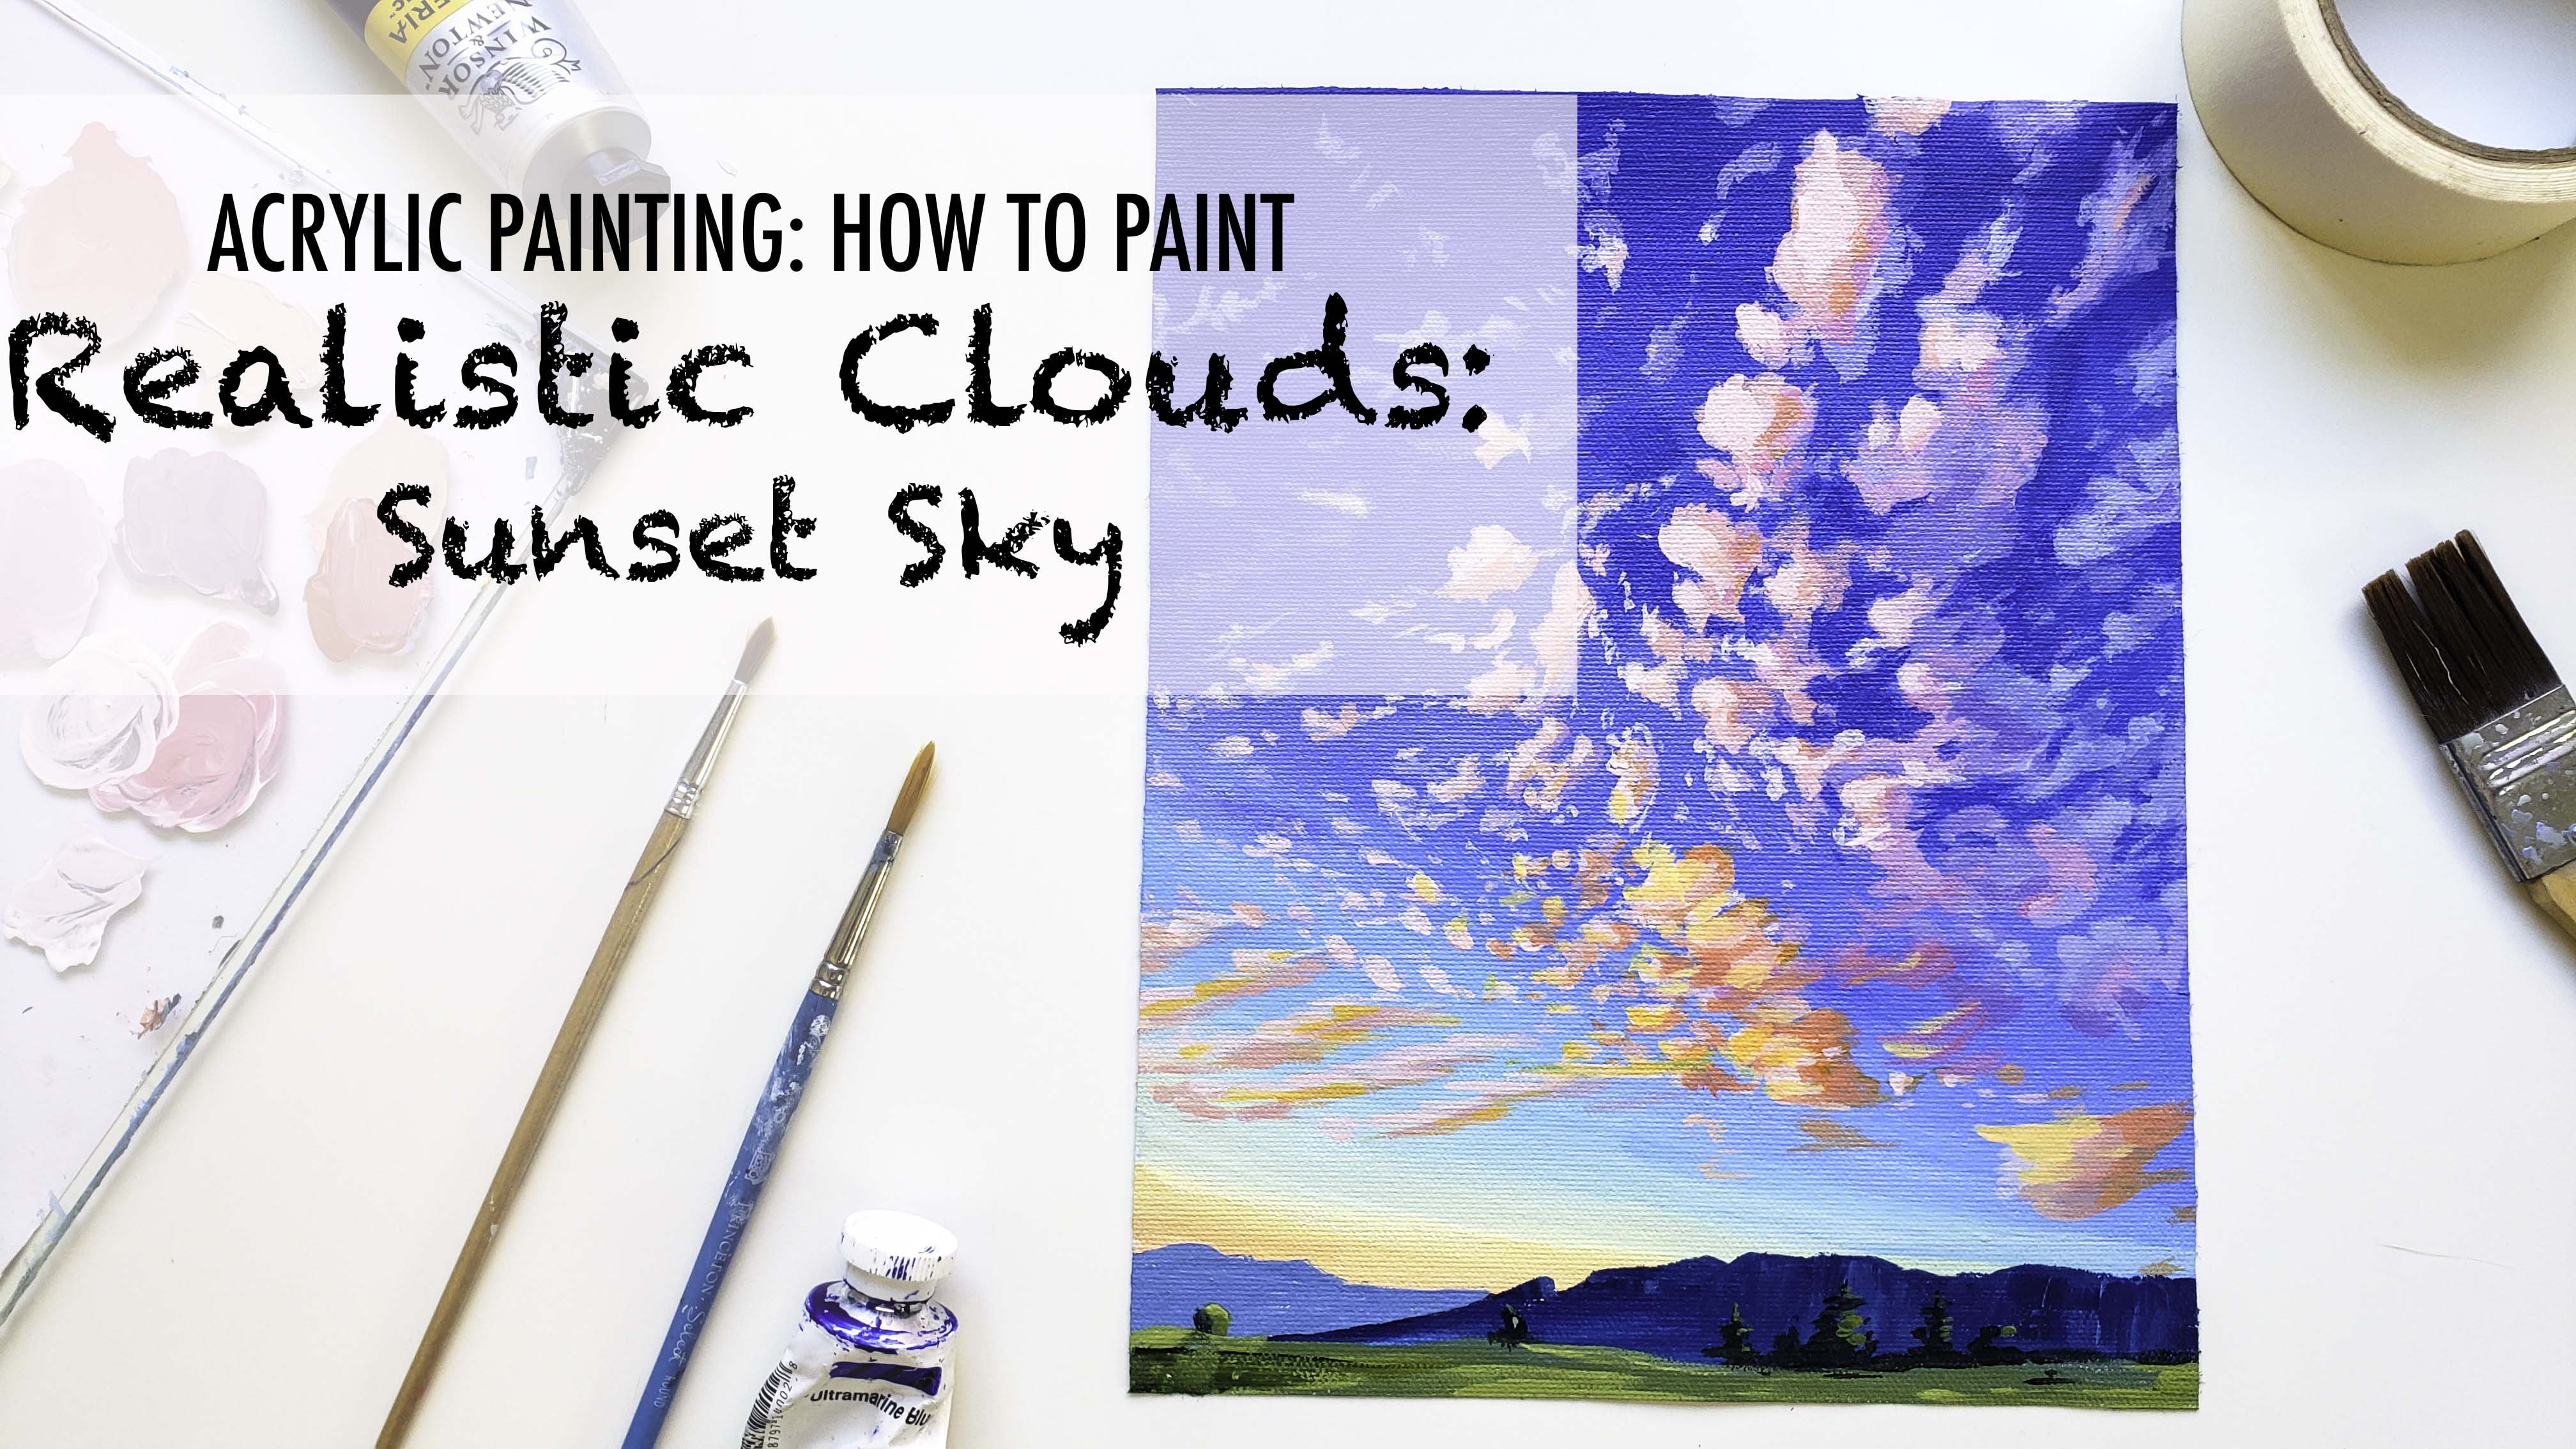
3. Sunset Sky: Base Layer: All right, you guys. So I'm starting this painting out on a piece of five by seven water, paper, watercolor paper that I've already propped with Jess. Oh, um, and you saw how to do that in the video before, So we're going to start out with a really big brush and we're gonna start this painting with the sky for the sky. We're gonna be using ultra marine blue, some of this winds or blue Payne's gray and, of course, white. For the more sunset PCI, parts of the sky will be using red, yellow and red violent. I really recommend having at least the primary colors, which would be like a primary blew a yellow and a red and also, uh, violent or purple color because it's really challenging to mix vibrant purples from red and blue. Ultra marine blue is a cool blue, whereas this is Ah, no, I think ultra marine blue is a warm blue where his primary blue is a cool blue, so you can get some different tones with thought. And I also liked have a few greens, cause I think they're sometimes challenging to mix her not challenging, but it just makes things a lot quicker if you do have a green. I got this set right here and a white from Michael's for like, $15. It's really good starters that and then you can just sort of add in a few more colors as you go do you think he might need? So we're going to start out with a really big brush. This is about one inches large for our smaller paper size. Not super huge, I guess. And some lavender and some ultra marine blue. Mix that up, maybe out a little bit of the Paynes grey and a little more lavender until we get kind of a cool, stormy purple lee cloud color. We're just gonna apply that paper pretty quickly and I'm applying it particularly where I see some of the darkness. The darkest part of these top stormy clouds. You are just a tiny bit of white in there and fill in the rest of it. Actually. Well, I'm gonna go back, makes a little bit of a darker color and go in and have a little bit more contrast into the stormiest parts of this guy. I don't go back and forth a little bit between light in the dark until they like how it looks
4. Sunset Sky: Base Layer 2: And now that we have this dark cloud based in I'm going to start adding in more purple, squeeze out a little bit of red. I'm a little bit of yellow. So we've added a little bit more purple to our mixture, and I'm gonna take a little tiny hint of red as well. If the reds really strong, you can just go ahead, not more purple in a little more white in a little more blue. And just keep mixing it up until you get just a nice, warm de saturated red color. With this, we're going to start applying that into this part of the sky. Is this kind of the transitionary color from our dark purple blue clouds? Getting into are really bright, beautiful, light filled sunset, and you can kind of see that there's different layers of these clouds. I'm adding in a few different streaks and levels of this. At this point, I'm going to start adding in more white tooth. This a little bit more red. Get a lighter, peachy color. It's late enough and it's sometimes good if you're not getting quite the color you want just to rinse your brush completely off so that you can get a fresh kind of color. I'm gonna drive me brush a little bit after, makes things we don't quite so much paint on there and start blending that in between our dark mabi color, and then we'll probably go back and forth a bit here, a swell to kind of blend them together, change up our colors a little bit, and I have lots of dimension in that way. Then we're going in with more of, ah, orangey a light orange color here, and we'll be going back and forth between our pink and are orange and all these sunset colors we've been mixing up this back and forth really helps it toe kind of blend together and get lots of different variations of color.
5. Sunset Sky: Highlights: and I'm also gonna be using a little bit of this portrait pink. This is really a very similar color to our red and yellow. You can totally makes us on your own if you don't have it. Almost. We've got these colors kind of just laid in for now. We'll go ahead and go in with are yellow color and just a little bit of red to that. So it's a little bit of a warmer yellow. It should stuff really still be more yellow and red or orange just a warmer yellow. And then we'll add a whole bunch of white to that Really light butter yellow for our center . Part part really is almost white. And then we're gonna blend, got down into a beautiful, peachy pink again. And when creating smaller paintings, I find it can be pretty helpful to try to work quickly if you can, because then you can still blend in all these beautiful colors. - We're gonna mix up a little more of this very great orangy yellow kind of outline the really light butter yellow with that, and you can see in the reference photo that we have some kind of quarreled shapes coming down, just a couple of those in for now and then we'll come back in and do a lot more details later. So at this point, making a really nice Orrin G. Salmon very bright color to go back into our cloud bank. As you can see in the reference photo, we have some really vibrant PCI oranges at the edge of this car, and then that transitions into even more of an orangey colors without a little more yellow . We're just working on this line between the yellow and the peach and kind of evening it out and just going back and forth until it feels right.
6. Sunset Sky: Mist: Okay, So I'm gonna let this section dry out a little bit and work on this purple transitioning into our stormy blue at this point local back into our blue, darker blue clouds and kind of play with those as well. This really is just kind of a back and forth game with clouds like this and getting ah, really pretty, even rainbow type radiant. And that's OK. You can just take your time, have a lot of fun with it. I'm just blend and play until you feel like that. Rush marks look right, and the colors look as good as you want them to. So you can see here that I'm struggling a little bit to figure out what kind of purple color I want for this transition area between our stormy clouds and are bright setting sun . And so I'm just mixing up different amounts of our cadmium red, ultra marine, blue and red violet until I find a color that I really like. And that suits the painting often times when I'm looking at a reference photo. I am changing the colors a little bit like I am on this one and making them a little bit more vibrant or saw Cherie did, and so it can take time to figure out how you want your painting to look what colors to do . And it's perfectly okay to just play around until you figure out what looks good on what you like. So you can see when you mix red on blue and you don't have a purple. You get this really muted purplish color, which is really great for some of these clouds. But it is why I recommend you also have a really vibrant purple for mixing.
7. Sunset Sky: Transitions: Okay, so I'm going to switch to a bit of a smaller brush. Now, you know, I'm gonna also show you guys how I clean off my pal int. If you have a glass pot like this one, it's really easy. Just spray a little bit of water on your dried paint on, then use a scraper blades to scrapers right off, and then you'll just wipe off all of the excess dry paint and you got to go. - And then I'm just going in and having some late streaks to the sky. And with these late strokes, I'm going to create some fun little cloud shapes, and this will add some sharper edges and dimension to these background clouds. The shapes don't have to be too precise. They can just be little blobs and lines here and there. But it really adds a lot, you know. And now that we have the first layer of our sky down, it's time to go in and start adding our second layer. So I'm mixing up a nice, vibrant medium pink, and this is why it's OK to take your time finding your colors because you will be doing several layers on your sky here and adding vibrant vibrancy and such on this second round where I'm going in on the sky, I am using much more vibrant saturated colors, and I really like how that looks. - This is also one of the beautiful things about using acrylic paints. You get to do lots of layers very quickly since they dry, and so if you lay down a color that you don't love as much or you want to change it, that's really easy to Dio, which is really awesome and is why I really recommend acrylic paints to beginners.
8. Sunset Sky: Layer 2: and I'm just using this vibrant yellow to outline the lightest part of the yellow and the reference. We've got some bright orange and yellow clouds around the edges of it, which is what I'm adding in here. And this is how you create the effect of a really bright light as you'll have almost white in the middle, and then you'll start to have your colors on the edges, your yellows and your oranges. That's how you can tell that it's really bright light in that area. So looking at this right now and looking at the reference photo, I feel like this color is a little bit too dark and too red, and I'm gonna go ahead and mix up a more purple e color to go over it and help it blend. Ogle it a bit better, - a trick I use sometimes to figure out if I have the right amount of contrast or the colors look good together is I'll blur my eyes just a little bit. Or, if you have glasses, take off your glasses and this can really help you see the composition and the really dark spots and see if they're working well And as I'm doing this, I'm just mixing up different variations of a vibrant purple and pink and laying these on top, sometimes adding just a tiny bit of red into your color. You can hardly tell the difference or pretty close, but just that subtle shifts really helps at a lot of dimension to your painting. - And I feel like this looks much more subtle and realistic. You can really see that thes dark cards air front or than swooping back to reveal a beautiful sunset. Now that I'm happy with thought purple color gonna go again back in with this blue stormy cloud cover. Just add a little bit detail, and we're not really trying to blend these all smoothly, just adding lots of texture and Marx to show how the layers of clouds are. So, for example, we can see we have this larger cloud bank, and then there's some red. And then there's some still dark blue streaks in a reference photo. My great here that shows the shadow so we're going in had adding in some about
9. Sunset Sky: Details and Light: female switching to a smaller, round brush. We'll go back in with our peachy pinks as well. When you're doing little acrylic paintings, I definitely think it's a layers game. It's really awesome because they dry quickly so you can do these layers quite quickly, as opposed to oil paints where you want to do it. So Layers is gonna take you lots of days. But definitely don't be afraid to just try something. You can go back and go over it again and do new layers. So at this point, nothing. It's much smoother. I might go in and just a little bit more over purple, gonna go over it again in some places where maybe there's some texture lines I don't want. Art is a little too detailed, and then we're just about ready to move on Teoh our hills, and then we'll come back and do some more details in the sky. Leader is well, so for the hills I'm gonna be using at the stay low green and sap Green and green gold. These are all definitely colors you can use. Um, you could mix from a single green if you have a halo green or just from a primary blue and a yellow different amounts of blue and yellow. But I think it's a lot easier to just have some different shades of green on hand if you're painting a lot of landscapes, we're also still going to be using some of these colors, such as Payne's Gray, Yellow, maybe the Blue as well, huh?
10. Landscape: Sketching: So we're gonna make some of the south greens with the green gold. Um, in some way, just to get a nice yellowy green, we're gonna go ahead and start drawing in our health's. It will make a more vibrant green. We'll draw this hill that's closest to us, and then you can see that there iss one. The middle here on the mish is the bank of trees. And then we have this hill here, and there's one more right here. So at this point, I'll just start filling in that these fills with some different colors of green. I like to use a really nice yellow vibrant green a lot in my pills, and they also really love sap green. That's really my favorite shade of grant green because it's a little bit muted but still really beautiful. And we'll also be using some of this Payne's gray mixed with the greens to get darker colors as well. So we'll just start using this really dark green, dabbing it on there. I really like the brushstroke effect when your job you can see that this kind of gives that same illusion of those trees on the texture and the trees out there do the same for these little trees out here. Uh, and so for this first part of blocking in the hills, I'm just going in and adding different darks and a little bit lights into these tree areas . And this could be really rough because it's just our first layer here, - So I'm mixing up a more muted brown green. For this, Phil was it's gonna be darker than the one in front of it.
11. Landscape: Color Blocking: we'll mix up a good amount of that. Stop green. Yeah, Payne's gray and a little bit of the failed green as well could not make this beautiful get color. And then we'll go ahead. And I thought, I mean, here gonna show that this hills coming up from the darkness and then with this walks will go in, and I'd more detail into this back hill. - What a little bit of the late warm green here. It's the top of that distant hell on the light is hitting it basically it for this first layer. I like to just fill in the hills with different shades of green. And then we'll come back on top and do some really fun work with brush strokes to give lots of different textures and colors and really pretty effects. - So when you're playing around with these greens, you'll notice that, um, the stay low green is just a very great like primary green. What you'd expect green to be on the when you mix it with white, it becomes a very cool green. And then the stop green is much more muted, like a green mixed with brown, and then the golden green is much more yellow. So if you're just working with blue and yellow or with just a halo green, I really recommend taking a bunch of it, mixing Dale Green with some brown and yellow until you get something similar to the stop green, then makes some of that stop green with a lot of yellow. To get this golden greens, you can kind of work similarly to be.
12. Landscape: Shadows: so something I think is really important when we're creating these dreamy landscapes with lots of different greens is to use not only different shades of green, where you have some dark greens on some light greens, but different versions of green. So greens that are more blue greens that are more brown greens that are more yellow. So that's why you can see quite a few different types of green in this painting, and that really helps each little section and Hill to stand out even more. - Once we have most of this area just blocked in and covered, I'm gonna go back with they're of the Payne's gray and a little blue. This makes a really pretty dark green blue color. This should be pretty much the darkest color you're gonna use almost painting as a whole, and we'll go ahead and go over some of those tree shapes. And I really like kind of doing little oval brush marks like this to give that kind of tree shape effect. And we're also gonna add some little trees out here and we'll mix that mixture a little bit with this. Stop green to get more warm green do some trees, little babies there. I will answer definition more to this little comfort trees as well. From there, we'll mix it with a little bit of one of these lighter greens here just to get a a little bit of a lighter color. And I wanted both Taylor greens. I want more of that cool, bright green out there, - and at this point we're kind of going over some of the areas that maybe we filled in. But there's still some white texture showing through, or it looks pretty rough and adding more layers to come. Smith it out since, well, it's playing you regarding trees where they make look, please. But sometimes I like to do kind of a two toned tree, not a little bit of the dark shadow to it.
13. Landscape: Foreground: Okay, so now that we've got our base all filled in here, I'm gonna clean off my palette again, and then we will come back and add in some details on top. So once we have a lot of this base filled in, I'm going to go in and start adding some of the details of the flowers up here in the front , on the field and for the grass that the flowers Aaron, I'm actually gonna mix up a really pretty kind of blue green teal color. A very cool green, I suppose so Will make some of the sigh in and a lo green and a little bit of the Paynes grey as well. We're just gonna start kind of laying in these strokes on its at this point that I like to try to be a little bit more intentional with the brush strokes so it makes up a little bit of a darker version. I'm just sterling in some lines. This doesn't have to be too detailed. - And then once you have this kind of late and little front portion like that, where we're gonna put our flowers, I'm gonna use a little bit of smaller detail brush and use some of that same paint and kind of ad Cem flicks of grass coming up. - We'll do that with a little bit of a darker mixture as well here, and it's really helpful when you're painting kind of a grassy area. Don't start every stroke from the bottom of the page. You might start one from kind of the middle area at the top, and this gives it like kind of the layers and definition and deaths so that you can tell us a little bit of a field of grass, not just one section, and at this point are painting. I'm also trying to think again intentionally about my brush strokes so I might mix up some paint that's not fully mixed together here. This is a little bit of light in a little bit dark and add in so more textured broke brushstrokes. We'll mix of a really nice light color that is the lightest color we've probably worked with so far on this front section of grass. This is gonna do some little highlight blades, and when I'm looking at this, I feel like it's too much of a straight line. I'm gonna add a little bit of, ah, lumps. It feels a little bit more organic. You'll see what I mean. We'll go over and not some height to this area.
14. Landscape: Brush Strokes : And then once we've got kind of some of this texture laden and this grass, I'm actually gonna go back in and use a lighter color on this first hill. So it stands out a little bit more amazing all three of our greens to get a really vibrant Quite. Yeah, well, we agree. I'll just kind of keep mixing these different greens up until I get one that I like. Don't worry about the splits of grass, but created We can definitely just go in and are more in a little bit. So when I'm trying to get some more interesting brush drugs also immune here so you can see I like to mix up a little bit of the color of paint that I want. This is close to the color that I want to use, but I wanted to have a couple different tones in the brush. So just dab my brush in some yellow and kind of dab it here so it doesn't fully mix in and then take a big fresh full of that. You know, Dio nice big stroke here and then we can I really love like getting different textures like that and you can continue to do this, dip your brush, maybe in a dark green. Dub it in there and you get these kind of cool like half mixed strokes. And I think that that looks really interesting, really like that. And I think that that's really a fun part of painting these little paintings is not to try to get it to be perfectly realistic, with lots and lots and lots of detail, but to kind of play with the paint on used the medium the way. But it works best. I won't do too many of these in this kind of a small painting, maybe one or two, like really textured Diff'rent Strokes, and then the rest of it will be a little bit smoother, and that way it really stands out. And that's the kind of thing you can also just practice doing these strokes with some different textures and stuff on a scrap piece of paper. I think it's really helpful just toe. The more you do it, the more you get a feel for it, for sure.
15. Landscape: Texture and Visual Interest: And if you don't feel like it's right, definitely just keep playing with contrite again. You contrite with different types of Russia's a big, flat brush kind of does a different thing. So at this point, I'm going to go ahead and mix up a nice dark blue green. Yes, we can add in a couple more little tree areas. I'm using the Paynes grey, a little green a little with the stop cream to warm it up. And we're just gonna go ahead and odd in some trees here. - I'm just adding in a little bit of texture on these trees here, showing that there's a little bit of light coming through. Don't you got to Jesus? Well, - so once you get lots of good, juicy details in here and textures, we're gonna go back into the sky and add in our mountains in the distance that air fading out with some from. And for that, we're going to use a nice purple blue colors will take some of our purple and some of our ultra marine blue mix of a nice shade of that. We'll just go ahead and start lining in our mountains here so we can see there nice and crackly. And then I'm gonna mix a little bit of white in there, a little bit of right and kind of start working while this is still wet and blending it downward. And then what? A little bit more right to our purple mixture. Keep funding it downward into this pain cover book. Well, makes this a little bit of a pink color similar to what's below so we can get it really nicely blended together. Then you want to clean your paint, brush off and you can run it along those edges to soften them without spreading the paint too far. And then we're gonna repeat that same process with smaller mountain, just bullet with get a bit of a lighter purple.
16. Landscape: Details: do that same thing where we clean off and dry off our brush and then running along with enters of the wet paint to blend it out a little bit. And then you can see in the reference photo that this part of the mountain over here coming this way is like a vibrant PCI red colors. We're gonna mix up that a swell to do the other half of that. He's a red and purple and actually think or getting is more of a red apples all mixed up really pretty light pink, each color right here. And then we'll just keep going right from that same line. And then do you really similar way of handling at where we add a little bit more white and start lending it out and you might want to dip back into your purple color a little bit kind of blend these two together, come in and add a little bit more red to this in a little tiny bit of yellow. Here is well so that you get a really fiery at trip here and there we go. And because I've added in these mountains, I'm gonna go back into the sky a little bit, do our last finishing details with our bright yellow except a really pretty bright yellow just attach of this peach to warm it up. And you can see in the reference that there are some really pretty clouds that come down into this white space well on those in just a moment as well. And so will makes up a nice dark mustard type of color online, and I bring this up a little bit and then we'll go ahead and start adding in some of these little card details. - And then I'm not a little bit more weight to the go back to our buttery color kind of carve out a little bit more space who they feel like there's a little bit more light space.
17. Landscape: Flowers: But I'm also going to take some of this butter yellow and show that the light is kind of streaming in between these mountains here, a line just part of the second mountain with some of that yellow and streak it back up towards our son. This is the time because we're getting close to the end to mix up any other colors. You can add details anywhere you want to in the sky. I am going to mix up a little bit of a little bit later of, ah, pink purple color to be and just bring a little bit of lightness back into here. And then for our final step, we're gonna go ahead and add in some pretty little yellow flowers down here. So I'm just gonna use the same butter yellow we've been using just makes a little bit of yellow the tiniest spots of rad and some white. We'll just do some little pretty dots down here. They don't have to be in flower shapes. You might want to do a couple in a more floor of shape, and so let her just small dot It's really nice to get some different sizes. Knocked it back into some of this medium blue green, and I'm just a couple more little stuns because I did end up covering some of them up, and I think it's really pretty of some of the grass times cop it a little bit higher to show that they're really in front and all right, so that's it for this painting. You've got a beautiful, magical pastel sunset here, and I would love to see you guys projects down below.
18. Closing Thoughts: All right, you guys about it for this skill share video. I really hope you guys have fun and learn something new. Ask me any questions you have in the discussion section. And I would really love to see the work you guys do in the project section. Thank you guys. So much for watching. I hope it was enjoyable. And I hope you have a good day. I
 Yvette Lab, Fine artist in Portland OR