Transcripts
1. Introduction: Rock painting goes way back in time where ancient
peoples painted scenes of their surroundings on cave walls and rock
shelters worldwide. Now in modern times,
we still paint on rocks as a form of
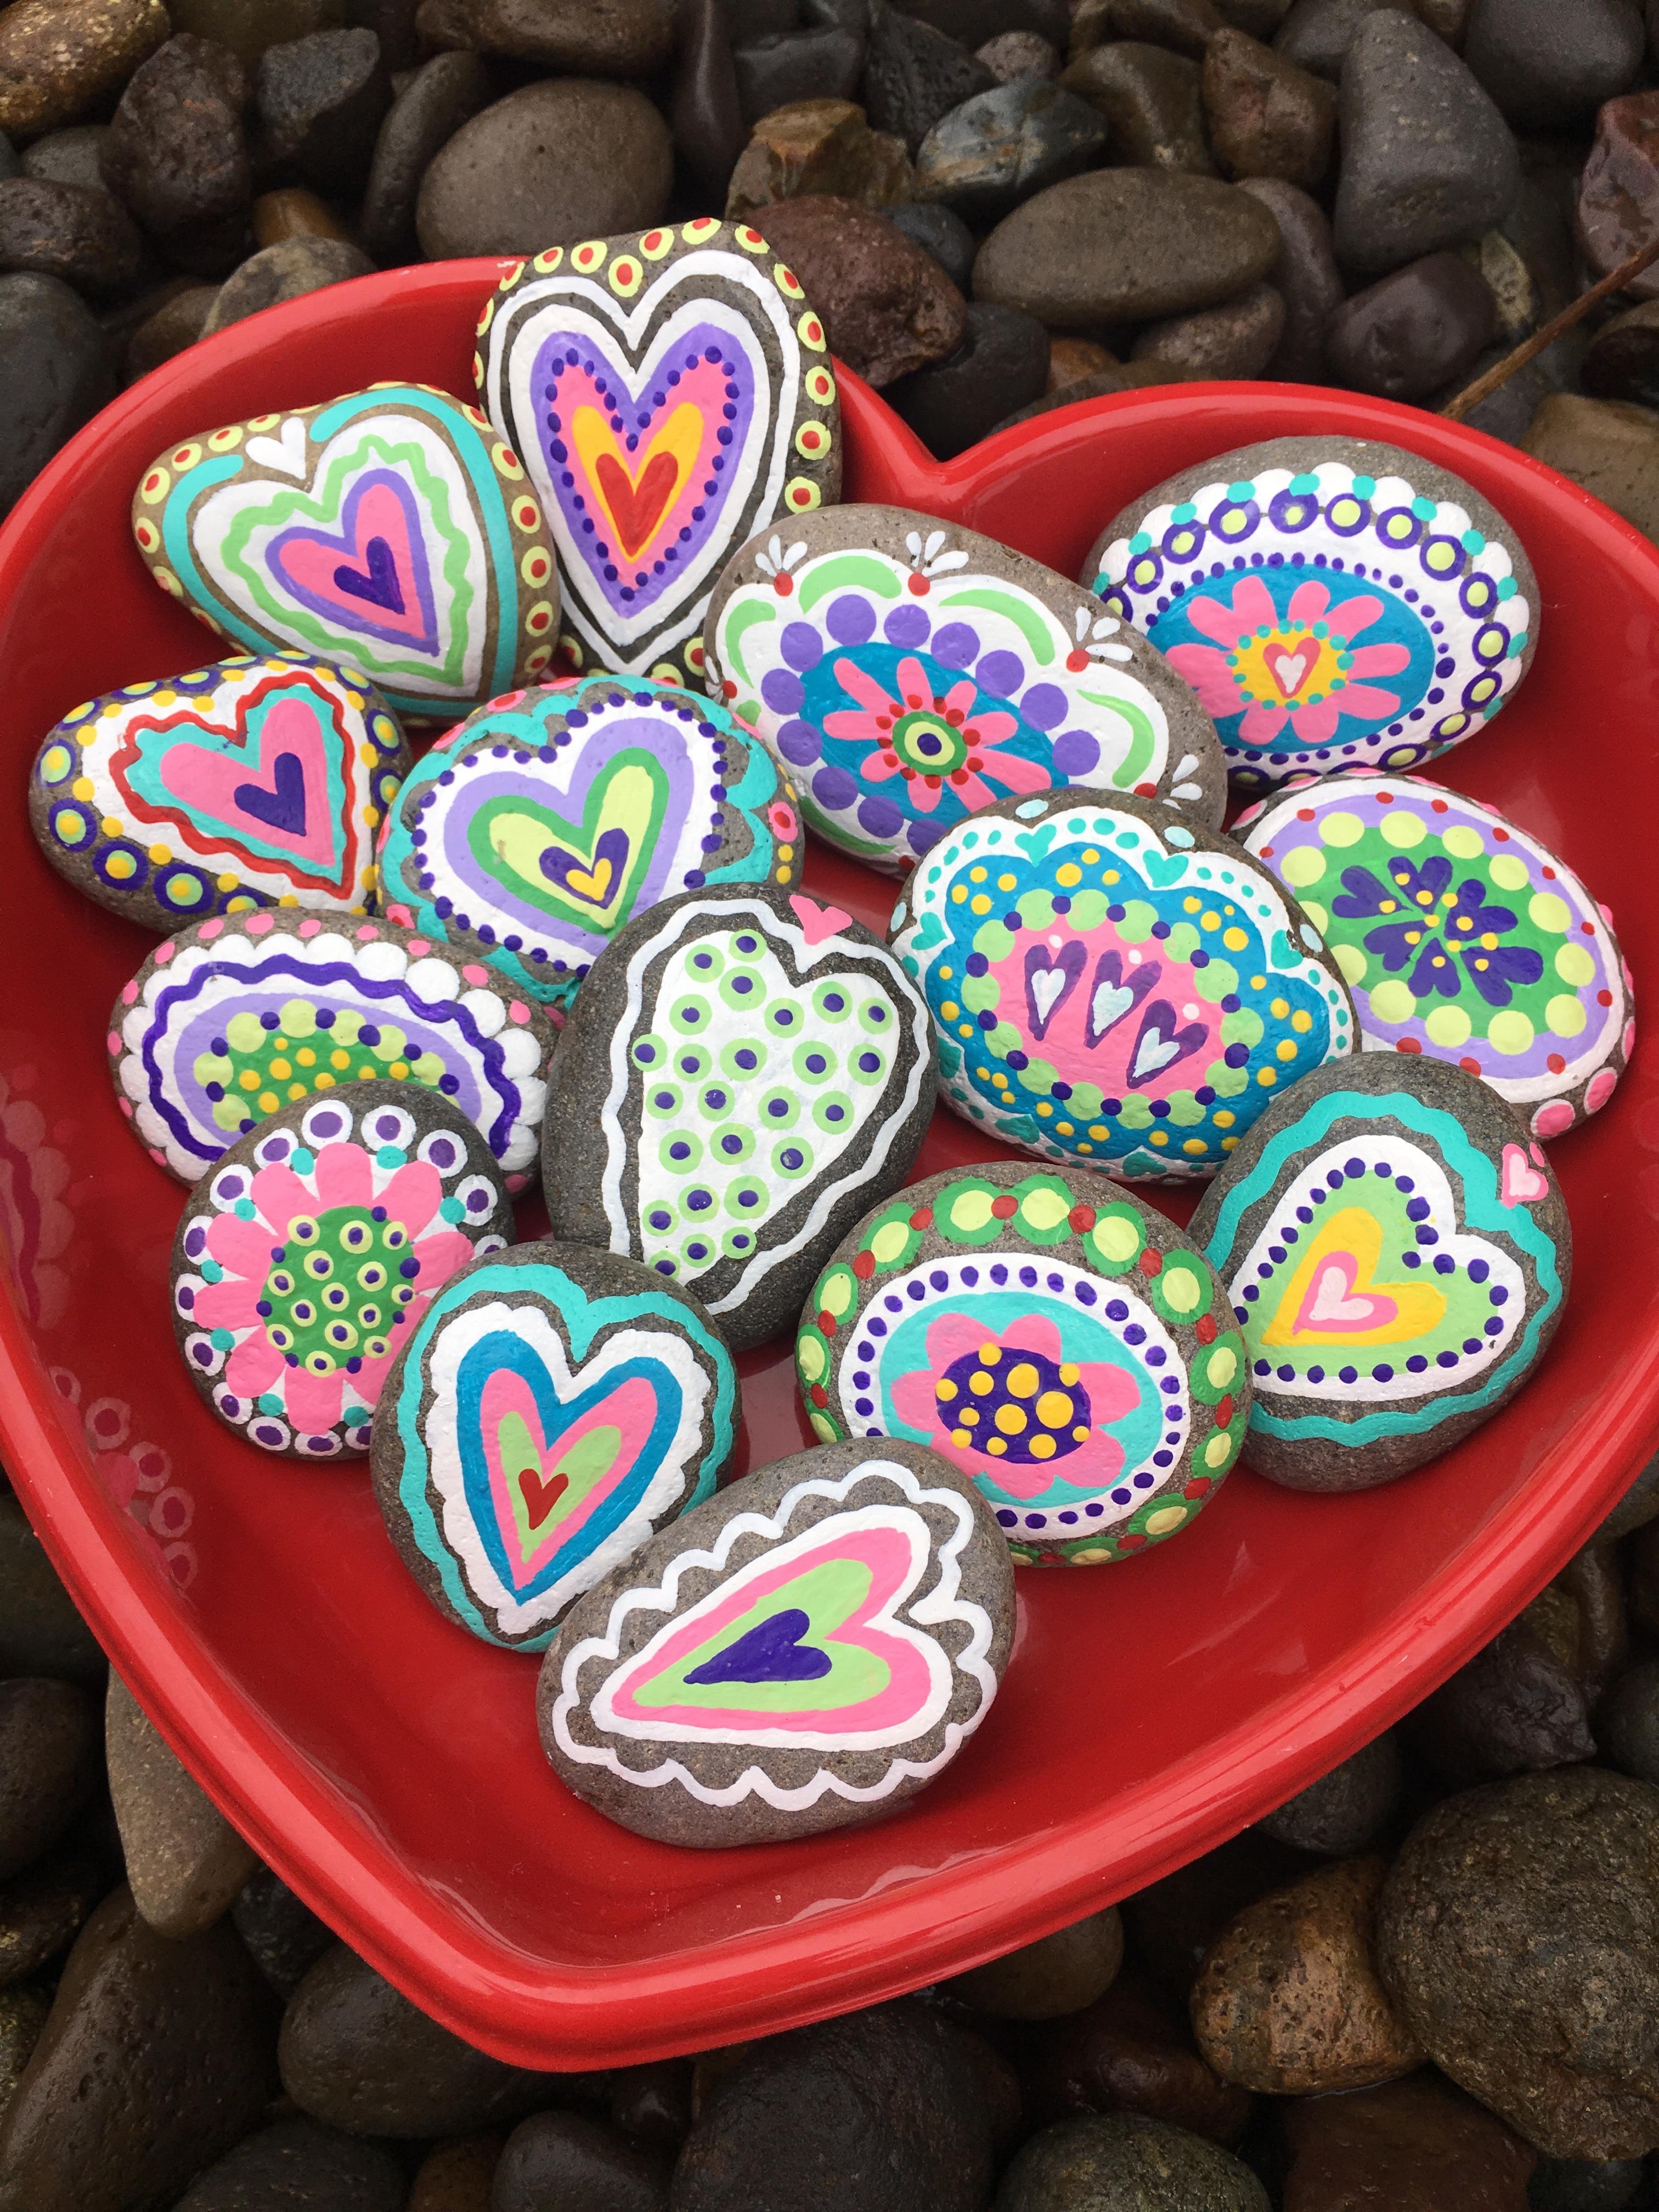
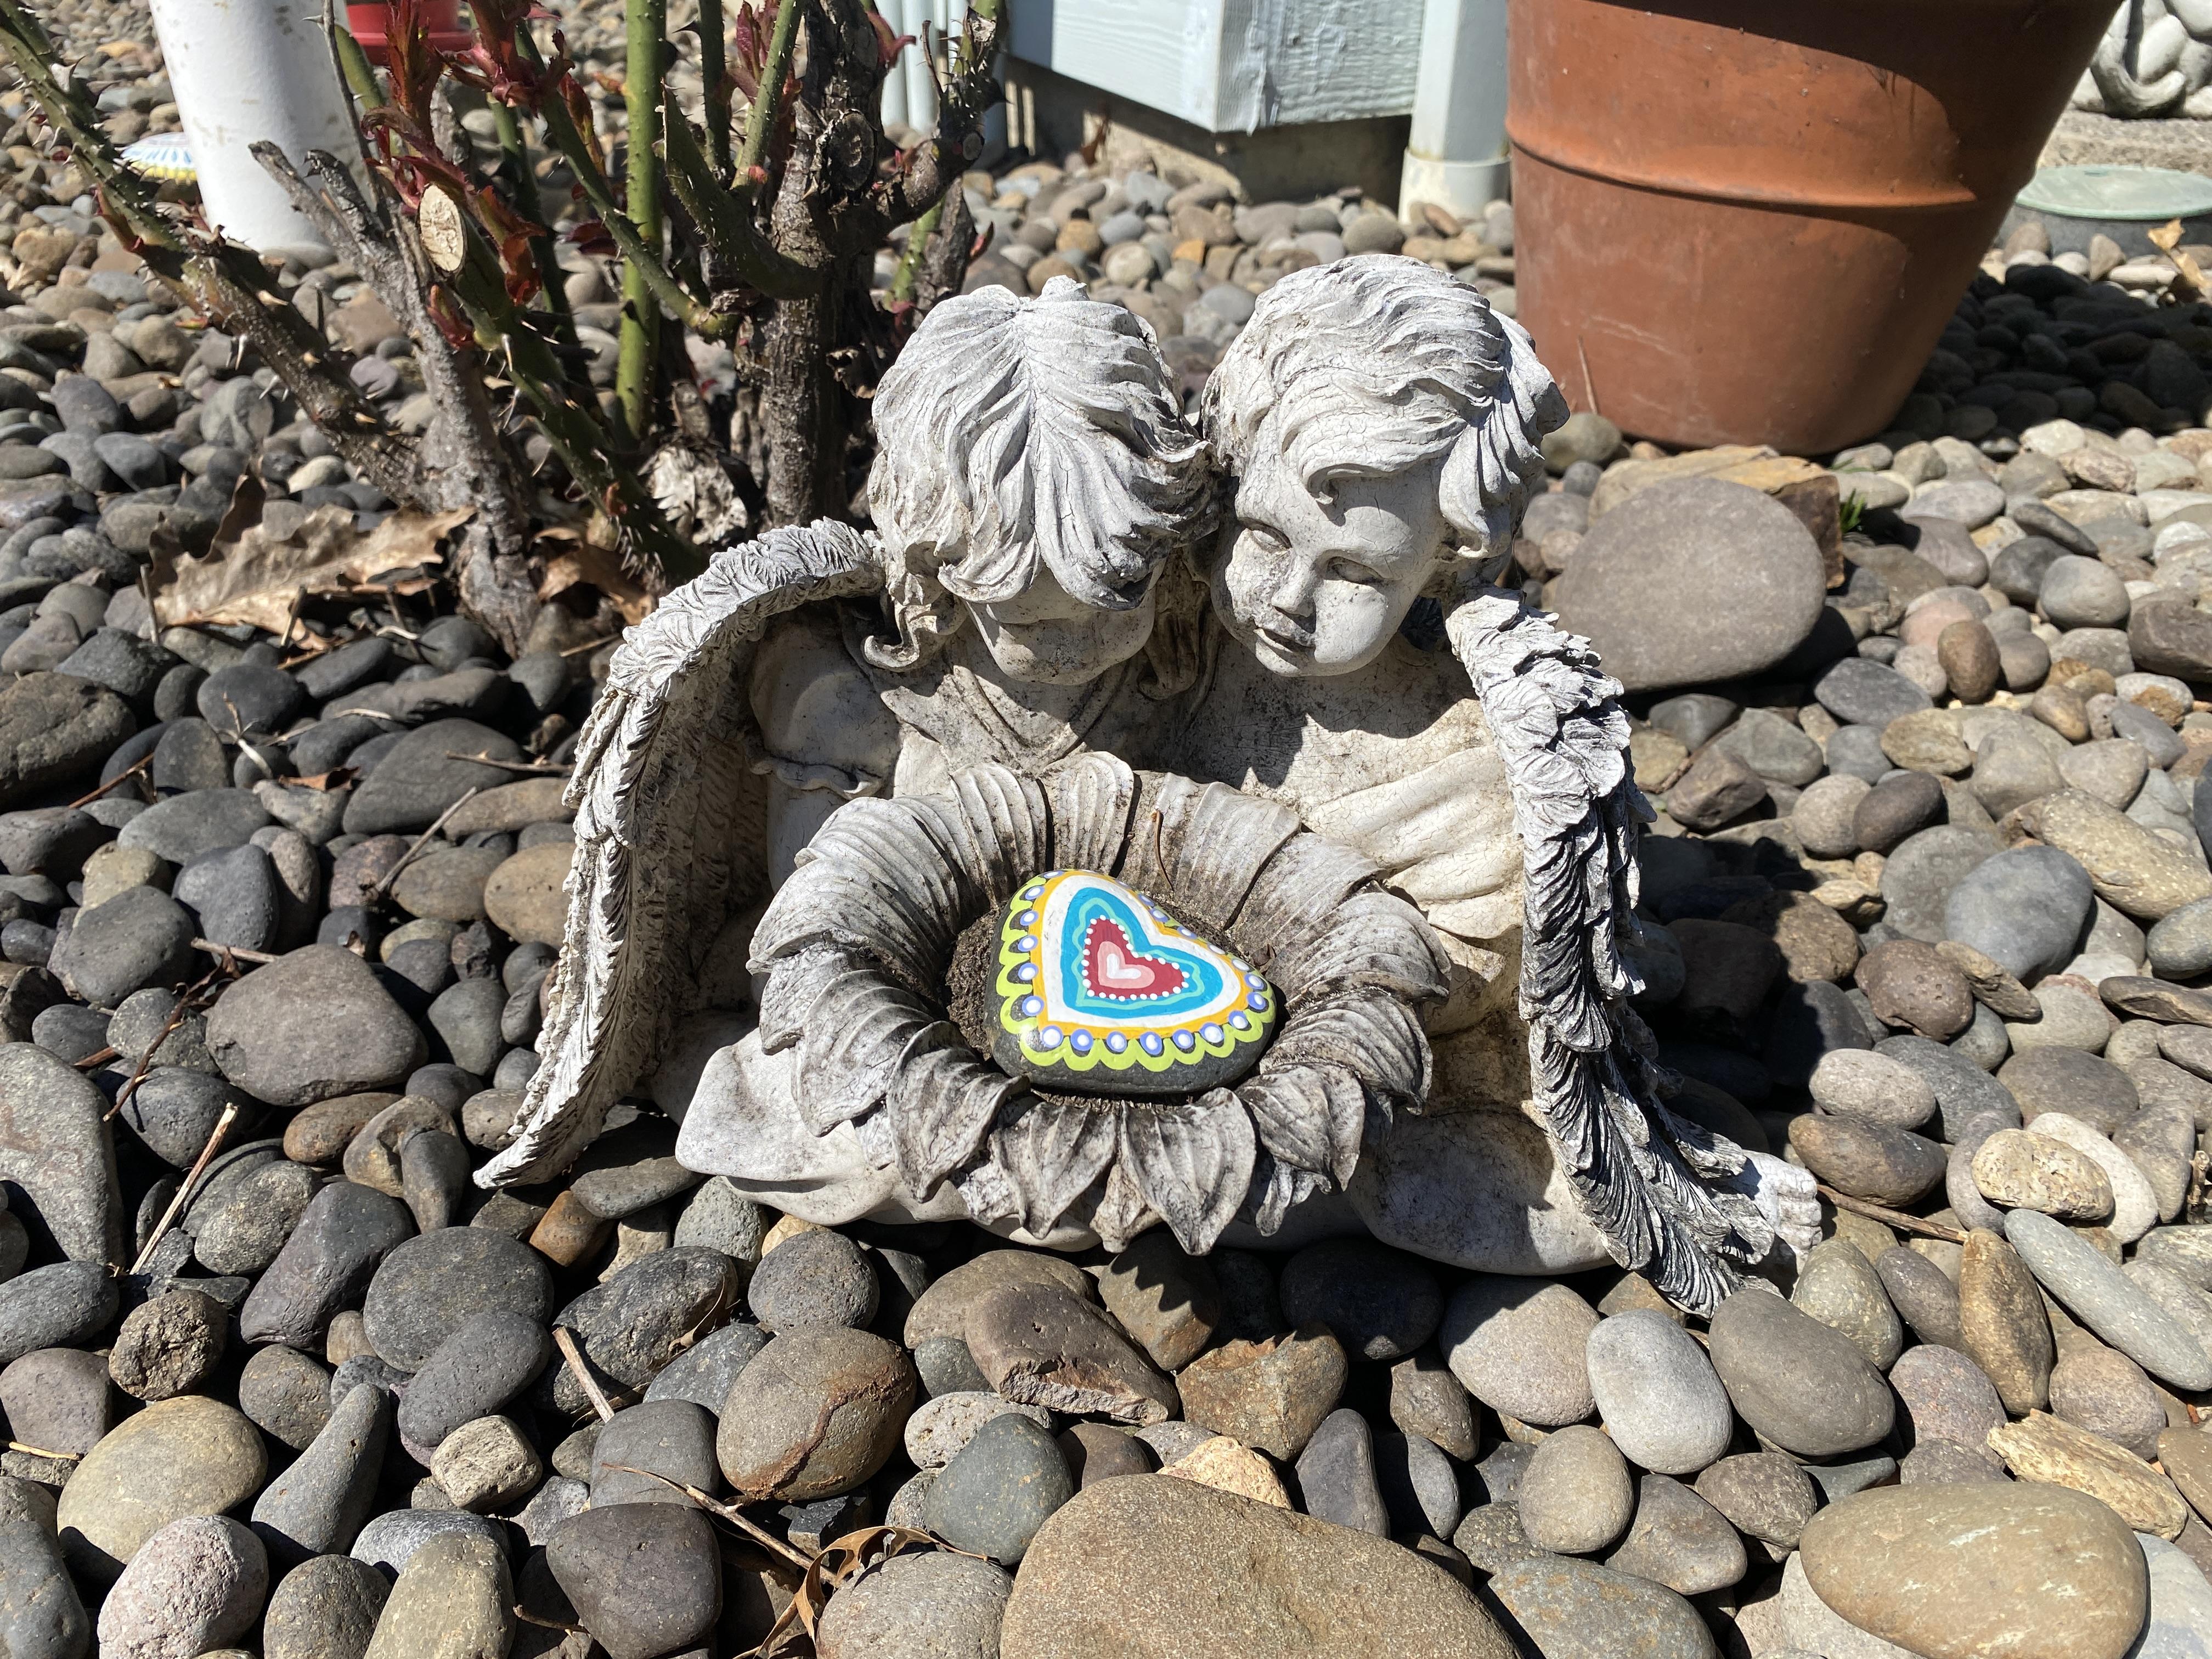
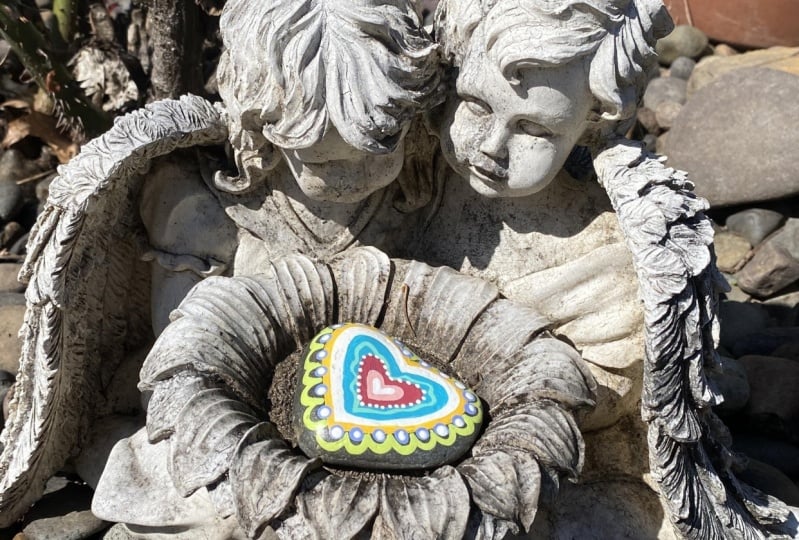
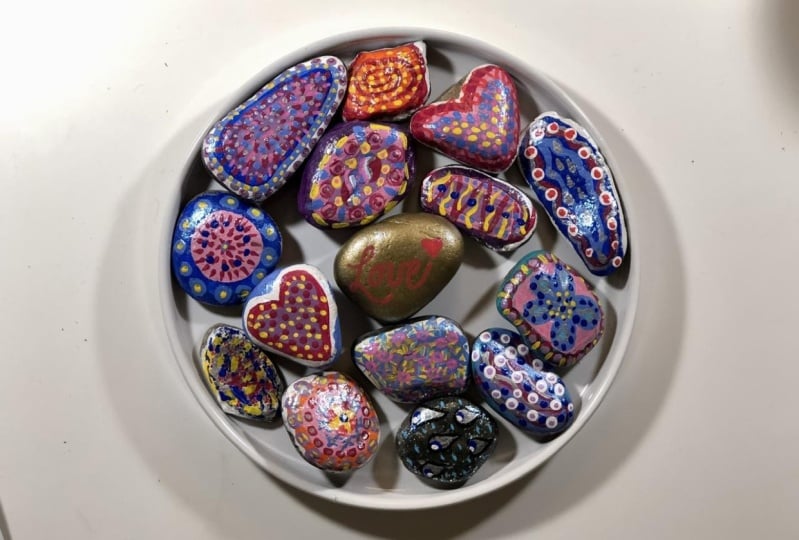
artistic expression. And in my little city, I too use my creative skills
to adorn my garden and delight passerbys with tiny
painted stone creations. In this class, I'd like
to introduce you to Kindness Rocks, a creative movement
towards making the world a better
place through small, generous gestures of art
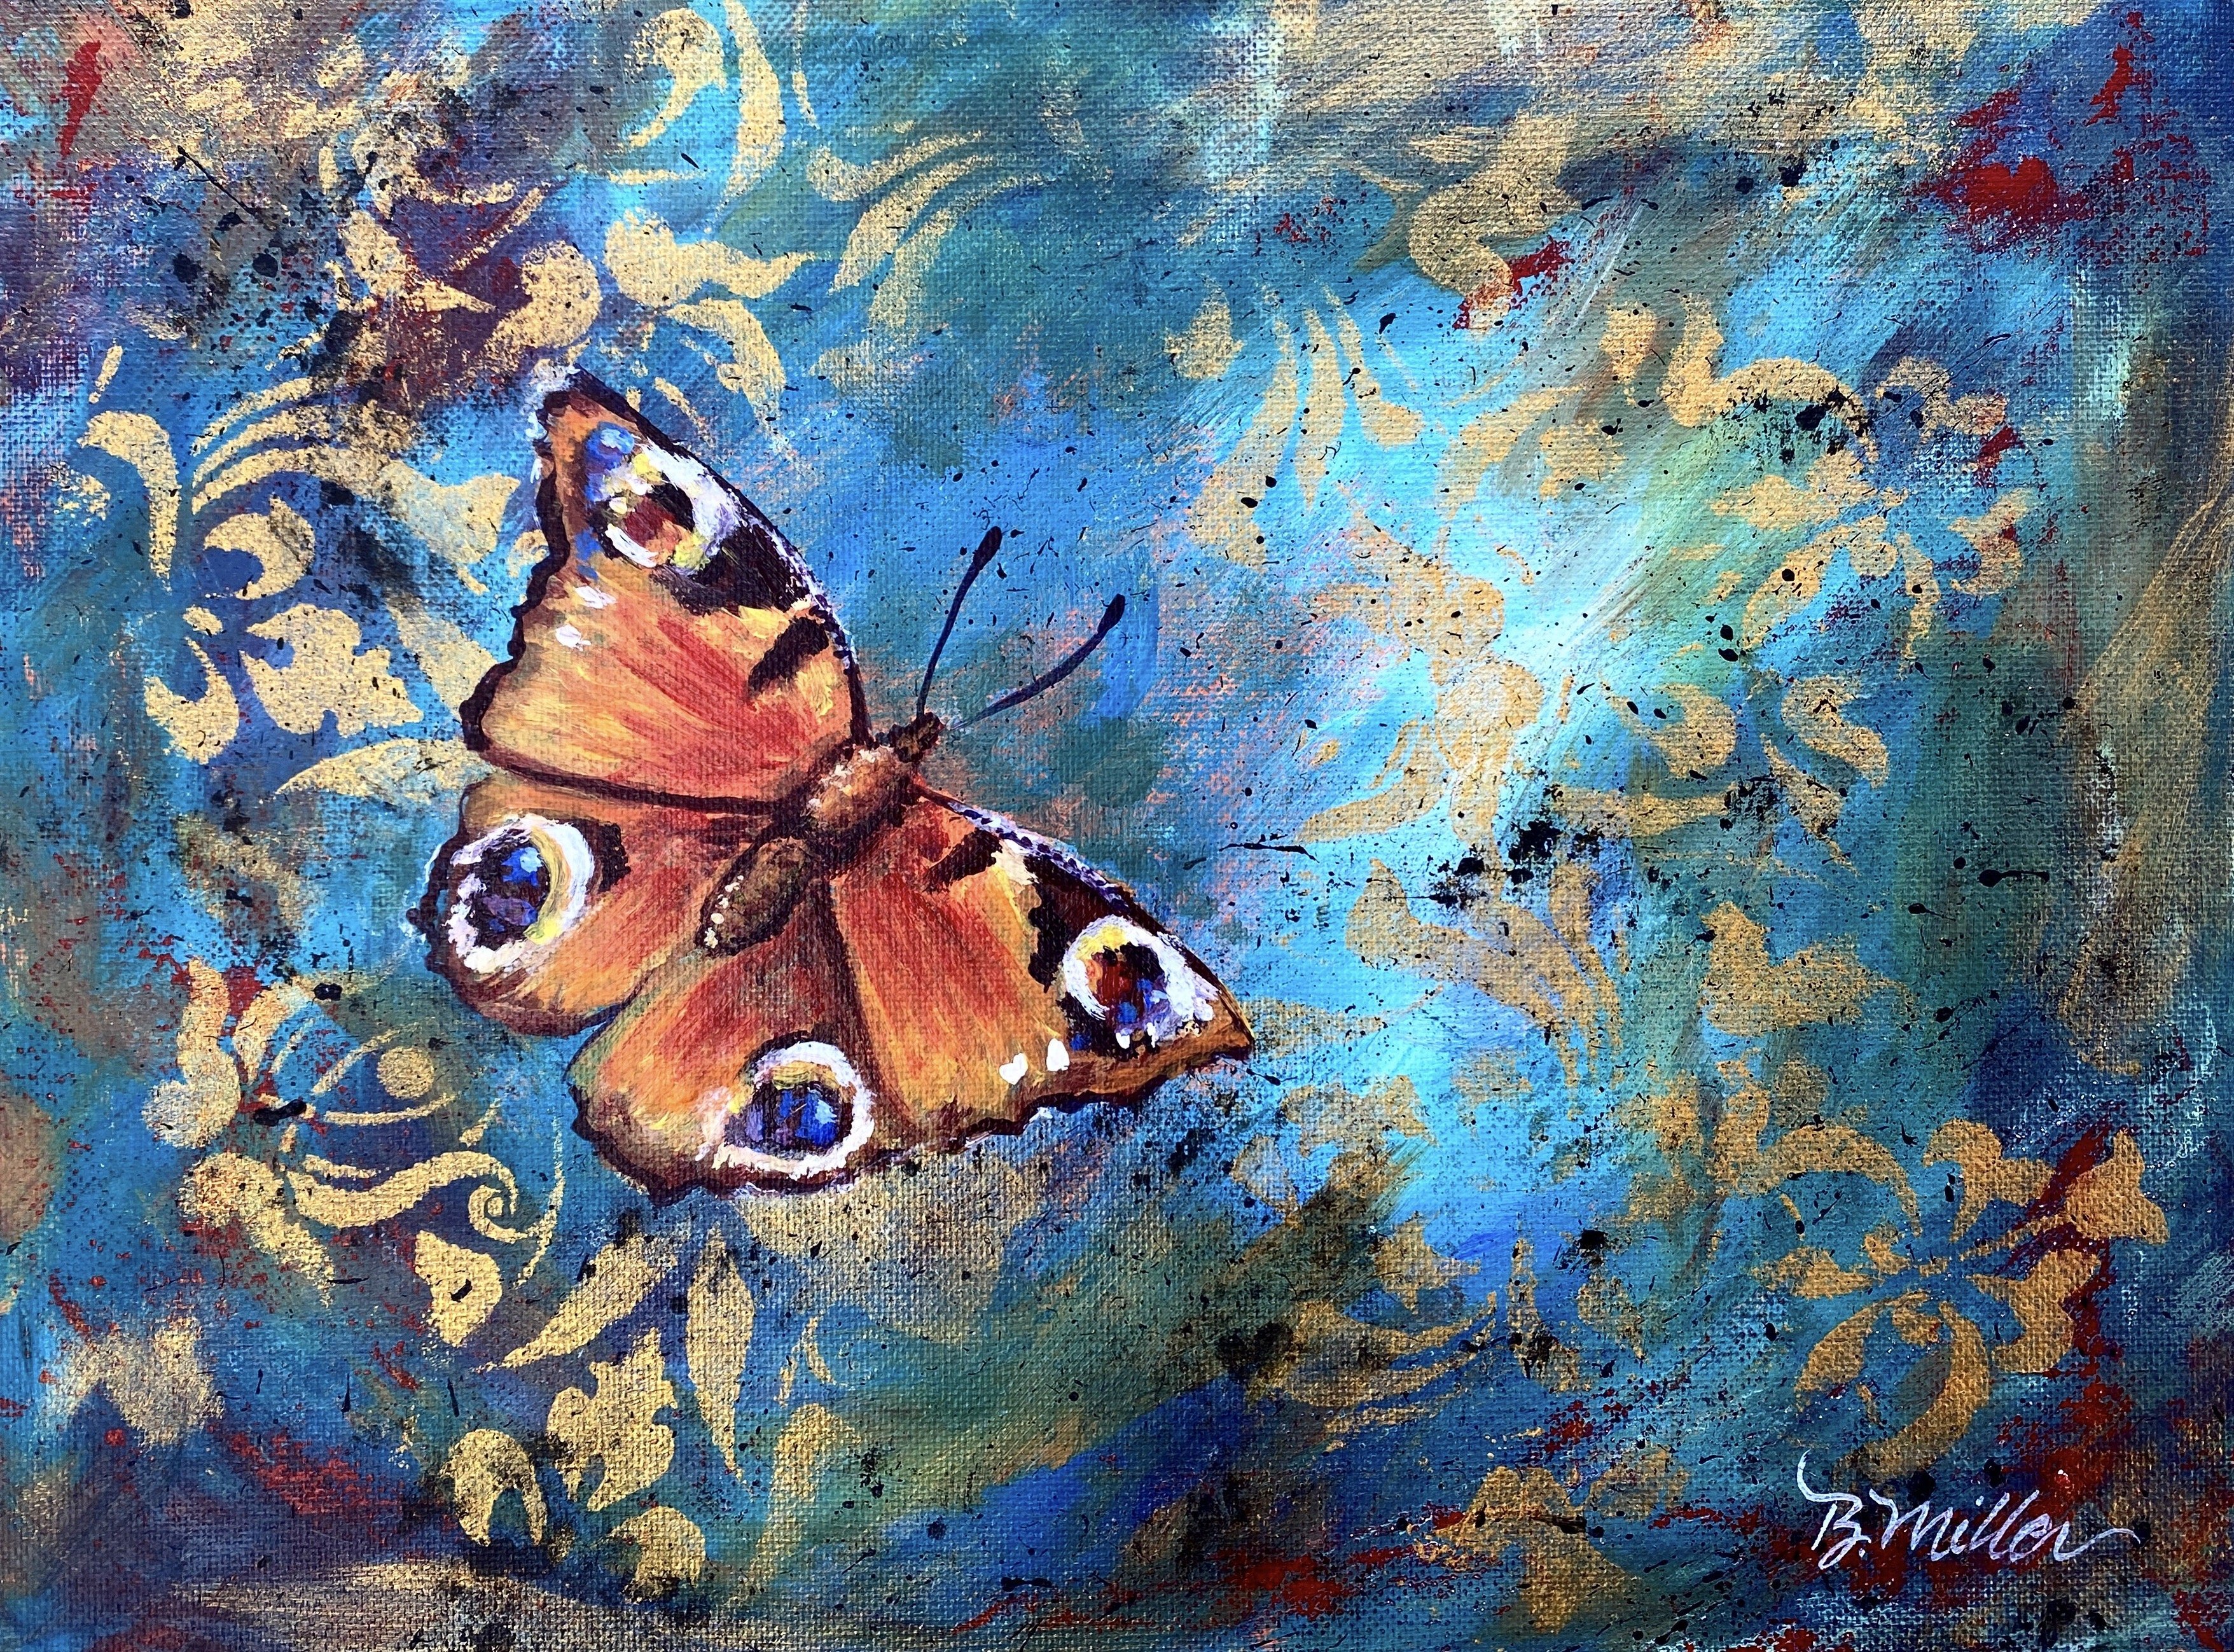
left in random places. Hello, it's nice
to have you here. I'm Bridget Miller and I'm a
decorative painter by trade. I've been painting for over
30 years and more recently I'm sharing my knowledge
with those that are interested through in
person and online classes. One of my favorite hobbies to do and teach is rock painting. In this class, I'll explain
to you the materials I like to use, my process step by step with tips and tricks
along the way that aid in efficiency and developing
your own creative ideas. Rock painting is a fun hobby. It's very versatile
and accessible, and it can be enjoyed by people of all ages and skill levels. Whether you consider yourself a beginner or an
experienced artist, jump in and give
this class a go, I think you'll
enjoy my methods of creating these tiny
little works of art.
2. Class Project: In each class. Here
on skill share, we encourage learning by
actually doing a class project. For this course, I'd
like you to practice the Brush and Tool techniques in Lesson Six and incorporate them into at least one rock. Then I'd like you to leave it somewhere for
someone to find and record your work by submitting your project to the
student gallery. To submit your project, click on the Projects and
Resources Tab below this video. Once there, you'll see a blue Submit Project
box to the right. Click that and then
you can upload your image from your photo file. And once it appears you can adjust your photo
by clicking on it, enlarging or reducing until
you get it just right. Then push the Submit button, that becomes your cover image. Then you can type in a
title for your project, add details of your process, and add more photos
if you'd like. Then click the green
publish box. And just like that, your project is uploaded for all to see. Next up, I'll go over the
materials you'll need to make ready and then we'll
be able to get started. See in the next lesson.
3. Materials: Filing together a few materials before starting the class. I have a checklist for
you to use if you'd like, and you can download
it by clicking the Projects and Resources
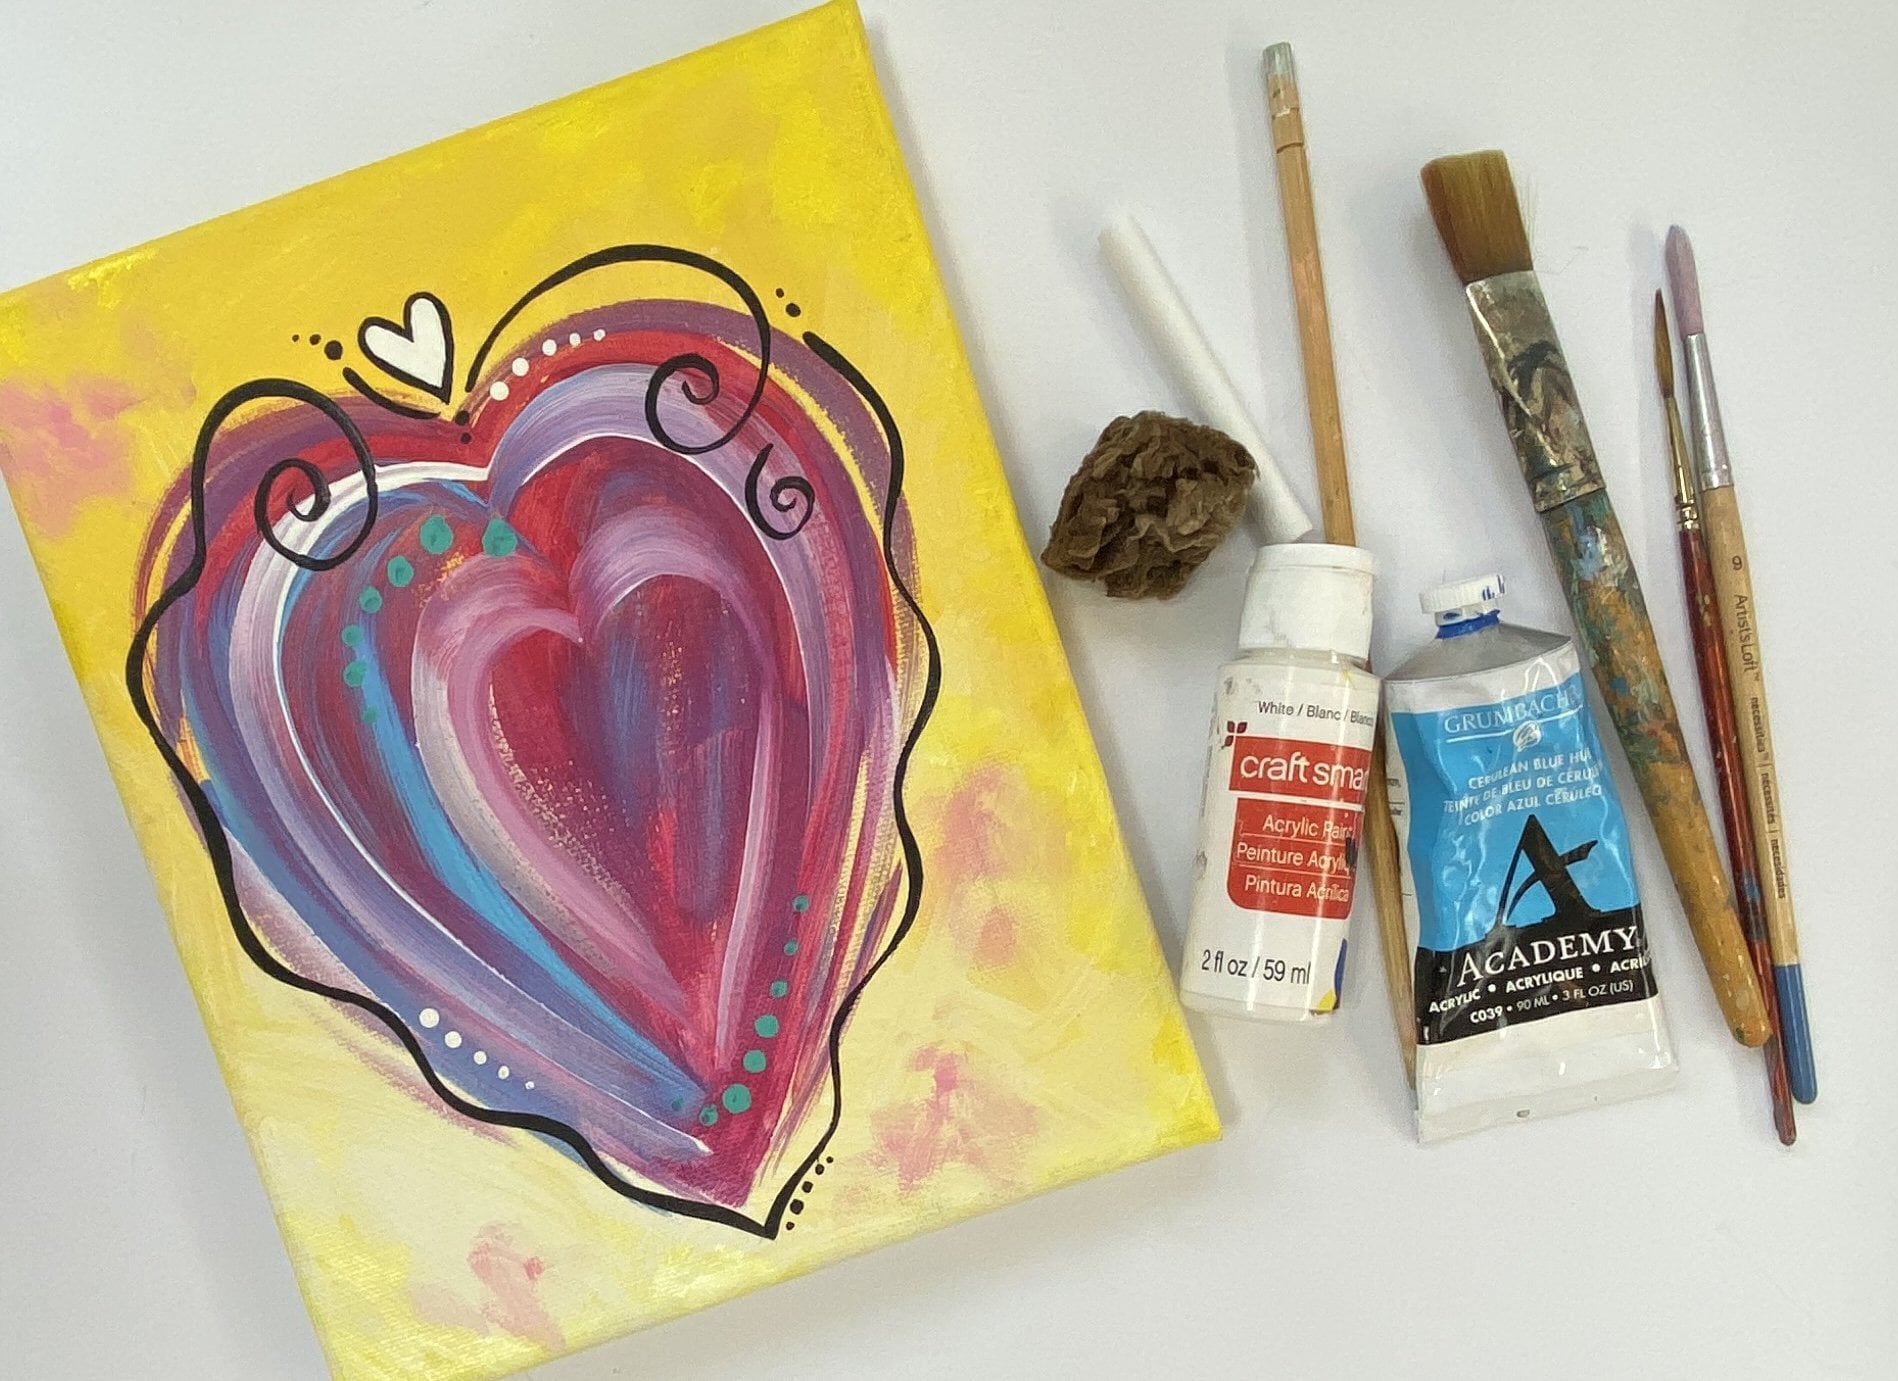
tab below the video. Firstly, you'll need some rocks. I use river rock
for my flower beds, but you can find rocks at landscape nurseries by
the pound and in bags, and also craft stores
like Michael's crafts. Next you'll need some craft
paint in colors you like. I'll be using purple,
green, yellow, orange, red, a turquoise
called Ocean Breeze. And of course, white. You can also use Esso if you have it. It's a primer, especially
suited for acrylics, but it's not
completely necessary. Acrylic white paint will
work just fine for brushes, you'll need a few sizes. I always use a three,
four inch flat. A two inch Filbert brush, one four inch Filbert brush, a number three round, and a number one liner. You could also use a number
six round if you'd like. In addition to brushes, you'll also need some tools for creating dots like dowels. The wood end of a paint brush, the end of a brand new pencil, or the eraser end of
a brand new pencil. A wooden or plastic stir
stick for tiny, tiny dots. Toothpicks work really
well for larger dots. I use both ends of a
sponge pounce brush. If you'd like to splurge
on fancier supplies, you could purchase a
dot making tool kit. They work very well, but of course they're
not necessary. Another couple handy items
for this class would be a white chalk pencil
and various paint pens. I use Posca and Sharpe brand
for cleaning the stones. You'll need some
dishwashing soap and maybe a little scrub brush to get into the nooks and grannies. You'll also need
water for rinsing out your brushes and
some vapor towels. In lesson ten, I'll
go over how to finish the painted rocks
with a clear coat. And if you choose
to do this step, you'll need a finishing
spray or clear paint. I use Stoleum brand Ultra
cover, gloss, clear, it dries fast, it's non
yellowing and UV resistant. However, you will need
proper ventilation when using this product. There's many clear coats
available on the market. Find what works for
you and test it out. Everybody has
different preferences. Lastly, a hair dryer comes
in hand and need to speed up the drying time once you've
assembled all your materials. Meet me in the next lesson
to get this party started.
4. Prepping Rocks : The first step in
rock painting is to thoroughly clean your rocks
To prepare them for paint. Getting the dirt and grime off will aid in the paints
adhesion to the surface. I use DAWN soap
because it takes off any oily substances
as well as dirt. I also like to scrub all the nooks and crannies
with a nail scrub brush, then I dry them thoroughly. After they're completely dry, I put on a white base
coat of either Gesso, a primer for acrylics, or a good quality acrylic paint. Both of these are water
resistant when dry and nontoxic. One or two coats is sufficient. I'll start with my half inch or number eight Filbert brush. Use whatever you're
comfortable with. If you want, you can paint the entire rock or just
shapes like I'm doing. I like a little of
the natural stone showing and I like
to finish quick. I only paint shapes. Painting the base coat
white will help your design last longer and it will aid in making your colors
appear brighter. As some craft paints are
not as opaque as others. You don't want the
dark stone color to show through your paint. I let the rocks shape dictate
the base coat design. If it's a roundish rock, I paint a round shape. If it's an oval shaped
rock like this one, I'll paint an oval base coat on it. To get a very clean edge I push the paint where I want
it to smooth it out, especially on these rocks that have a little rougher texture. On this one, I'd like
a scalloped shape, maybe like a stylized flower. I'm fairly good at
free-handing it, but if you feel more
comfortable with a guide, draw with a chalk pencil,
your design first, then color in the shape, similar to how you would use
a coloring book as a child. The chalk will not compromise
your paint in any way, and any chalk residue left
over can be washed away. Once you're finished
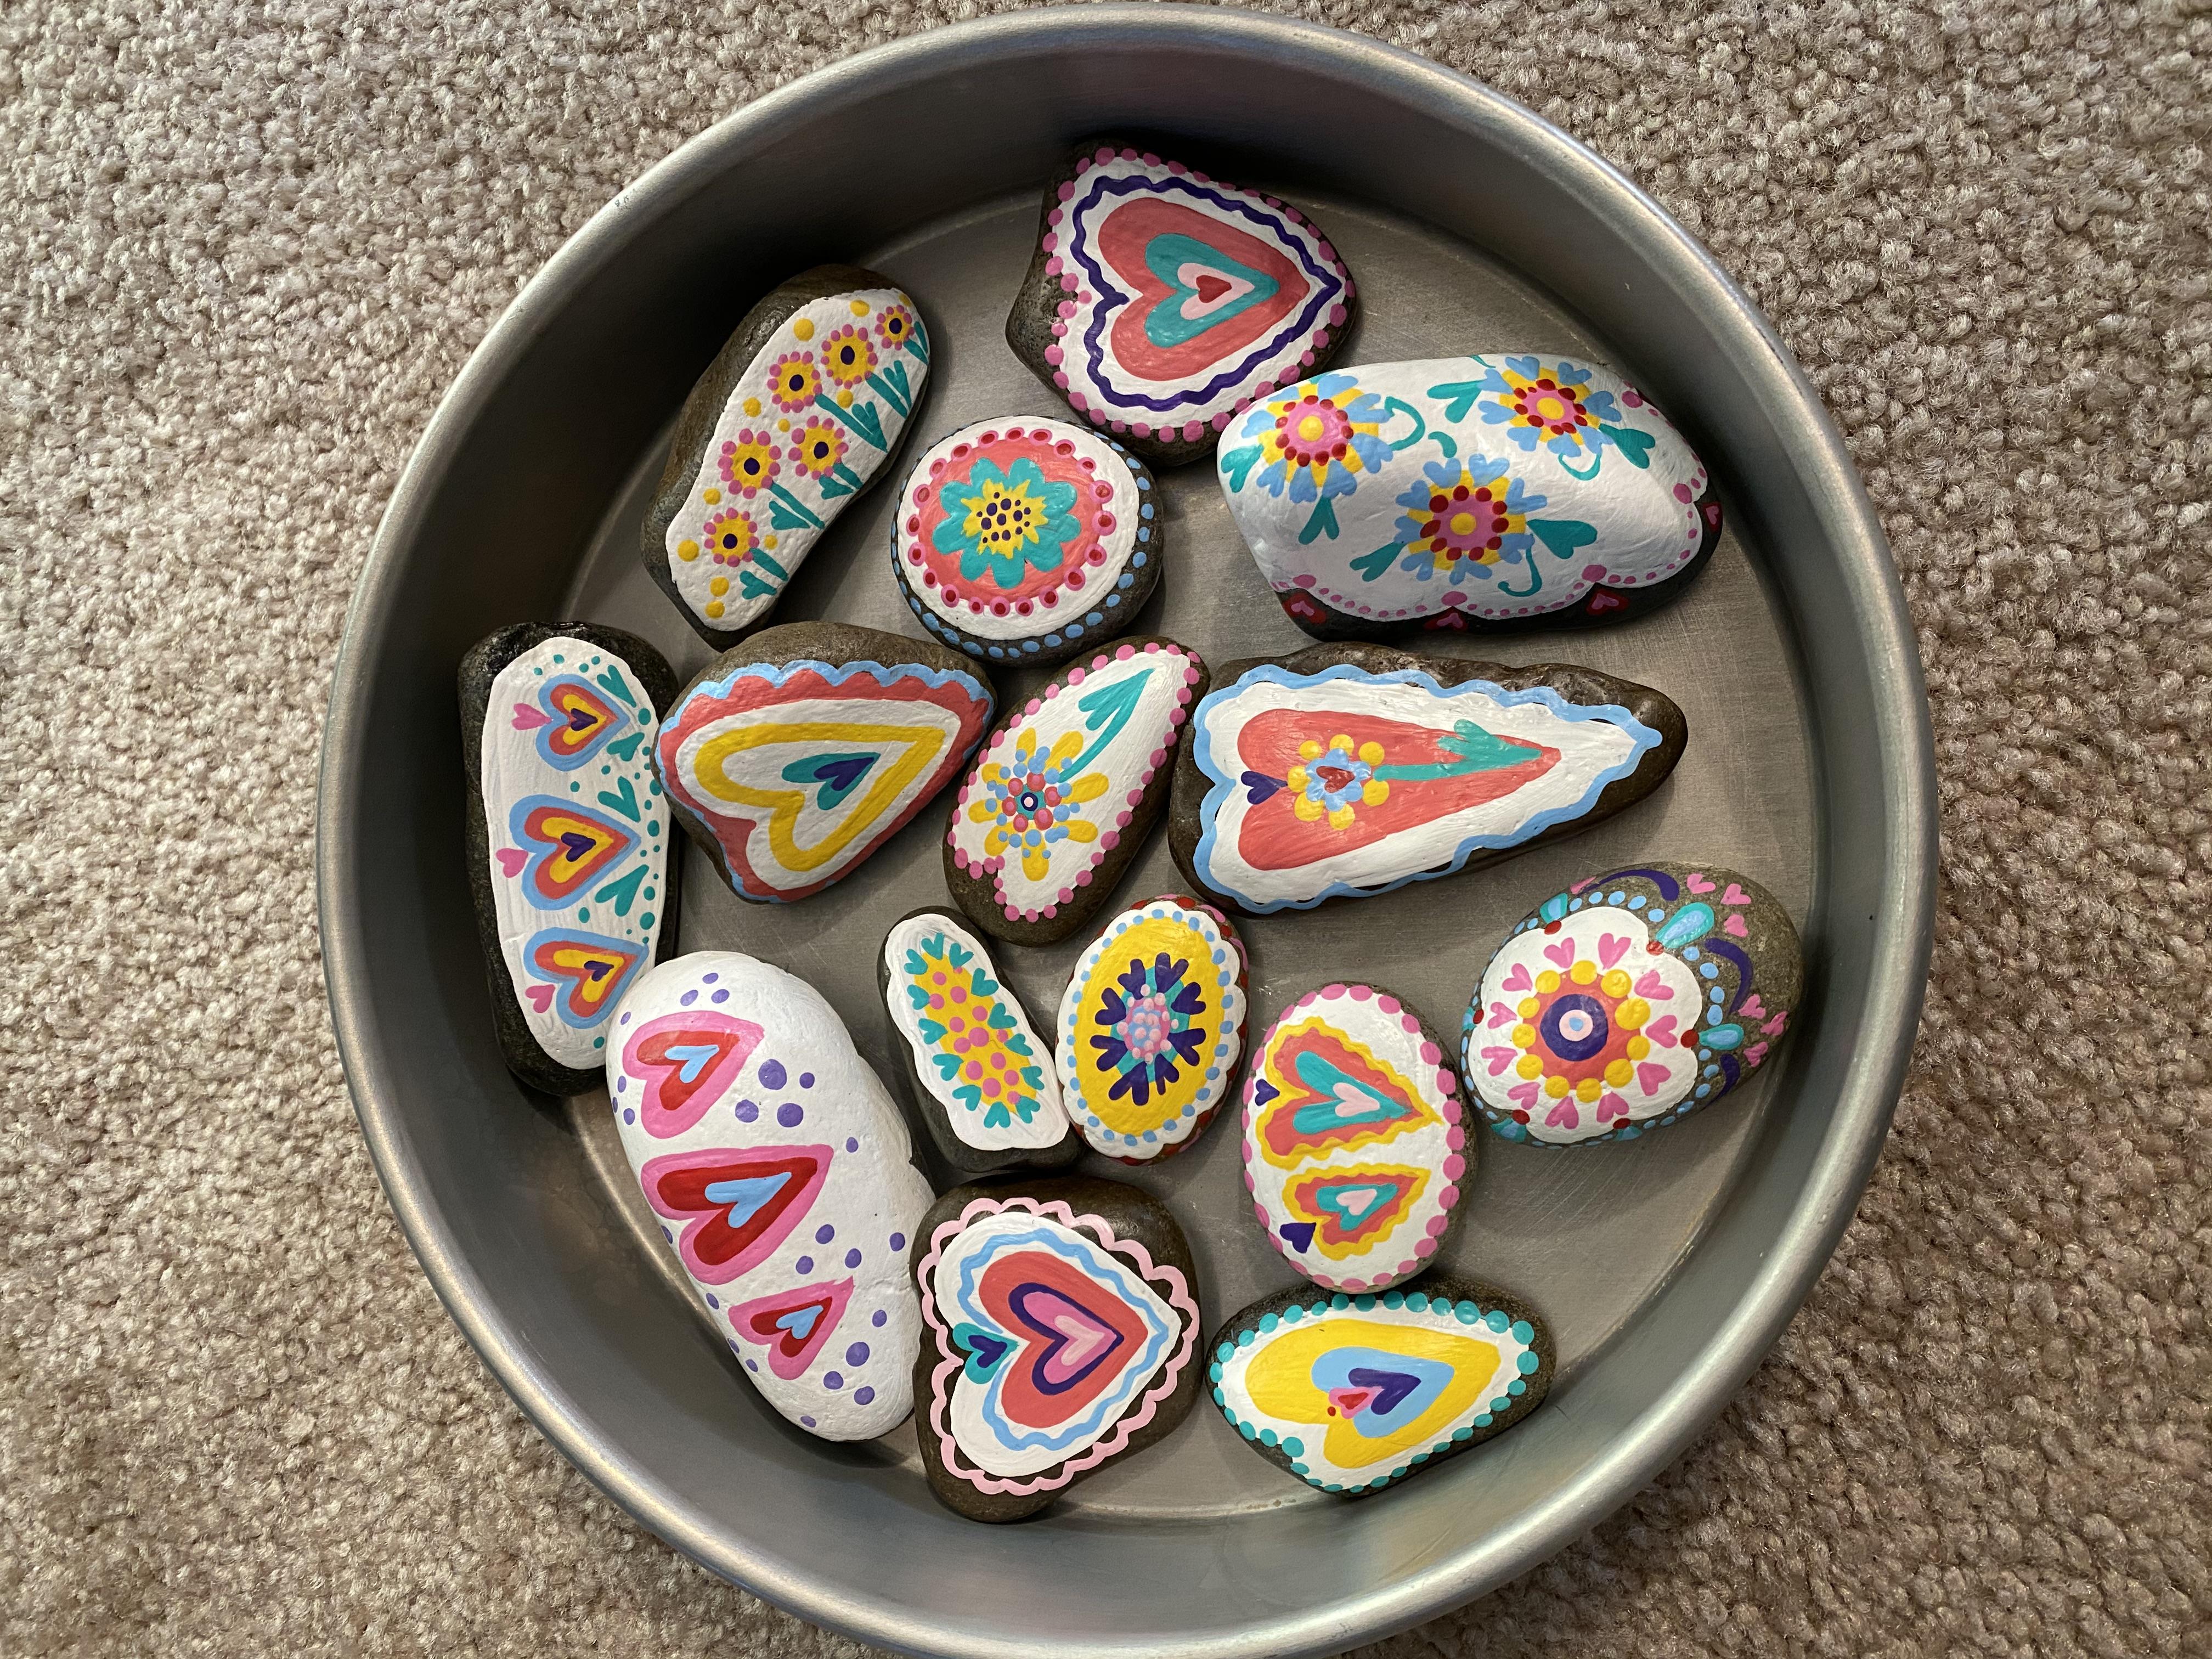
and it's dry, I paint about six to
20 rocks at a time, kind of like an assembly line. I feel like creating them
in batches saves time. In the long run After they're dry, if the paint looks uneven, add another coat if you'd like, Then dry again thoroughly after you've painted all
the rocks in your batch. Meet me in the next section and I'll go over the next step, which is painting the color
backgrounds. See you there.
5. Color Backgrounds : For variety, I like to paint many different colored
backgrounds following the shapes of the
base coat closely and leaving a little of the
white on the outer edge. I'm going to take
you step by step, but if you'd like to
do this on your own, I have a design idea sheet
that you can download if you like under the
Projects and Resources tab below this video. Using my half inch
Filbert brush, I load it and follow the
design pattern on each rock, again, leaving a little of the white
showing on the edge. I paint all the rocks I want to have in this color
at the same time. I only need to rinse this
color out of my brush. once. I do this same
process for each rock, if I want to make any color lighter in value, I add white. For this color shape. I'll add some variety
and switch to a number three round to
make a flower shape. In the middle of the
background shape, I use the shape of the
brush to make each petal, pulling each stroke to the
middle as I turn the stone. Then I fill in the center Here, I'll add a scallop design within the oval base coat. Lastly, I'll mix a light
blue with my blue and white and add a circle
for my last rock. An easy way to make a circle is to use a sponge pounce brush, dip it into your mixed paint, and then holding it
perpendicular to the surface, press it gently to
stamp the color. I give a little twist too, once all the rocks
have the addition of color, dry them completely. And in the next lesson, I'll go over the brush and tool techniques for embellishing these stones. See in
the next lesson.
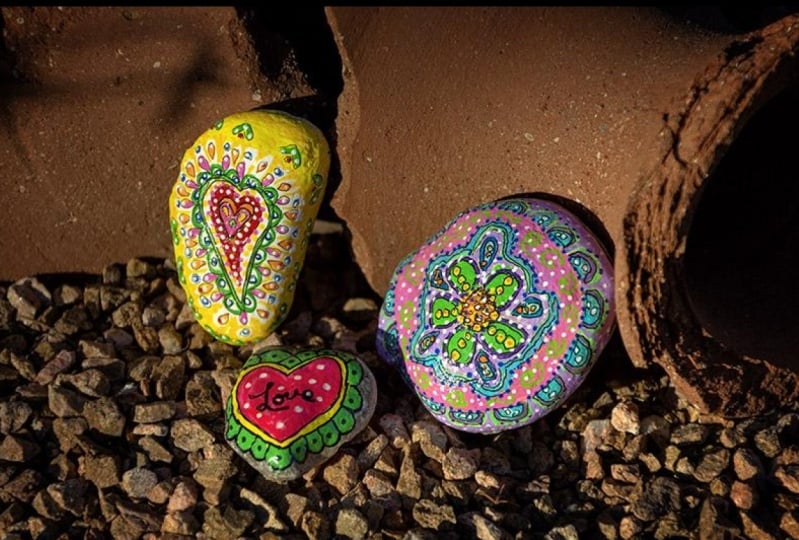
6. Embellishments: Embellishments are the
decorative details that we'll add to make
these sing. These techniques are similar
to decorating a cake. They add much flare and
make each rock uniquely interesting on their
own and crazy fun when they're displayed together. To start this
lesson, you'll need some cardstock and
contrasting colors. If you choose a paper plate or a white cardstock,
choose dark colors. I'm using black paper
because it shows so well. in my video. I'll
start with lines, then I'll go over dots
and the tear drop stroke. And then I'll move into
flourishes where we put it all together. To make lines, use a liner or rigger brush. I'm using a number one. Your acrylic paint may be
the perfect consistency. But if you find it difficult to make a smooth straight line, add a little water to
thin it and it will help. Just know that the more
water you add will make it less opaque
and not as durable. Start with straight
lines and then practice squiggly lines
and zig-zag lines. I find that if I
use my entire arm, not just my wrist, my line turns out straighter and
more uniform in width. Also, continuous
motion is the key. Set the brush down and pull
through at the same time. Rather than setting it
down, then pulling out. If you want your line to taper, pull out and gradually up
at the end of the stroke. Practice these a lot and eventually you'll
develop muscle memory where your hand will remember the motion and it becomes
easier and easier. Next, I use a lot of
dots in my designs. If you're not concerned about them being perfectly uniform, the tip of the liner brush is fine or you can use the
wood end of the handle. Remember to clean off your tools because once the paint
dries, it's permanent. I found this wooden dowel, or maybe it's a chopstick that has two different
sizes on either end. It works great for
small and medium dots. The eraser end of a brand new pencil works
great for a medium sized dot. As does the end of a colored
pencil like this one. This little stir stick makes a nice sized dot. For a tiny, tiny dot, You can even use a toothpick. Like I demonstrated
in the last lesson, for large dots, grab
a pounce sponge tool, it's super fun to use by
just stamping the dot. You could also purchase a set of fancy dotting tools
with metal ends. I've seen these used by professionals for
fingernail painting. They're not necessary
unless you'll be doing a lot of it and want to
take it to another level. The next technique I'd like to show you is a tear drop stroke. The tear drop is a
dot stroke that you pull and then lift
quickly to taper. Set your brush down, pull and lift, lift for a larger tear drop
switch to a larger brush. Here's a number three round. You can also curve them
and elongate them. And like frosting on a cake, you can use this stroke, one after another to make
a more decorative line. Two tear drop strokes together, one on each side, will
make a heart shape. You can also make petals for
flowers with this stroke, or sun rays emanating from a round circle
shape. To flourish. I put a few of these strokes and techniques together and change the colors and just use my imagination and experiment with
different combinations. It'll be fun to see
what you come up with. Here's a fleur de lis with two curved tear drop shapes and a smaller teardrop
shape between the two. Enjoy yourself and you'll
soon find your favorites and your unique style will find its way on your batch of rocks. In the next section, I'll begin adding these techniques
to the rocks themselves. And you can follow me pausing as needed or watch through and
paint on your own later. Meet me there and we'll
get started. See you soon.
7. Adding Details - Part One: When I begin my details, I usually start with white
and a number one liner brush. I add a line, maybe
some tear drops, dots and whatever I think will look good and just
build from there. I like to create as I don't like to follow a
set pattern on these, It's just fun for me to just kind of intuitively
create as I go. When I get tired of white, I switch to another color and
do some more embellishing. I lose myself in
choosing each detail and color according to the rock
and find it very therapeutic. I don't stress about getting
everything exactly even. I like the whimsy of having it unmeasured with its
hand painted appeal. I love experimenting with
different color combinations and patterns and just
discovering what can happen. There's no worries or
stress with this craft, because if something
doesn't work out as well as I
imagined it would, I just wipe it off and
give it another try. After I have quite a
few added details, I dry them thoroughly
and then add a few more. The busier, the better for me. When choosing color, I
go for maximum contrast. If it's a light color
that's down already, I choose a dark color
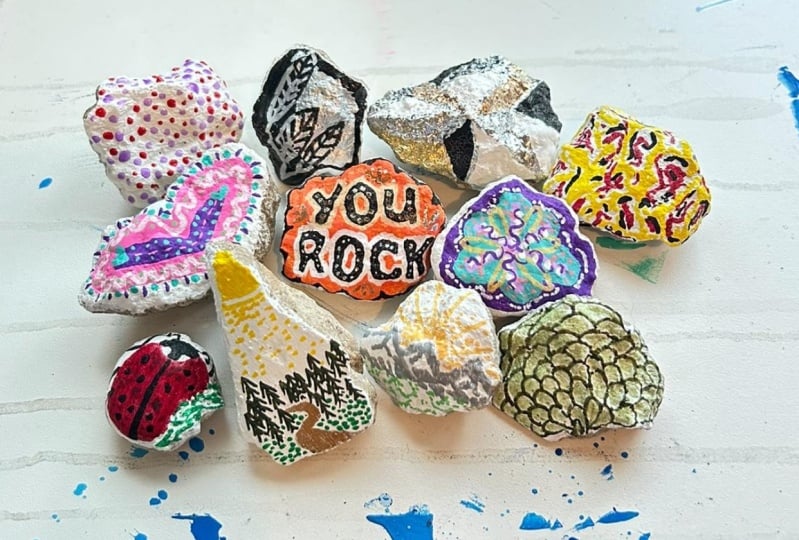
and vice versa. This is a great craft for
all ages and skill levels. I've been doing these for years
and I always have a batch ready for when I take a trip to the beach, walk around
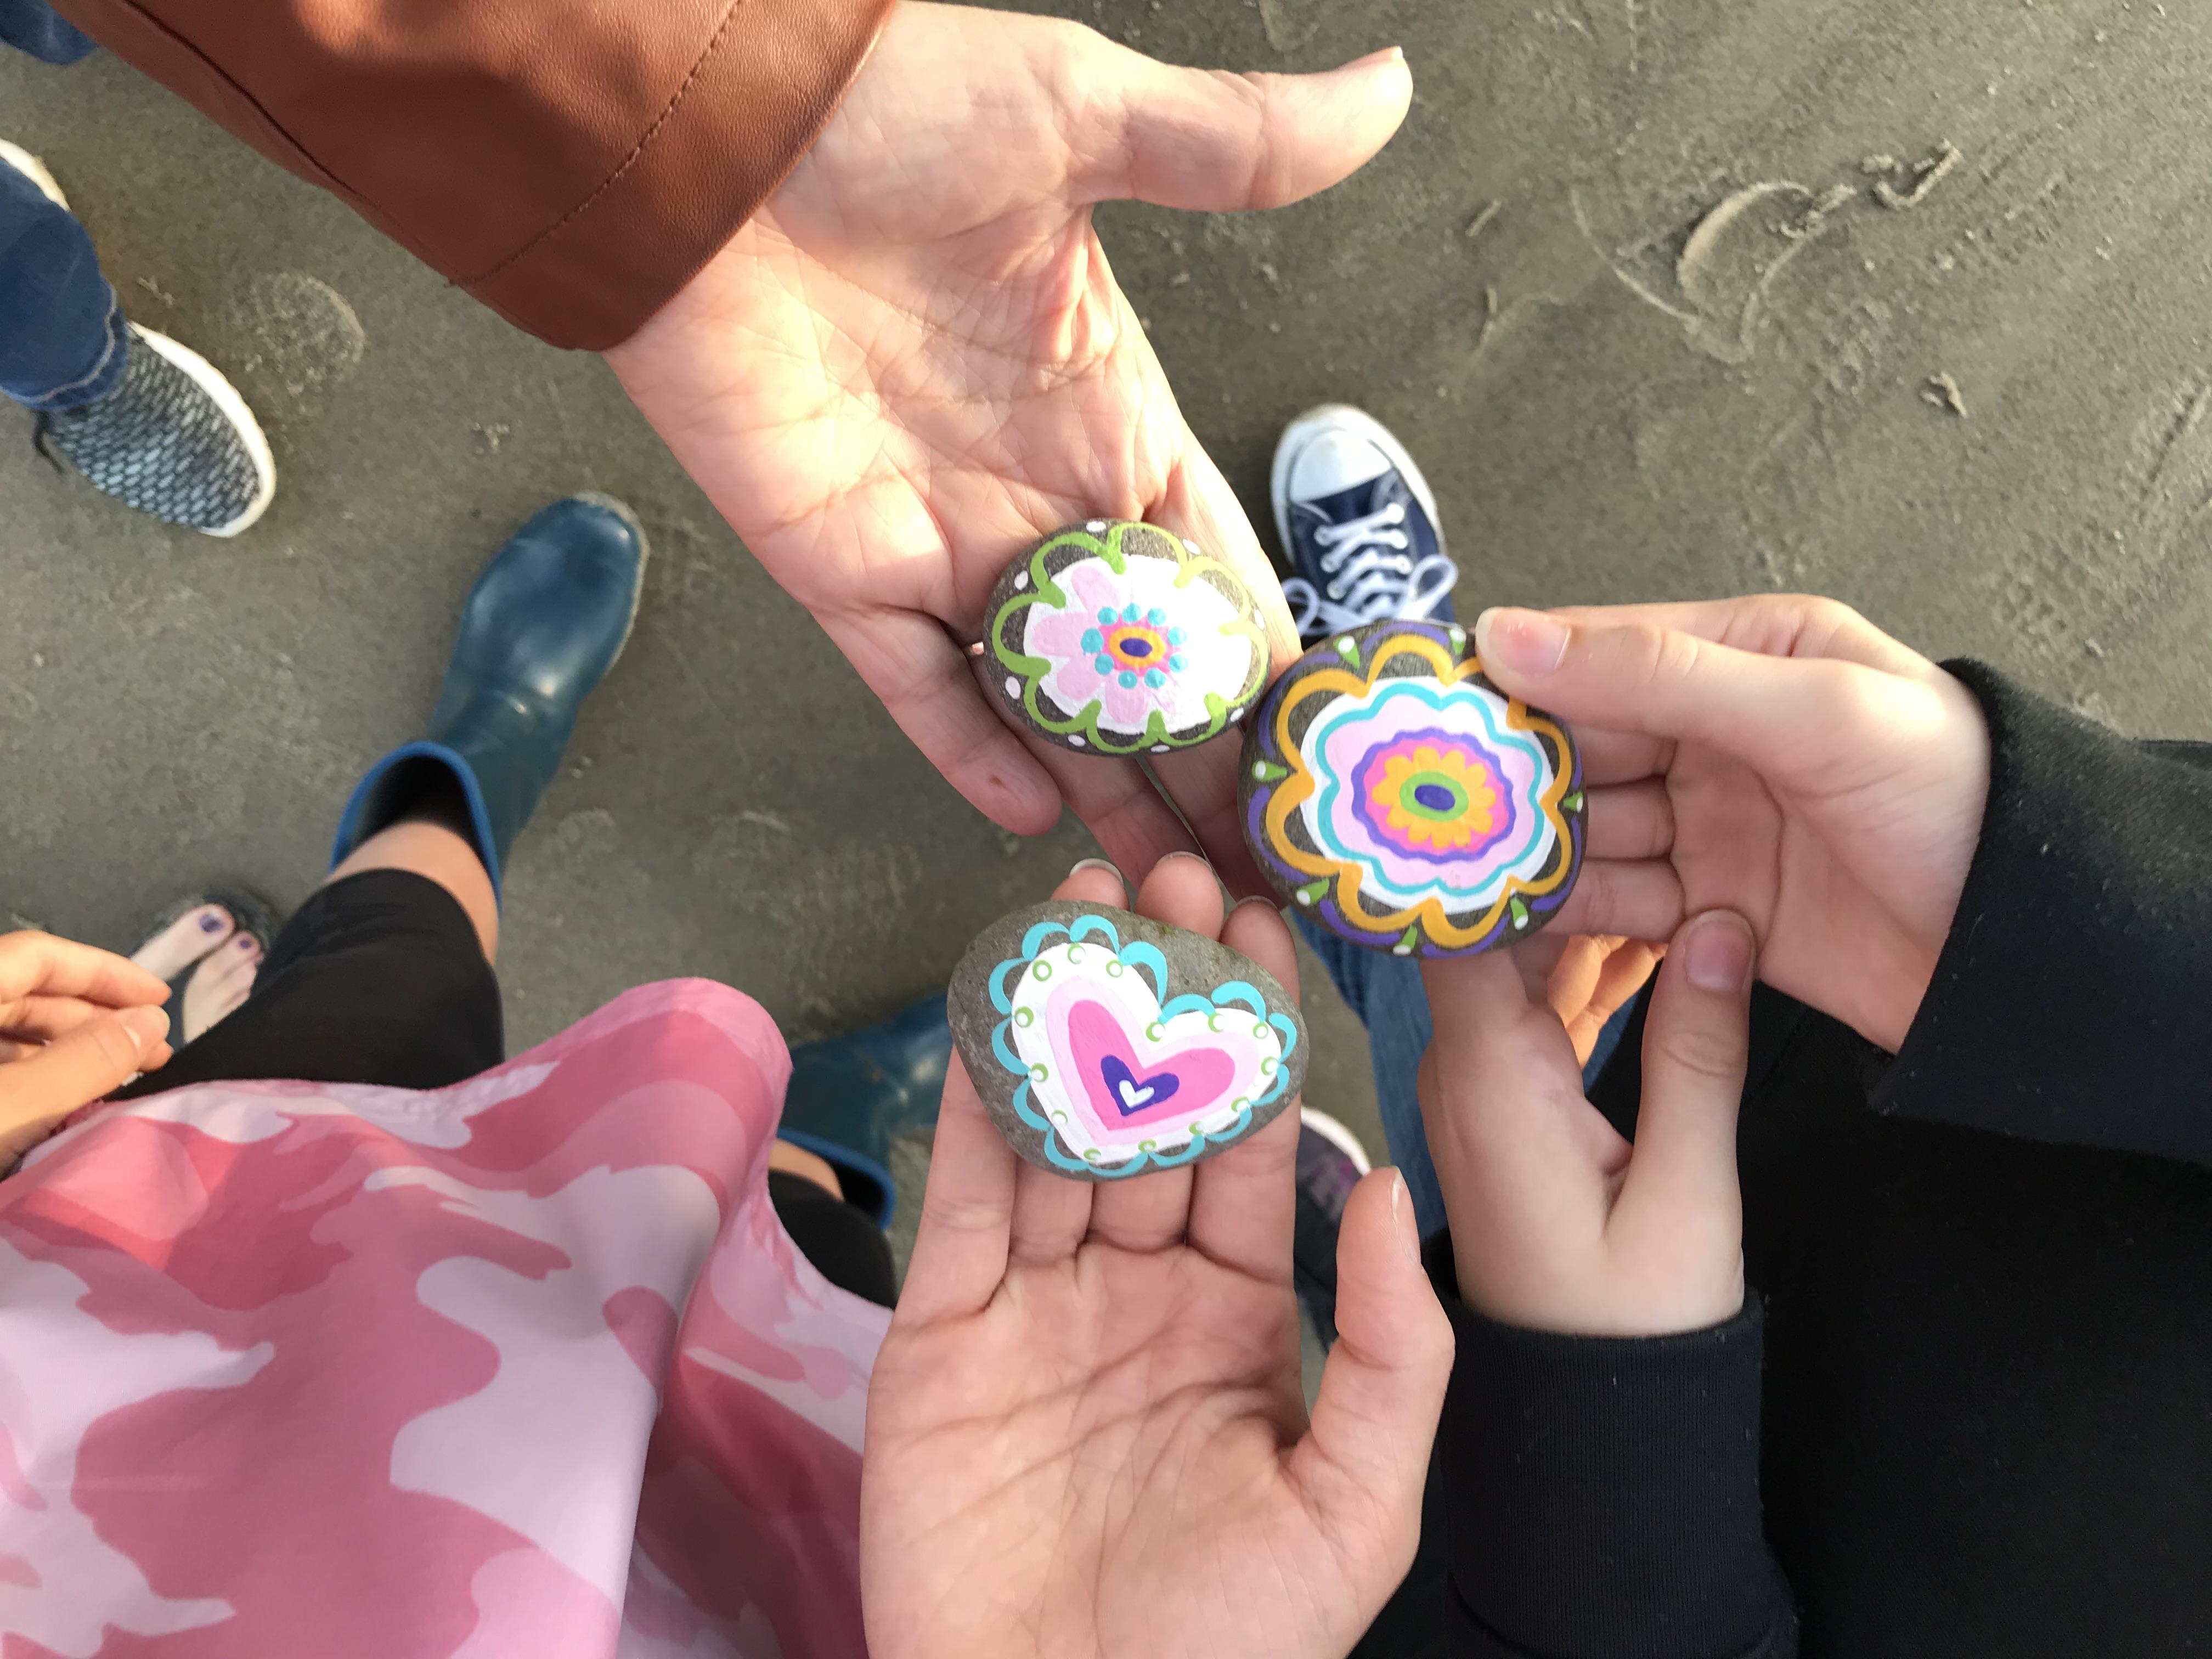
my neighborhood, or to cheer up a friend. Consider organizing a
craft party just for fun, and then together placing
around the rocks that you make for National Neighbor
Day on September 28th, or next time you're the planner
for a child's birthday, you could make these as one of the activities and it would make a nice takeaway
Instead of a store bought toy. You could also start or join a rock trading group
online or in person. It's a super fun hobby. There's even an official Kindness Rocks
organization called the Kindness Rocks Project that teaches people how to start a group to build community and foster wellness for
people worldwide. They're looking more and more whimsical and fun
with each detail. Meet me in the next section for even more details, see you there.
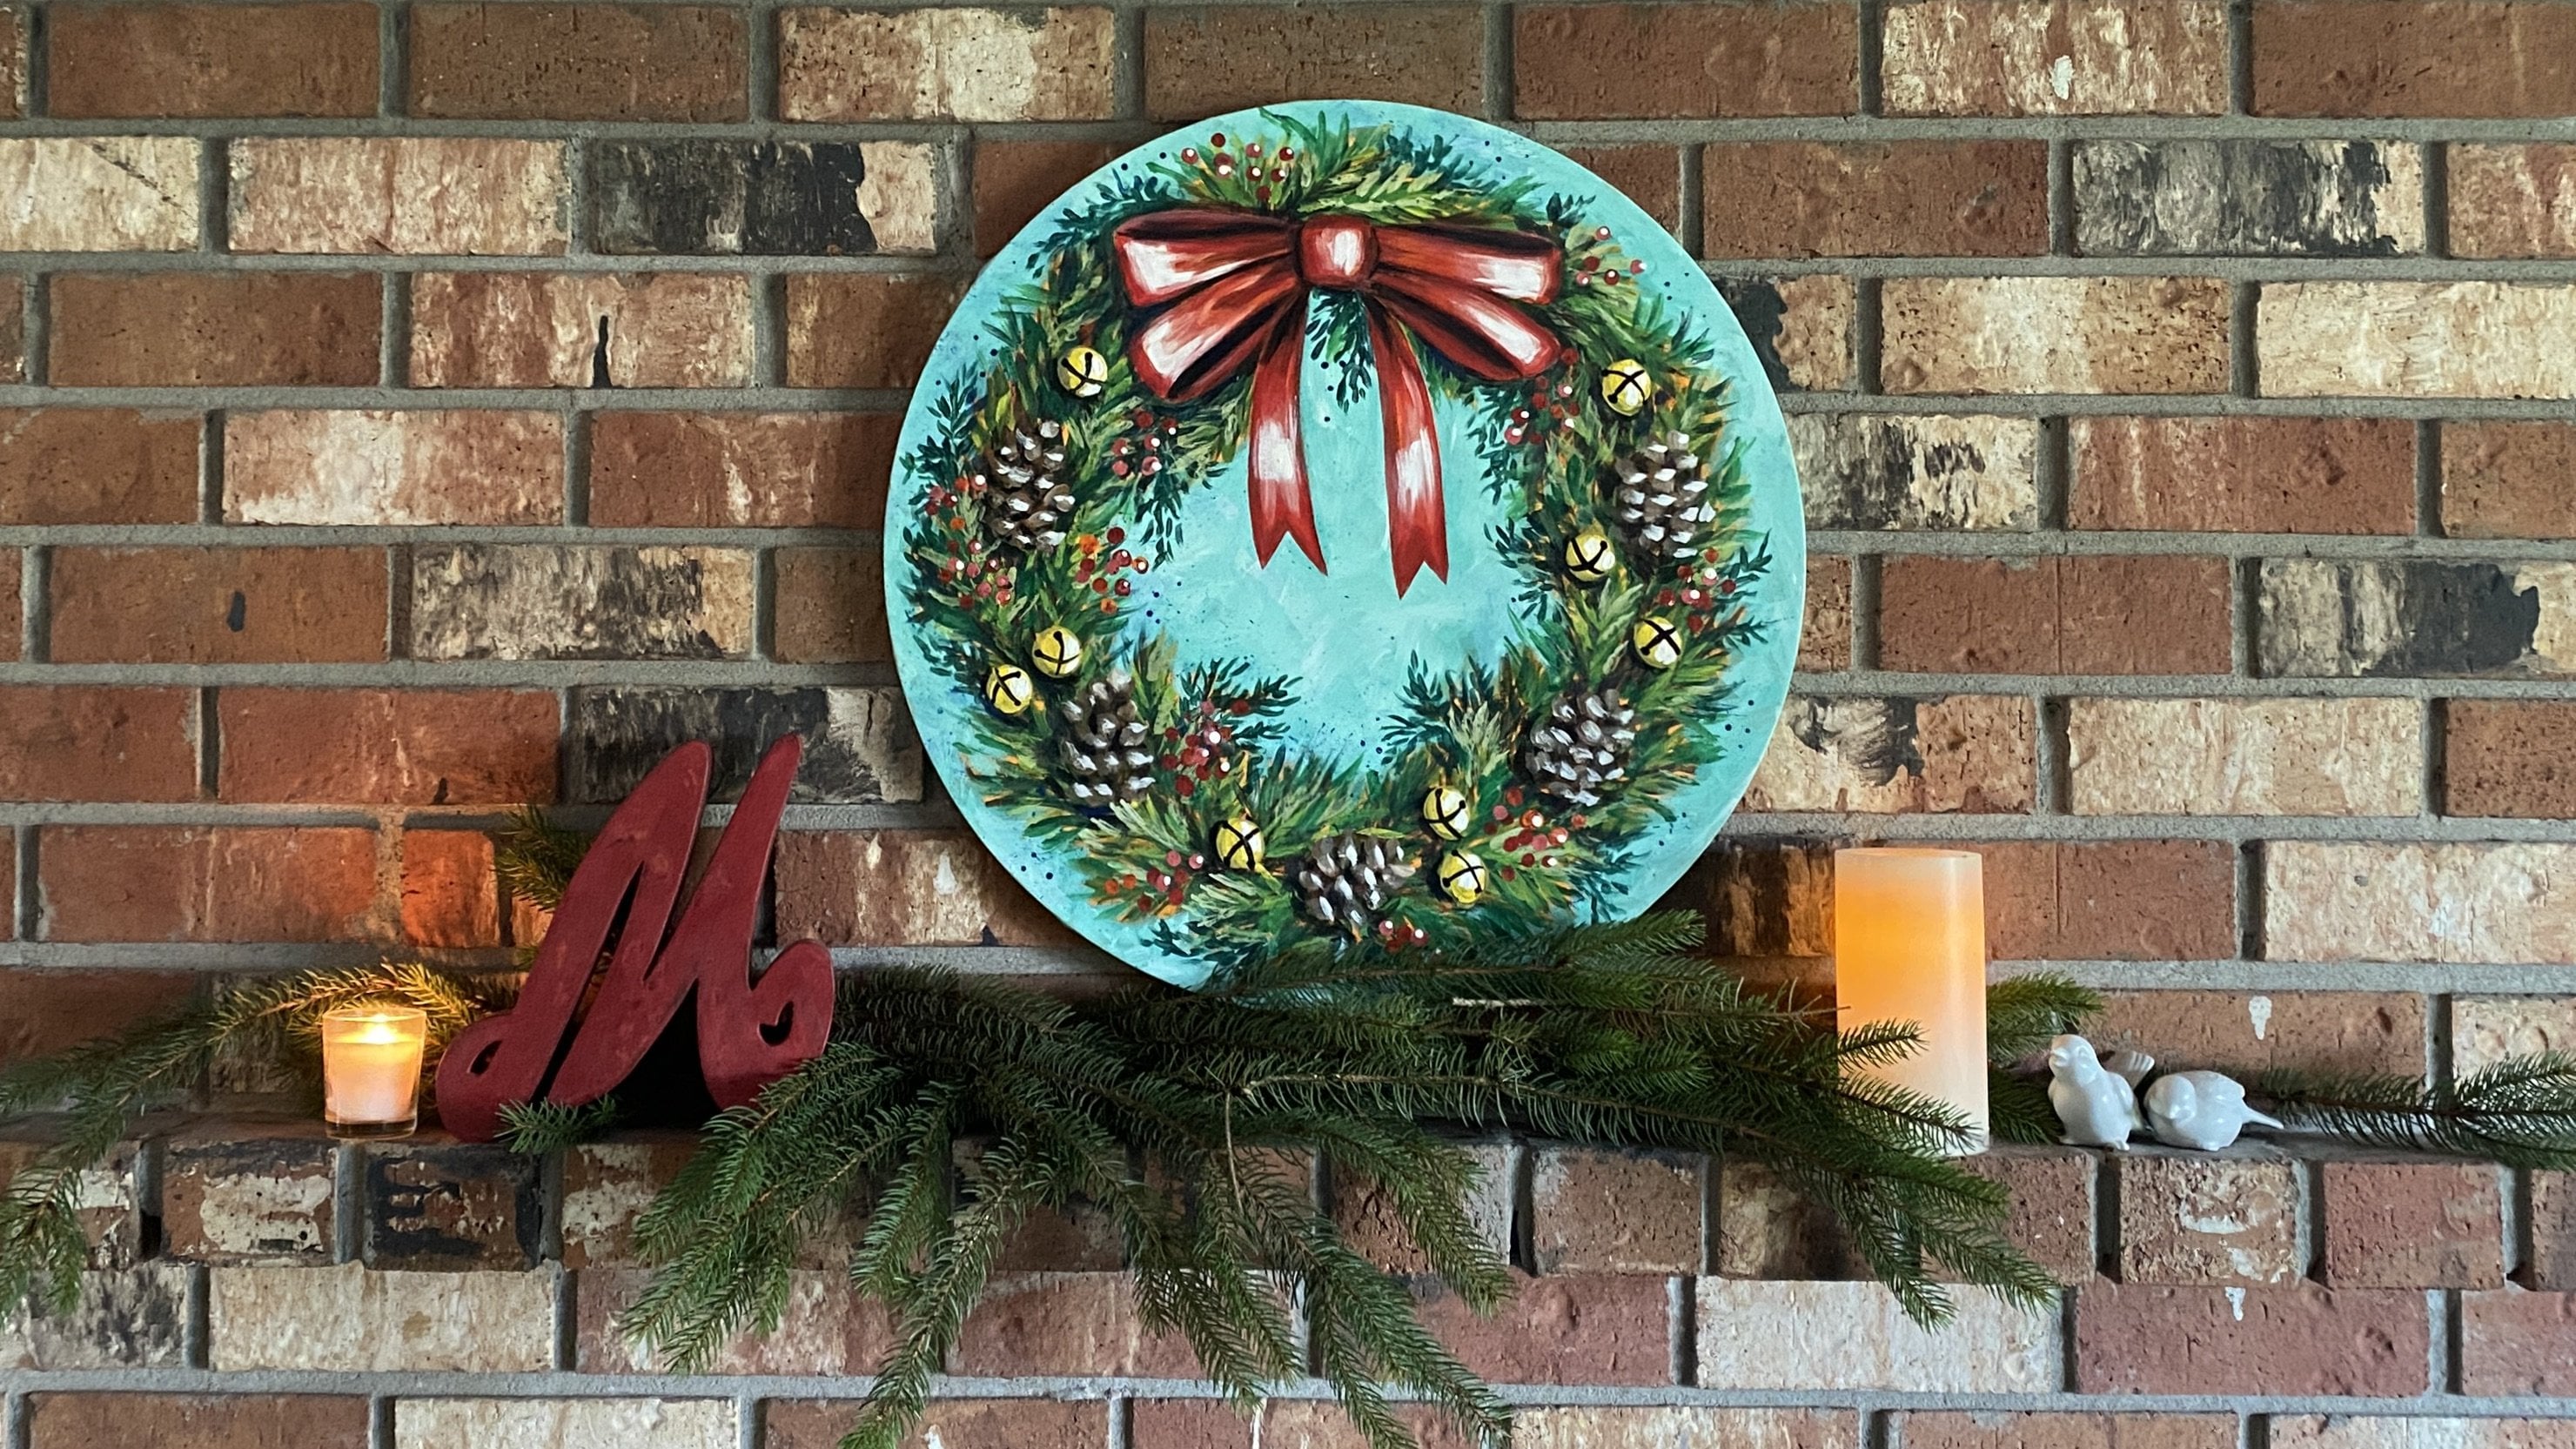
8. Details - Part Two: I get my ideas and inspiration
from everywhere I go, I see patterns and beautiful
art forms in museums. Tile walls, dishware,
stained glass windows, and other art in galleries. Sometimes for inspiration,
I do a Google search for folk art patterns
or one stroke painting. And that gives me a plethora of ideas for these
little pieces of art. I hope that you're
getting the hang of this and also making some discoveries of your own to share in the student gallery. It'll be fun to see how
you interpret my process. In the next section,
I'll show you the final details in a time
lapse to wrap these up, see in the next segment.
9. Details - Part Three: Well, that's it for the details. Now it's time for the
final step in decorating. Meet me in the next lesson
and I'll take you through.
10. The Finish: After the embellishments on your rocks are completely dry, coat with a UV clear coat to protect your
miniature art from scratches and normal
wear and tear that will inevitably happen if
left in the elements. I use two coats, letting them dry
completely between coats. If you're using a
different clear coat, follow the directions
for your product. I've tested this product with two painted rocks left
outside for four months. The one that was
coated appeared the same as the day it was painted, but the uncoated rock faded to very light colors
and started to chip. I know this product works great, and I highly recommend
that you use it so your rocks will
last a long time. This product is
fantastic for murals, signs, and to protect
fine art as well. Don't forget to rinse out
your brush thoroughly. It's always a good
idea to sign your work or leave some information for
how to get back with you if you're in a trading group
that requires you to do so. Some want you to add a hash tag. I keep it simple and just
sign with my initial. I use the color pink and a number three round brush
to add my initial B. And then I add a
little heart too. I first add a little water to my paint to help it flow
off my brush easier. Then I use the tip perpendicular to the surface to write
the letter in cursive. It takes practice.
Have a moist cloth or paper towel handy. If it doesn't work
out the way you want, you can wipe it off quickly
and give it another go. I usually have to put two coats to get the coverage that I like. If writing with a brush
just isn't your thing, you could use a
paint pen instead. The brand Sharpie now
has a metallic pen that shows up very well and is very easy to
write with as well. After the backs are
completely dry, clear coat a couple coats and you're ready to display
them in your yard, hide them for someone else, or trade them with a
group on social media. In the next section, I'll
finish up the class with a couple more pointers
and information about the Kindness Rocks
Movement and then you're done.! See you
for the wrap-up.
11. Wrap-Up: Colorful, whimsical and
trendy painted rocks are a fun hobby and
are quite good at spreading joy and positive
vibes all around. I hope you're inspired to
create a batch of your own. There is many uses for
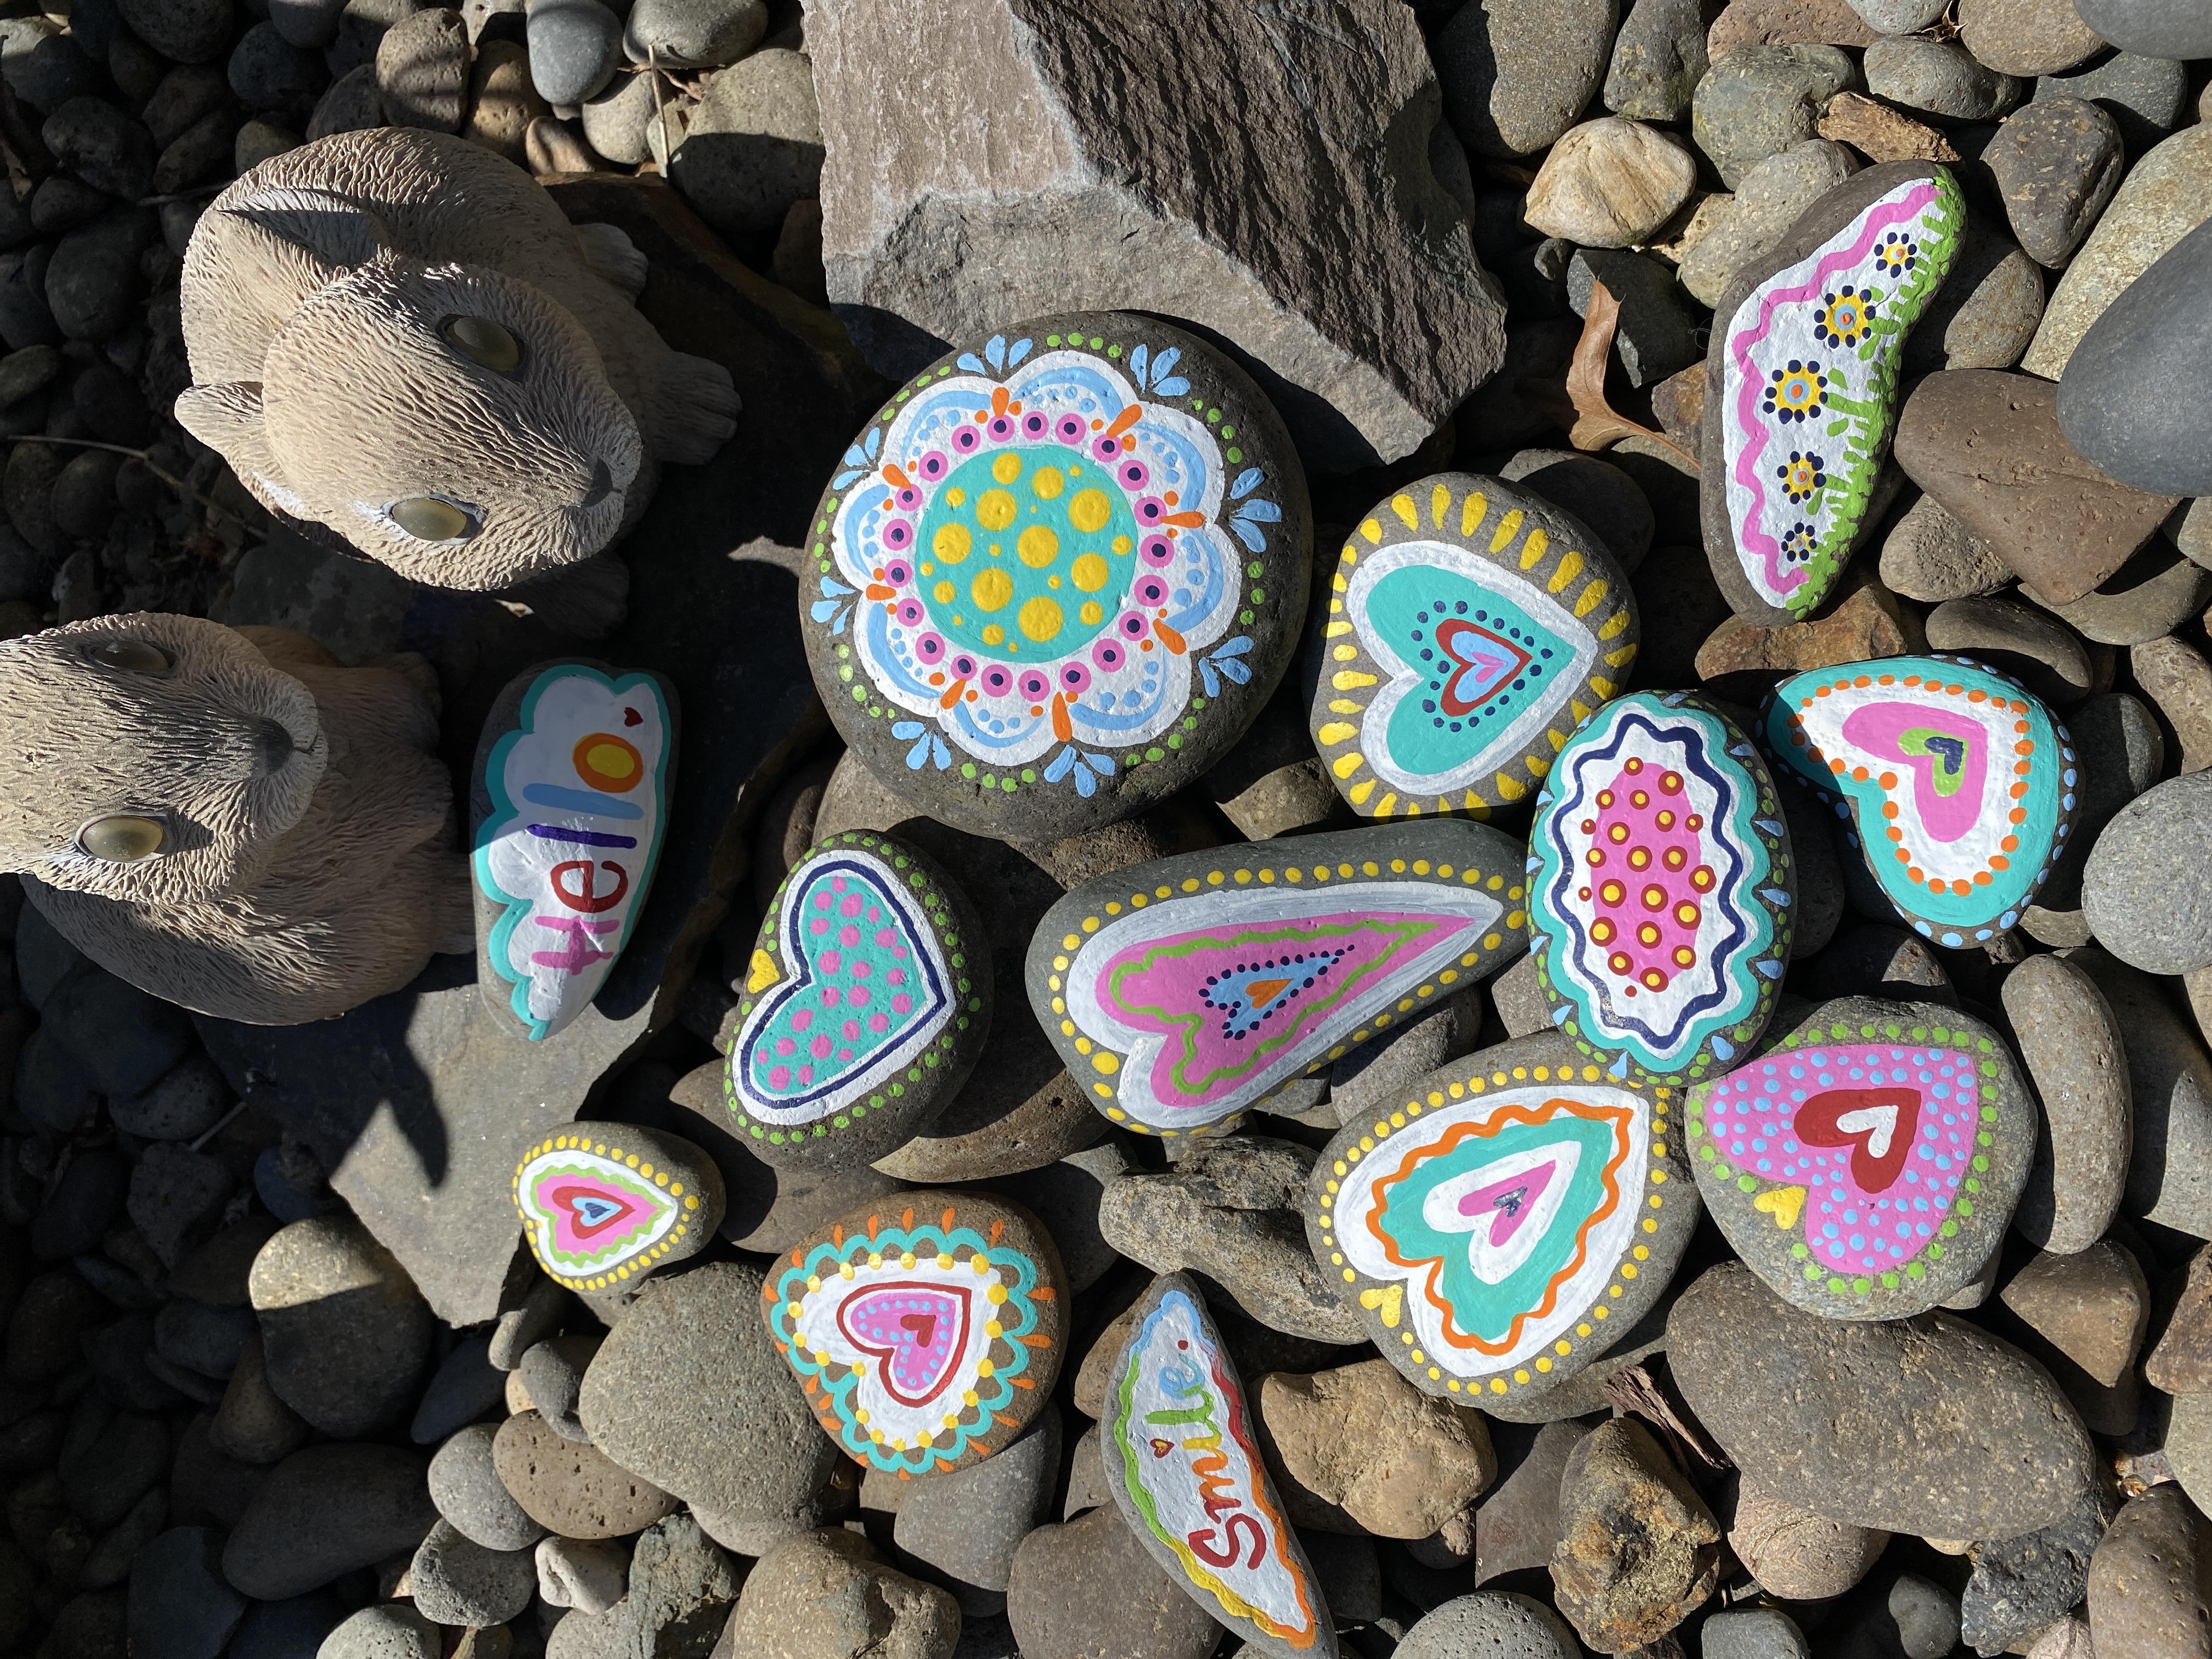
these mini art pieces. I like to display
them in my planters, Leave them as thank yous at
friends and neighbors doors. And also place them in random places for strangers to find. There are groups on Facebook
that were created just to bring those that leave treasures and those that find
them together. It's such a fun hobby. I like finding them and making them for others to
find just as well. And I feel like most people
enjoy seeing painted rocks. However, some do not enjoy this pastime and even see the painted rocks as
a bit of a nuisance. I do not want what was meant for joy to irritate
anyone and nor do you. Please be aware that here in the US painted rocks are not
allowed in national parks, they're also not allowed
on private land. It's actually considered
a criminal offense to leave anything on someone's
private property. Another place that
should be avoided is businesses unless you're
given permission, of course. But don't let any
of that stop you. Paint away, be your
creative self, spread joy and happiness. It's a wonderful form
of artistic expression. Not to mention the
therapeutic benefits. According to the Webster
Dictionary definition, kindness is the quality of being friendly, generous,
and considerate. These painted rocks
certainly fit the bill. Who couldn't use a little more
kindness displayed in others? Let me know how you
use this class by uploading your class project
to the student gallery. And remember if you have
any questions or want to share a tip with me and
those taking the class, you can reach us all under the Discussions tab
below this video. There you'll also see
where you can leave a review and share your
thoughts about this class. Don't feel obligated,
but if you have a few minutes that
would be quite helpful. Also, let me know
what other types of crafts or painting classes
that you'd be interested in. I thoroughly enjoy helping other creatives with step
by step instruction. With that said, if
you'd like to be the first to know when I
publish a new class, follow me here on Skillshare, it's the green follow by my name or visit my Youtube
channel called Creatively B. And you can also find me
on Facebook and Instagram. You'll see those links
on my profile page. Just click on my
name to get there. Thank you for taking my
class and until next time, stay creative and have fun
spreading your kindness.
 Brigitte Miller, Artist | Creatively B