Transcripts
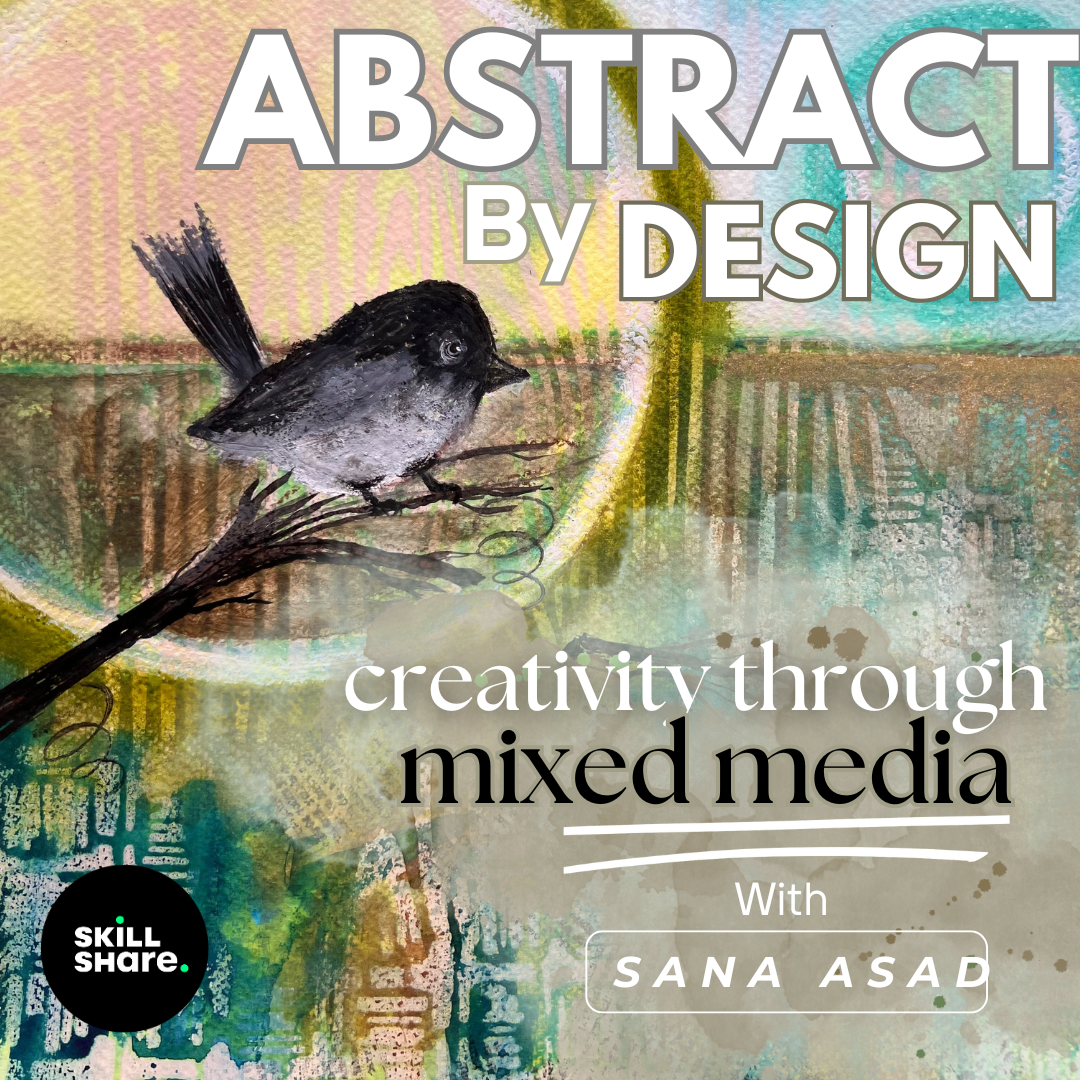
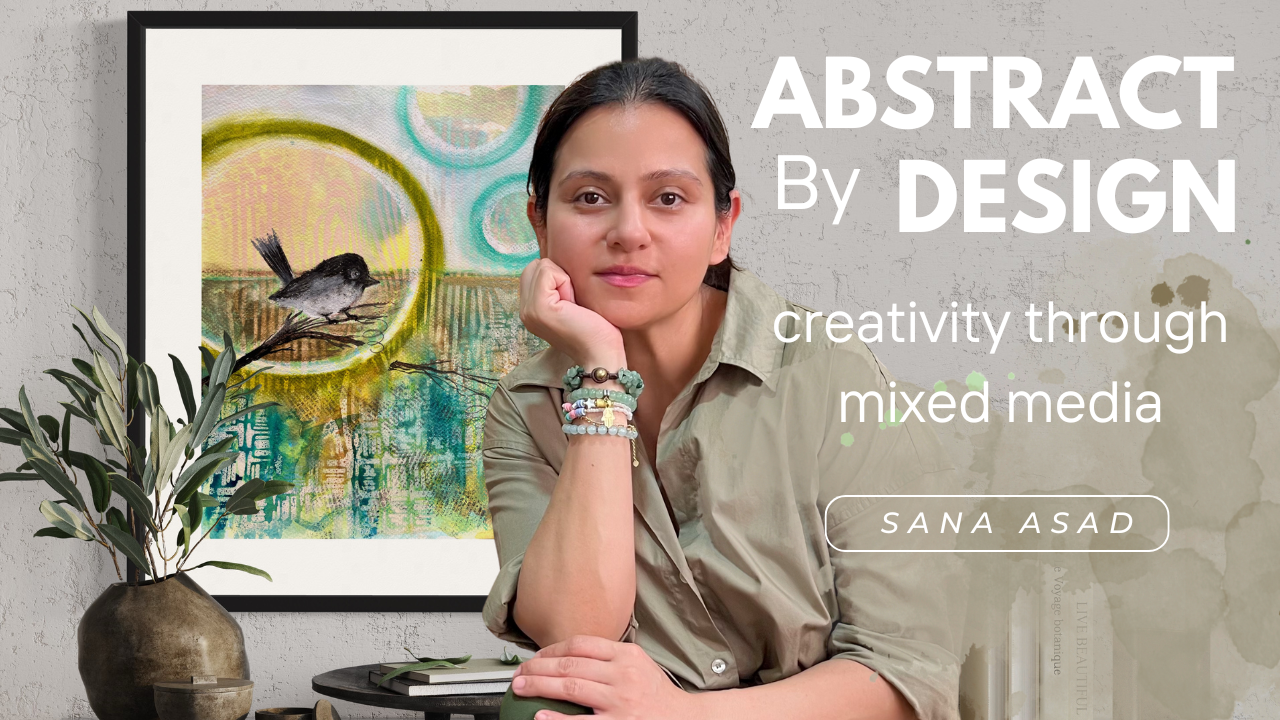
1. Welcome : Hey, everyone. Welcome
to Abstract by design. I'm so thrilled to
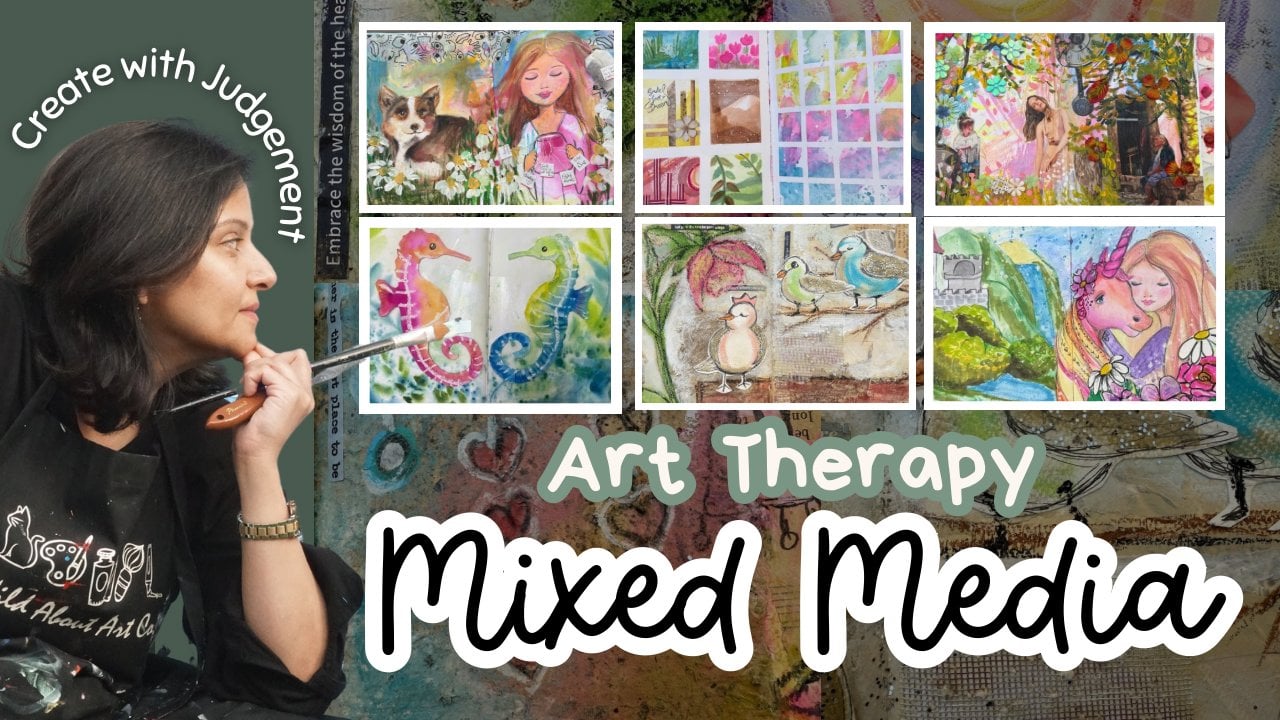
welcome you for this mixed media course where I will be sharing all the secrets, tools, techniques, what I used to make my abstract
mixed media paintings. In this course, I will be
sharing each and every step, how I create these paintings by starting with a
watercolor background, add some sprays, stencils, and then narrate a
story of my emotions. Can't wait to start the class. But before starting the class, let's see some material guide. At the end of the
course, you will also have 5 minutes
of meditation time, which will help you to deal
with yourself critics.
2. Material : Hey, everyone. Welcome, and
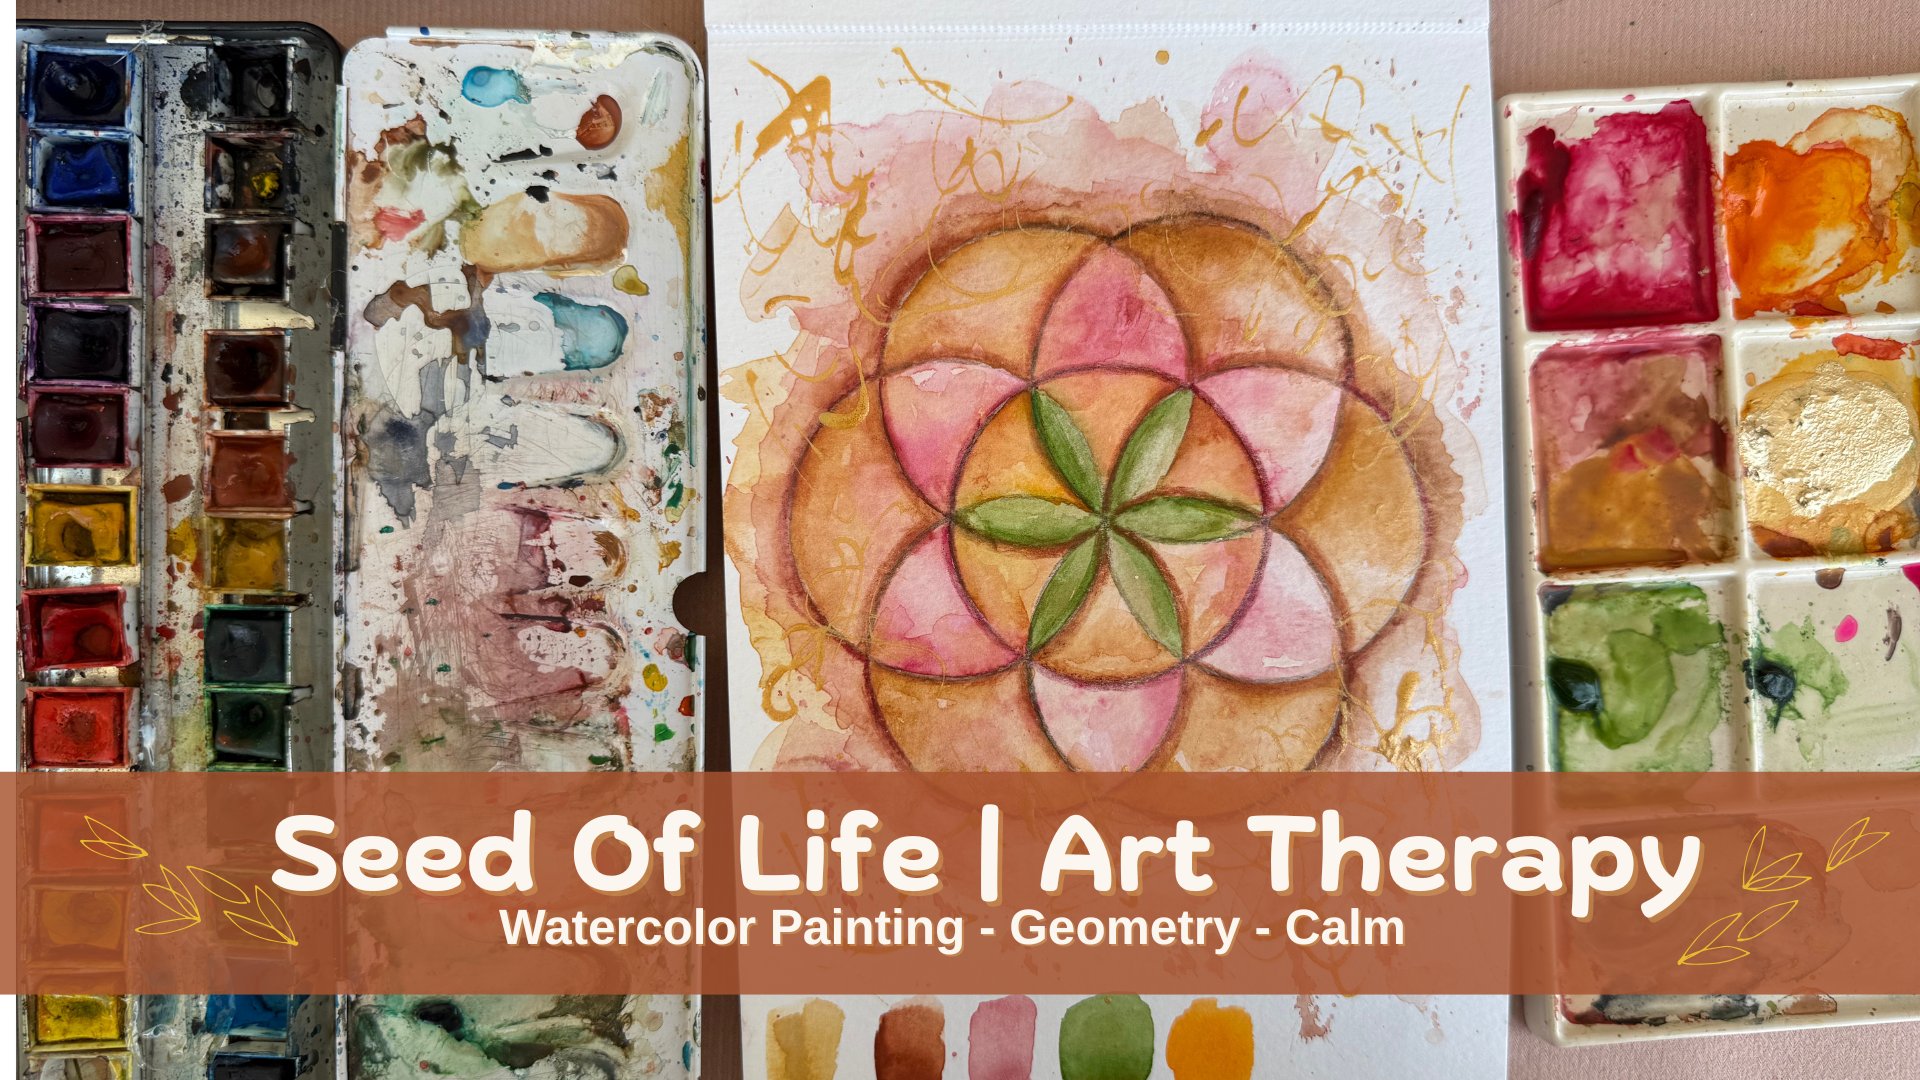
let's start with our course. So first, material guide, I am using watercolor
paper, 300 GSM. You can use any brand you have. Watercolor paints. Can be used the palette one
or I'm using the tube ones, which is more convenient for me. I also have acrylic
ink, so if you have it, you can use it, and
if you don't have it, watercolor will work the best. If you're planning
to use the stencils, then you need the pain spray. I will be using stencils
for this artwork, but this is completely optional. Pain brushes, any size, any brand you have
already at home. I do use gatos
from Faber castle. These are water soluble. You can use oil pastels or any other crayons
you already have it. Always remember for
mixed media abstract, you don't have to follow
exactly what I am using. You can use any medium, any material you already have at home. So see
you in the class.
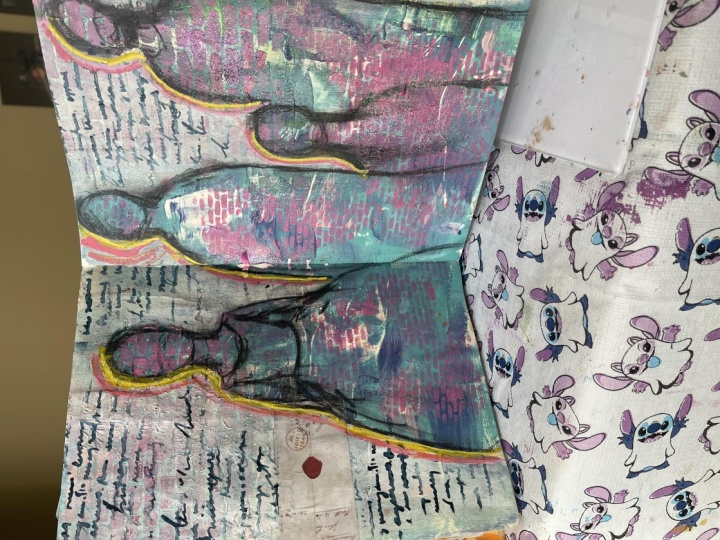
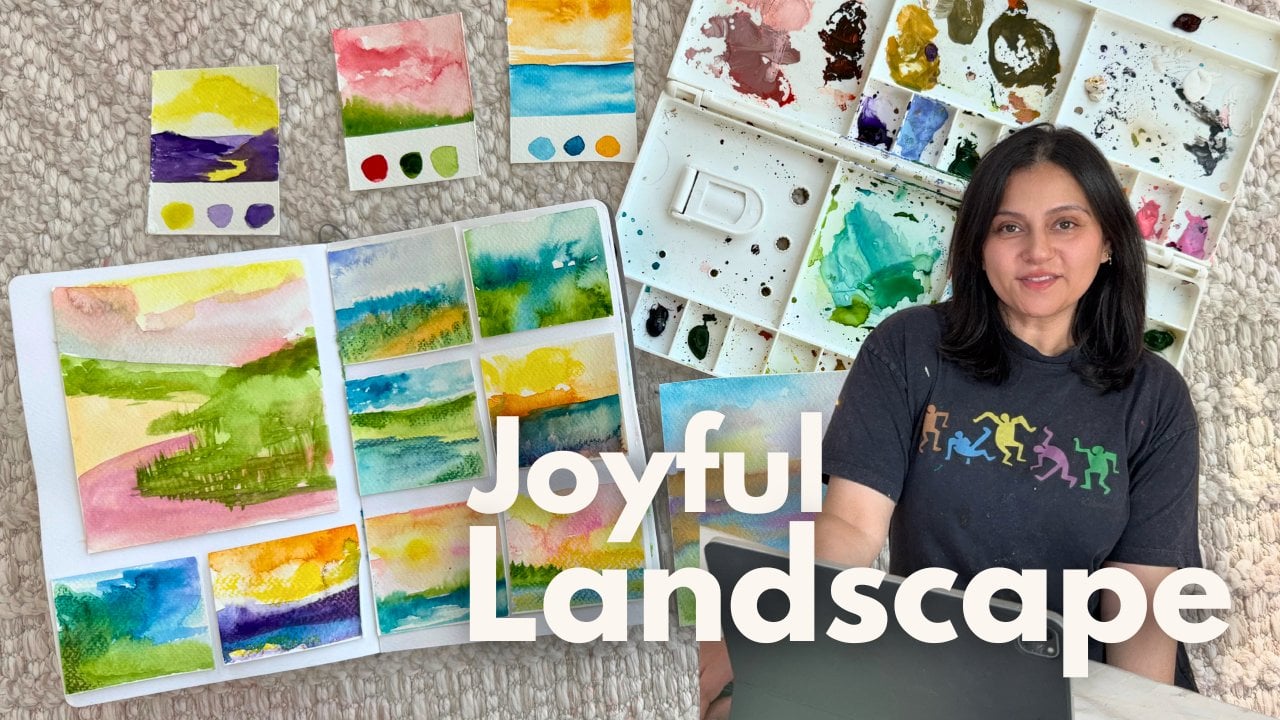
3. Free flow background : Let's dive into the class. In today's video, I'll guide
you through the process of intuitive painting and creating
free flow backgrounds. I'm using the big brush and I already have set
my paint palette. This exercise is essential
for exploring colors, relaxing and allow yourself to move your hands freely
on the canvas and paper. I will begin with wet on wet technique where I will
apply the water first. I am using some
water spray which will help me to spread the
water evenly on my paper. Okay. Along with the watercolor, I will also use acrylic ink. You can use any medium
you already have. It can be watercolor
or acrylic paint, even just a regular school
supply water paints. As an abstract artist, you will learn to
trust your intuition and hone your skills. This is a very
important exercise for any Bigner who wish
to paint abstract. Free flow backgrounds are all about letting the color
blend and flow naturally, creating an organic and
fluid visual experience. There are a few
techniques which you can always apply in your painting. I have also mentioned these
techniques in the workbook, so you can always go to the project section and
download that worksheet, which will help you to
remember the techniques. Watercolor wash, wet
on wet technique, acrylic pouring, ink
blotting, or salt technique. There are many, many, many techniques which
you can explore. But currently, at this point, as a complete bigner when you are starting your
journey with abstract, I always suggest to just keep it simple and go
with wet on wet. Once the first layer is dry, you can always apply the second layer and
then third layer. So the colors won't turn
into the muddy colors, and you will still have
control on your color palette. Now, let's see some
of my paintings which I create over the time, and you can see I have created some mini paintings
like a very small, mini postcard size, in which I just experiment
with different colors. This is all my warm color
scheme in which I apply red, yellow, then pinks and
purples and blues. But for all these
paintings, I did one thing. I apply the color first then I wait for the
color to get dry, and then I apply the next color. This helped me to not get all the muddy and too much
of mixing of the colors. So the project is you need to make as many as you can before
you go to the next step. So try to make your
free flow paintings and we'll see you in
the next video. Okay.
4. Connect with your Background : Hey, everyone, welcome
to the next video, and I hope you have
already submitted your project and enjoy the
process of free flow painting. Right now, this background
is completely dry. I just need to take a moment to observe what exactly
I will be doing next. I just want to see the lines and shapes and what are the
layers coming around. As you can feel that sometimes by observing
your background and looking close at the layers, the colors, the
emotions, they evoke. And I immediately feel that let me start adding
some second layer. These are some of
my handmade papers. I do have some stencils and while looking
around these elements, I immediately feel that
let's add some stencils. I will be using
different stencils and I will use a spray paint
to add my second layer, while I'm doing this, if you don't have the
stencils and spray, you can just simply add
or apply another layer. Maybe you can use
crayons or oil pastels. Or just sticking some collage
magazines newspaper pieces. Let me ask you a question.
What do you feel? How does it make you feel? Trust your intuition. Sometimes the canvas
or paper speak to us, revealing hidden
shapes and symbols. The horizon often symbolize hope possibilities and
the new beginning. It's where the sky
meet the Earth, and the circle represents
unity, wholeness, and infinity. It has no beginning or end. This suddenly came
into my mind while I was spraying and
using stencils, and I just quickly grab my water soluble crayons and start adding the horizon line. Also with a white
water soluble crayon, I just free handed my circle. Okay, so watercolor, soluble crayons or
oil pastels will be the best choice for adding
more layers into your work because they can easily
blend into your background. I'm adding another layer of watercolor to make
my foreground pop and the circle will remain in the same
colors and textures. You can use any medium you want. You can also apply
second layer for acrylic or you can add
some more collage on it. So this is completely
up to your choice, and the materials you
already have at home. While just adding this color, a second wave of inspiration
just came into my mind, and it's like I
feel to add birds. I'm more inspired by
nature for this season. But if you have some
other inspiration, you can always go with it. You can do different writings. You can add some pictures
or photographs or just cut out a picture of a
bird and you can stick that. I'm also adding more circles, which I will be leaving it exactly like this and I
might use acrylic paint. To add in my background
means in my foreground. So the colors of my background
will remain the same. It will be more like a
positive and negative space. I don't want to go deep
into it because if you're an absolute bigner
you might get confused. So I'm just adding to make
my sky looks more subtle and the colors which I have inside the circles will be
the same as my background. So it makes a nice quite
interesting effect in the background painting. Just remember as an artist, there are so many
things to explore. Art is all about
exploration and discovery. Trust that your instincts
will guide you. Finally, bringing my
gatos in front of me, keeping all the same colors, which I will be using
to add more layers. You can use any medium
you already have it. Let's just keep going and keep adding till we feel that
okay now it's time to stop. After adding more
colors, watercolors, gatos, pastels, I will
start sketching my bird. Till now, don't forget
to send me a picture of your work for your background
before adding any element. I would love to see
what did you create, what colors you have done it. So you can upload your work, your paintings in
project section. I would love to see your work. So see you in the next video.
5. Final Step : Hey, everyone. Welcome
back to this lesson, and this is the last lesson. We are going to
finalize our painting, and I'm starting with a sketch. If you are a little
hesitant to sketch freely, you can always download the template of the
bird from projects. After the sketching is done, I will be using black
and white color. I'm going to use some
oil pastels, gatos, whatever medium you have, if you wish to do some collage on the bird, you can do that. If you wish to make a colorful
bird, you can do that. So try to trust
your own intuition, keep going what you
feel at this moment. I am using gelatos
and oil pastels and water soluble crayons
because I will be just blending them
with my finger, starting with the
gray and white bird. You can always choose any
color of your choice. You can do some collage. You can use acrylic paint. We need to use something opaque. It can be oil pastels or acrylic paint because we
already have so many layers. After adding the oil
pastels and gelatos, I am using white acrylic paint, and just creating the
layers and layers to cover my background and
the transparency what I'm having in my bird. I am using the ink from Vincent and Newton to add
the branch because I really want that very solid
effect on my background. So you can also
use acrylic paint. You can use marker, whatever
you already have at home. So far, this is how it
looks and I'm loving it and can't wait to
see your final project. The background looks beautiful. There are so many
different layers, and I will just apply
again, pastels, crayons, water solble work on
the eye by adding some white highlight and just keep going according
to your own intuition. Here, I have some rubber stems, which I always love it. I always apply the writing one because it gives a very pretty, very nice whimsical
effect as writing. Most of the time
people ask me that, Oh, did you use some newspapers? So I never tell
them the secrets. So this is only for you
that these are the rubber stems which I use for my paintings to add a
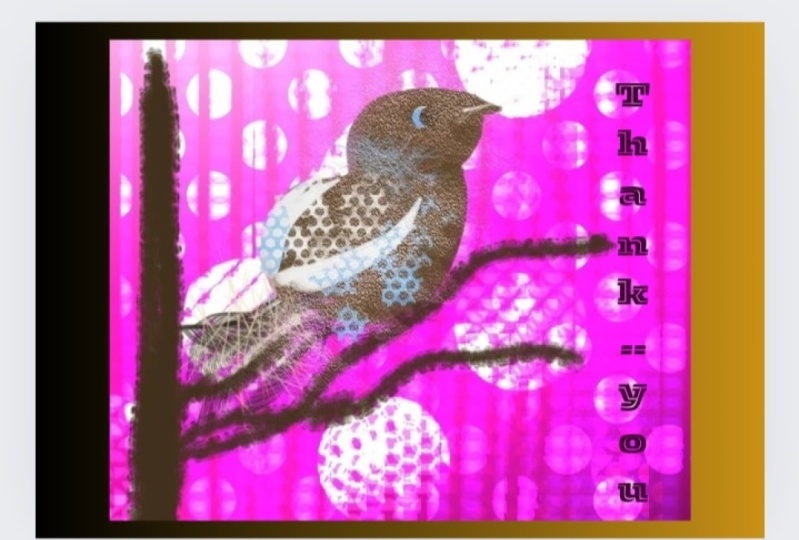
little bit of writings. Finally, the class
is coming to end, and I can't wait to
see your project. So don't forget to upload your free flow project,
your backgrounds, your narrative, what
story you connect, what emotions came while
you were creating. For me, the emotions were mixed. I feel this is me inside a circle and just
want to take a flight. And also, don't
forget to meditate. Meditation will help you to control your self criticism
and appreciate your own work. Can't wait to see your projects. Don't forget to leave your
reviews about the class, what you want to see next, what kind of a technique
you wish to see. Would you like to have
more therapeutic sessions or would you like
to do some kind of an art therapy with me? Take care of everyone
and creating.
6. Meditation: Close your eyes, take a deep breath and settle
into a comfortable position. As you sit with your artwork, recognize the
miracle of creation. Your hands brought
forth something unique, a piece of your soul on canvas. Feel gratitude for this
act of self expression. Gently open your eyes and
look at your painting, release any critical thoughts. Instead, observe the colors,
shapes and textures. Each stroke tells a story. Embrace imperfection as
part of your journey. What emotion does
your art evoke? Feel them fully joy,
nostalgia, Curiosity. Let them wash over you. Art is a bridge to
your inner world. Acknowledge whatever I arise. When self doubt creeps in, visualize a serene lake. Drop your critical thoughts
onto its still water. Wash them ripple away. Remember, every
artist faces doubts. It's a part of the process. Now, close your eyes
again, breathe deeply. Imagine your art
surrounded by a soft glow. Feel the piece it radiates. As you open your eyes,
Thank your artwork. It holds a piece of your heart. Whether it hang
on a gallery wall or rest in a sketch book. It matters matters. Imagine your art
as a dear friend, speak kindly to it. You are enough.
You are beautiful. Just as you would
encourage a loved one. Extend that compassion
to your creation.
 Sana Asad, Inspiring Self-Discovery Through Art