Transcripts
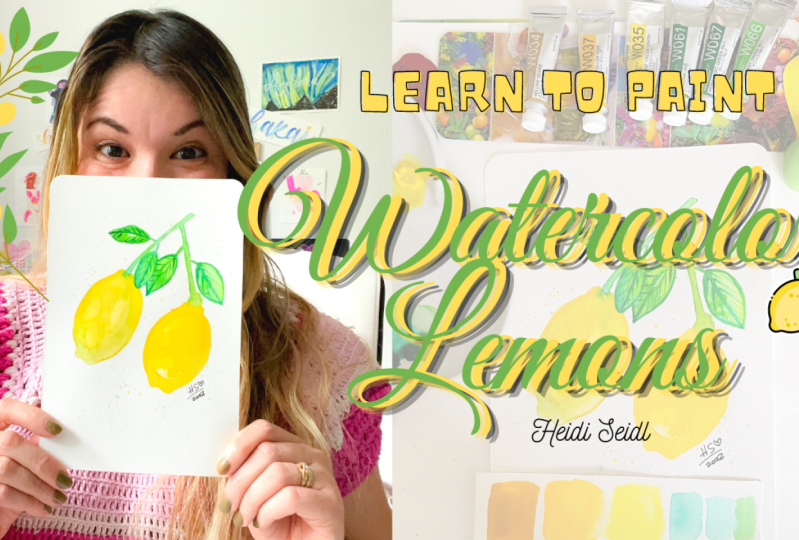
1. Intro: Hello and welcome to this class. My name is Heidi, and today I will be
teaching you how to paint loose watercolor, lemons, bringing up
the summer vibes. I will be guiding you
through the whole process, getting the inspiration,
how to check the lemons, how to get the right
amount of light onto painting and putting
them in a beautiful way. In Japan, it is a very beautiful process and I hope to join
me for this class. I will be glad to
have you in there. You can also watch my other
classes here on skill share. And you will learn more
about watercolors. So get ready. Because in the next video we
are discussing the supplies. I will see you in
the next video.
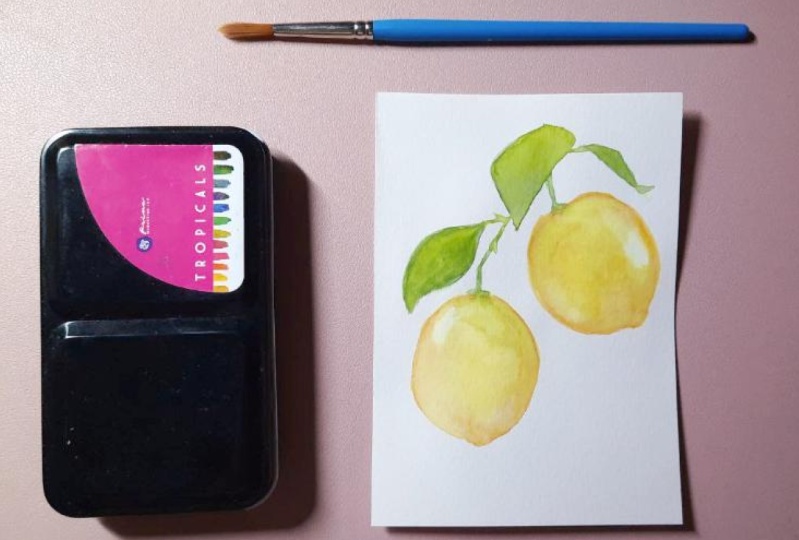
2. Supplies: I have here on the
materials we're going to be using
during the class. Fields to need a clean towel, to clean your brushes. I have here my gut paper for making the chart,
watercolor chart. In the next video. Watercolor paper. I cut it eat in this size. You can cut yours
whatever size you want. What the colors in these Chase, I will explain them better on the next video when
we are going to be doing in the watercolor chat. But it's in that range
of jello, angry. A mixing blade,
and toothbrushes, round brushes in two
different sizes. A big one and a smaller one. I have here in number
six and number four. This time we are
going to be using two jars with clean water. One for the jello and worked
for the green colors so they don't mix colors. In the next video, we are going to be creating the color test. I will see you in
the next video.
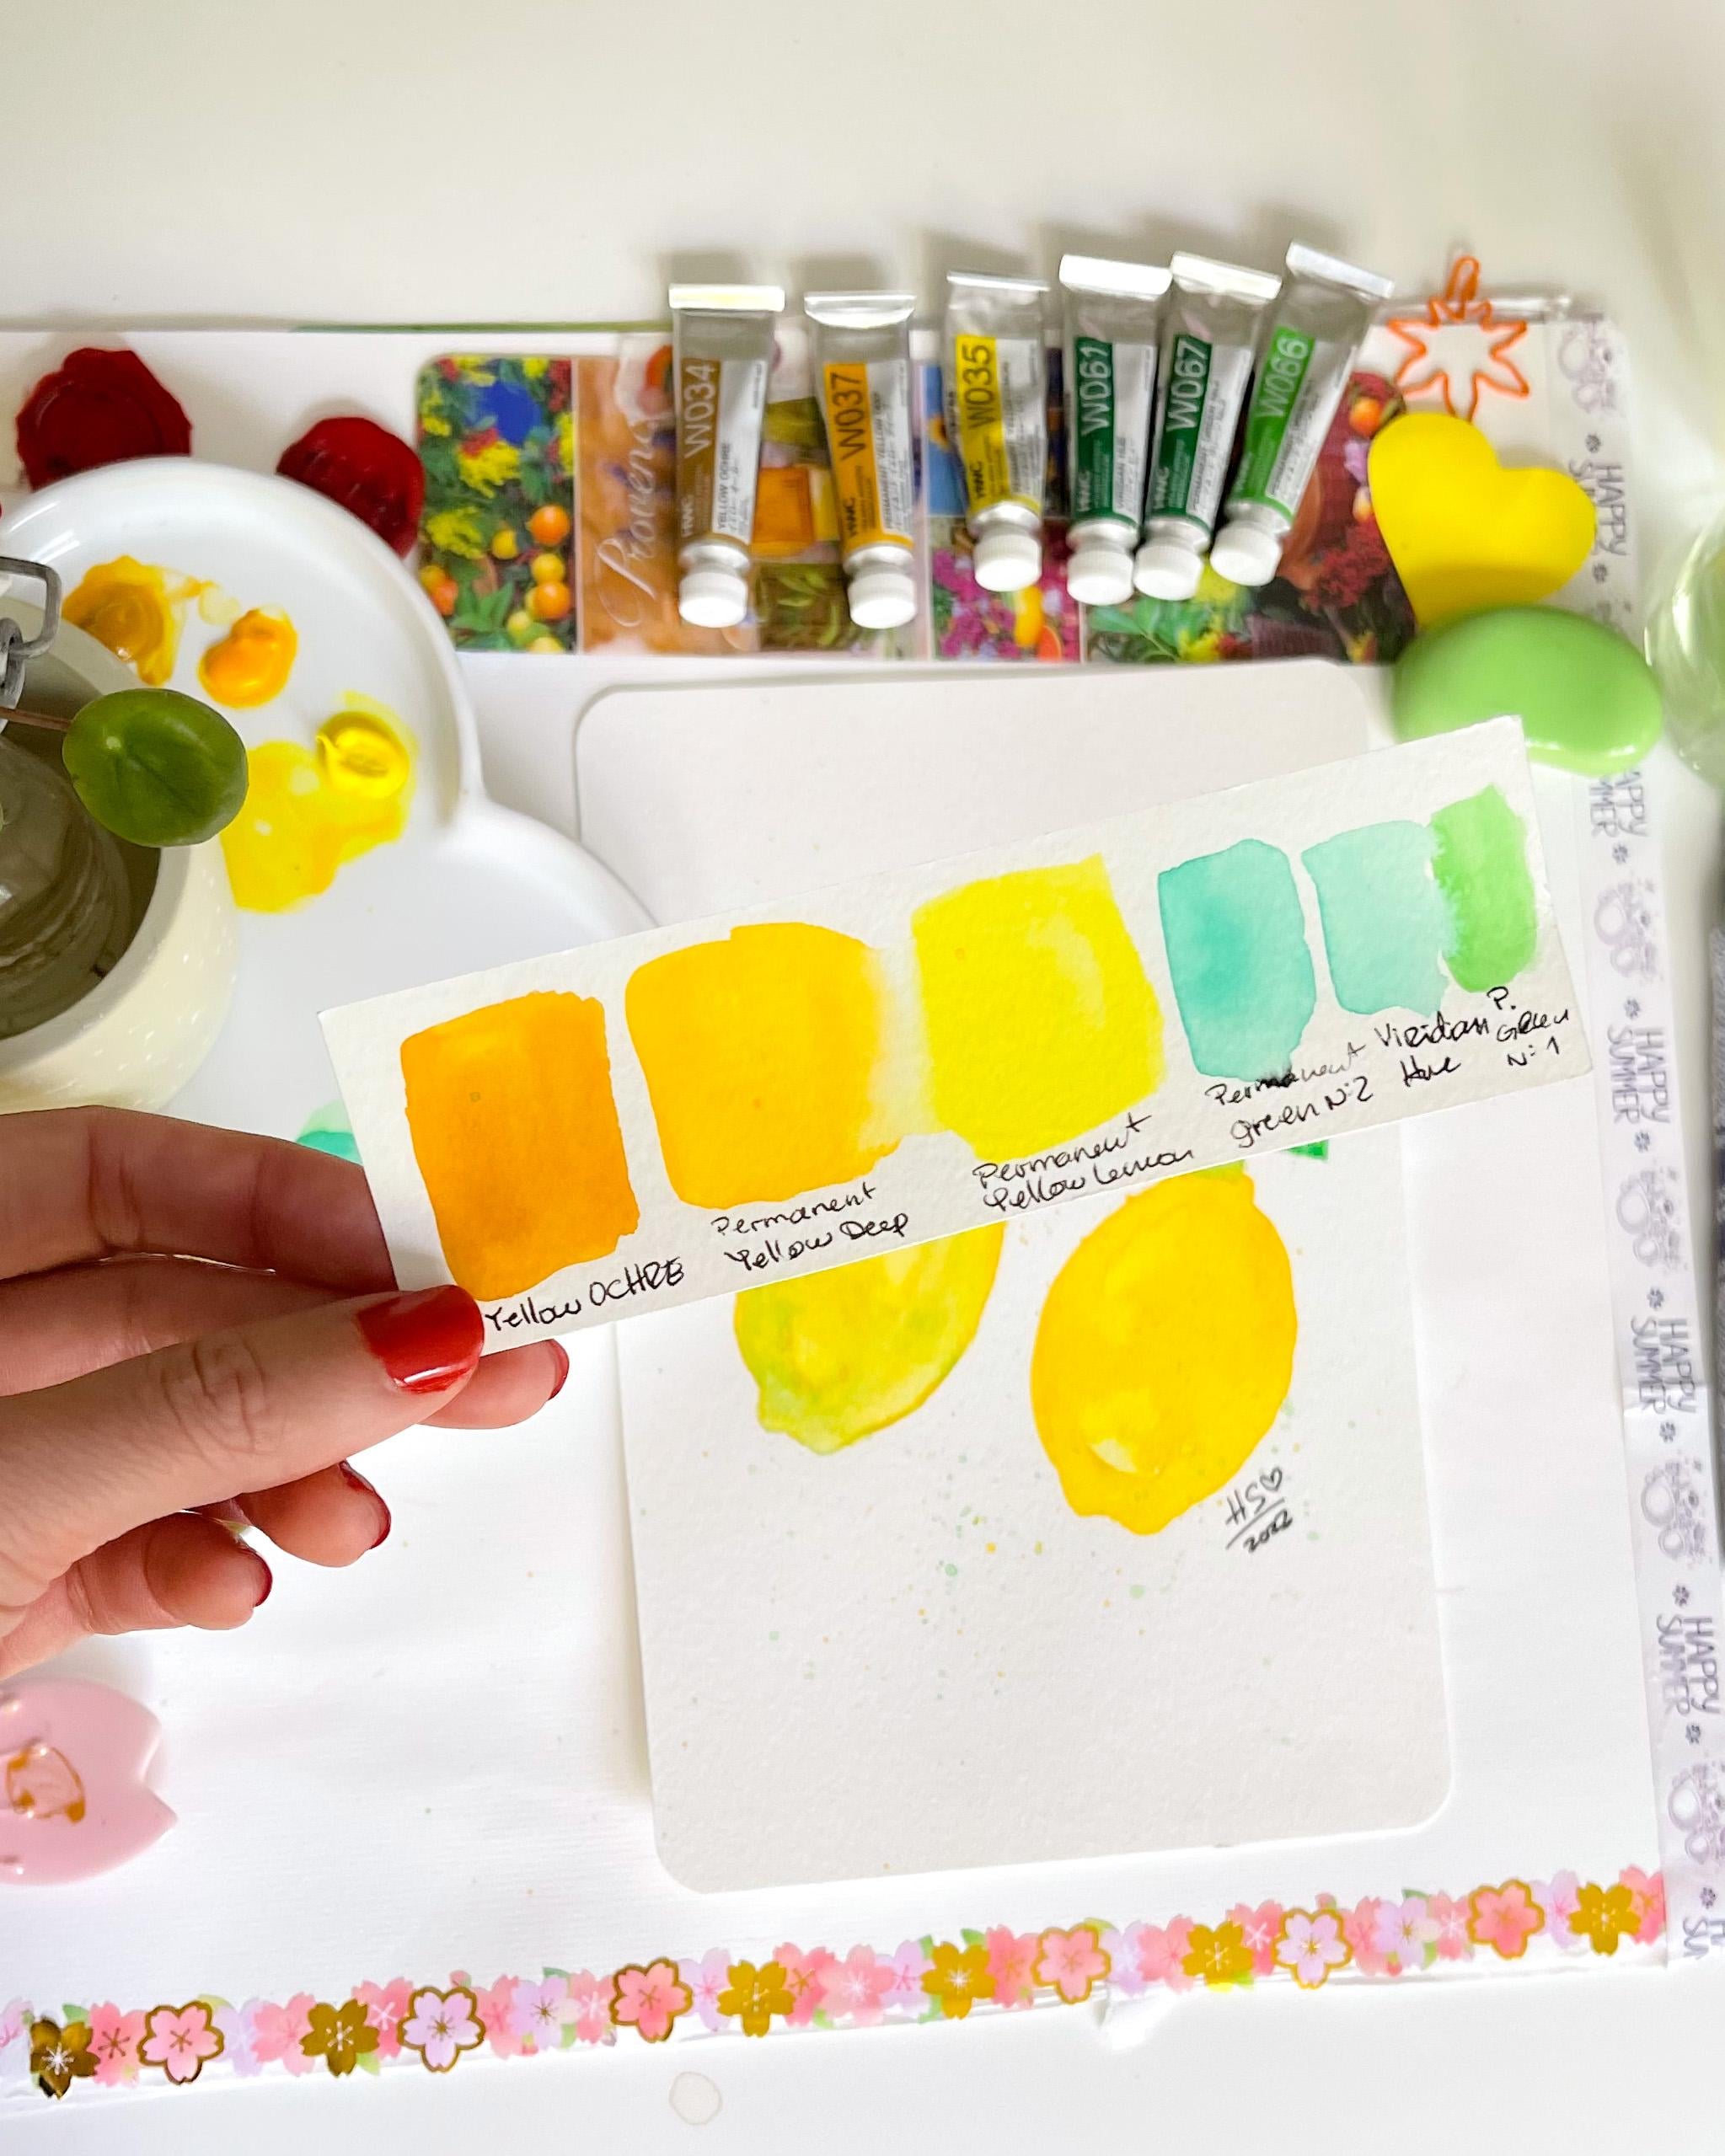
3. Color chart: Let's create our watercolor
chart for this class. We are starting with
the yellow ocher. As you can see in the screen, I have the names of
the oldest yellow. So we are going to be using during the class to
create the lemons. Then x is permanent yellow deep. And the last color is the
permanent yellow lemon. To the entire class. To paint the lemons, I will be interchanging my
brushes to paint the lemons. I will be using the
bigger brush that I have. My glass with. Water for this particular color will be the yellow one
that is yellow color. And then I will change my brush and my jar of water to paint
with the green color. And I will be using
the smallest brush, round brush that I have
in my other class with. Let us start making the
color chart for this, which AD B2B and the fifth one. Then we have permanent green number two impediment in green. Number one will be the last color IN using
Holbein watercolors. So the art, the name that they put on those
watercolor chase. You can use another
brand for watercolors. Just try to keep
them as similar as possible and as the colored
ion using in the class. So I have here my
complete watercolor chat and I will this dry to show
you how they look like. And here they are. I brought the name from
each watercolor as I want to be super organized while painting to
know how they react, how they will behave
during the painting. Feel free to upload your watercolor chart to the class projects
for this class. I will see you in
the next video.
4. Get the inspiration: When it comes to
find the inspiration nothing more perfect
that the real subject. So here we have a lemon, and I think anyone
half a lemon at home. You can observe this piece, this subject, very carefully. Take a look at the shape, the imperfection of nature, how beautiful they are. And then imagine a way to
paint this subject and create a beautiful loose
watercolor lemon with a barrage, imagining two lemons
in our branch. And I will show you how to do it in the next
part of the class. But in case you don't have a lemon like the one
I'm showing you, then you can look in the internet for some
reference pictures. So let's get ready and I will
see you in the next video.
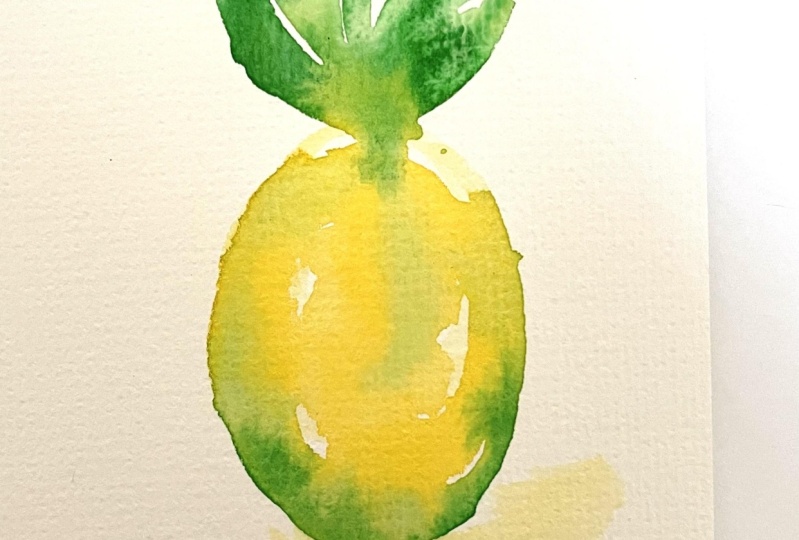
5. Painting the lemons: The rocks have been the
lemon in real life. Now I have a better
idea on where I went to paint the lemmas
on my, on my paper. I embracing this with my hands. But it's nothing that you
can do the same and decide where or how do you want to
branch with the lemons to be? And we are starting
to paint the lemons first using a round brush, number six, because it is
easier to manage and to, to handle when
painting the lemons. When we decide where
to put our lemma. So we will wet, brush and then
clean it in on, on, on our tower many times. And then take the darkest jello in this case is
the yellow ocher. Then mix it with water. And the lighter green. The lighter data we have, which is the permanent
yellow, lemon. We add a little bit
of water to make it painting a little bit
manageable, chronic. And then with our wet brush, we just paint the silhouette. In this case or lemma
looks like a oval. As you can see. Just
trace those lines. Correct? If you need a little
bit more of color. On the darker side, this doesn't need to be. So yellow lemon. Try to make it the shape of
the lemon juice or painting. I then add in so the
edges that look like pointing and where the
branch connect to the lemma. So it has a form. It looks really weird now, but you will see that it
will take the default. Now, I wash my brush in the water and I will start painting with
my lighter yellow, in this case the
permanent yellow lemon. And please keep those
white spaces because they are crucial to
make your lemon shine. And then just start to form
the lemon in a better shape. Just going with
your brush through the colors that you
already had in your paper. Take a little bit
more if you need. And try to add the real
shape of the lemme. Take a little bit of the dark, darkest jello you have in a little bit of water and
go through the whole lemon, even those white spaces that I was telling
you at the beginning. A little bit more of
water and go through the whole watercolor
that you have already under page onto paper. The magic of watercolor
is that you can reshape what you started and make it then look
like do you really want adding more darker jello? So I make like the shadow. This is very important
when you want the painting to look a
little bit realistic. We're looking here
for Alice Most. We are looking here for
a loose watercolor. And I assume that you see
that it's really easy. Tried to pick up some of
the darker spots with your brush and continue
shaping your lemma. We are using the
technique wet on dry in this loose painting. And the only thing
that is important is that you keep moving
the watercolor. Now, look at the limb. It has this green
on the corners. I will add a little bit of green with Matt order wood ash, which is the
smallest one I have, in this case, a round
brush number four. And I will add some touches
of this green here, and they're not all over the
lemon center on the bottom. And on the side. While our lemma, first
lemon is drying, then let's paint
another one and we are going to be using
the same technique. Wet your brush, take off
the mix of the two colors. And today's a oval shape. Here, do need to decide where
you want your lemon to be. You can look at the
reference picture, or you can just
decide putting it more higher or more
down under paper. Paint, over with the
dark colors, jello. And then reshape the lemon as the real one you have under your hand or in the
reference picture. I went to this and remember
to keep the whitespace. So it will give the lemon
little bit of light. Then taking more from my
lighter jello and adding it to my painting with water
that I will just move the color around until I have the shape of
the lemon I want. As you can see, this lemon
look a little bit more jello, and that is what I
want because this looks like more ripe. That the other lemon that we
already painted the hats, some greens on some spots. And this is the same process. Color until you feel
like it is enough. And remember to let
those white space, because this will give the painting depth
and really small. But at the same time
it pretty loose. This is what we are
looking here for. I will keep on adding and reshaping my Lemma
on the left field. Or I see the lemon
had the chip I want. And you can do the same. This is a real time VBR. So you can follow me as I'm
painting and paint with me. Here, I'm adding a darker
shade of the Jello, the darker one, and then
moving it with my brush. Remember this lemma is ripe, ready to pick up
and make eliminate. When I finished this, I will let the lemons dry completely before starting to paint the branches
and the leaves. I will see you in
the next video.
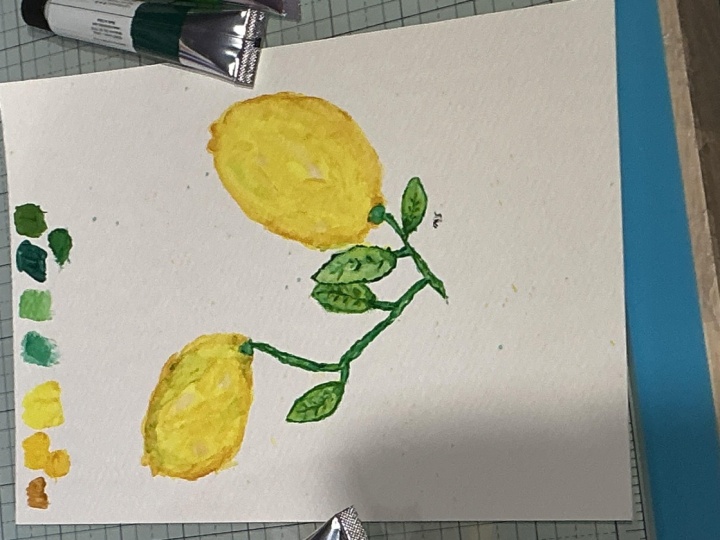
6. Adding the branch and Leaves: Okay, now I will start
painting the branch. And I'm using my round
brush number for Halloween, just raise two lines
connecting each other using the lighter
green I have in my palette. Like this. Going on
inside of the lemon. And connecting it with you, starting with a fine line and then making the
shape of a branch. You can have structured
the branch after you wish. This is just a start. This is the first part
of the branch, painting. Branch can be green or
can also be renowned. I decided a green
because it gets more contrast with a lemon, with a jello of the lemons. And I find it very printing. Now I can add in
some bits of the that green to make the
branch more cohesive. Now I will start
painting the leaves. I will position the lips. As I see. They need to be. You can do the same. This
is always this process. While creating paintings,
do decide on the spot where you are going to be
positioning the subjects. In this case, I, I'm trying to emulate the reference picture
I saw on the internet. So making the list, this is the first layer of
the colon for the lips, starting with the lighter green. And then later on, I will be adding some shadows
to make the contrast. I also want to paint the
leaves touching each other because I didn't
think they look any acute. You can pay bigger
leaves if you want. I am painting smaller
ones and letting them bring the picture to life. Using the wet on dry
technique, again, we can get a very beautiful
effect on the painting. Now I will be
adding some shadows on this side with my darker green and mixing it with all
the greens I have there. We'll see. This makes a
really big difference. Maintaining my brush, ready? My name in the brush, wet. Begin the color and then adding
some touches to the lips. This is a layered process to
need to do this in Lenox. So the colors make the magic. Then you need to wait a
little bit until they're, are a little bit dry. And then adding more color in
structure to the painting. The Telos is a crucial
part of the painting of the nibs because
this is, this part. Give the leaves that structure. So apply darker touches on
the sides of the leaves. And then wait until
it is almost the die. And with the darker yellow, you can add the lines
inside the leaves. It is a layer process. So try to keep time
between in the paintings. So as you can see here, these are almost dry. So I am adding the lines, feeds on those that
are almost dry. And letting the ones
that I paint the last. Then adding more lines. And this is the first part
of this legend in process. In the next video, we are, we are going to be
adding more details. They can get off the finishing. But for these lemons and
branches and leaves. So I will see you
in the next video.
7. Details: Now my painting is
completely dry and I went to add some details. I will go through the whole painting with
my brush and adding some new touches with color
first and then adding water. I'm moving the
watercolors around. So in mixed with
the dry painting. And you know what the color, when do you use water? It reactivates the pigments, so be careful of not
use too much water. But if you do, then
wait on the list is dry again and then
proceed again. I will add some greens
here and there to pop, to make it pop a little bit. And correct and add more
vibrancy to the painting. So it looks nicer using the glaze technique as we learned in my previous class. So the color looks
seamless and cohesive. I will keep adding a little
bit of touches with my brush, moving the watercolors
and making it smoother. You can do the same. If you think you're
painting needs it. Now I will touch the leaves with a little bit
of yellow lemon, in this case, the lighter
one I have in my palette. This is to make
the leaves pop up. As to we will notice the lines that we painted
in the previous video. Maybe we'll fade, but that is no problem because
we are going to be adding the outlining very soon when the painting
is completely dry. Now, let's have some fun. I will be adding some splashes around the painting to make it pop a little bit and give it a little more of playfulness. And that is always a good touch. Hybrid, reducing the yellows
and the greens altogether. A sprinkle a little
bit here and there, or painting looks pretty. I will see you in
the next video.
8. Outlining: Our painting is
completely dry and now we are going to be
adding some outlining. And for that, I would be
using a very fine brush. This is a number one, barely find deep in
with my darker green, I will be outlining. That leaves very carefully, adding the details
the leaf needs. Ms. You can see it is looking
pretty nice, pretty loose. And that is what we wanted. You can follow me on this labor essay outline or leaves or branches, lemons. Because this is a real time BB. So you can paint with me. If you are not. So if you don't have a
brush control, you can. In this case, you can use a brush pen or a fine
liner in color green. And that will make your
work easier and enjoyable. But if you want to practice, then I encourage
you to use a brush. You will practice and
learn along the way. And thus is the most
important part. Will be outlining all the
leaves and the branches. The lemon doesn't meet any outlining because
they are perfect. And you can interchange
on the lines. So they look natural
more or less. For the branches. Here, you can then
shape the branches. And they looks really nice. So now our painting
is craving again, we are adding our signature. This is a very important part
in empty creative process. Use a fine liner. What proof? And bright your name
under paintings. And this is how our
branch and what the watercolor
lemons looks like. I hope you do enjoy
this process. And I will see you in
the next video to talk about the class project
for this class. See you in the next video.
9. Class project: Congratulations the
class and I can wait to see what you create
for your class project. It is very easy to
share with us in the class project section for
this class, your process, your color charts, your
materials, your final pieces, and wherever you want
to tell you, we ask, using your own creativity, I can't wait to see your lemons. And I will say in
the next video.
10. Thank you: Thank you so much
for taking my class. I hope you enjoyed this
class and do good. The summit binds with the fresh lemons and then the default course
we created together. And I can wait to see dude class project to
get you a lovely review. So if you are interested in another type of fruit like what, and then watch my last class. Preview this one, and you will
learn to paint beautiful, wet and wet on slices. In the next class, I will be teaching you how
to add a wash background, lemons, and do well. Learn how beautiful it is to create contrast in
your paintings. I think way to do that and to bring to your
painting to another level. So you are very welcome to joining me here
and I sketched head, follow me in the BOD will
find the link to follow me. Or you can follow me on Instagram and we can check
the answer together. Thank you so much again
for taking my class and I hope to see you in
my other classes. They can keep creating and I will see you
in my next class. Bye bye.
 Artjourneywithme Heidi, ARTIST AND FACILITATOR