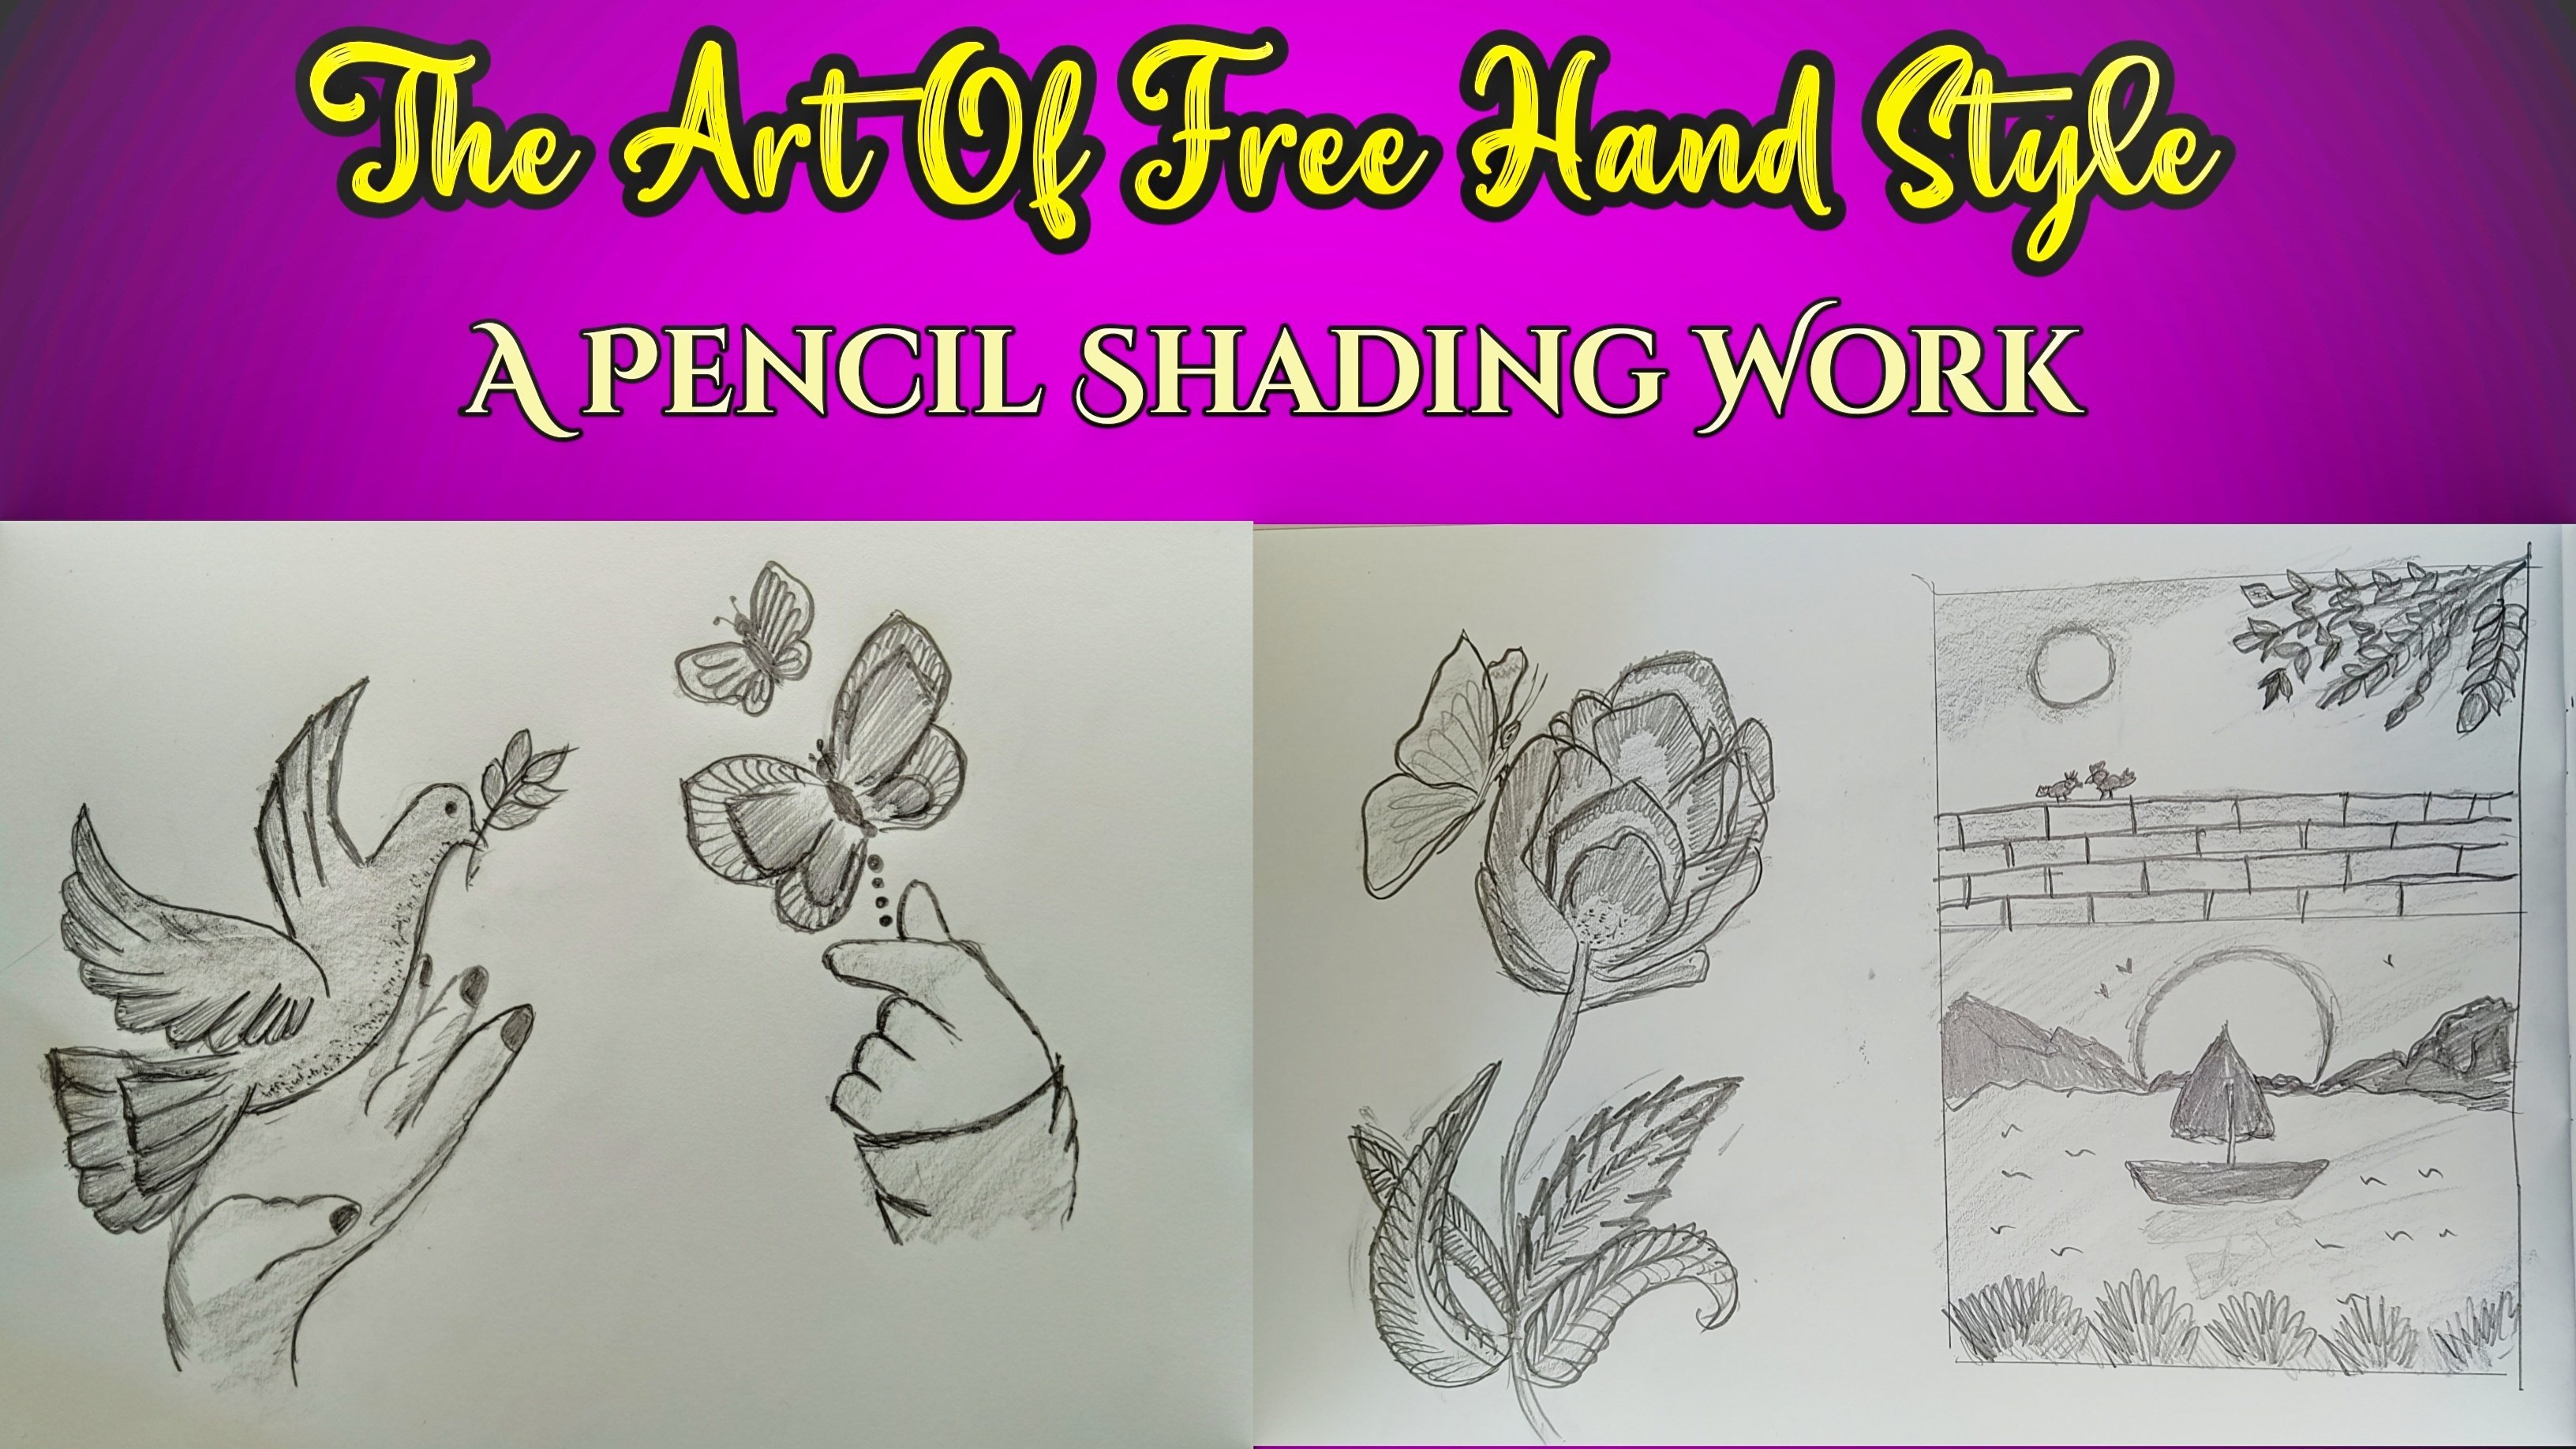
Transcripts
1. Introduction: Hello guys. This is a bull, has a giant full
Welcome to my class. I will teach you on
the topic and add for the beginner students
who can draw flowers from the tip
of your fingers. I love art and drawing,
and I think so. Do you love art and drawing? If you love towards the art and drawing made by professionals. But seems complicated
while drawing. Don't worry, I will
teach you how to draw freehand style of
different types of flowers, which will make you
feel professional. Add some edge ten liters or the magic which gave
to our soul while art. If you want some
details to your soul, then here you can dislodge
will definitely be benefit for the business or the
kids who are fond of liters and art without any due. Let us start our class. In this last topic,
which will be covered. Our materials required
for that drawing, pencil, sketch of different
types of flowers, outlining of the
flowers with liters, filling colors to the
flower with liters. So let's get started. My thing.
2. Materials Required : Let us first know what are
the materials required to draw different types
of flowers in every hand. Static. Artists use lots of instruments to build a
perfect, beautiful portrait. But I will teach you the basic requirements materials which we will use for our
class in the drawings. The basic element
material, expensive. Fancy, is the basic
enmeshed required meant as this help us to draw in a
more comfortable manner. The good part of benzene is we get erased easily by eraser. So the human mind have
an option in their mind that doesn't fail if
something has went wrong. Second item we need
is a rather old item, is a book or A4 sheet or
a cardboard or paper. As per your preference
for enlarged thing required is some glitter to enhance the
beauty of flowers.
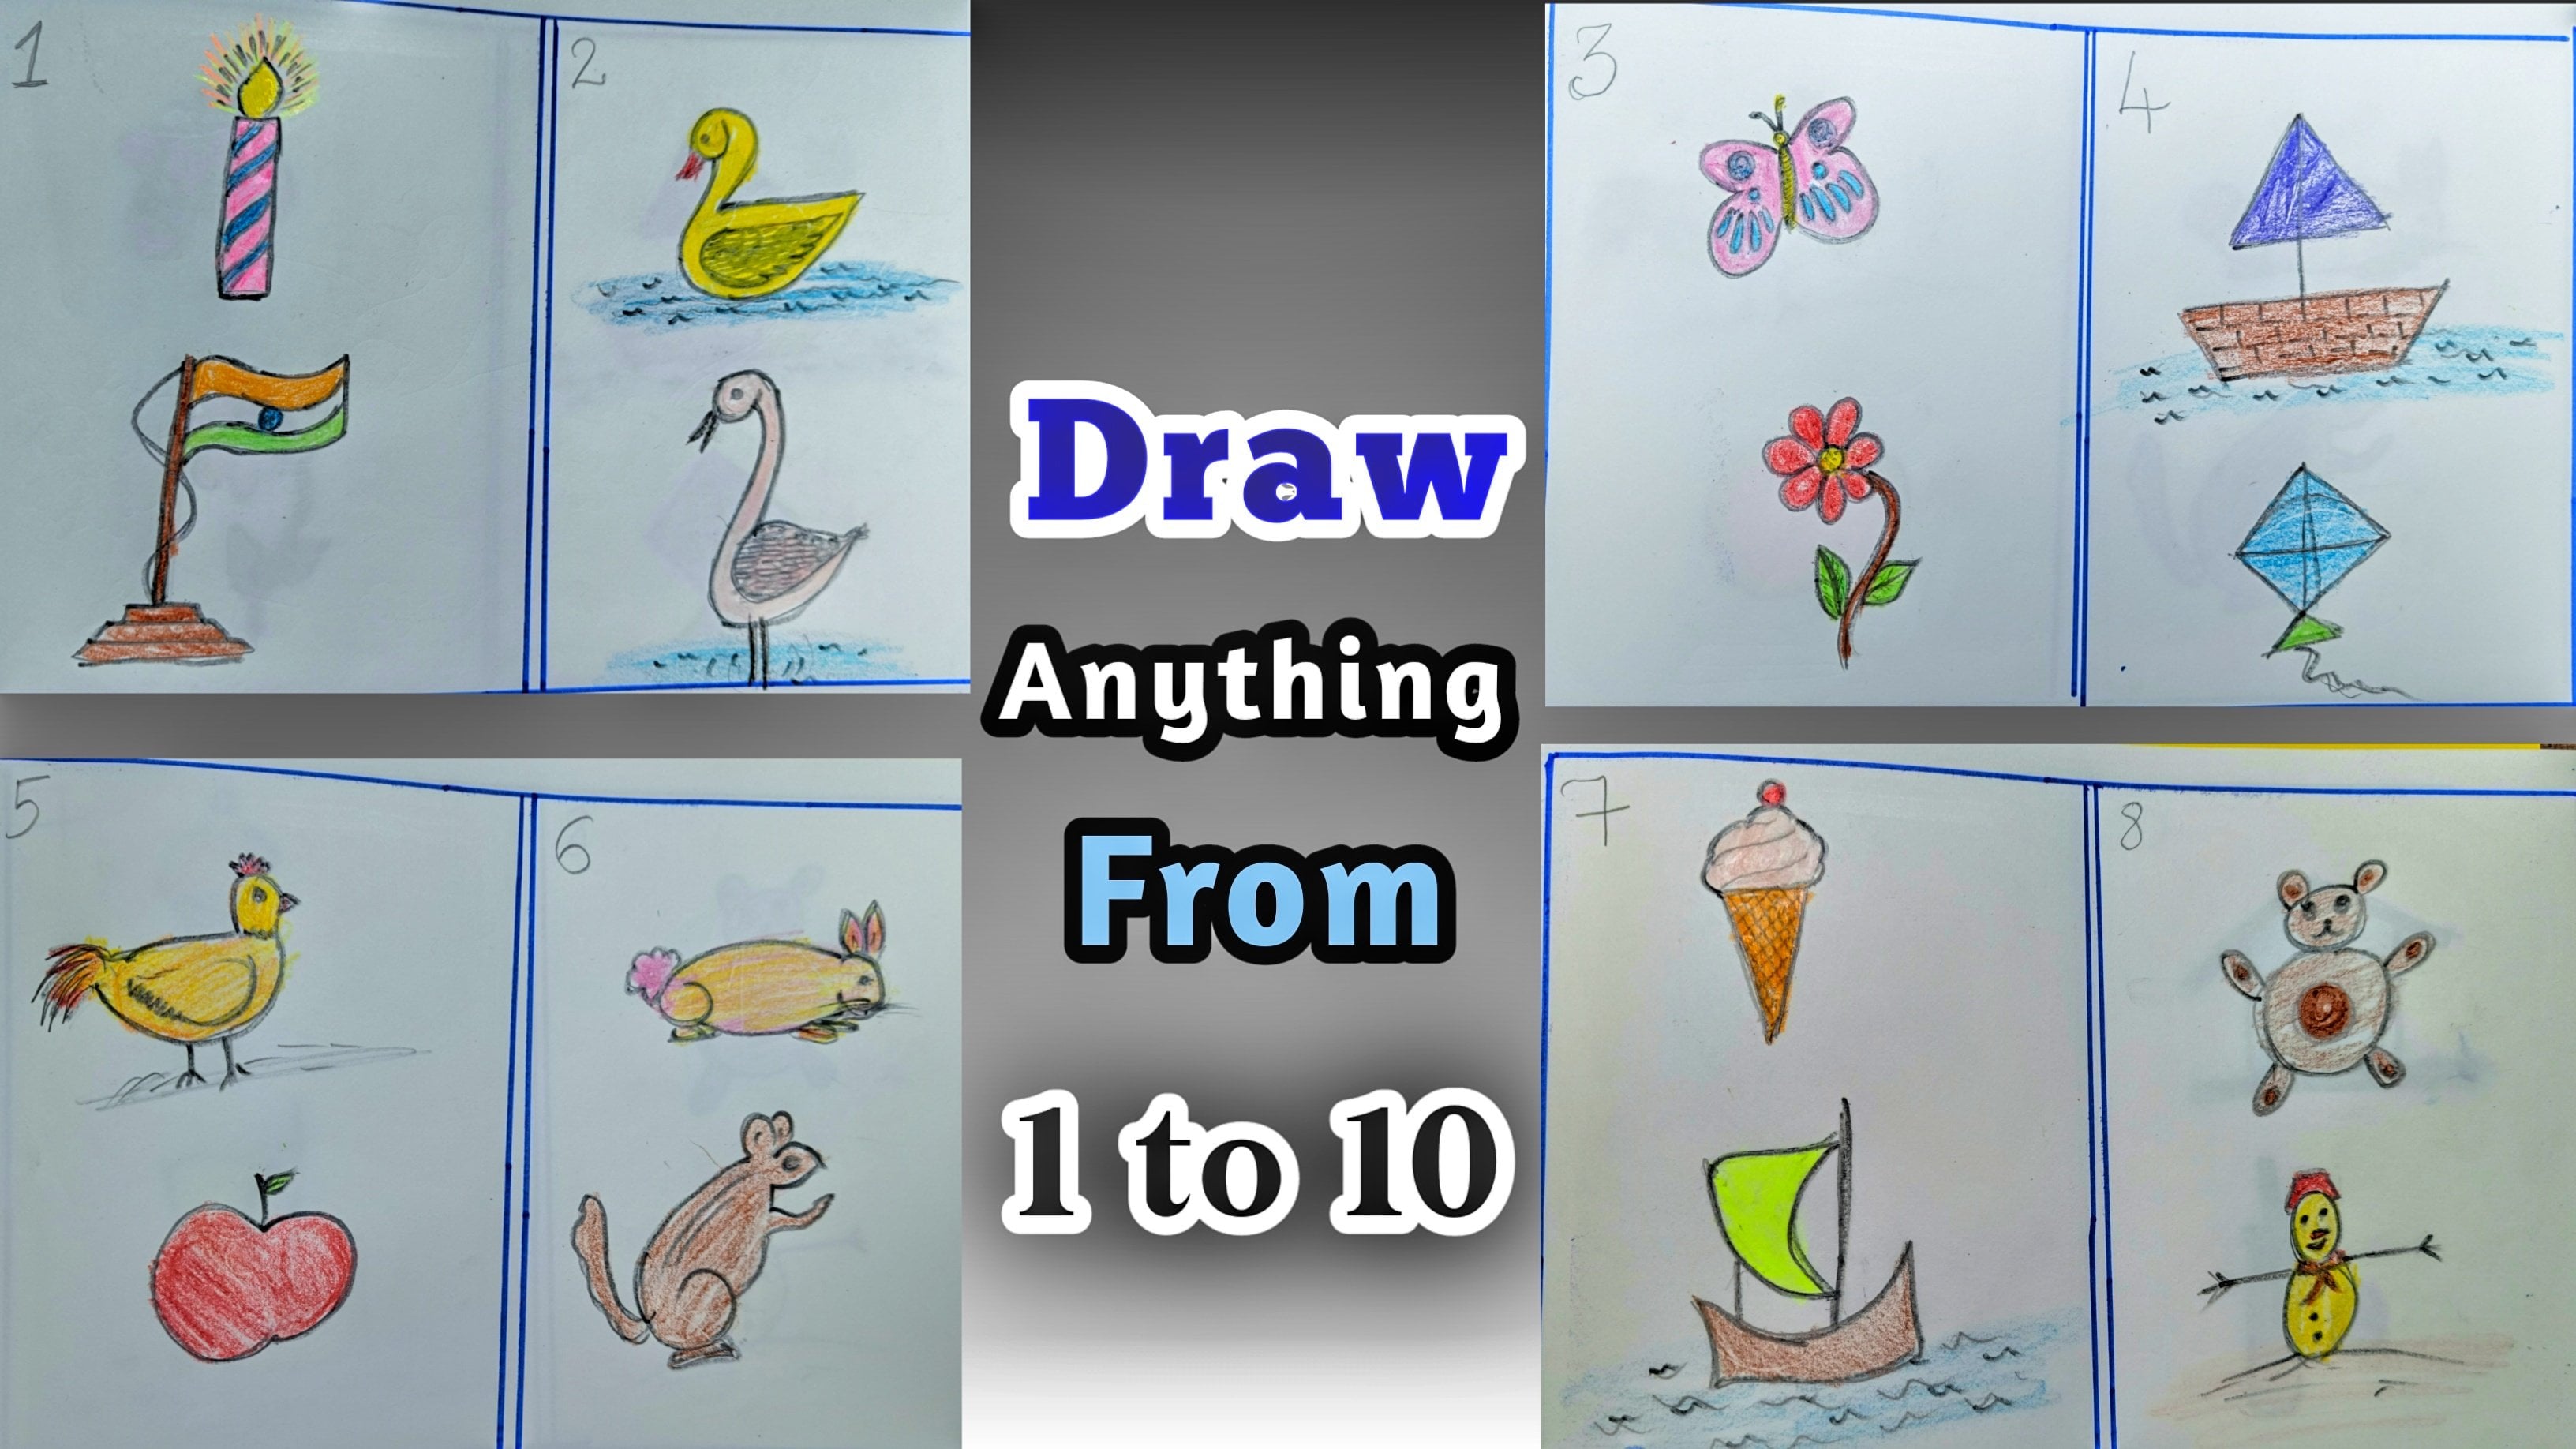
3. Pencil sketch and Outlining of the flowers: Now, let us start how to create different
types of flowers. Now, put this small circle. For the small circle, semi hard edge shape, better. Continue with the semi heart-shaped petals
around the circle. Add a thin stem at the end. Similarly, let us try for
another different flower. After the completion
of the flower. Let's try another one. Here. Draw a circle. Now. Try to put a semi reshaped
loud like structure. Continuing with the three shape, loud like structure around the circle to complete a flower. Similarly added hinge them
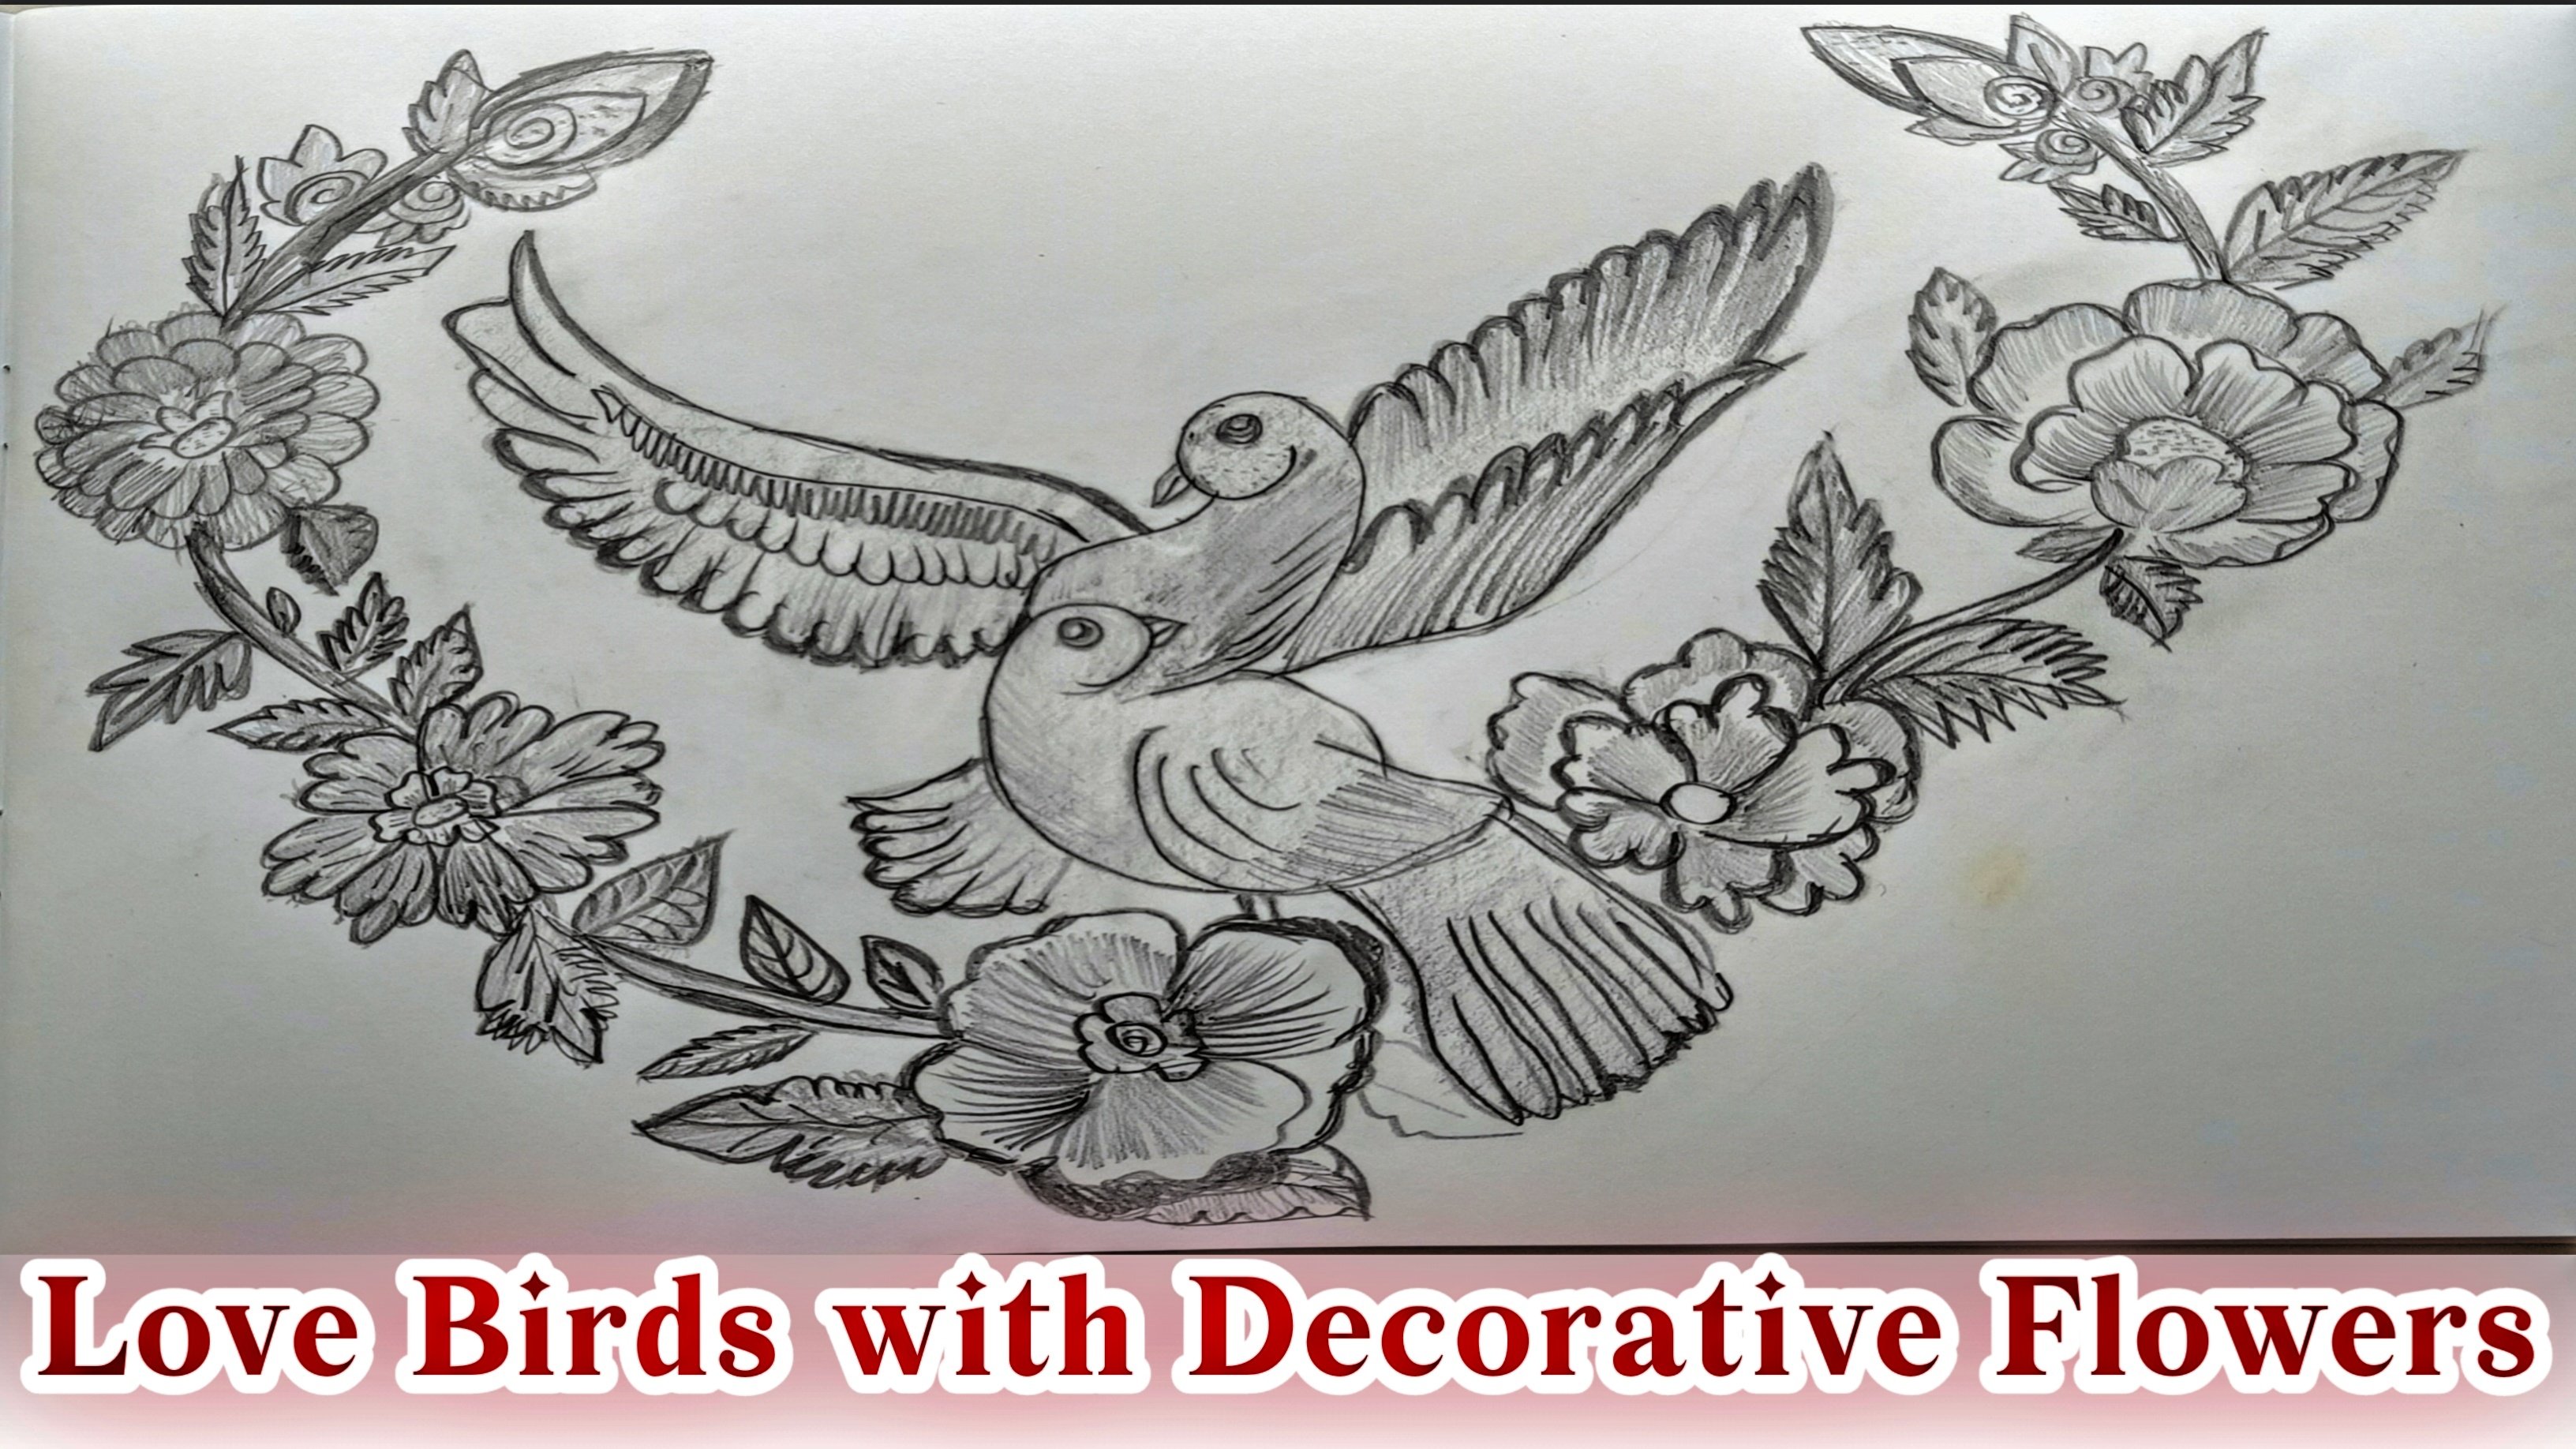
at the end of the flower. Let us now try by drying
for the bigger flowers. A beautiful rose. Draw
a light green shape at the center that add some and practice
feature by shaping in the form of beautiful picture
of a free hand circle, which gave us
unsymmetrical shape, our flowers for some
natural illustrations. In a similar way. I could
draw a small circle. End leaves. For that, give a free
hand shape, et al. And has the feature, we're adding steel more petals. Keep it simple and try to
draw a free hand style. As if Brian is at the
tip of your finger. Now added, things tend to
eat more into the floor. Let us try lotus petals at the adjusted inside
of the main flower. Shape of a leaf at the bottom. Right, to modify it. If there is some irregularities, right, to give beautifully shaped so that it looks perfect. What else plays an important
role while drawing the load? Now add additional lift. At the dawn of the flower, I did pinched him at the
bottom of the lotus. Now, let us go to
the next floor. Drawing a circle in
the center that had small semicircle shifts around the circle after its completion of the semicircle petals
from the first round. Let us go to the second round. Here tried to build semicircle shaped petals
bigger than the French crown. After completion of the first, second semicircle shaped petals, which are of the second
run of the flower. Then try to add another
bigger than that of semicircle petals to give a
beautiful shape of a flower. Add a, pinch them at the
bottom of the flower. Finally, let us move
to the last floor. In this try to build and free hand structure of the flower. The petals with different
shapes of your choice. As they have shaped
hearted petal or the mountain shaped petals
are in asymmetric, ship it as friends. We have completed until sketch of the different
types of flowers. Pleasant and easy one. Yes. You and I do feel
it was very easy. Now, let us start with outlining the different types
of flowers in liters. Now, outlined the flowers
with the help of liters. I am using a black color
to outline the flower. I'll blend in plays
an important role as it fits based of destructure. Outlining helps in shaping
the figure in a perfection. Outlined in private as an overview of the
guide for the drawing. Isn't it looking beautiful? Hello, really, you all may be wondering how come you have
become and professional. And to some extent,
in my short time. Ureters, there's
always this hole. As you can see. I am outlining the flower
with the black color. You can also try with
a different color. As farrier preference. I use black color
because it gives them more illustration
feature between in filling up the colors. Dry shaping the outline of later with the help of the
pencil, sketch out length. This will become a
guide for outlining the glitter died for
the base structure. Then since sketch is
always the preferred one. Benton sketch helpers
to reframe the sketch. There are any mistakes, whereas liters cannot be
redrawn as they are permanent.
4. Filling colours to the flowers with glitters : Now let us start the filling of the colors for the
beautiful flowers. So first, I'm using a green color to create
the stem of the leaf. Usually stems in a green
color and also the leaves. So try to share the green
color in a such a way that it computes the look
of the flower stem by filling in a delicate way. I'm sure when you try
this feeling that liters, it will give a lot of joy. You can see here I am
shading in green color to the leaves where it comes
from upwards to downwards. Now, let us go to the flowers. Now let us share the flower. I'm using an orange color
for shedding. Make note. Whenever you are shedding, try to complete
the whole process. Try to make upwards
and downwards. I'll be sharing so that it covers all areas of the flower. Is intake look in
a wonderful one. Detonation. Direct color. Always remember, try to shade whether from the
upwards to downwards, from the downwards to the top so that you can cover the
whole part of the flower. And also whenever
there are some gaps, you can fill it out. I'm trying to outline the
future again with the help of black liters so that it gives the perfect
shape for the flower. Go to the next node. Here. I'm using a pink color. There. I am shading in a similar way upwards
to the bottom. Also, you can try it from
the bottom to the top. Similarly, write the
outline again with the help of the black liters to make
it look extraordinary, beautiful as it
highlights the drawing. Similarly, I'm trying for the next flower where I'm shading with the help of orange, you can choose your
colors, has a preference. Whenever we imagined rows, it always comes in our
mind with the red color. Here. Make a note that
you need to cover up all the rows areas in such a way that none of the park
will remain an unshared. Liters always give at real love, enjoyment to the
mind and the soul. So it is giving the
same for me now. I wish you all experienced that same while lightening
the flowers. Also make a note I'm
still using and down to, up or up to Don moment also
tried to outline the flower, the rows foreign
character illustration. When do the next one? I'm shading for the next flower, for the inside part, with, I'm giving a pink color
shading from downwards. Here. You can see
that I have been shaded to the second
petals differently. The second drawn other
petals are shaded as lines going from
upwards to downwards. Similarly, let us go to the
Lotus and shading them mean petal with the leaf shaped by going up to down and
don't do upward. While filling the
gaps of the flower. This side of the load
has to be shared at it. From the right side or
the right side done? Yes. Right top to the
right, down there. Next comes the left part
of the lotus petals. Let us check, go from the
left top to the left hand. Similarly, sharing the
left part from the leftOp to the left and the leaves to be shared as a green always. Similarly, as it free hand style shared the rest of the flower. The last flower will be
shaded very delicately, values in free hand style. So here we finished the completion of the
beautiful flowers. I hope you have enjoyed the class and
learned a bit of it.
 Abul Hassan