Transcripts
1. Introduction: Hello guys. This is Apple has an AGI
full Welcome to my class. I will teach you on
the topic and art for the beginner students
who can enjoy the art of drawing with just
minimum materials and resources required only for
materials such as pencil, eraser, sharpener,
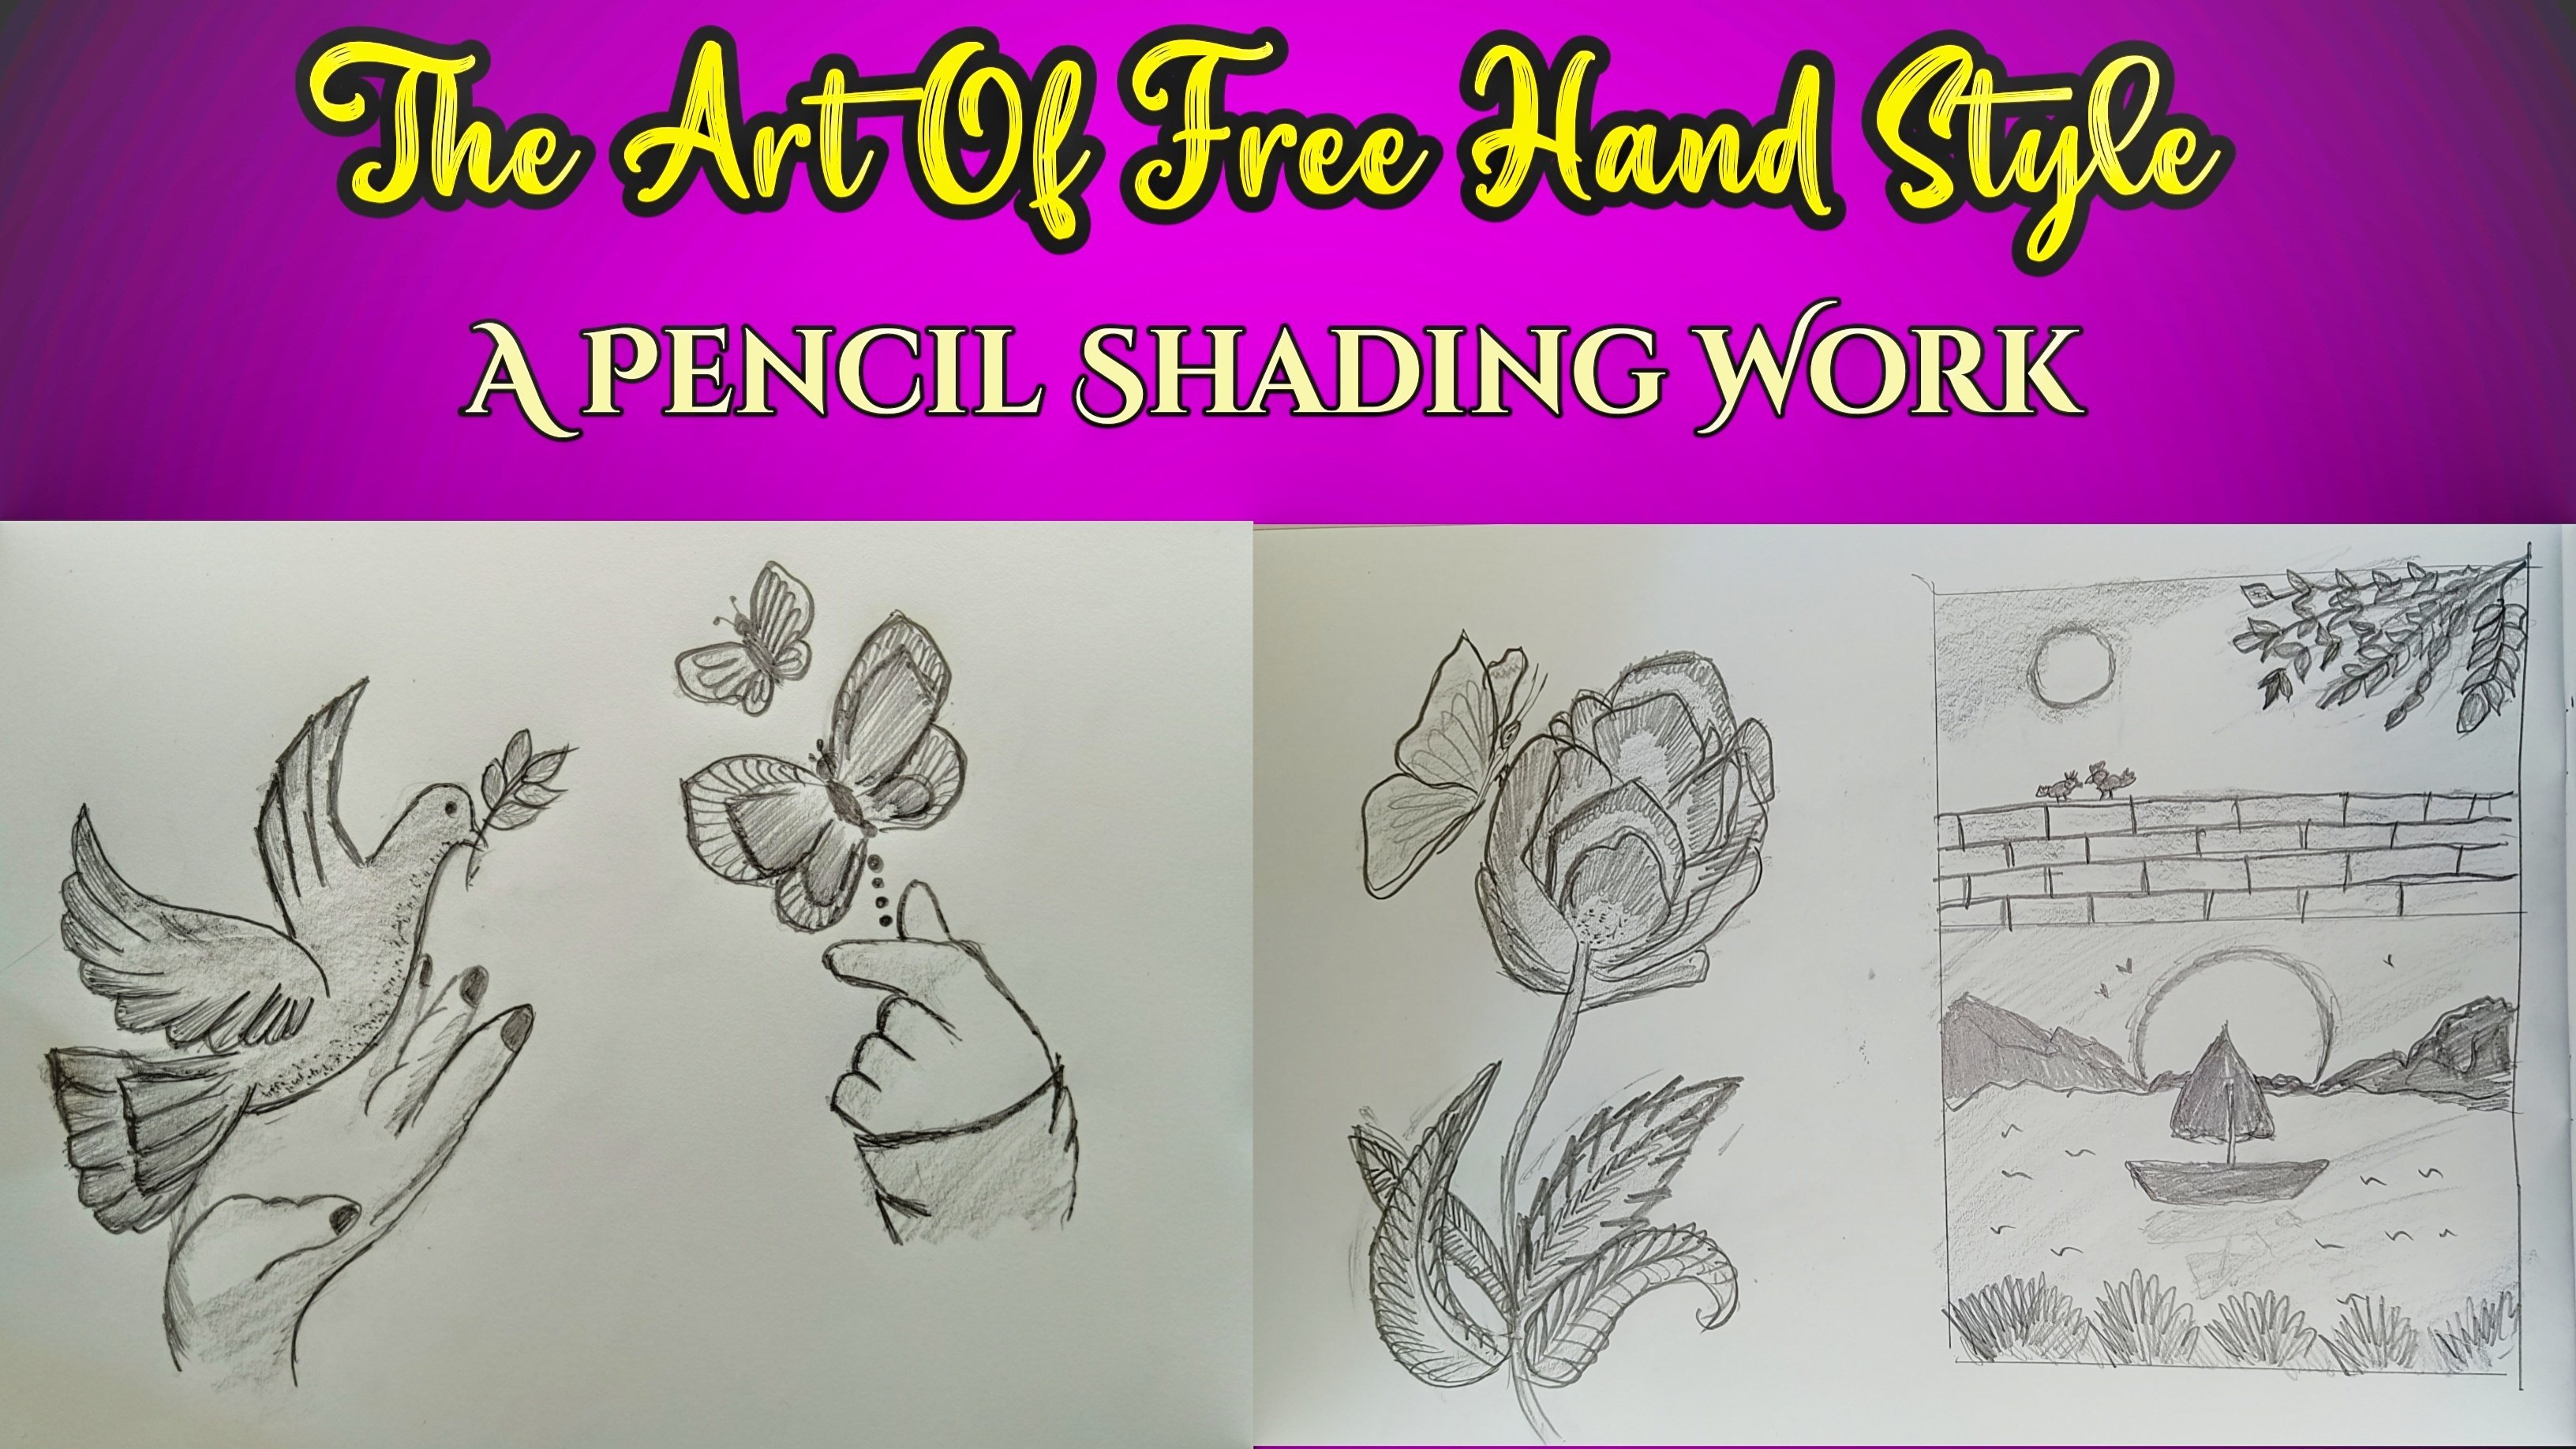
and drawing sheet. Pencil shading. A
technique where you can work that run according to
your facts and opinions. Pencil shading is a
conventional method which will help us to enjoy the art with flourish takes performance
in our drawing sheet. When we start our art, we inspire to make the
best out of our nature. Loud birds are one
of the best in the nature for their
beauty and prosperity. Leaving, considering this,
let us draw the love birds, which are featured in
a beautiful form with the help of benzyl and
shading them with the pencil. Brian and add creates wonder
for an artist's imagination. It summarize the art
and artists around. If you want to learn and enjoy your inner soul for
practicing the art, then here you come. This class will benefit
for the beginners, are the kids who are fond
of art without any due. Let us start our class. In this class that topics
which will be covered, our pencil sketch
of the drawing, pencil shading of the bird, pencil shading of
decorated flowers. So come, let's get started.
2. Pencil Sketch Of The Drawing: Let us now start with the pencil drawing of
a pencil shading work. Here we are considering
allow bird, which are sitting
one on the another. So first, start
with the male bird. So here I am drawing the
face of the male bird. After drawing the head. Now, let us draw the beak
of the bird in that big. Now let us add the small lane. After completion of db. Now, let us draw the body
posture of the male bird. If you had made any mistake, you can erase with
the help of eraser. Now, let us continue to draw the body posture
of the male bird. Now, let us draw the
eye of the male bird. So draw a small circle
to make the eye of the main bird and add
a small line in it. And also draw a small
eyelashes in it. After drawing the eye and
the body of the male bird. Now let us draw the female bird. So first, let us draw the
phase of the female bird. Here. I'm just adding a line
to the male bird to make the neck after drying the face of the female bird. Now, let us draw the
body of the female bird, draw a curve line to make
the body of the female bird. Now let us draw the upper body female bird here also try to
draw a curve line. So now let us join the
upper body and lower body. Now let us draw a small eye in the face
of the female bird. Draw a small circle and add a small lines in it to make
the height of a male bird. So now let us draw the
beak of the female bird. Try to draw a rectangle
shape which makes the beat of the female bird
and draw a small line. The male bird, I have not
drawn the beak properly. So I will add is and try
to draw the beak properly. So now let us draw the beak
of the male bird properly. Tried to draw a
rectangle shape and just add a small line in it, which makes the beak
of the male bird. After completion of the
body of the female bird. Now, let us draw the
wings of the female bird. Here. Try to draw a line in the
body of the female bird, which makes the ring
of the female bird. So now let us draw a small lines in the
savings of the female bird. So here we have completed the
wings of the female bird. Now, let us draw the
wings of the male bird. Here. Try to draw a small semi, have curves to make the wings of the word draw continuously
one after the, another. Right? Drying the
wings of the female, but try to draw the curve, which increase as it go on. Now, let us draw the, another wing to the male bird. Here also try to draw the semi. Have the male bird. Now, John diving to the
body of the male bird. So here we have completed the right part of the
wing of the male bird. After completion of the
right-wing part of the male bird. Now, let us move to the
left-wing part of the male, but here also trying to
draw the ring for the male. Well, so here, first I'm drawing a curved line to the left
side part of the male bird. Now I'm just adding a
spoiled curved lanes, one after the annotator, which make the wing
for the male bird. Slowly try to join. They went to the body
of the mail word. So here we have
completed to draw the outline of the
wings of the male bird. So now let us add the gesture inside the
wings of the male bird. So fresh draw a line, then had a small
semi half's journey, that line one after another. So here I'm adding
another getchar instead of the
veins of the bird. So here we have completed
the wings of the male bird. Now, let us draw the
tail of the male bird. Here. Try to draw a rectangle shape, whether life structure one after another to make the
tail of the male bird. So here we have completed to draw the tail
of the male bird. After completion of
detail of the male bird. Now, let us move to
the female bird. Here also really draw
detail to the female bird. So first, let us draw two parallel line facing
to each other in debt. Trying to draw a
curved line which give the ledge stretcher
to the female bird. So here we have completed to draw the tail of
the female bird. So now let us draw the
legs of the female. So here I'm drawing the small
legs to the female bird. Try to draw the two
small lines and add a straight line to give
life to the female bird. So here we have completed
drawing out the female bird. So as you can see, I have not drawn the wings
of the male bird properly. So I will erase with the help of eraser and try
to draw once again. So now let us draw a perfect ring structure
to the male bird. So you can use it
is to erase if you have made any mistake and
try to draw it once again. So here we have completed the art line of the male
and the female bird. After completion
of the outlining of the male and the female bird. Now, let us draw the flowers. To draw the flower, we can start with the
middle part of the flower. After completion of the
middle part, the flower. Now let us give some
petals around it. So try to draw around it. As you can see, I'm drawing
a head on the flower. After drying bed
around the flower. Now, I'm giving some
more feature to it. I'm drawing some lines around
the petals of the flower. Here we have completed the
drawing of the flower. Now let's draw the layers to it. So draw a leaf like structure. They sell the flour and
try to add a line in it. So now let us draw
the, another leaf. Here. I'm drying another
leaf below the flower. So now let us draw another leaf. So here I'm drawing a small
leaf beside the flower. So here we have completed the drawing of our first
flower with the leaf. Now let us move to
the, another flower. Now let us draw the,
another flower. So fudge, try to
draw a small circle, then try to add some more petals to the
flowers one-by-one. As you can see here, I'm drawing the petals in the different shape as compared
to the previous flower. So you can alter, draw the petals in
a different shape. Now let us give to it. So try to draw two parallel lines which are facing opposite to each other. So after completion
of the flower, now, let us give some
extra feature to it. So here I'm trying to draw some more petals
around the flower. So here we have completed
the drying of the flower. Now let us give some life to it. So now let us draw the leaf. So here I am trying to
draw the leaf surface, try to draw a line and
then add a small curve. Then the top part of the leaf. No, added middle lane between the leaf will complete
the leaf structure. So now, let us draw another
leaf to the flower. Here I'll try to
draw the curve line, then draw the top part of the leaf by
draining will decide. So here we have completed the, another flower with
the two leaves. So now let us draw
the, another flower. So fudge, try to
draw a small petal, then add one more
petal upon the flower. Continued to add another Bechtel upon the flower one by one. So here you can see, I'm trying to draw the
flower in a different form. As you can see, I have drawn the flower in different
shape and structure. So you can also
draw the flower in different shape or structure
as per your preference. So here I only just trying to add a small leaves
to that flower. So here we have completed the, another flower with
the two lists. So now let us draw
some more flowers. So first, let us draw the
stem of the flower by drawing a straight line to add another line so that it completes
the stem of the flower. So first, let us draw the circle of the
flower to that circle. Now, let us give
some petals to it. So here I'm trying to give a different shape
petal. As you can see. After completion of the flower. Now let us give leaves to it. So now let us draw the leaves, that stem of the flower. After completion of the leaf. Now, let us draw the, another leaf to the
stem of the flower. Now let us draw the, another leaf to the flower. So here also draw
the curved line, then join the boat deadlines. So now add a middle line to
add to complete the list. So here we have completed the, another flower with the leaf. So now let us give
leaf to this flower. So here I'm trying to draw the two smaller lists
to that flower. So here we have completed
the right part, alpha drying with three
flowers and many lists. So now let us move to the
left part of our drawing. So here also we are going to draw the
bunch of the flower. So first, let us draw
the stem of the flower. So draw two parallel lines
which are facing each other, which make the stem
of the flower. After drying this temp. Now let us draw the flower. Try to draw a small circle, then add the petals around the flower in
a different shape. So as you can see, I am just trying to
draw the petals around the flower one-by-one
to complete the flower. So here we have completed
the drawing of the flower. So now let us draw the
leaves to that flower. So now let us draw the leaf, that flower from the stem. So here we have completed the
drawing. I've heard leaf. So now let us draw the, another list besides
the stem of the flower. So here also try to draw
delays in their day strength, texture, or the shape. So now we have completed the
drawing of the two leaf. So now let us draw another leaf to the
stem of the flower. So here I'm adding some more leaf to the
stem of the flower. So here we have completed the drawing of the
flower and delays. So now let us draw
some more flowers. So first, let us draw
the stem of the flower. Try to draw straight line
which made stem of the flower. Now, let us add leaves to it. So here I'm drawing leaf
to the stem of the flower. After completion of the leaf. Now, let us draw
the flower to it. So first, let us draw this small circle of
the flower to debt. Try to add the petals around it. After completion of the
first layer of the petal. Now, let us draw some more
petals around the flower. So here I'm trying to add some more petals
upon the flower. So here we have
completed the flower. So now let us draw the
leaves. So dead flower. Here, I'm drawing the
leaves to the flower. Now, I'm drawing
some more layers to the left side of
the flower stem. After completion of the leaf. Now let us draw the, another leaf to that stamp. So here we have completed the drying of
the, another flower. So now let us move
to the next flower. So now first, let
us draw the stem of the flower after
drying this temp. Now, let us draw this model. The flower petal. Add some more petals
to that flower. After completion of the flower. Now, let us give leaves to
this time of the flower. So here also, I'm drying
the lift to the flower. Now, let us add another
leaf to the flower. After drying the list. Now, let us draw small flowers
around the big flower. Here. I'm just trying to
draw a small flowers. I bought the leaves. So now let us draw
the other flower. So here we have completed
the outlining of the male and the female bird with the flowers and the leaves.
3. Pencil Shading Of The Bird: After completion
of the outlining of the birds and flowers. Now, let us move on to shading of the male
and the female bird. So first, let us start the
shading of the male bird. As you can see, I am shading the body
of the male bird. To share the male bird. Use the pen tool from
left to right, moment. Tried to shade our cover, the whole body of a female bird. After completion
of the body area. Now, let us move to the
face of the male bird. So first, outline the face
with the help of benzyl. Then try to shed the vase with the help of
tilting the pencil. Here, they complete the
shedding of the face area. After completion
of the face area. Now, let us give outline to the body and the face
of the male bird. Now like test outline the eye, then the beak of the male bird. So here we complete
the outlining and shedding of the face and
the body of the male bird. So now let us move
to the female bird. So trying to shape the
body of the female bird. After completion of the body. Now, let us share the face of the female bird. Now. Shade the I-bar of
the female bird. Now the pencil and try to shade the face and the
body of the female bird. After completion of the body, now let us share the
wings of the female bird. So here we complete the shedding of the
body of the female. But now let us give some dark offline to the
pins of the female bird. After completion of diving. Now, let us give dark outline to the body
of the female bird. Also try to cover the face, the eye, and the beak
of the female bird. After completion of the
body of the female word. Now, let us give the shading to detail the female bird
by tilting the pencil. So here we have finished
the shedding of the tail. Now let us give the dark outline to detail
of the female bird. So here we have finished the
shedding of the female bird. Now, let us move to the
tail of the male bird. Here also the pencil and try to give shading to
detail of the female bird. After finishing the
shedding of the male bird, now let us give the dark outline
to the tail of the male. But after finishing the tail, now, let us move to the
wings of the male bird. To shade the wings
of the male bird. Tried to kill depend tail end. Hey, been shedding from the
left to right momentum. So here we have finished the
shedding of the right wing. So now let us give outline to
the wings of the male bird. As you can see, I am giving the dark outline to the veins are very male bird. By giving the dark outlining, the drawing looks much more
attractive and beautiful. After finishing the outlining
of the top part ring. Now, let us give outlining
today, Dawn bartering. Try to give outlining to
the male bird slowly. You can compare the
right-wing and left-wing. Here you can see the
difference between both Devin has we gave
outlining to the right wing, which lives much
more attractive and beautiful as compare
to the left-wing. So outlining plays
an important role. Which healthy drawing to
look more attractive. So here we are almost to finish the outlining
of the day doing. Now, let us give the shading to the down
part of the right wing. Now, let us keep some dark
shading guide to hold a pencil in estate
way and try to shed the veins in their
little darker way. By giving shading like this that Ryan looks much
more beautiful. So here we have
finished the outlining and the shedding of the
right wing of the male bird. Now, let us move to the
left wing of the male bird. So here also, I am first Hilton dependency
and try to give sharing. The male birds swing. So first gave the shading
in a lighter way. Now let's shade the
top part of the wing. After completion of the shading. Now, let us give dark outline to the
wings of the male bird. So first I am outlining
the top part doing. After completion of
the top part doing. Now, let us move further. Try to shed all the
parts of the rings. So after completion of
the outlining, now, let us give some dark
outline to the wings of the bird. Here. I'm trying to give the dark outline to
the wings of the word. Here. We are almost going to
finish the shading part of the wings after finishing the heart lining of the order. But now let us art line the inner part of the
wings of the male bird. Try to give outline to the feather of the
male bird slowly. Here, iron giving outlining to the additional features
which I have drawn. Here. We have completed the outlining and shedding of the male bird. Here I am giving the dark outline to detail
of the female bird. Now I am giving the
dark outlining, the detail of the male bird. So here we have
completed the outlining and the shading of the
male and the female bird.
4. Pencil Shading Of The Decorative Flowers: After finishing the shading and the outlining of the male
and the female bird. Now, let us give shading
to the bunch of flowers. So here I am first
shading the flower, which is below the two birds. So now let us share the
petals of the flowers. Try to share the effect
by drawing lines in it. So now let's shade
the, another petal. As you can see, and judge, drawing this straight line
in the middle of the flower. So now let us move to the, another petal here also try to draw a straight line in it. After giving shading
inside the flower. Now, let us give
outline to the flower. So first I am giving outline
to the petals of the flower. Now let us give outlining
to the, another petal. Right? Outlining the petal. I'm just trying to shed
the battle as well. As you can see.
I'm just trying to give the dark outline
to the petals. So now I am shading the list. After shedding the list. Now let us continue
with the Beatles. Now let us give outline
inside the petals. So here we have completed the outlining and the
shedding of the flower. Now, we will move
to the next flower. So I am choosing
the right flower. So first, let us start the shading with the
petals of the flower. So now I am shading the petals of the flower
in a straight line. Try to draw the straight line inside the petals of the flower. As you can see, I'm just drawing the lines
inside the petals. Continue to draw the lines inside the petals of the flower. Now, let's shade
the large petal. So here we have completed the
shading inside the petal. Now let us share the
outside of the petal. So what are the outer petals? I'm just giving
the light shading. So here we have completed
the shedding of the flower. Now let us give
outline to the flower. So here I'm giving the dark
outline to the petals. Try to hold the pencil
in a straight way and trying to give
outline to the flower. While outlining the flower, try to give the dark
outline to the flower. The flower look much
more attractive. So now I am sharing the
large petal of the flower. So here we have completed
the outlining of the petal. So now let us outline the
outer part of the petal. Try to give the dark outline to the outer part, the petal. So here we have completed
the outlining of the petal. Now let us move to the list. So first I am giving
the outline to delete. After giving our
lining to the leaf, I'm just shading inside
the list in a lighter way. So here we have finished
the shedding of the leaf. Now let us move to
the another leaf. So first I am shading
inside the leaf. After completion of the
shading inside the leaf, I am outlining the
leaf in a darker way. Now, let us draw a
line between delays. So here we have completed
the shedding of the leaf. Now let us move to
the, another flower. So first I am outlining
the stem of the flower. So now let us give
shedding two delays. So here we have completed
the outlining of the leaf. So now let us move
to the flower. So fast I am shading
inside the flower. Now, let us share
the small petal. Here. I'm trying to draw a
dotted line inside the petal. So now let us now to the
outside of the petal here. And you're trying to draw a straight line one-by-one
inside the better. Now let us move to
the another petal here also try to draw
a straight line in it. So now let us share
the another pattern. So here we have finished
the shedding of the petal. Now let us shade the
outer part of the petal. So here also, I am trying
to shade in a lighter way, try to shade all the
petal inside this flower. As you can see, and giving the lighter shade by
drawing the lines. So here we have
finished the charity. Of the petals. So now let us
give outline to the petals. So first I am outlining the
outer part of the petals. So now let us outline inside
the petals of the flower. Now, let us give
outline to delays. So first I am trying to
shade inside the list, then I am shading
the another list. Now, let us share
the another list. So shared delays in
the lighter wave. After shading delays. Now let us give some beautiful
texture inside the list. As you can see, em dash, grind the lines inside the list. Now, characters give outline to the outer part of the list. So now let us move to
the, another flower. So first I am sharing
the stem of the flower. So now I am going to the leaves. So here I am shading
the list inside. Then I am giving some texture inside the
list by drawing the lines. So here we have finished
the shedding of the leaves. Now let us share the flower art. So now let's shade the, another flower, which is
beside the main flower. Now I'm giving the
art lining to delete. So now let us give outline to delay by drying the
darker outline. Now let us move to
the main flower. So first I'm shading
inside the flower. Now lectin shade inside
the petals of the flower. Try to draw a dotted
line inside the petal. Now lighter shade. The another petal. After completion of the shading. Now let us give
outline to the petal. So give outline petal
in the darker weight. So here we have
completed the outlining and the shading of the right
hand side of the drying. So now let us move to the left
hand side of the drawing. So first, let us
share the leaves. First. Shade inside the leaf. Stayed in a little darker wave after completion of the shading. Now, let us give
outlines to the leaves. So here we have completed
the shedding of the leaf. Now let us move to
the, another flower. So first, here, I am going to share the
list of the flower. So now that does more
to the, another leaf. Trying to shade the live inside. Then give outline to delete. Then try to add a beautiful texture by drying
the lines inside the list. Now, let us move to
the, another leaf. Here. First, I am drawing
the lines inside the leaf. Then I will give shade
around our entire delete. So now let us give shape
to the stem of the flower. Try to give the shade in the
lighter way to this temp. Now, let us give the dark outline to the
stem of the flower. So now let us move to
the, another leaf. First guy to shade in the
lighter wave inside the leaf. Then after completion of the shading to give the
dark outline to the leaf. So here we have
completed the leaf, but now let us
share the flowers. I am shading the flower
in the darker way. Now, let us move to the, another petal here also
try to give shedding the little darker way so that it covers the part
of the flower. Now let us give shading inside. I would first like to draw, outline the flower, then try to give shedding in the flower. So now let us give outlines
to the petals of the flower. Try to give the dark
outline to the battle of the flower that it looks
much more attractive. So here we have completed the outlining and the
shading of the flower. After completion of the shading. Now, let us give some
feature in the flower. So here I'm trying to draw the lines in the
petals of the flower. So now let us move to
the, another flower. I am outlining the list, then shading inside the leaf. So now let us move
to the another list. Right, to give
hotline to the left, then chaired inside the leaf. Now let us move to
the, another leaf. Here. First, I am
shading inside the leaf, then trying to give
outline to the leaf. Now let us move to the another live furnish
shared inside of the leaf. Then try to give
outline the delays. So now that is shared inside
the stem of the flower. So now let us share
the remaining list. After completion of the
shedding of the leaf. Now let us move to the flower. So first, let us share the petals of the
flower one-by-one. Try to shed all the
parameters inside the flower. So here we have completed
the shedding of the petals. So now let us shade
inside the flower. So here we have completed
the shedding of the flowers. So now let us move to
the, another flower. So first I am shading the list. First, I am outlining the leaf, then shading inside the list. So here I am willing to
another leaf surface shared, insert delete, and then try
to give outline to delete. Now, let's shade inside
the stem of the flower. First shade in 30 stamp. Then try to give
outlines to this temp. So here we have completed
the shedding of the leaf. Now let us share the flower. So first, shade
inside the flower, then shade and at the
Battle of the flowers, continue to shed all the
petals of the flowers. After completion of
the flower, right? To give outlines to that flower. As you can see, I am giving the dark
outline to the petals of the flower and putting them
dot inside the flower. So yeah, I am erasing the outer part of the drawing
with the help of eraser. As we draw with the pencil, there will be shaded, which are been spreading
due to our hand movements. So pile drawing and at the
time of pencil shading, there are chances hand would get merged
with the other pins. So in order to erase the shaded
part outside the drawing, let us use the eraser
and try to erase slowly the areas the pencil traces have been spread there. Try to fit the shaded
portion by erasing slowly. Also be good full as
the eraser may also. Here is our drying to try to areas slowly and be
careful while I'm erasing. Once we are done
with the erasing, try to draw the drawings areas which might have been
erased by mistake. So here we have finished the outlining and the
shedding of the flowers. So here we have completed our drying with d2 birds
and decorative flowers.
 Abul Hassan