Transcripts
1. Introduction: Welcome to 3D figure drawing. We're going to start
our journey by learning about the human torso, analyzing the forms,
structure, and anatomy. Our torsos are the
largest mass in our body, and it's complex, dynamic, organic and stretchy,
full of twists and bends, which is very difficult to
draw, especially in 3D. I'm excited to show
you how to deconstruct the human rib cage
and pelvis into simple forms and pinpoint important landmarks that will help you master human anatomy. I'm your instructor failed Lu, I'm a figurative artist and
founder of when Canvas. I've been studying and drawing
figures for over 20 years, learning from master artists and practicing from live models. I'm passionate about
teaching because I love helping my students
achieve their goals. And I believe figure
drawing is one of the fundamental milestones
of learning art. Because when you're able to draw a figure out of your head, you can draw
practically anything. In the next set of lessons, we'll learn how to
visualize, analyze, and construct a human figure using simple and complex forms. This is called
structure drawing. And it'll empower you
to draw figures out of your head with realistic
lighting and shading. Our final project will be
to visualize and complete a structure drawing of a person wearing very bulky
clothing step-by-step. If you're not as
confident withdrawing forms or struggled
with proportions, I recommend starting
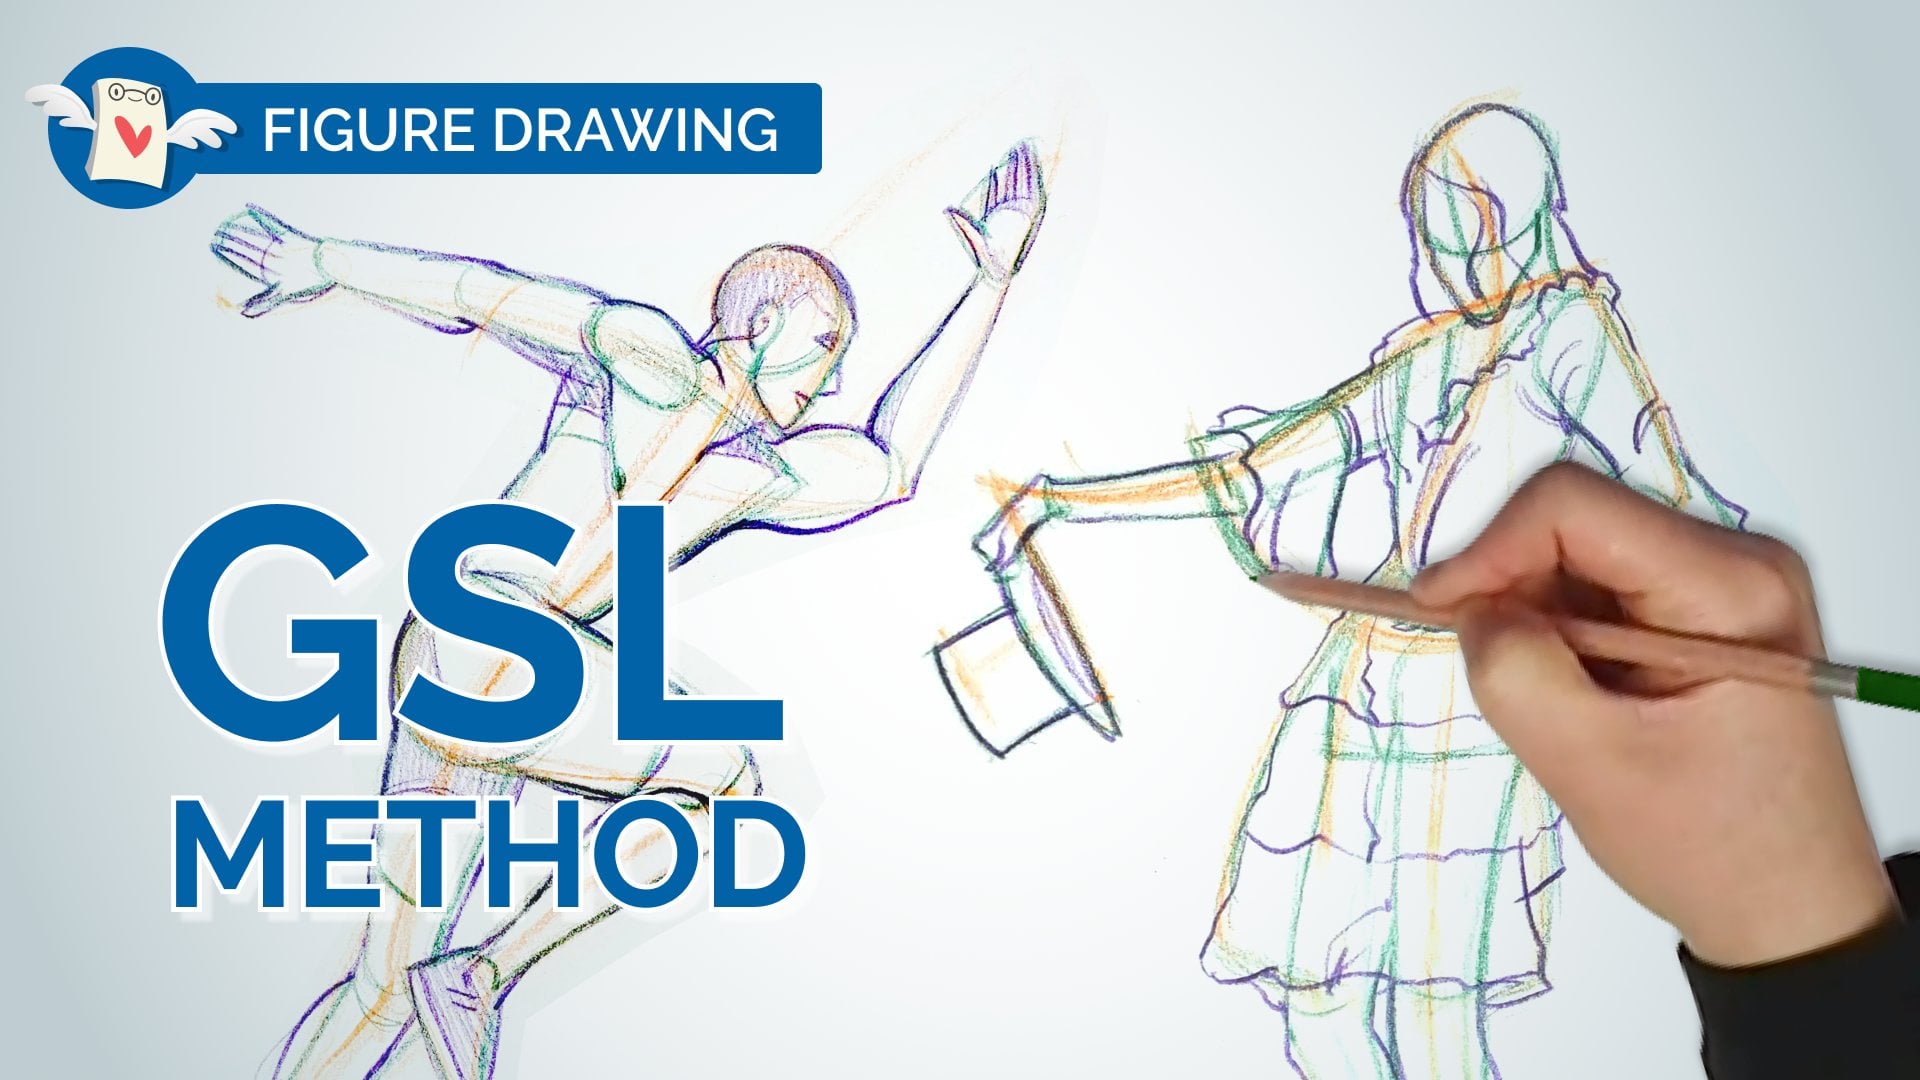
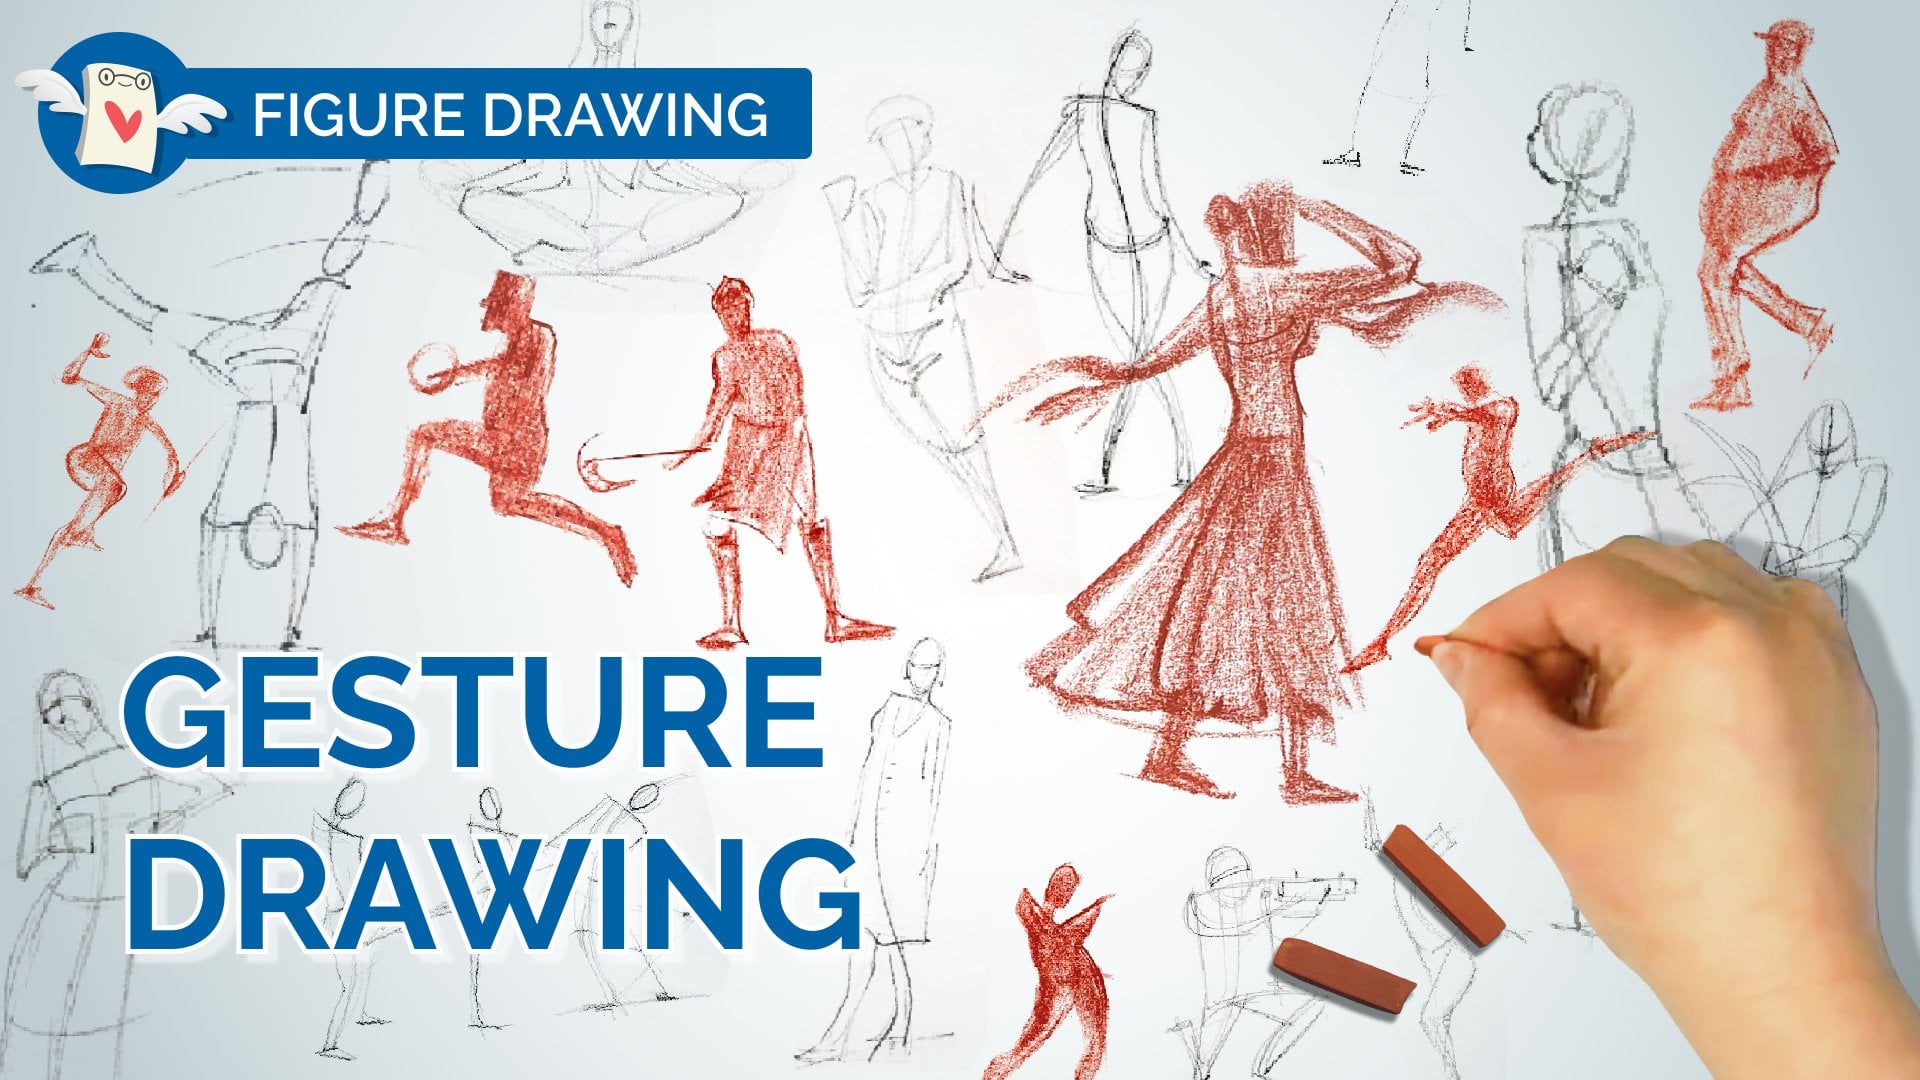
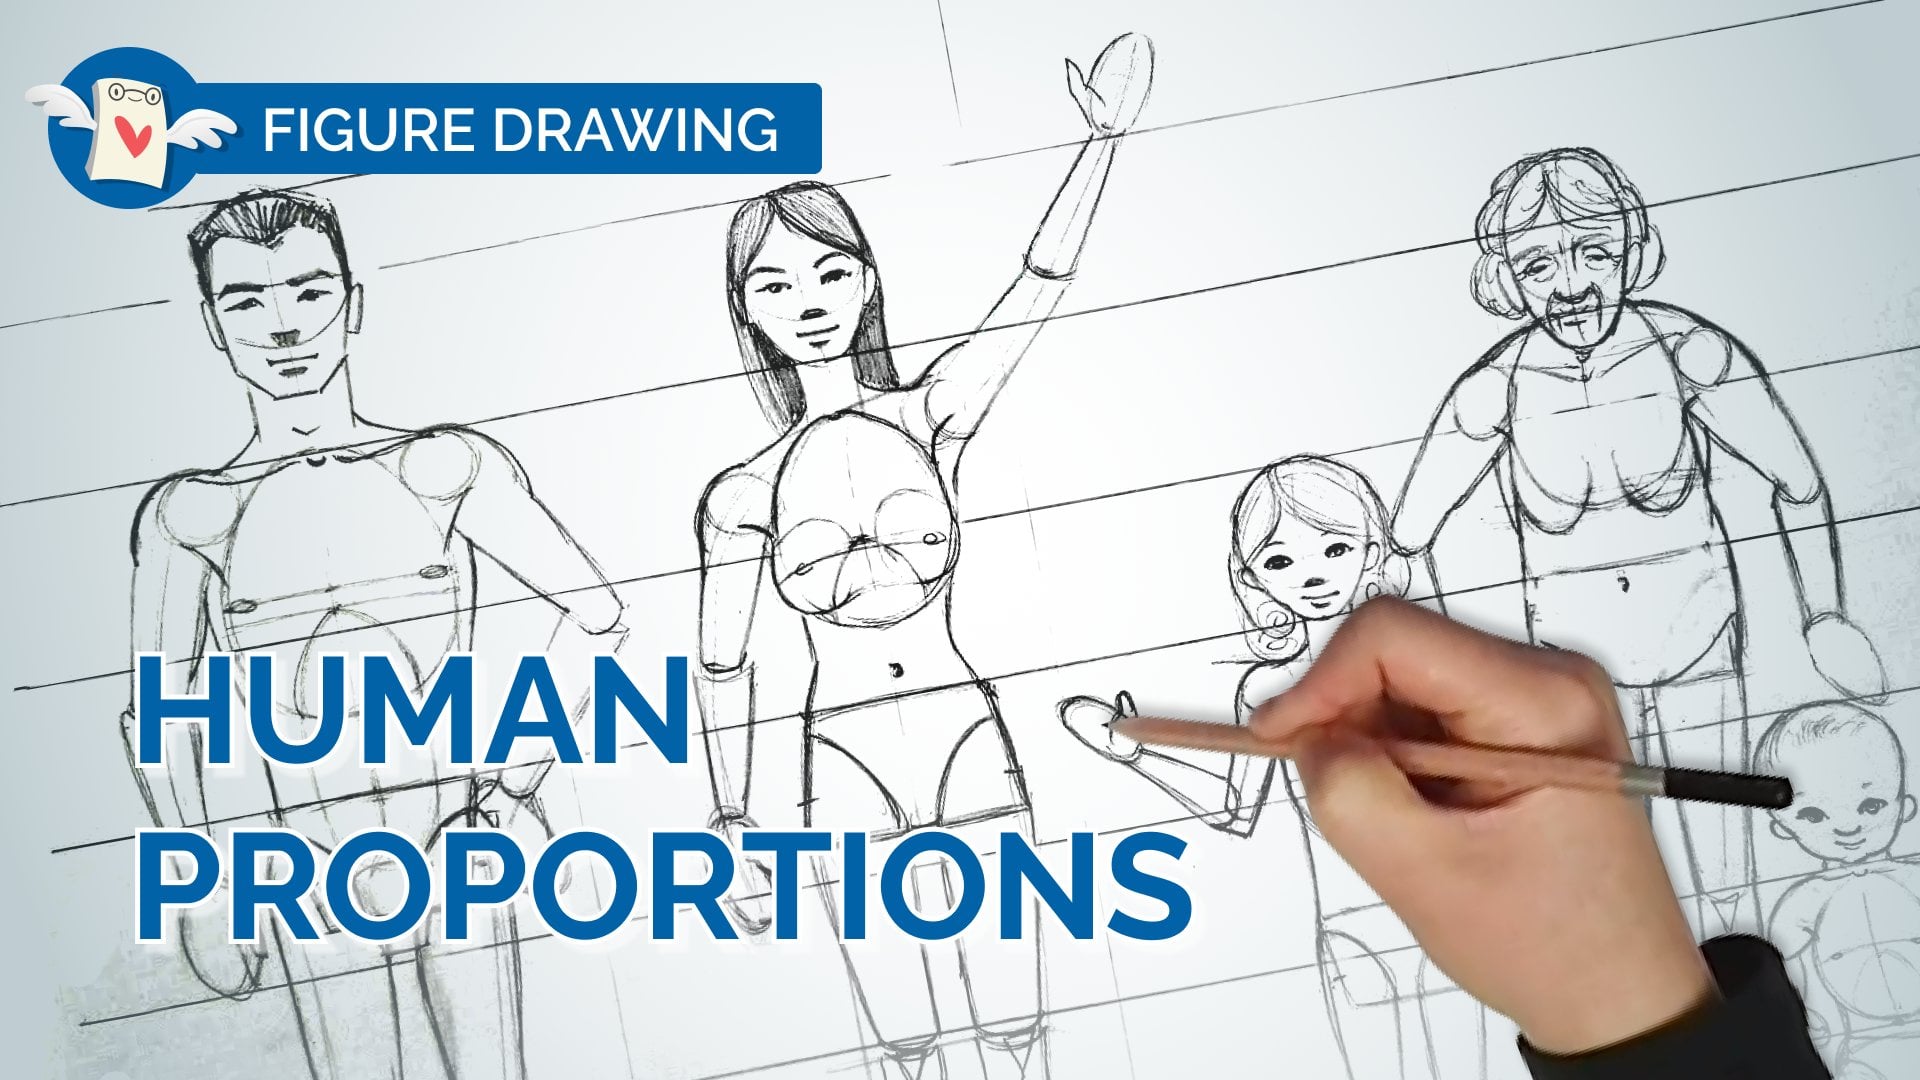
with our lessons on human proportions gesture and the GSL method for
figure drawing. I'd love to see what
you create at the end. So don't forget to share your
artwork with our community. See you in class.
2. What Are 3D Forms?: Today we are going
to be drawing forms. The hardest element of art. Forms are really how to
start making things feel 3D. This is kind of what
we're gonna do in today. You can see what we're trying
to do is we are trying to simplify the torso and the
hips into rectangular prisms. And rectangular
prisms that twist, that are dynamic, hold
that form in place. Okay, so this is
extremely hard to do. So if you know how to do this, awesome, you can practice more. If you don't know
how to do this, just try your very best. Eventually you will get here. This is like the next
step to making your forms look more realistic and more
solid in terms of structure. This is my favorite
type of example of how you can think about the rib cage and
pelvis combination. This type of relationship is what you want to
aspire to draw if you are a beginner and
you are much more comfortable simplifying
it instead of drawing those squares or those, those rectangular prisms, you can think of it
as just the beam. Just think of it as a bean or think of it as a pillowcase, whatever is easier for you. But if you feel like you
really want a challenge, then I would recommend the rectangular
prisms because the, the corners of those
rectangular prisms are landmarks in the body. So they will really
help you understand placement and other
things as well. What we want to
do is you can see the outline of this character. It was actually a pirate
wearing lots of clothes. A really couldn't
see any of his body. But what I tried
to do is I tried to think about those forms. I'm sure you guys have seen
these little mannequins. Even though these little
mannequin do and they can't really move
like humans move. But if you think about them
as these little mannequins, it helps you with
shading, with lighting, with making up figures
of your own, the future. And that's my intent
is that you guys can draw any pose out of your head. And it can look pretty good.
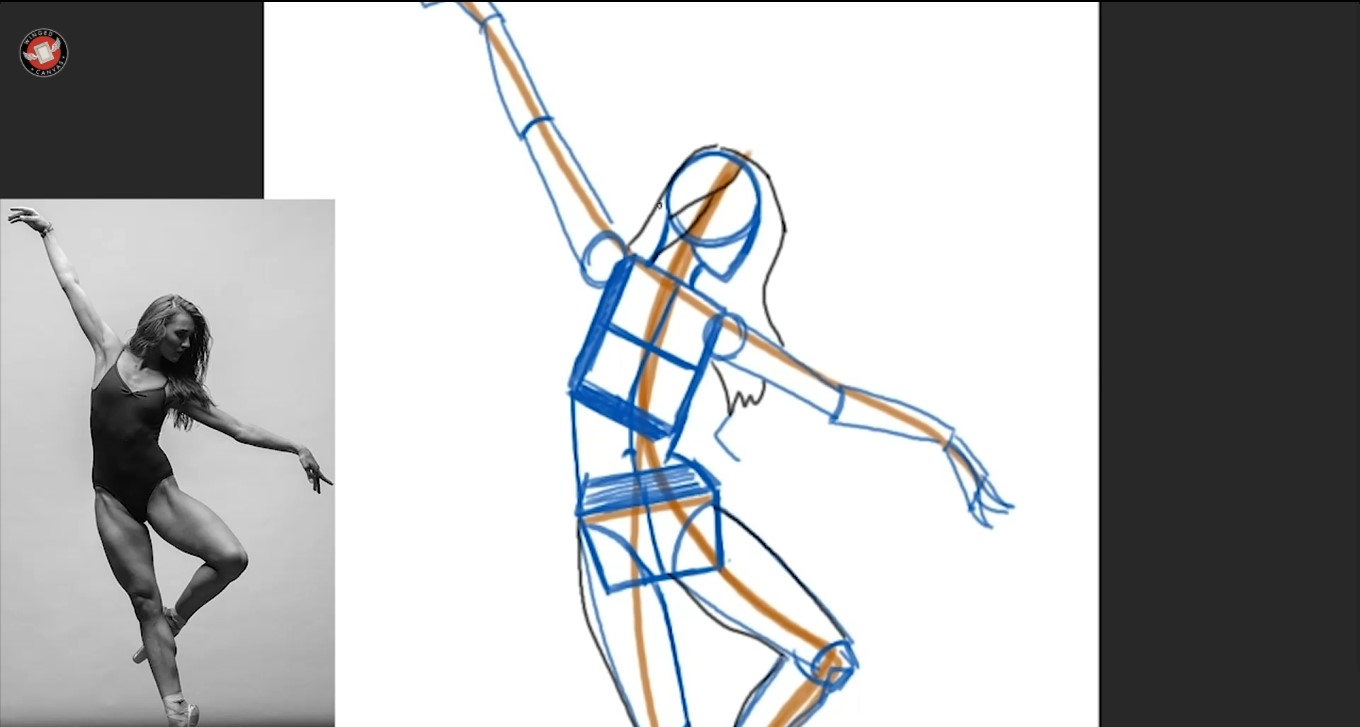
3. Analyzing Torso Forms in the Female Body : Right now I have a very
simple forward facing pose. And we're gonna learn
how to find these boxes. We're gonna draw the gesture together and the forms together. When I draw a gesture, I look for the
longest action line, then I will try
to find a rhythm. So you'll notice that I
started at the head and went down to the leg and across. Because I feel like
starting at the head makes a better curve for
my secondary gesture. The next thing I'm gonna do
is remember those hips that I was telling you to
feel on your own body? You can see them on her
look there right there. Another line that I would identify is the tilt
of her shoulders, which is part of the gesture. So that's all good. Now I'm going to
start a new layer and this one is going
to be the forms. So if you are
drawing with pencil, you can go a little
bit lighter on your gesture and a little
bit darker on your form. Now for the form, I'm going to draw
a ball and shield. I hope that you guys can draw
all faces with a ball and shields because that's the
structure of the face. Then we're going to
draw the rib-cage. You may not be able to see
where her ribs stick out, but you can start to see this
bend here and that's where, you know, her ribcage is
probably about there. That's the center
of her ribcage. Now ask yourself, can
you see the side of her ribcage or can you only
see the front of her ribcage? You can see it. Then let's draw the
side of her ribcage. I'm gonna make it a
little bit thinner here so you can see the side. You're probably also going to see a little bit of the bottom
of that ribcage as well. You can see that my box
is not an actual box yet. I have to erase the sides
so that it looks more boxy. You'll probably only see a
little bit of this side. But if you and try
to put that in, next, we're going to draw her
hips a little bit higher. And can you see the sides
of her hips at all? It's kind of hard
to see this side. I do know that her
hips are tilting, so I'm going to draw a box that's kind of going back
into space like this. This box is going
in perspective. Now if I turn off the a gesture, you can see the ribcage
to hip relationship. Then. Now let's turn that
box into an underwear shape. Luckily, we can see it. From there. We can draw the legs. So even though she's
got very muscular legs, we're going to draw the legs
as just straight cylinders. Now when I turn that off, you should be able to see OK, and then we're gonna
draw the bottom leg as also a cylinder. Her foot. When somebody is
standing on their tippy toes, the wedge shape is a
little bit different. So just to give you a sense of what you should be
drawing right now, you notice that I didn't
draw the bumps on her legs because I'm going to put those muscles and later, when you put the
muscles in too early, then you're kind of
ignoring your structure, whereas your structure, it
should dictate everything. Next I'm going to find
that line that I drew for the arms and I'm going to
find the halfway point. Then I'm gonna connect the shoulders to the arms
and then draw the forearm. The forearm can be tapered
slightly differently. For the hands. You'll notice that
like the hands have a gesture as well, right? So let's just try to draw the gesture of
the, and for now. Then you can turn it
into a shape or a MIT. Even if you don't see something like if you
don't see the neck, try to figure out where it is. If you're drawing a figure
in that figure has lots of fancy clothing or fabric that's obscuring something
that you're trying to place. Don't just ignore it. Try to figure it out. Try to figure out how things
connect to each other. Because if you just
keep ignoring it, you're never really going to
learn how things connect. Her neck would
probably connect here. Then I would connect
the side of the body. So this would be the expansion and this
would be the compression. If there are parts of the
leg that are open like this, you can draw a corner for the knee or like
that nacho shape. That's how I would
approach the entire body. You can't see her belly button, but it would be right in
between these two boxes. So if I take that center line
and I kind of connected, the button should be right here. If you want to also
find her nipple line, you can kind of see
her nipple line is like halfway on
that box like that. Then if I wanted
to draw the lines, I can then go in and modify my shapes so
I can go in and say, Okay, she's got muscle here, she's got muscle here. And all I need to do is really modify the shapes that I
made just a little bit. Which makes it a
lot easier than if I tried to do it all at once. Just do it steps. If I wanted to draw lines
than I can draw her hair. Remember when you're
drawing hair, that hair is actually a lot thicker than
just on the skull. You want to leave some extra space between
the hair and the skull. All right, so there's
my first figure. Hopefully that was
easy to figure out. We're gonna move
on to another one.
4. Analyzing Torso Forms in the Male Body : Now we're gonna
move on to a male. See if you are able
to draw the gesture. Look at like, what's the
primary action that they see? I kinda see it come from
the top of his head, following his spine all the
way down to the bottom. That would be where I
would place the gesture. And then I might put a little line to show
that his foot ends there. Any type of marker you can make for yourself is very easy. So the next thing I
might say is okay, what's the secondary gesture? Probably this low. And then again, I'm going to put a line for the
top of his hand. Then I might say, okay, well, he's holding this thing. This is also a gesture, that's also an action. So I'm going to
draw that as well. If the model is
wearing underwear, It's a really good hint
at where things go. But do you guys see these
two dimples in the back? These two dimples
here, here and here, those are actually landmarks
on the box as well. And I'll show you where
they go in a bit. But if you look at
his underwear shape, you'll see that his hips
are tilting forward, which means that we can
see the bottom of the box. We can actually
see his sit bones. So that means we know that
the box is tilting forward. The other gesture that I
see sometimes I call this a dual gesture is if it
comes down like this. And you can kinda see
this line here doesn't go right in the
middle of his leg. It kinda like hugs
one side and then the other and that's okay for
your initial gesture. Gesture should look
something like that. If you had more time, you could maybe say, alright, this gesture here from the side of his body
goes into his leg, and then from this
side of the body it also goes into his leg. So this is almost like
a crisscross gestures. Sometimes one part of the body leads nicely
into the other. And here it is
starting to make like a pizza shape or
like a nacho shape. So it's starting to
reveal his body type. Another gesture might be
like the curve of his face. Or maybe it's the
curve of this arm, or maybe it's like a
secondary curve here. This curve. You can see gestures
are very freestyle. They're super. You're only using it to inform
yourself of the next step. If I were to continue, That's probably how my
gesture would look. So now let's go into the forms. I want to draw forms. I'm going to start with his head because his head
is very obvious here. And I draw the ball and shield. And then the neck
connects to the ribcage, to the top of the rib cage. And then you can ask yourself, if he's standing straight and
you see an arc in his back. Remember that his rib cage is tilting back and his hips
are tilting forward. From the back view. In this case, I'm going to
try to draw his ribcage out a circle because
it's easier to see. So there's my
ribcage and my hips. So if you look at
these two dimples, if I turn that off, look at this landmark here. Okay. That triangle is actually the
top of the box of the hips. Because the hips are tilted, tilted forward, it would
be like going like this. So if you can see that
triangle at the top, okay? Then you know where the
middle of the box is, where the top of the
boxes for the ribcage. If the bottom of
my rib cages here, then you know that
the ribcage doesn't necessarily follow what the top of the shoulders are doing. If you see this line here, then you know that
the rib cage is tilting because
that's your spine, your ribcage follows your spine. So then that means that the box is tilting
just a little bit. So I'm getting. Spine and I'm going
to try to follow the tilt up this box. There. You're able to see
the top of the box. And then his neck is actually connecting to the
top of this box. Note where his show
shoulders are. That's where those spacers and ideally the corner
should actually line up. I have to adjust my
box just a little bit. Another thing that you
might want to check for are your parallel lines. So if this line
here should be the same as this line here
should be parallel, they're not parallel, then your box starts to
get kind of wonky. And sometimes in
figure drawing you'll see boxes being
tilted and stuff. And that's actually not the
correct way of doing it. Then all of this other stuff is like muscle
that's at the top. Then if you want
to draw the arms, you can draw the
arms as cylinders. Here. I know he's got big muscles, but we're just going to try
to draw a tapered cylinders. The underwear shape you can see it goes and reveals one leg. The other leg is kind
of on the other side. Then you would draw
straight cylinders, straight tapered cylinders,
and then your wedge shape. Because your legs
attach from the front. It's sort of hard to
draw it from the back. So just kinda do your best to envision where they
would connect up front. And you can do this
exercise with tracing paper because you can work directly
on top of your reference. Now, his back has so much
muscle that it's not properly showing the
middle line of this box. I'm just going to
simplify it like that. Then you'll see one side is slightly compressed,
It's this side. And this side is stretched. And then if you want to add on the muscle of the
shoulder as you can kinda connects the head to
the top of the shoulders. So you can see the structure
drawing doesn't really need to include all of
the muscles because yes, the muscles are structures
in themselves by muscles will actually confuse
the structure drawing. So try to focus on a thicker without all of the muscle and then add the muscle on later. Okay, So your drawing should
look something like this. So here he looks like
just a regular guy without all the
huge back muscles. And this is important because if somebody is super jacked
and they have lots of muscle and they're standing
next to someone who's like skinny than
you might think, Oh, the muscular guy
has a bigger ribcage, but that's actually not true. If you put them
next to each other, the skeletons look
exactly the same. So what we're drawing is the skeletal structure and then everything else is added on top. So if I wanted to make
this guy look super buff, then I can reference this
picture and say, Okay, I'm going to add muscle here, give him a big deltoid muscle
and then here as well. And then here I'm going to
give him like bicep muscle. And then I'm going to
add the back muscle. And then there's muscle here. Deltoid muscle, bicep muscle. So when you add the
bumps on afterwards, it follows your
structure much better. Also, if you want to do the
same thing with his legs. If you want to give
his legs lots of muscle that you
can add on later. There's the muscle
here's his calf muscle. Calf muscle. And muscle here. You can see that it doesn't
take much muscle mass to give somebody those
highly desired bumps. But skeletal structure
is still the same. And then I can also make
his head more square. If I make his head more
square and his jaw more square than he looks
even more muscular. And then that curve of his back. I'm also going to put in
that when I turn it off, you can kinda see the curve of his back is actually caused
by the muscles on his back. So it's actually not part
of his skeletal structures. The ribcage is round
though, right? But I can't really draw a
round center line on a box. So I'm going to keep the
central line on my box straight and then round it
later as part of the muscles. You'll notice that he is wearing his underwear below
his hip line, right? So it is important to locate that triangle because these
two dimples on the back of the hip are
usually visible if they're not and
somebody's wearing a lot of fabrics and
things like that. Look for things like the belt. Look for clues like for example, if you can't locate
the hips on a person, but you can see
their belly button, then you can kind of guess
where their hips are. Or if you can't
see their hips but you see where their
leg is bending, then you know that the
leg bends right below the hip and you can
locate it that way. So there's always ways to
find different landmarks.
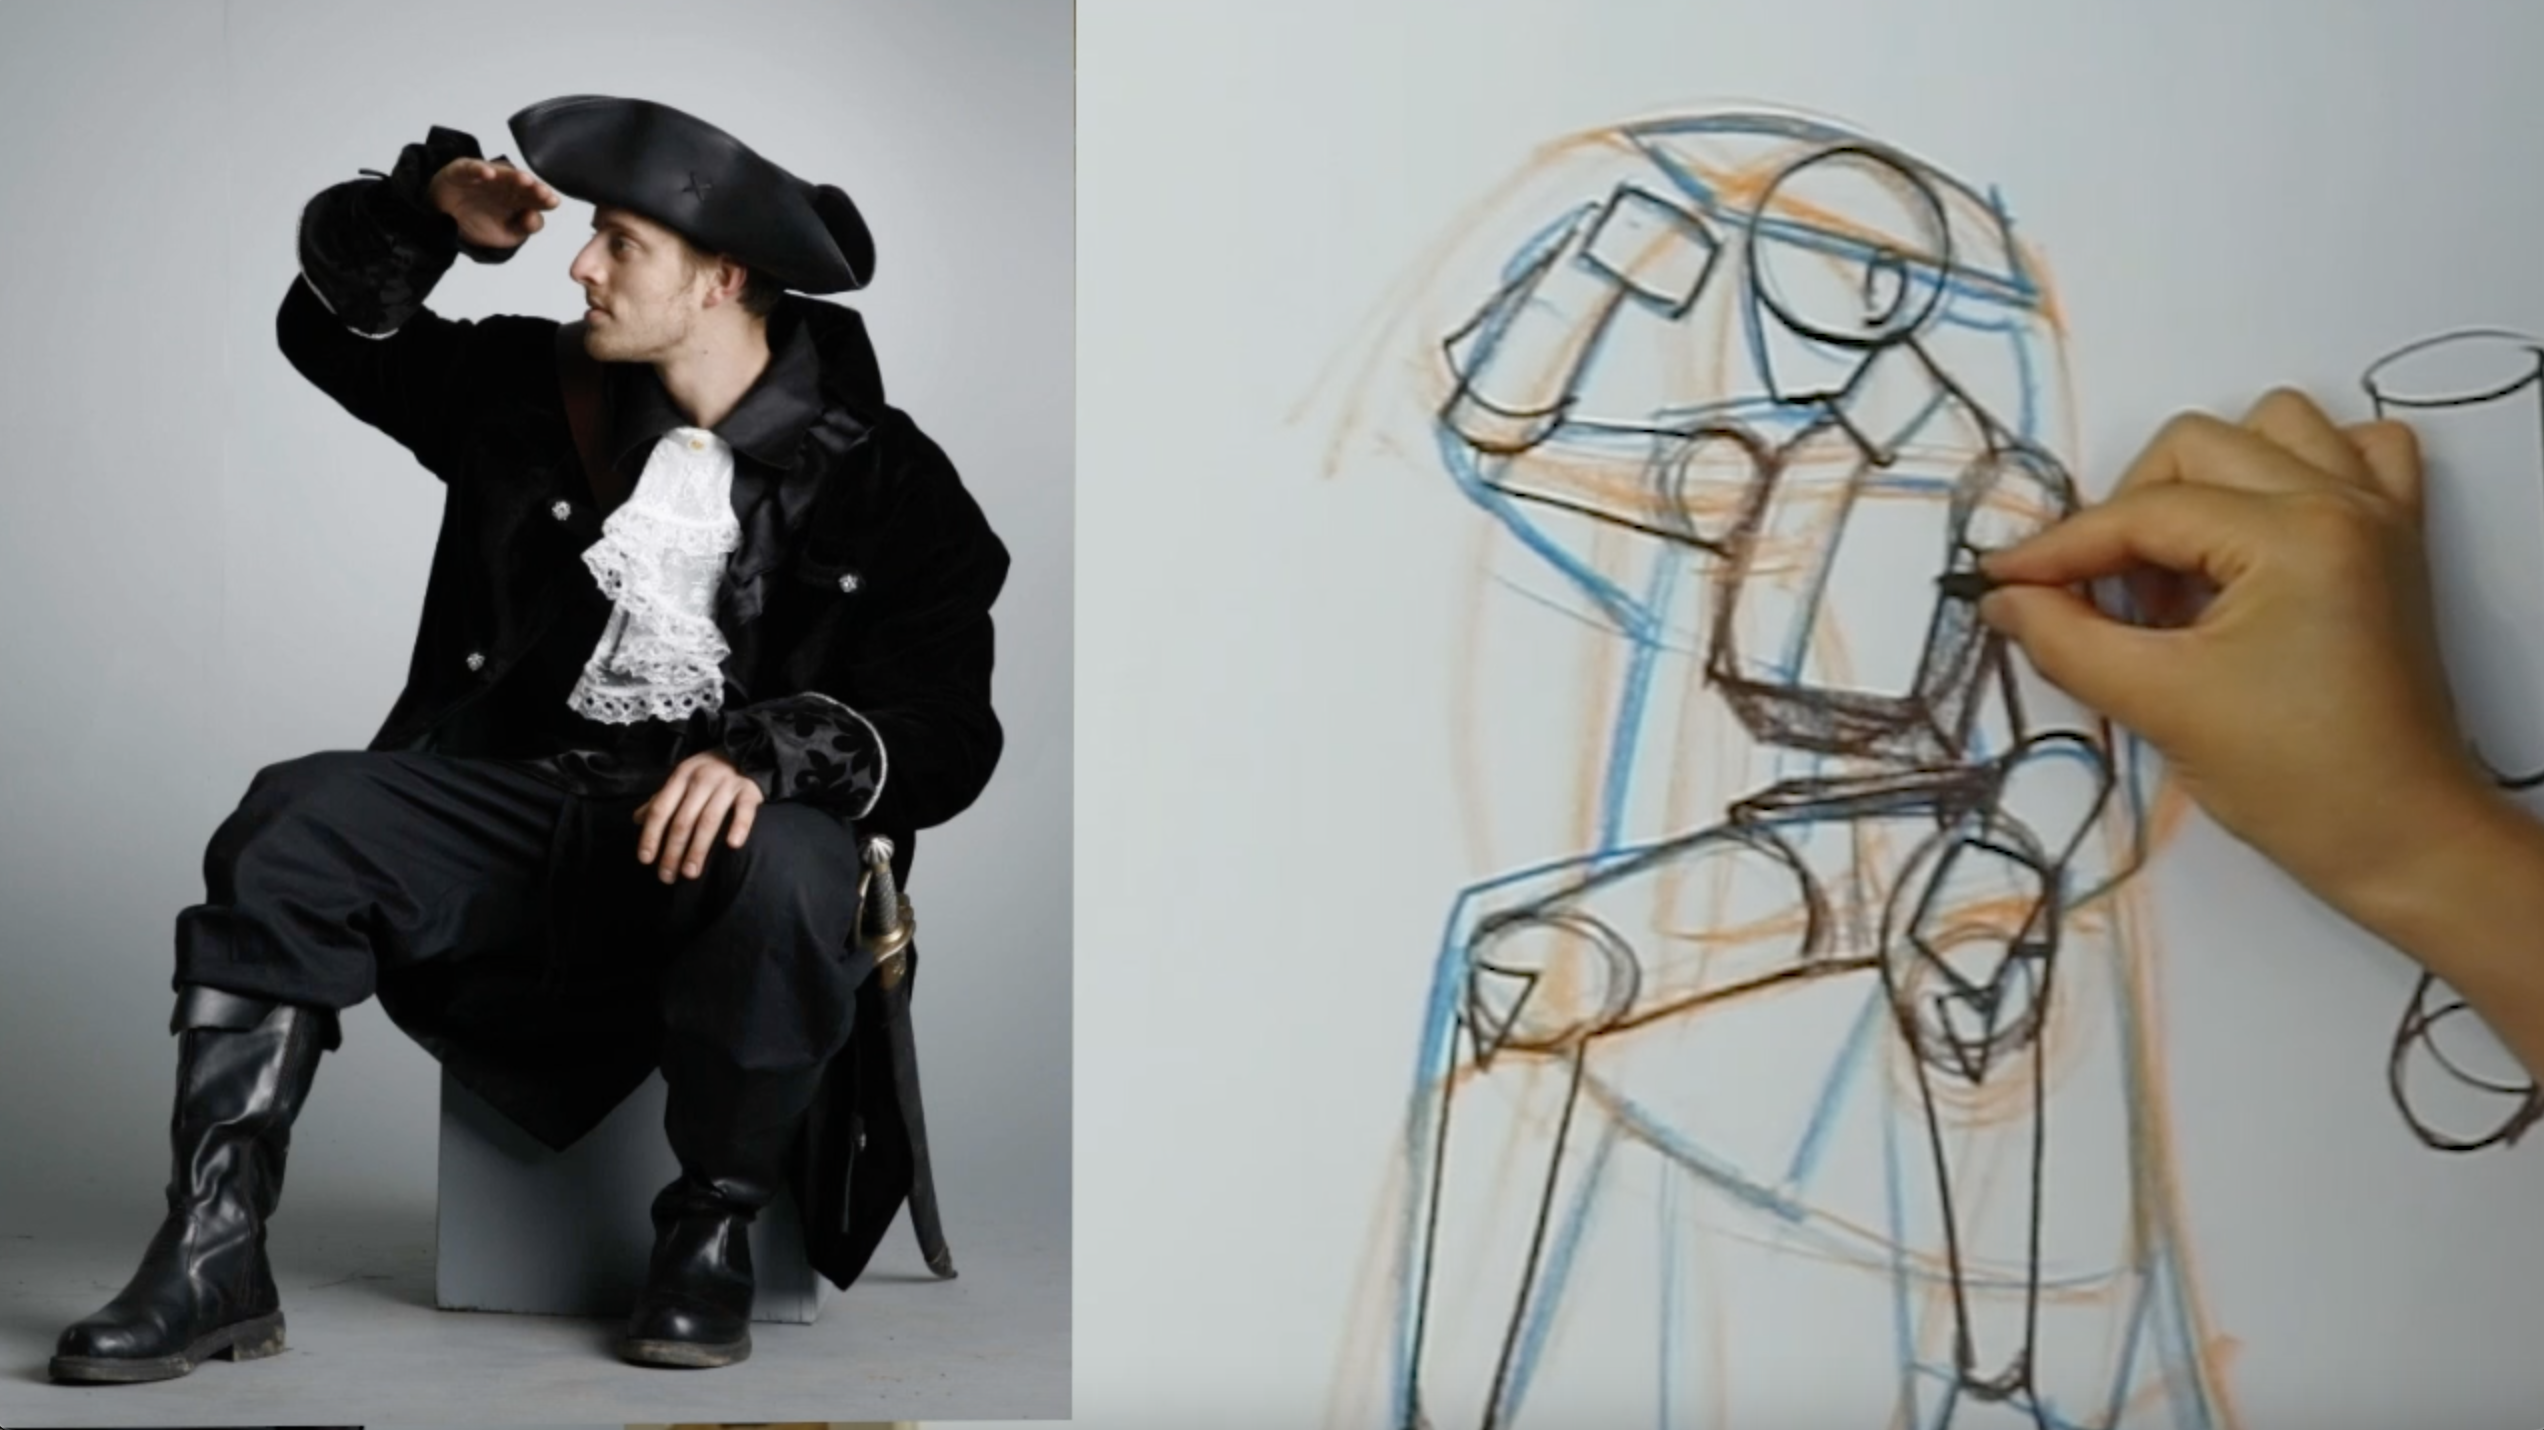
5. How to Draw Forms in the Body : The first thing I'm
gonna do is I'm going to identify the gesture
of this man over here. I'm going to draw
a full-size here. So what I'm gonna do is
I'm just going to try and draw the gesture. Kind of see his leg. It
comes out like this. And then his feet notice
where his feet are. There's one foot that's in
front of the other like that. And then if I look at his legs, I can kind of see there's like
a triangle shape in here. A side of his jacket is here. If I look at where I
want his hat to go, let's say I want his
hat to go about here. Say there is a gesture. Then the hat goes
right into the arm. I can kinda see that the arm
and the leg actually align. So if the leg is actually here, then the arm would be
back a little bit more, so I would place the
hat back even more. These secondary
alignments really help. This goes back into his hand. I'm just started
capturing all of the lines that I
think would help me complete this drawing here. In kinda see a little bit of his chair here is other foot. And maybe where his hand goes. Then I do see like
a triangle shape. His fancy blows, sort of how
that leads into his head. Now the next thing we're
gonna do is because this figure is very
heavily clothed. He's wearing a lot of clothing. I'm gonna start by
just identifying the shape of his
clothing. First. If I start from his clothes, then I can just kind
of work my way in. I think what I'm gonna
do is start with his, that one of the angles that
I see as his hat sort of aligns with the
outside of his cloak. So now I'm just going
to draw in the shape of his hat to the front of his hat aligns with this
line of his jacket. So if I bring this line up, I can sort of say, OK, that's where his hat starts. From there. I'll be able to find his head. This is head sits
inside his hat. I'm going to draw
the ball and shield, makes sure that the top of the ball is sitting
inside the hat. All right, So there is his head and then you can
very clearly see his neck. Let's put his neck in. Now with that, we
can find his color. Then from the neck, I can use the neck to kind of draw the shape of his blouse. So I kind of put it over here, which is completely misaligned. This is an example of
how my initial gesture is not lining up with
my actual drawing. So what I'm gonna do
is I'm gonna move this shape over to
where his neck is. So I'm gonna recreate it. Then just pay attention
to how big this shape is. So to me it looks
like a little bit bigger than this section. Then from here I can
insert a C. Okay, his sleeve is thicker than the part of his
blouse that's revealed. Going to draw this as
a geometric shape. I can see his hand here. So your gesture is sort
of like your guideline. Then from your guidelines, you should be able to see like, is it in the right place or not? Here I can kind of see a little bit of the
top of his sleeve. See a little bit of that
cylinder coming in. Then from his hand, I can use his hand as a
measuring tool and say how many hands can I fit
to the top of his knee? I'm going to say I can probably
fit a bit three hands. 123. So that's gonna be
the top of my leg. So you can see it's
a little bit off. I can kind of see that the knee, it should match up with
the bottom of the blouse. Then from here I can see
like a big triangle shape. This is how you would use geometric shapes to help you draw something
very accurately. That triangle comes
down a little bit more. Now from here to down here, I can find a similar length. So that length might be
the side of his shirt, which I have yet to complete. So I'm going to do it now. How far to the left
is his jacket? I'm gonna compare it
with the blouse and say it's roughly the same length. Or I should say width.
There's his jacket. I can see this line of the blouse here
connects to his arm. This part of his arm goes right into almost like his
mouth, right up here. It should connect
all the way down. Then look at the
negative space in here. And you should be able to plot in where you think
whose hand is. This is just me breaking
down this figure into simple shapes based
on what he's wearing. From the hand. I'm going to use
the hand again as a measuring tool
and I'm going to say how far down is the foot? How many hands can I
fit down to the bottom? I'm gonna say about 3123. The bottom of his foot
would actually be here. My initial guess was off, right? This is why a gesture is so important because it
acts like a guideline. And a second chance, you get a second chance
to see where you've placed everything and
whether or not it works. For his feet. I'm just going to draw
them as a simple shape. Then from this foot I'm going to measure out where are
the other foot goes? The other foot is slightly
lower than this one. Now I'm going to
place the other leg. So I'm gonna say that the
leg ends about there, remembering it all the way down. Then from here I'm going to
draw a boot has a bad shape. If I'm doing a very long pose, long drawing, and I want to get everything accurately laid out. This is how I would do it. Now I have my shapes
now I can just compare at this stage to see if everything
is in the right place. I can kind of see this
angle is a little bit off. It should be a little
bit straighter. If anything else here
feels a little bit off. I can sort of
change it, extends. His arms are feeling
a little bit small. And maybe his sleeve is also
feeling a little bit small. I already have the ball and shield. I'm going
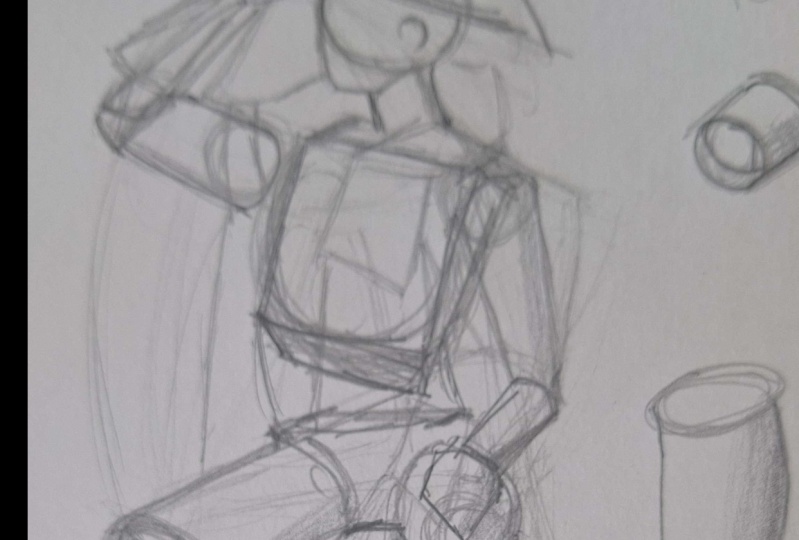
to start there. Here's the ball.
Here's the shield. There's the neck. Then from here I know that
that's the front of the neck. And the front of the
neck connects to the front of the ribcage. So now within here, can we locate where
his arm sockets are? If I can sort of feel out
those spacers might be. Then I know that his
ribcage is in here. Once I have the ribcage in, if I want to turn
that into a box, I can ask myself, can I see
the side of the ribcage? The answer is yes
because you can kinda see the side
of this arm here. Then I'm going to
turn this into a box. It can kind of look
a little bit messy. Because you're drawing
so many layers. But only with these layers are you really going to start to understand how that structure
drawing holds together? Now let's figure out where
his hips are because this is probably the hardest
thing to figure out. If I look at where his legs go. Where are his legs actually
connected to his body? I would say like we see where the legs are fitting
into his body. This leg is here, so that's probably
where the legs it if you can find where
the legs fit into the body, just imagine seeing
him in his underwear, right where his legs go. Then you can start to
find the top of the box. At the top of the
box would be here. Make sure that this corner and this corner can align properly. Because it's really going to help put everything together. So we're going to put
this in like this. Then let's put the legs in. We're going to imagine
some cylinders here. Here's one cylinder.
There's another one. This cylinder is very
foreshortened, right? So if you think of a cylinder, this might be what a cylinder
looks like from the front. But if this leg is
coming out at you, the cylinder is actually
going to look like this, which is what his leg is doing. So let's say his d is there. That's probably what
his other leg is doing. And then from here, I'm going to draw the calf
or the shin year as well. Draw the shin and the
other side like this. Then if you want, you can say, I know where his knees are. Bonus points. If you know
where his knees are. Then from there,
Let's find his fate. There's a lot of analysis that goes on with
this type of drawing. If he can't see where
things connect, you have to figure it out. So you have to ask yourself, what landmarks do I see? What do I already know
that can inform me? The next step. Now let's draw his arm. So I'm gonna start with
his hand because I know his hand is
like right here. I can see that curve
in his sleeve. I can kinda see any folds will give you
a good sense of where, how that cylinder is turning. And then I can connect
this to the ball. I can kind of see
this line as a fold. He's also wearing these gloves
that kind of extend out a little bit so I can
draw his forearm hand. I'm just going to leave
his hand as a box. Then here, index the arm. Then from here I can
kind of guess where the nipple line is based on
the center line of that box. Then I know that this side is stretched and this side
is slightly compressed. We're going to do a very
quick shading exercise while we have this guy up. If you have a light
source like I've already started to shade this guy as if the light sources
coming from this side. Here I'm gonna draw a little
light indicator This. Imagine he wasn't wearing
such a bulky outfit. How would I liked his body? If you think of
individual shapes, this could be how you
would shade a cylinder. If the light sources
coming from one side, the cylinder is probably
darker on this side. And if there's a
reflected light, your core shadow would
be something like this. Again, I'm shading with chalk, so it's different if
you're shading with pencil and you want to do like a cross
hatching technique, then you have to
follow the form. So if I have a similar form, I'm just going to draw
it a little bit shorter. So if you have a
similar form like this and you're
shading with pencil, you can kind of shade in the direction of
the form like this. Then if you want
to crosshatch it, just go up and down. You want to make sure that your hatch marks are
describing your form. Don't make the hatch
marks straight like this. If you make them straight, then you're telling me that
the object is straight. If you make them
curved like this, then you're telling
me that the object curves but it's going
straight up and down. Pay attention to what
you're hashing is doing. The direction of the strokes
are really important. Now on this one, even if I'm
just shading with chalk, I'm still going to follow
the direction of the form. So see how I'm
shading like this. Cylinders are pretty
simple to shade. If you were shading cubes, even better, even simpler. There are some complex
shapes in the body. For example, we'll take the leg sometimes when
you're drawing legs, Let's say this is a calf. You have your tapered
cylinder like this. The bottom of the leg sometimes is a little bit
more boxy than the top. Sometimes you'll see sharper
edges at the bottom and more round edges at the top
or softer edges at the top. So let's say that this
is a modified cylinder. I'm modifying it by
adding some muscle here. I'm also modifying
it by turning it into like a square on the bottom and more
cylindrical at the top. And more round like a sphere
in shape on the side. So this is a highly
complex form. How do I shade that? Well, I would shade the top, like I'm shading a
sphere like this. Then I would shade
the bottom as if I'm shading a box like that. You can emphasize it with
that straight line there. And then if you wanted to
put a core shadow in there, you can make the middle of
that a little bit darker. So you'll notice that this
is a nicely shaded like, but it's based off of the cylinder form and
slightly modified. Let's give them some
simple shading. Now. I'm going to shade
the legs like this. So if I wanted to, I can start to modify
my shape a little bit. I'm going to start by giving
some shading the legs, maybe adding a little bit
of a calf muscle here. Then this side of his foot is probably
going to be in shadow. This side of the foot. In this part of the leg. Probably in shadow. Also like maybe the
bottom of his arm. Over here. You can see that
I don't even need the reference to be
able to shade stuff. Because if I know how to shade forms and I know where the
light sources coming from, then this type of structure drawing is
very easy to shade. Now I hope that structure
drawing makes sense. This is why it's so helpful. His neck is probably
in shadow here. That's an example of a very
easy way to shade things. I'm going to put a slight
shadow underneath his hand.
 Winged Canvas, Classes for Art Nerds