Transcripts
1. Intro Build Confidence as a Photographer: When you are starting the journey of becoming
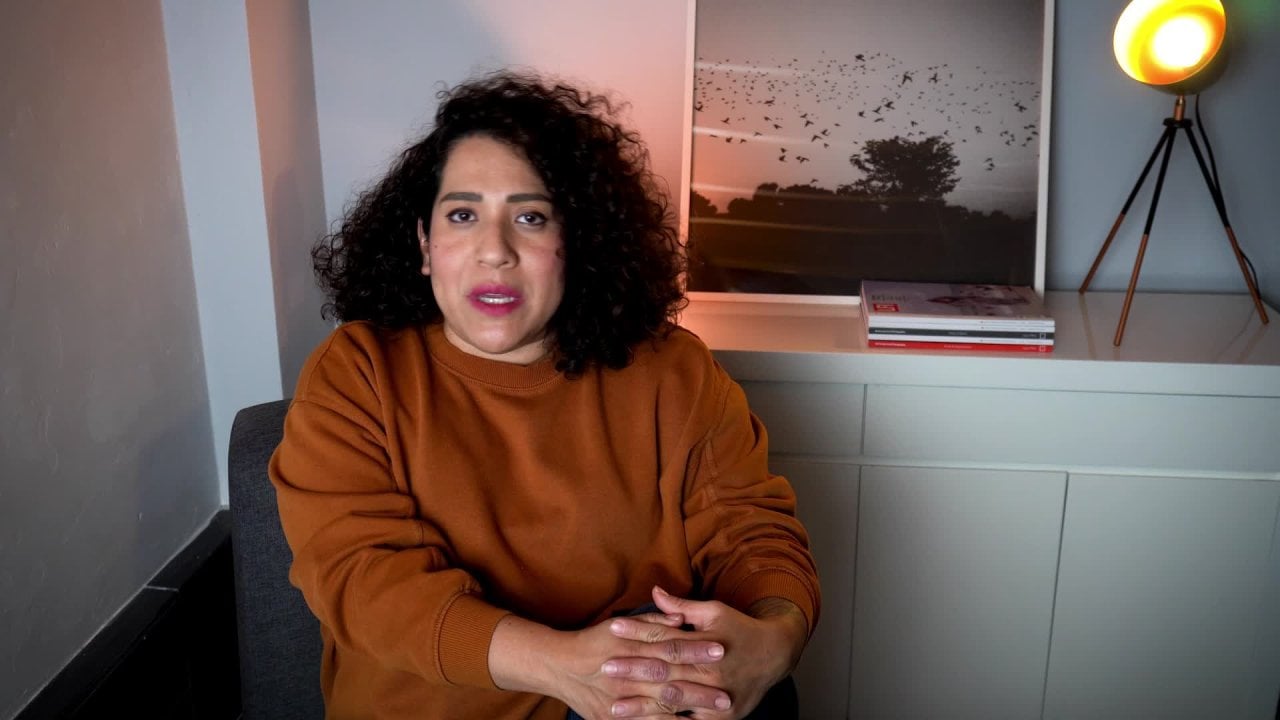
a photographer, there are questions, doubts, and need for guidance to help you into this creative career. Hello, I'm Cecilia Cruz, editorial and documentary
photographer based in Mexico. I decided to become
a photographer after buying a point and shoot
camera one birthday, almost 13 years ago, and falling in love with the creative side
of photography. I wish someone had
told me how to navigate the ups and
downs of being a photographer. Now I run my own
studio and teach college and online students to share my passion
for photography. One thing that worried me since
day one was the question, Am I good enough to start
my freelance business? What I know now is that
this worry doesn't go, but there are ways to
always improve and build confidence and be
on top of your craft In this class, I'm going
to tell you how I keep with my confidence
as a photographer. There are three key
practices that help me overcome my doubts
as a creative, actively working in
photography, as a professional. If you are starting in photography or have a
bit of experience in it. This class is for you. Join me here on Skillshare to learn my pro tips and
make them your own. To have a bright
future in photography where you can trust your
instincts on skills. In this class, all you
need is a bit of time to take the lessons on your
camera to practice. These three steps can make
a lot of difference in how you approach photography and keep falling in love with it. I'm here to guide
you and to make the journey of photography
a little bit easier, come to Skillshare and
let's get started.
2. What others have that I don't have: It is unavoidable
that we compare ourselves to others and
what they are doing. I do it all the time, but I have come to appreciate their work with an admiration
instead of jealousy. I think that in
order for us to be confident in our
work is necessary to recognize what we can do at this moment and what
our weakest points are. Comparison helps us
analyze where we are. and where we want to go with
our photography. Maybe you already have
photographers that you admire. And that you want to do, What they do. That's great. It means that you
are thinking of what type of photography
you want to pursue. Portrait, travel, pet, product, fashion photography, just
to name a few. Ask yourself. This when you see their work, what is it that I like
about their photos? Make a list or mental note of the characteristics
that attract to you. Could it be how
they use the light, the type of subject matter, the landscapes they use
of color and so on. These characteristics give us a good idea where we want to go aesthetically
because we recognize them as pleasing to
the eye and interesting. Even if you don't know how these characteristics are
calling terms of composition, you know that they
make a great picture. At the end. Here is where your exploration of photography as an art starts. Knowing what makes a good photo and how to achieve it will bring you one step closer to being sure of where you want
to do with your camera.
3. What makes a good photo?: What makes a good photography? Well, this is the
million-dollar question. In my own experience, there are certain
characteristics that make one photo better
than the other. Of course, appreciation
of a photo is very subjective and changes
from person to person. But there are specific
things that we can implement in our practice
to make better photos. In the first lesson, I asked you to make a
list of characteristics. You like from photos you like. You will see that you
are on the right path. If we compare a list, I also wrote a list of the characteristics
that I have learned throughout the years of practice and reading
a lot of photo books. The first one is
the use of light. Photography is writing
or painting with light. Observe how the light creates shadows and highlights
in your subject. Take the moment to analyze the quality of light is itself. Is it hard, is a
dimm, or bright? Remember that light changes
throughout the day. Early in the morning
is soft and warm, midday is harsh and bright, and the sunset changes
back intensity and color. Also the light changes
with the seasons. Always be mindful of
what you want to show in your photos with the kind of
light that you are choosing. The second one is
the use of space. When I talk about a space is not only the physical space
where you are shooting, also the frame itself. Whatever genre
you are photographing, always pay attention
to your surroundings. And what do you want to
include or not in your photos? Choose wisely your locations for the purpose of
the photo shoot. E.g. if you want to do
street fashion, pick places that
transmit that vibe. Next, consider the framing. How much of your subject, the background
you are including. You want the subject to fill the frame or you just
want a portion of it. The next one is the
subject matter. One mistake that I often observe in my
students is that they have a problem deciding what the main subject
of the photo is, depending on the type of
photography you are doing. Always make sure
that the subject on interest is very
clear to the observer. If you are doing portraits, focus on the eyes because the face is what you
want to connect. Always make sure that
you are very clear with your intentions of the subject
matter in your photos. Use light, color or
texture and placement. The next one is
intention of creation. Taking a photo is not hard. Anyone can do it. But making a photo
with an intention, that's where it gets
a bit complicated. It doesn't have to
be very complicated, but you have to establish
the purpose of why you are creating an image or what you want to
communicate to the viewer. If you are doing
family portraits, why do you want to do them? Why they are important to you? If you're doing
product photography, why brands should come to you? So you see, you have to
observe and you have to take a lot of things in consideration when
answering this question. I also struggle when
creating my own work. But believe me, once you
have this part very clear, is so easy to create
with an intention.
4. I'm not good enough or am I?: The first day of class with
my students at university, I always ask them if they have
had previous experience in photography or what kind
of things they want to learn to improve
during the semester. Only a few have
tried photography before using a
professional camera, but most of them also only
use their cell phone camera. So don't dismiss the cell
phone camera, please, because this one is how
you engage daily on photography and start learning about angles,
colors and spaces. And so many of them also tell me that they
are not creative. They have no idea how
to use a pro camera. And that they would
like to know how to make photos that are very
aesthetically pleasing. Well, all of these concerns
can be addressed with the three approaches to make you confident in
your photography. And as I said before, you can do them at any
stage in your career. They are good practices
to keep you motivated. If today you are feeling that your photography
is not good enough and there are doubts and you have doubts of your
abilities as yourself. This, what are my strong points and my weak
points in photography? Write it down. And this is only for you, but be honest, this will help
you clarify your own path. When I was studying for my
masters in photography, they asked the same question. at this moment, I said that I wanted
something different from baby and family
portraits and weddings. I wanted a different
subject matter and also I wanted to know
how to develop film. The way I approach my
crossroad was analyzing the three parts of
my practice and seeing which one
needed more attention. And what could I
do to improve it.
5. Step 1: the technical skill: The first one is the
technical skill. Okay? So now that you have recognized the areas where you don't feel very strong in
your photography, we can address how
to improve them. The first step to gain
confidence and where most of us fail at the beginning
is that technical skill. What do I mean with
technical skill? Well, this is when you want a photo to
look a certain way, but you don't know
how to get there. You don't know what
to do with it. And all the buttons
in your camera, which one to push to have
the look you desire. Your camera is an instrument, a piece of technology
that you need to understand what it does in
order to make it work for you. So don't freak out because you need to
take your time to read your manual and to
spend some time exploring the physical
aspects of your camera. Because you want to
advance from using your camera in automatic
mode to manual mode. I know that this is
challenging, but trust me, once you know what certain buttons to push in your camera, you are good to
go with practice. You will do this in no time
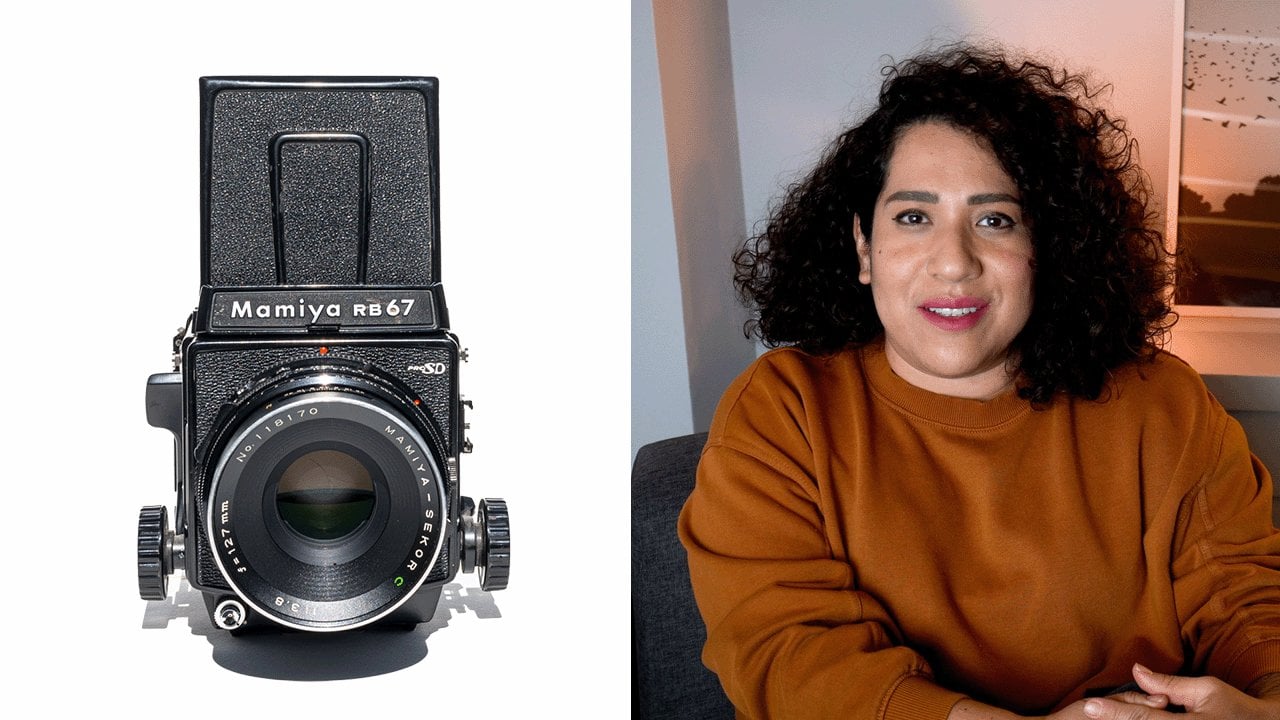
without even thinking about it. Your camera has two main parts. The body, where the sensor or the battery and the
memory are. The lens. If your camera is point and shoot the lens will be
attached to the camera. But if you use a
mirrorless or DSLR, you can change the lenses. In the body. There are many
buttons and the menu offers a lot of things
that you can customize. But remember that
you don't have to change everything
in your camera, just what works for you. I recommend that you
familiarize with the following concepts where you can change them
in your camera. The first one,
we're going to use the camera in manual mode. Your camera has different
modes of working that gives you control over
changing the exposure. The manual mode or M, let you change the
exposure to your liking. You can interpret the
light however you want. Different to the auto mode where the cameras computer make all the decisions on how
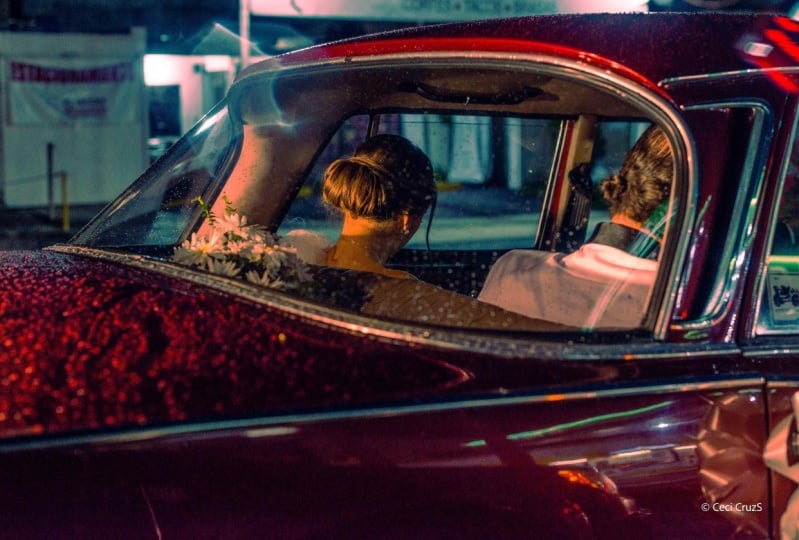
to interpret the light. In this comes, the aperture, this one is the one
with the letter "f" and has a number next to it. As small number, like a four
means that more light is getting into the sensor helpful when you are doing
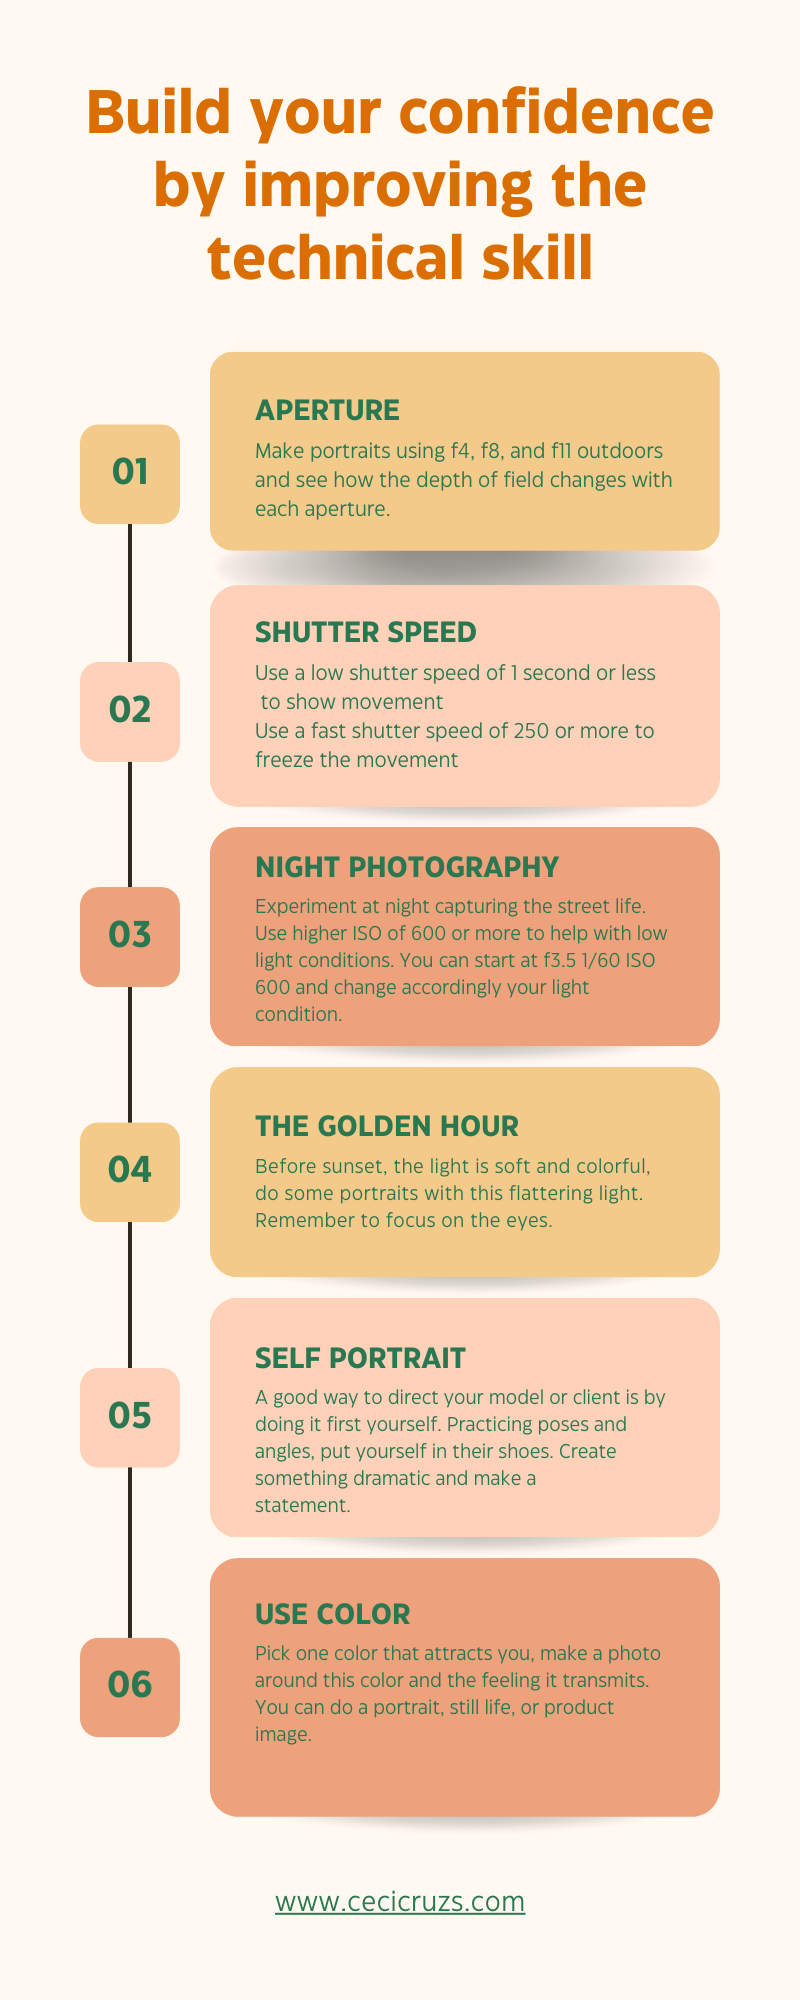
photos at night. A large number, like f8 f11 or f13 means that less light is going
to hit the sensor. So if you have a sunny day, a large number is
really helpful. The next one is
the shutter speed. This is a measure of time and it tells in a fraction
of a second or a full second how much of the light is going to
enter to the sensor. This is also a
sequence of fractions, and it has a denominator. If it is small like
40, 10 or a half, it means that the
shutter speed that will let more light coming
into the sensor. If it's a large
number, like 125, 200, 500 means that is going to be a fast shutter speed and less light is going
to hit the sensor. The other one is the ISO, this is the sensitivity of
the sensor to the light. This one, we usually
leave it to 200, but you can change it to a large number to
make your sensor much more adaptable to the light and absorb more light
from the ambiance. The exposure triangle is that the one that's
conformed with the aperture, the shutter speed, and the ISO. So take your time
also to learn more about it in my classes
or other resources. The white balance. This one means that different light sources have
a specific temperature. Sunlight sources are warm. Some others are blue and I often recommend that you leave it
to auto white balance AWB because most of cameras
are very good at recognizingthe type
of light you are using. So feel free to use the AUTO balance or change it according to
the light you're using. Your lenses, e.g. can change depending on the
type of camera you are using some are really good because they are starter lenses and they
are very versatile. E.g. these one is 16 mm, 50 mm, F 3.5-5.6. What means these numbers is e.g. the ones with millimeters, it's the focal length. It tells you the
angle of vision, e.g. 16mm means a wide angle and
50mm means and narrower angle. So these kinds of lenses that
have two numbers are very useful because you can zoom
in or zoom out to yours. So if you have one of
these kind of lenses, go for it, explore and
check where it does. Also remember that you
can focus your subject, using automatic
mode or manual mode, always center on the eyes. The next parameter is
the image file types. Your camera has several types
of files that you can use. Jpeg is the popular
one because these are small-size files that have
very compressed information. But if you want to start editing your images for a more
professional look, use RAW files, these ones, have all the
information you need about the photograph
that you just took. So you will need a software to interpret all the information
in these raw files. But if you are practicing
well just use JPEG, this is the first step to build confidence and I
believe will have the most impact in your work and your
perception of your value. When you can manipulate
your camera with knowledge, no matter what kind of
light you are using, you will feel very
strong in your work. It also applies to
knowing how to edit a photo or using
different softwares. And if you're using
studio lighting, also take the time to explore and see how everything works. Look for tutorials, websites, or ask someone in
photography for help.
6. Step 2: Conceptual skill: Going back to what
photographers, the photographers that
you admire and the characteristics of their work that you wanted to
including yours. All of these things make the
idea of a good photograph. When I talk about the
conceptual skill, bear in mind that one
of the photographer's job is to create images
that say something. Images that connect
with an audience and transmit an idea
as clear as possible. But how can we work on
the conceptual skill? First of all, you need to figure out what do you want to
say with your images. E.g. when doing family portraits, what do you want to transmit? Is it happiness, unity, a fun time celebration, or any other feeling? These words can be
translated into composition principles
and aesthetic properties. Happiness is related to
bright light, soft, and warm, using groups and closeness indicate
unit is celebration. People moving dressed in colors, give us the idea of
having a good time. You see, when organizing
a photoshoot, it is always a good idea to have reference photos
of what you want to do. It helps clarify the poses, the use of space, the angles, the aesthetic. Even if you think you are
not created for enough, you can do research to
help you in your practice. My advice for
becoming confident in your conceptual skill is to follow photographers
you admire and analyze their work. Look at the trends in photography to see
what people want. Take a lot of photos
whenever you have a chance, develop your own style in time. And if you'll need to
learn something new, go back to the technical skill. This will help you reinforce
your conceptual skill.
7. Step 3: Practice, practice, practice: The third step is simply
practice, practice, practice, make a habit of doing
something in photography. Many times a week if you can daily,
that's perfect. It is best to grab
your camera and shoot regularly that only
doing it sporadically. The brain is a muscle,
it has muscle memory. And when you are learning how to use your camera
in manual mode, you want to be able to move
things without even looking. Only with practice,
you will achieve this. So practice makes perfect. But also practice makes a
confident photographer. Because if you take photos at
different hours of the day, indoors or outside with
people or animals, landscape, places, you
will feel much more comfortable grabbing your
camera and creating. You will recognize that the type of photography
that appeals to you, but only with doing, you will feel much more accomplished in
this chosen career. Let me tell you how I
practice on a daily basis. There are two things that I
enjoy doing and I don't I don't have to be perfect on show everyone what I've
been doing. First. I have dogs, they
are my loves and I photograph them every
chance I get eating, sleeping at night, running
well, you get the idea. And the second is that I
love photographing the moon. And it always comes
out every month, every logical subject matter, I've been taking
photos of the moon for the past three
years, every month. Sometimes when the sky is blue others when you
can barely see the moon, orders in a storm or eclipse. But always on a full moon These two type of things
brings me happiness and joy. It's a very good excuse to take out my camera, which by the way, is always at arm's reach
in the living room with full battery and memory space
to make a lot of shoots.
8. Are you feeling more positive?: So are you feeling
more positive now? I hope you do. So. These three ways that I use to feel confident in
my photography, I hope they work
for you as well. Photography is
about imagination, perseverance, trusting
your knowledge, and continually keep working. It doesn't matter
if you are just starting or have many
years doing photography. We never stop learning
and discovering something new about ourselves
throughout photography. To round things up, let me share with you
how I keep up with the rapidly changing industry
or freelance photography. Here's a list for you. I know I love lists. The first one is when I
started with photography, I did a lot of genres But eventually, I settled on editorial and
documentary photography. This is because I
wanted something for the business side and something for the personal
side of photography. So you go and find the genre of photography
that works for you. I love watching tutorials on lighting equipment reviews
and business advice. For me, photography is very tactile and I like reading
blogs and websites, but I really love photography. Magazines and books. My desktop subscriptions or the British Journal
of Photography. and the Leica Fotografie International
books are great. Editing and retouching
portraits is challenging. I've been refreshing
my Photoshop skills to edit my own work, and to keep things interesting. I challenge myself to
doing something different in photography and creative that I
wouldn't normally do. So that's it. Here is what I do actively in my work to keep
my craft going, to be confident in my freelance journey
as a photographer, I am sure you will find your own set of things that
you want to work for you. Above all, remember to have
fun doing photography, shooting photos, and exploring the wonderful world
of photography. I'm going to leave
you with a list of exercises that you can do. In the meantime,
choose the ones you like and share
with us your work. I am more than happy to continue this conversation in
the project section. You can also check other classes and new
ones are on the way. Have of a wonderful
day and see you around.
 Cecilia Cruz Sandoval, Photographer / Content Creator