Transcripts
1. Starting in Product Photography using a White Background: Hello, I'm Cecilia Cruz. I'm a professional photographer. Here in my studio. I create images for my clients on portrait
and product photography. I love creating compositions
that communicates something. I know you also believe that everyone should have some kind of photographic knowledge they use in their everyday life. And your business. In this glass, I'm
going to show you how to start in
prototype widower. We're going to use
a very simple set of the you are going to use every time to create beautiful images using
a white background. This is the kind of setup that I've been using
for many years. If you are selling your products over any social media
platform for e-commerce, you know how useful is to have your pictures
over white background. You can do a lot
of things with it. And also the image doesn't
have to be boring. I am also going to show you
how to lead your photographs. You can use them right
away in a very simple way. You can use your camera
phone or a DSLR, anything you have available. This class is for a beginner. You are just starting
in photography, or if you just want to improve
your photography skills, this class is for you. If you wanted to know all my
tips and tricks on how to create a perfect
white background new product photography. Grab your camera and
let's get started.
2. Getting started with Artificial Light: Welcome back to Ms studio. Today I wanted to show
you how to create white background
product photography using a very simple setup. This kind of photography is
very useful because you can create your own photographs
for e-commerce purposes. Or maybe you just want to
update your own website. This kind of photography, you can do it either using natural light or
artificial light. If you want to know how to do these white background
photography using natural light, I advise you to go to my
profile and check one of my other classes where I use
exclusively natural light. I will be using a strobe
light as you see behind me. But if you have any other kind of artificial life that
you want to use, go ahead. When you finish this class, you will be able to create your own white background
photography products. It's a set of that. It's very simple
and it's very fast. So once you know how to do it, you can do it all the time. I use it for my
website or when I want to sell something on
Etsy and updated. That's the go-to setup for
white background photography. It's a set of that I also use when I want to create
a stock photography. If you want to create photographs for any
of those purposes, this class is for you. There are in the background is the setup that we are
going to use today. So as you see, it's very simple. Just one light that I have
on a tripod sheet of paper. This one comes from
a roll of paper. The bone type, the ones
just the kind of type that you use for your printer. But if you don't have
something like row of paper, you can use to separate
sheets of cardboard or any other kind of paper
that it's kind of soft. You can just overlap those two sheets of paper to create the as
seamless background. Also, you are going
to need well, your products just
a bit of a deep. Place, the paper
where we want it on your camera or your cell phone. I use both. And it's great. For the purposes of this class, I'm going to use my
LR, use Nikon camera. I use my file in Row. Later, I'm going to
edit also my file. So you can see the
final results. As you see, my strobe
is half power almost, and I'm going to use a small software works that
actually I haven't used a lot when I was trying
to find what kind of diffuser to use
for the light, I came across this one, and this one works perfectly. I want something 35
to diffuse the light because it helps
creating soft shadows. But if you don't have
a softball look at Osaka box and instead
you have an umbrella. Go ahead and use that one. Or maybe if you don't have an umbrella and just a
flash, use that one. The only thing that is going
to be different is that your shadows are going
to be a bit sharper, stronger, but that's
really not a problem. You can either fix that
in post-production when you edit your photo or did you just can't
leave the file as it is.
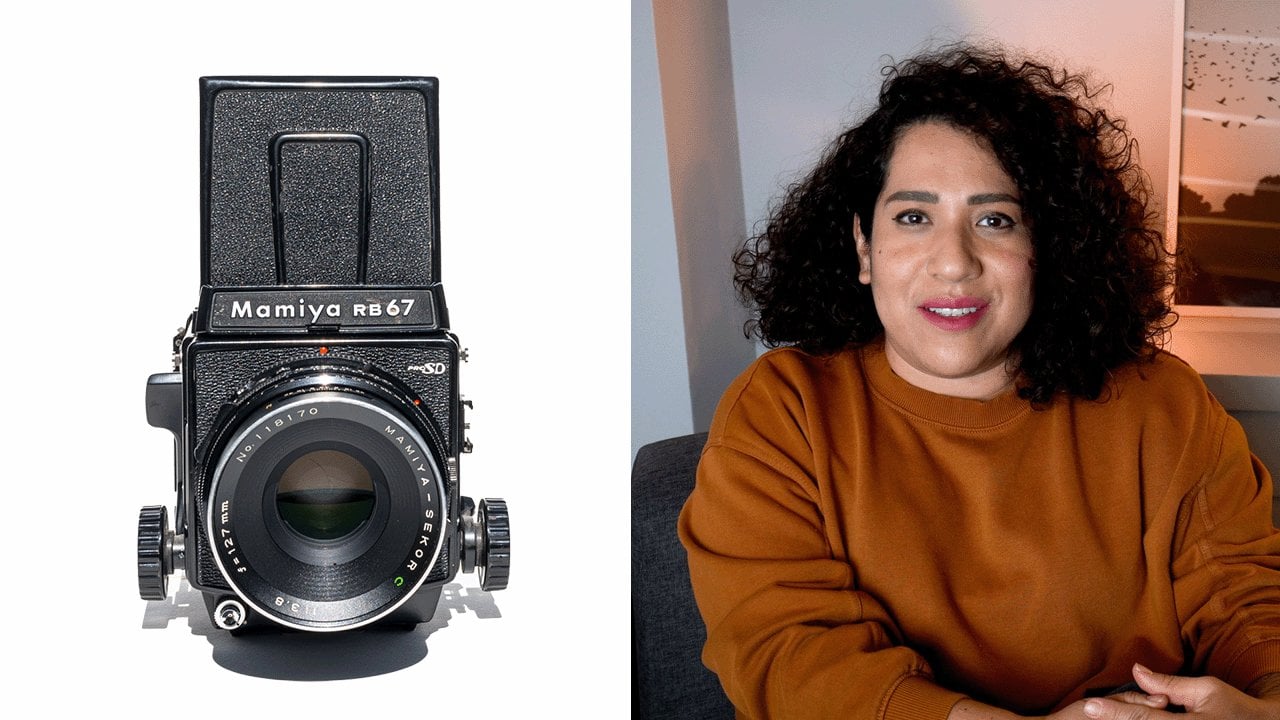
3. Lighting setup in the studio: I have a small collection
of analog cameras. I have used all of them. So I thought about using one of my cameras
of model today. And this one is a media and
it's quite big and heavy. And it's very pretty because
it has a lot of texture. It looks so nice with a bag, with a white background
because all the details in, in the, in the camera
really bump up. As you can see, I
place the paper with a little bit of
curvature behind. We can create this nice
curve in the background to make the light Jews wrap
around the subject, in this case the camera. This kind of setup, what it does is once that I press the shutter,
the light flashes. The light is going to wrap around the object and it's going to create an even lighting
throughout all the sides. And also is going to give you this really nice texture
that the camera has. The kind of highlights
that we're going to have. The shadows are going
to be the same, the same in all the
places around the object. And that's why we want to have the light
coming from above, from over this object. So we can have this
nice lighting. Let's do a test and take some
photographs of the camera. And let me show you
what's the final result. Here is an example of one of
the photographs that I took. And as you see, the light wraps around the object so nicely. And you can see a lot of
texture in the object. And the shadows are very soft. They are defined but
not really extra sharp. They are defined, and
also they are soft. So we have these
beautiful lighting. We just have to do a little
bit in post-production, but really not much. So I wanted to see what
kind of product did you photograph using these
white background setup.
4. The images : Resulting images from the
day that I photograph, the small collection of
cameras that I have. I drawn like this
lighting setup, because when the light
hits the object, all the textures really show. Since the light bounces
around all the sides, you can see all the details. Actually, you can use any
kind of objects that July. You can see that
it's very simple. You can do a lot of
work in one day. You can have a series
of objects that you want to photograph and
just keep changing it. What I would advise
you is to take photographs of your object
from different sides, not just only one side. Here as you see, I stood up or at eye level, took photos of the object. Just make sure that you
have your right exposure. Because that is going to
save you a lot of time. After in the editing process, my small collection
of analog cameras gave me the chance to practice once again, these
lighting setup. And as you see well, they are very photogenic. They look very nice
on this slide. I will be using these photos
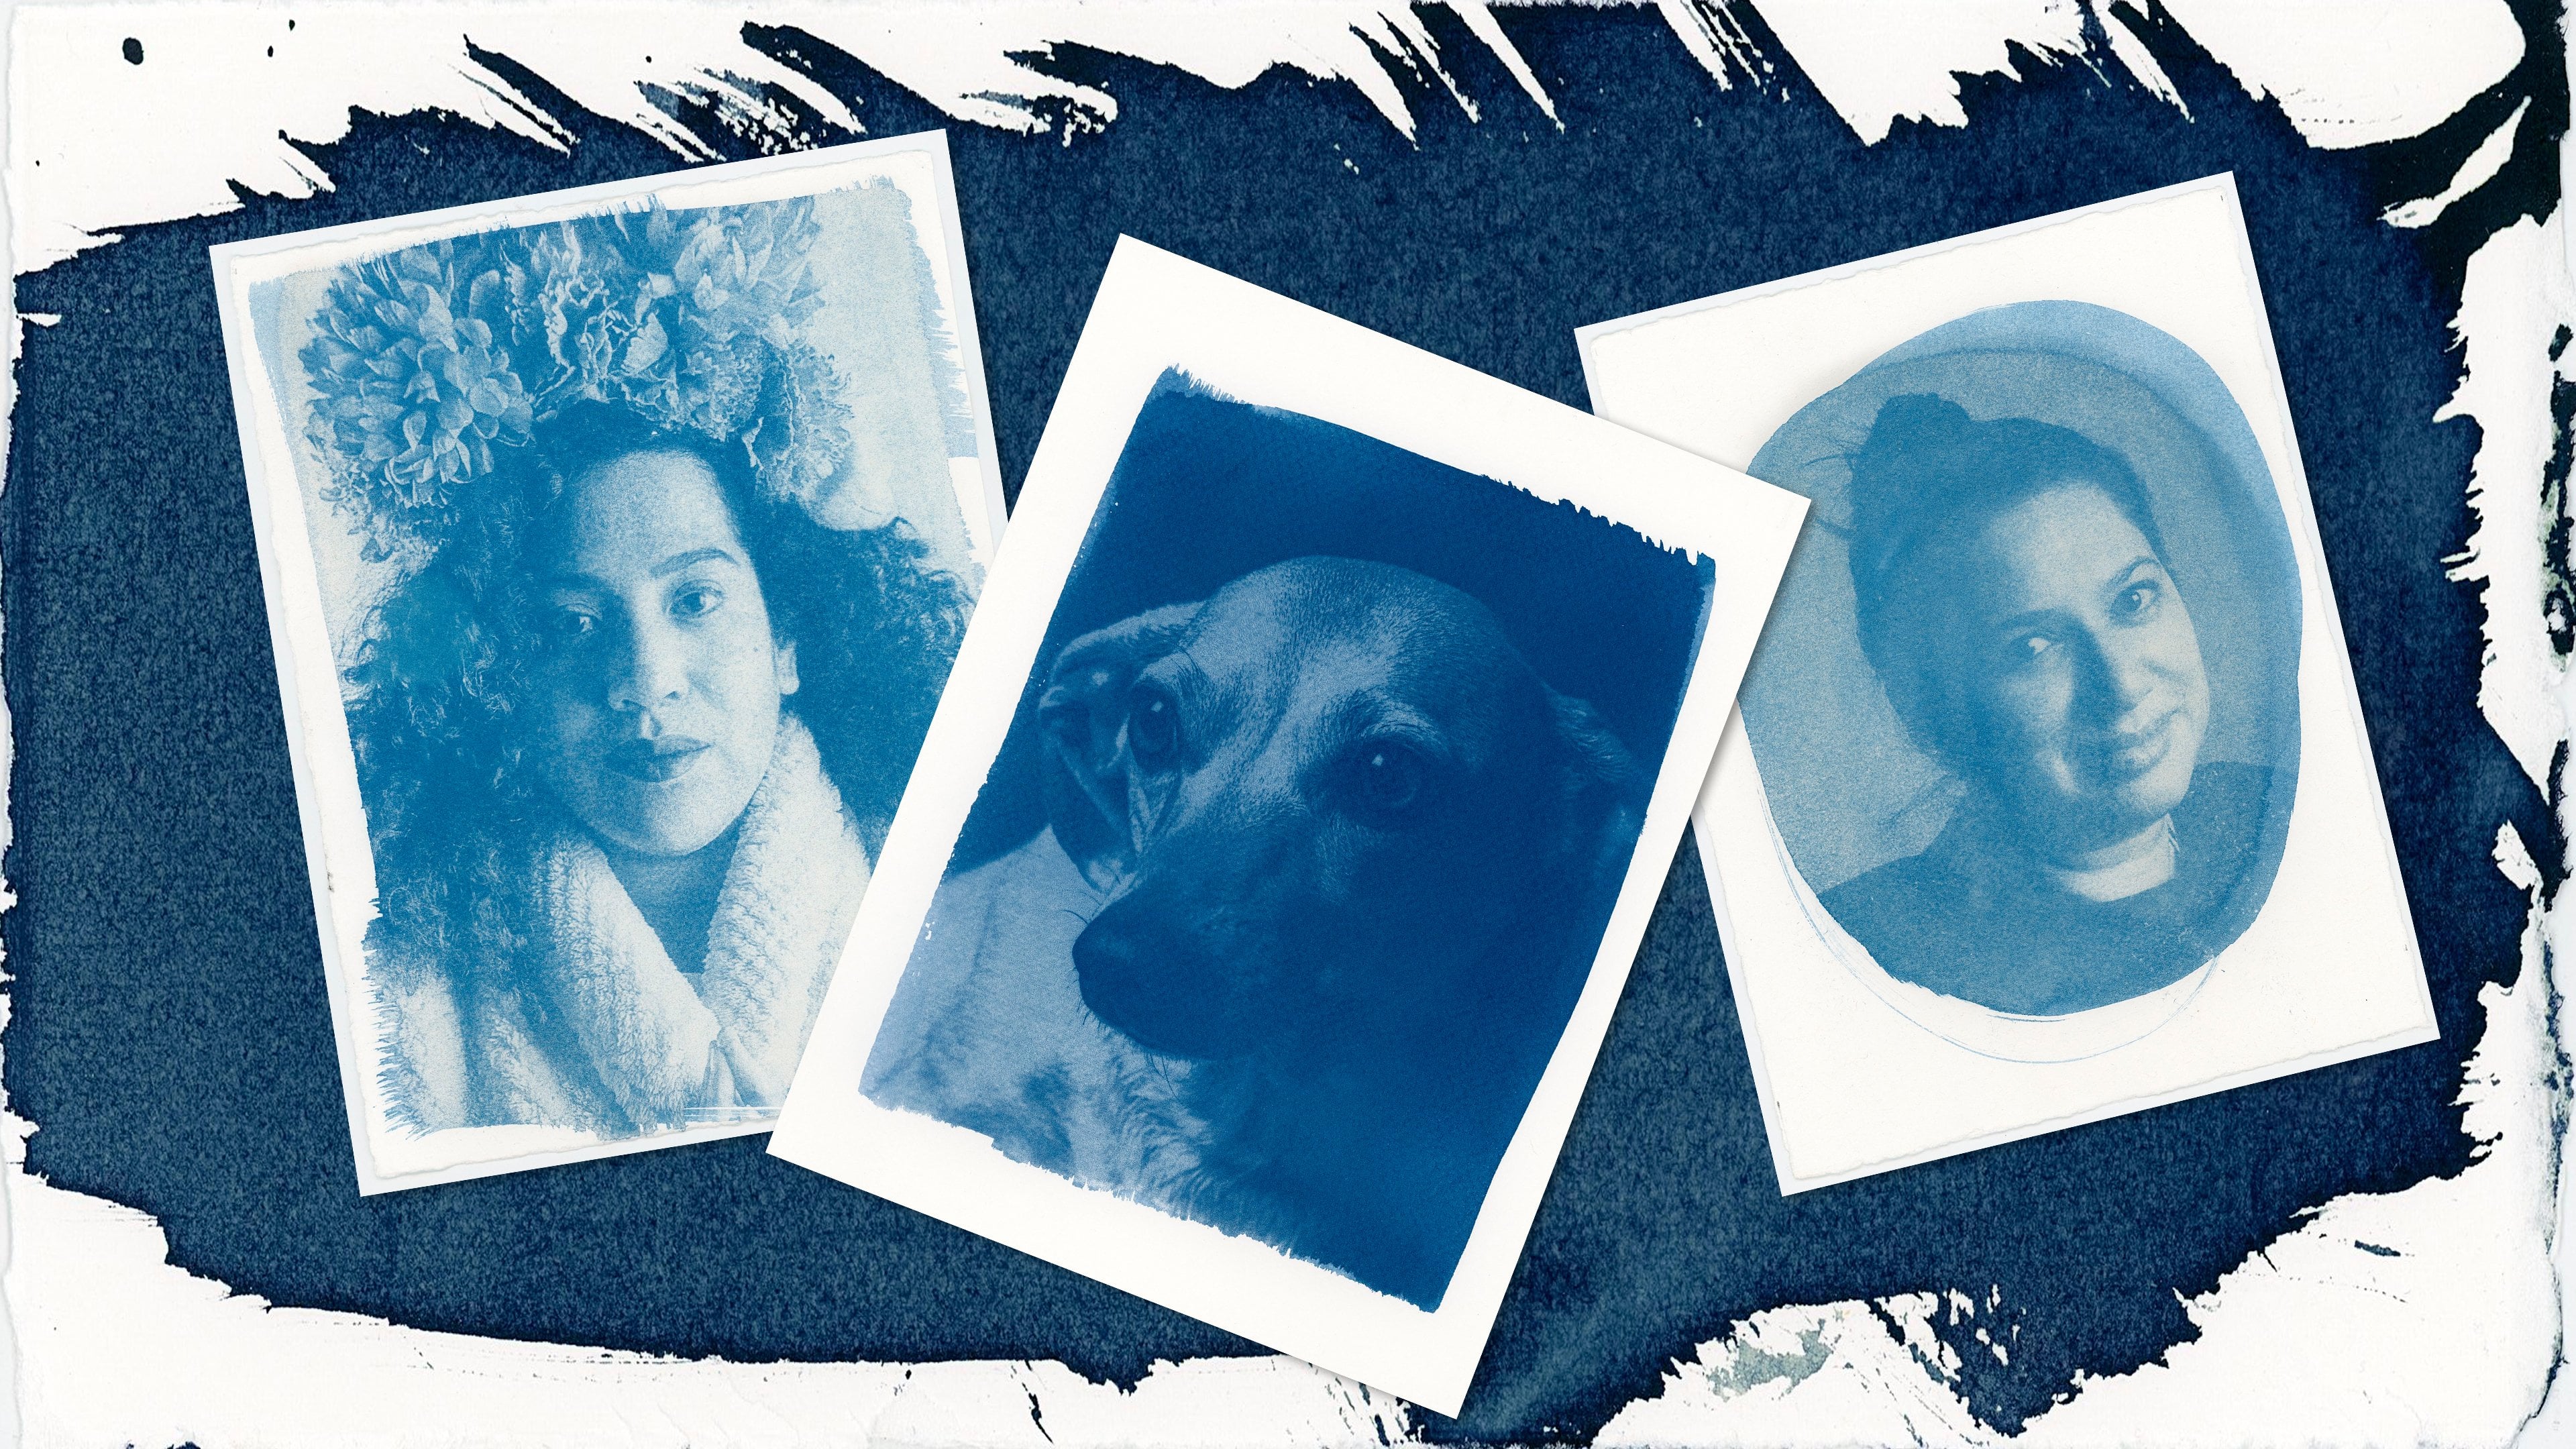
for not only this class, but I actually want to
create some cyanotype using these images because when you have a big
white background, you can isolate just the object. So I think this will be very
useful for other projects. Not only this one.
5. Editing process: I will be using Lightroom
to edit my photos. What I do, It's very simple. I just wanted to change a
little bit of the exposure. Remember just to do the changes according
to your own image. As I'm considering here, what I need to change is mainly the shadows because
the white is very wide. So I'm just good to
adjust the contrast. The highlights see how this
effect in the final image. As you see here, the shadows are the ones
that when I change, when I open the shadows, the image changes completely. It's very minimal. All the process that I'm
doing for this part. Just move this slider and
see what happen here. The whites, because I want the white background
to really be as white as it can be that do
not affect the final image. Also to see the texture. And in this case, and we will be changing
texture and clarity. This just makes the big
saucer bit sharper. While Lightroom has bottom
for chromatic aberration, lens profile correction
for over the lens. So you can click that one if you have or if your app has it. Also, the access
transformation it creates. It helps when you
have vertical lines. If you have it, click it. I think the final part will be changing a bit
of the temperature. I want it a bit warmer. And also to change the crop. These to make the merch
balance because I had that part to the right
where I didn't have papers. So cropping really helps. Just a little bit and move the crop around and
see what happens. I think that's it
for the final image. And just remember to do this process with
the app that you have available if you're using your smartphone or your laptop, use what do you know? It doesn't have to be
Lightroom precisely. Please share your projects. It's very important and
also leave a review if you have a little bit
of time and you want to see more
classes from me. That's it for this time. I hope to see you soon
in another class. Bye.
 Cecilia Cruz Sandoval, Photographer / Content Creator