Transcripts
1. Intro: Y. Hi and welcome to this class. My name is Nadia, and I'm a professional artist currently living and working in Berlin. In this class, I'm
going to show you three simple ways to get
your image that you want to paint onto paper so you
can get straight to the part you actually
enjoy. Drawing or painting. Working from a reference image can be a great starting point, but getting the image
onto your paper isn't always as straightforward
as you would like. And sometimes you don't want
to spend hours working on a preliminary drawing before
you can even start painting. So whether you're working
on a watercolour portraits, preparing a more
detailed drawing or simply want to get
your proportions, right, knowing a few different
methods to get your image onto your Paper
can be really useful. We'll look at three techniques. The grid method, tracing with a light source and transferring
an image using graphite. Each has its own advantages, and I will show you how
they work so you can decide which one suits
your project best. You won't need any
expensive equipment. Most of the materials you
probably have at home already, like pencils, paper, a
ruler, and an eraser. For one of the transfer methods, we'll be using a light source. But you don't necessarily
need a light table. You can also use a window. This is a short practical
class suitable for beginners, as well as more
experienced artists who want to explore
different ways of working. You can build on this class by continuing to take one of
my Watercolor classes. For example, watercolour
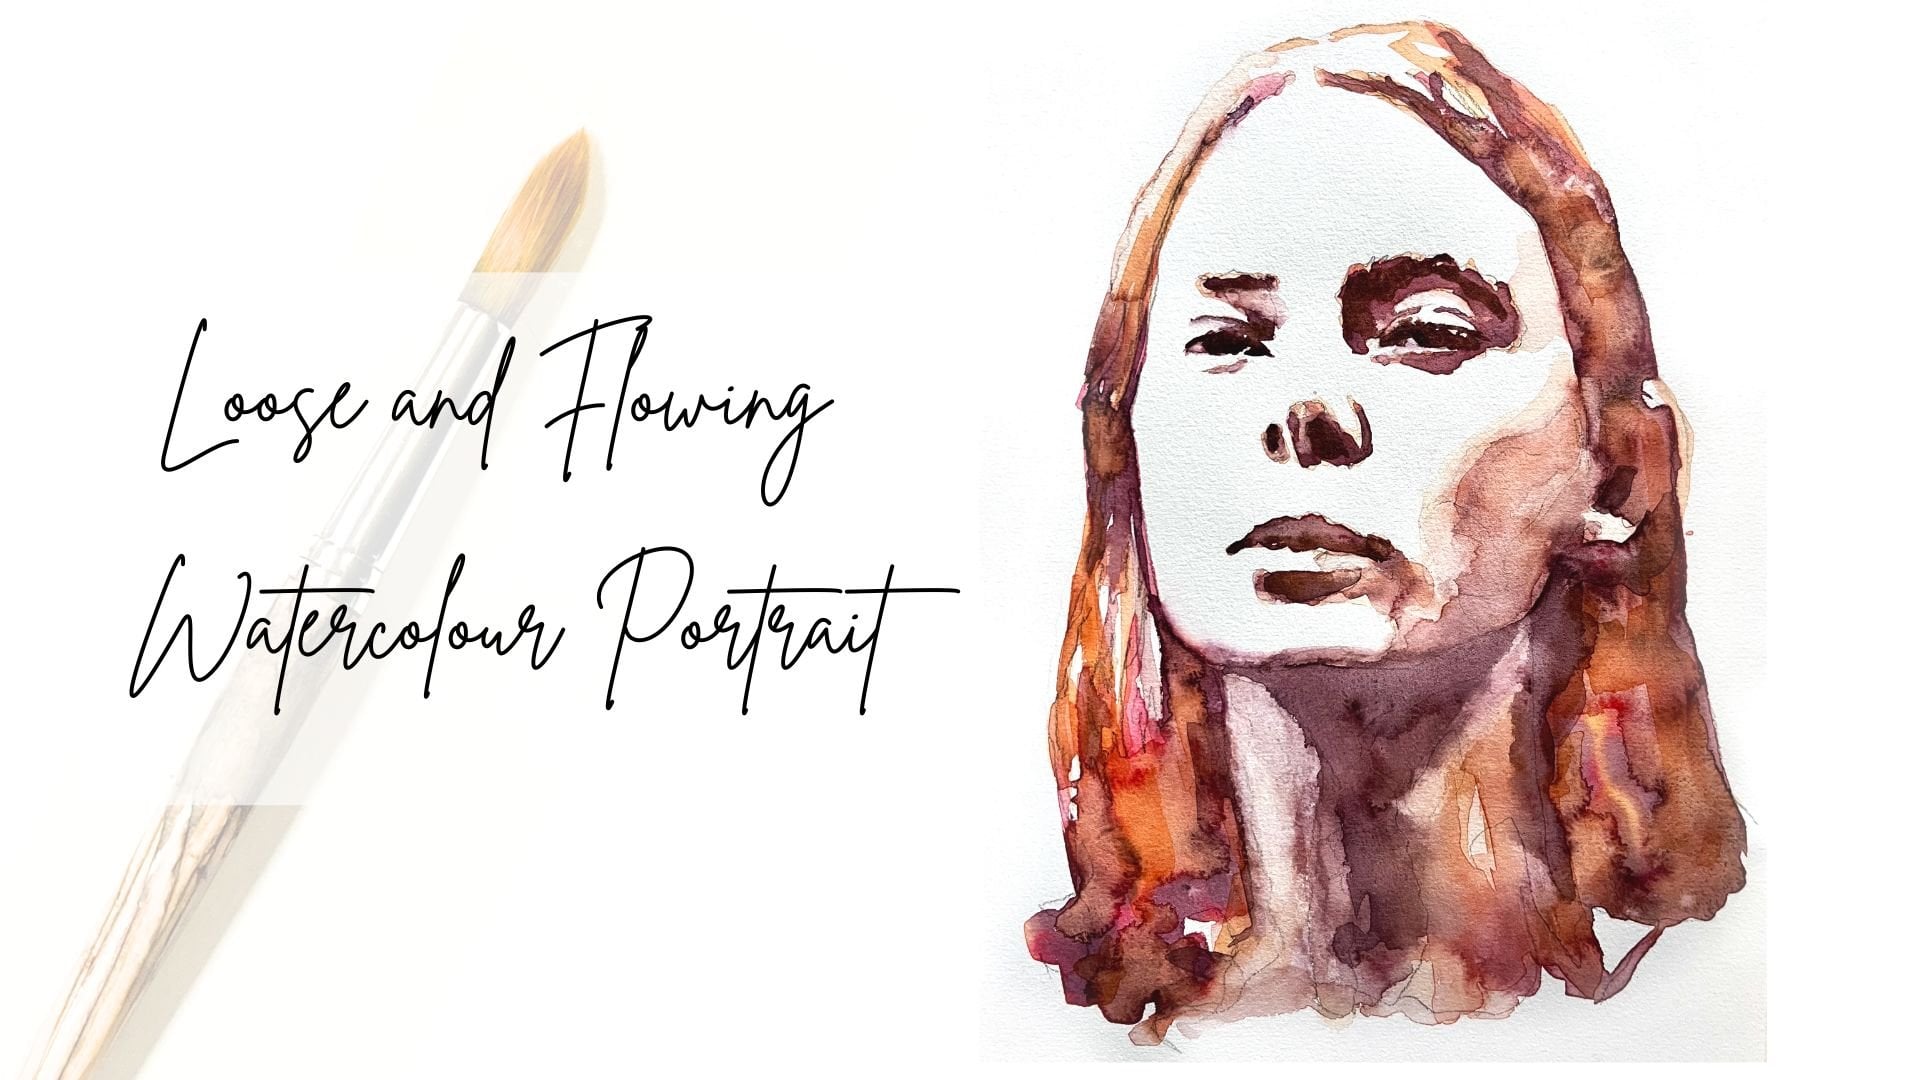
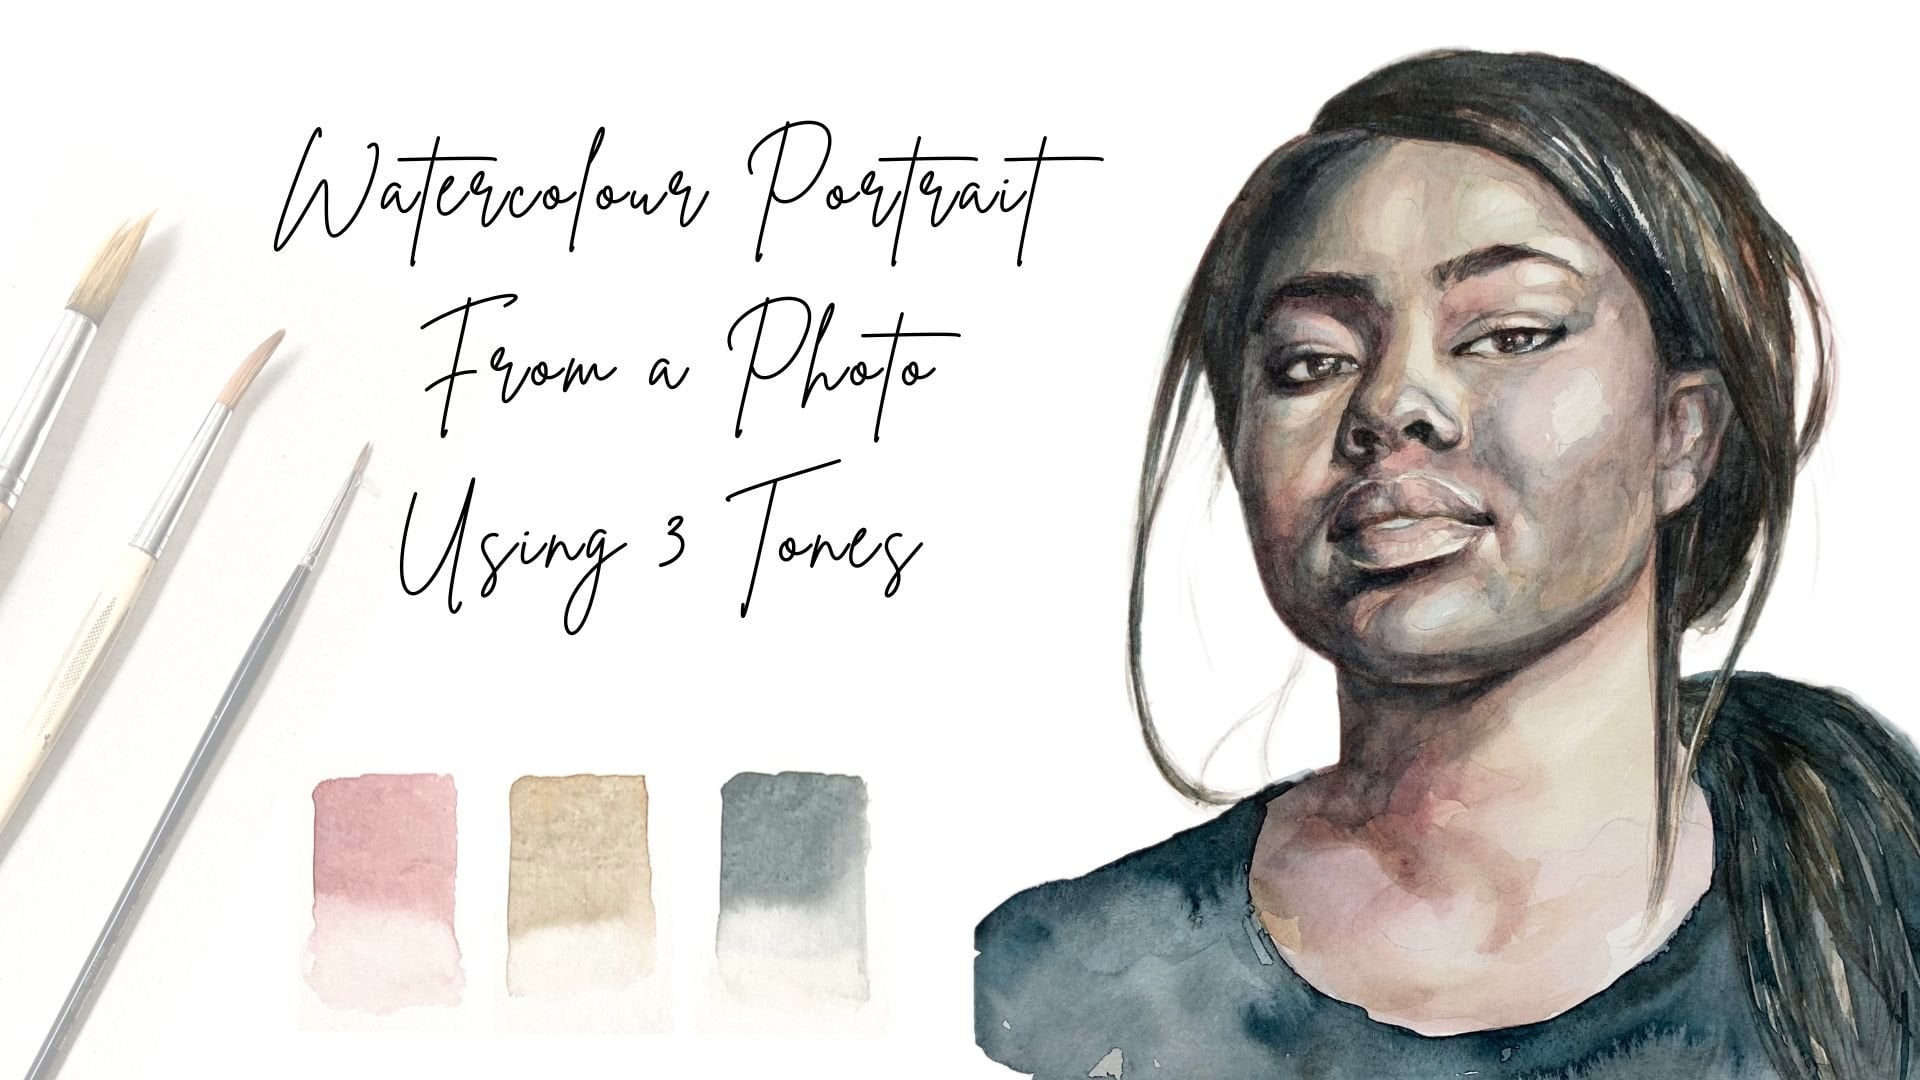
portraits from a photo or watercolour portraits from
a photo using three tones. But for now, let's get started, and let's get that
image onto your paper.
2. Project & Materials: For your class project, I'd like you to try
out at least one of the three transfer methods. You can use any reference
image you like. I'll personally be
working with a portrait, but these techniques work just as well for other subjects. If you're curious,
you can also try all three methods and
compare the results, and you might find
that you prefer one technique over the other. Different methods work better
for different projects. Let's quickly go
through the materials. First, you'll need
your reference image printed out either in
color or black and white. You will also need some
drawing or watercolor paper, a six B, seven B or eight B
pencil and an HB pencil, as well as a hard pencil
or four point pen to trace over your image and
an eraser and a ruler for the light tracing method, you will need a light source. This could be a light
pad or a light table, but a window can also work. Some masking tape will also come in handy to keep
everything in place. You don't need all
these materials if you're only
trying one method. Once you finish,
take a photograph of your transferred image and upload it to the
project section. And I would love to see which method you choose
and how it worked for you. Okay, let's get started.
3. Graphite Method: I have printed out three
different portraits from images that
are found on splash and I'm going to show you three different methods of getting that image onto
your watercolor paper. I'm using 300 GSM, fine grain, watercolor paper because when we eventually do paint
on this with watercolor, it will buckle a lot less. The higher the
gramature of the paper, the thicker it is
and so it won't be so sensitive to
buckling under water. The first method I'm
going to show you is the graphite method. For that, we need
a graphite pencil. I have a seven B and
an eight B here, it should be something like
that so that you really get a nice spread of graphite
onto your image. What we're going to do
is we're just going to turn that around with
my eight B pencil, I'm just going to put a layer of graphite on the back
here, just like this. We want to make
sure there's enough so that this transfers onto our paper when we turn the image around and
we draw over it. Don't be too sparing with it. It's always best if
you hold the pencil almost parallel to the paper. I'm not going to cover
the entire paper because all I'm going to be interested in transferring
really at this point is the face and
features of the face. I'm going to focus
mainly on that area because I can see it
through the paper. Making sure that
I've got enough in the area that's actually the
face so that in a minute, the graphite will
transfer onto my paper. I think that's going to be
enough. The reason why we use an eight B or a seven B or even a six B pencil is
because they're softer, we're going to get more
graphite easier onto our paper. Then I've got my paper ready to get this image on there and I'm just going to place
the image on top. Then before I tape it down, I'm just going to do a
little test and I've got a Bro here so that I can
press nice and hard. But we don't want to press too hard because we don't want to make indents on the
actual paper underneath. I'm just making a little test just to see how hard
I got to press. I suggest you do this too, just try a few
different pressures. You can see that the
drawing is transferring here where I've just tested it. I'm going to tap down
the paper so that it doesn't move while
I'm trying to draw it. Then I'm just going to start outlining areas that
I find interesting. The contours of the
face, the eyes, the eyebrows, the nose, the lips, probably the neck. I can see the hair
is around here. I'm going to outline that as well and then
I'm going to make a few outlines as well
for things like shadows, some lines here.
But let's start. I'm going to start
with the hair. Remember, we don't want
to be pressing too hard. Just get the jacket in here. We don't want to be
pressing too hard so that we don't get dense in our watercolor paper
because that will be a little unforgiving once
we start painting. Here, then the contour of
the face here with the hair. We really just want to indicate where we're
going to paint. We don't need a very detailed, very dark drawing, just
giving ourselves some clues. Going over the eyebrow here, and continuing with the contour
of the face on this side. Underneath and you can see
there's a shadow here, I'm just outlining that as well going down
here to the shirt. There's a shadow here as well, so I'm going to
outline that too. Remember, you can always erase the lines afterwards
because it's graphite. Better have a few too many
than a few, not enough. Put some hair here, go with the hair on this side, and see it comes down here. I think it comes up here.
It's a little unclear, but we can always
change that later. This is really just to
give us an indication, as I said, where
we're going to paint. Right now, I'm
going to start with the features of the face. I've already done one eyebrow. I'm going to do the
other one over here. Just roughly outline that. Then this eye over here, and iris and the pupil and
also the highlight in the eye. I want to definitely
highlight that for myself so that I don't forget to
reserve it afterwards. He's also a highlight. Then I'm going to outline
underneath the eye here. It doesn't matter,
you don't have to be super precise here. We're really just trying
to get this onto the page, and we can always
erase the lines. Going to mark the shadow
underneath the eye as well, and then I'm also going to
mark in this shadow here. It's going to make a difference
at the time of painting. Then you can see there's a
shadow here on the nose. Also going to put that in
for myself and the nose, the nostrils this shadow here is also going to be important at the
time of painting, the other side of the nose. Also this part here. Then let's do the other I. Actually, I'm just going to also mark on this because I can see there's different
planes to the nose. Nose is a little bit
hard because it's not outlined apart
from this part here. But this is basically
just different planes coming outwards and
back onto the face. Other I, same thing. Just going to
outline for myself, highlights and the
features and the shadows. There's a line up here. There's
a little crease up here. Eyelashes. Perfect.
Then same thing where the eyelashes
go under the eye and then here this little
shadow underneath. Also here, I can see
there's a little bit of a highlight and a little bit of shadow underneath the eye, and then I'm going to go onto
the mouth and just first draw on these creases
and where the lips meet, and then I'm going to go with the upper lip and then
with the lower lip. Right away, I'm also going to just put in some
highlights here. I'm also going to put
in this highlight on the top of the lip, which I want to
reserve for myself. You can see I've also put in the shadow
underneath the lip. This is going to be
also really important, the part underneath the
lip before the chin. Then this part here, the
corner of the mouth, it's going to be a bit
in shadow as well. This is also bit in shadow. Then I start to look at
this side of the face where the cheeks are and where these
shadows are from the eye. Going to mark them in as well and here the side
of the forehead, the cheek more or less is here, and then we've got a little
bit of a shadow coming up this way and this way. Same on the other side. Okay. I think that's pretty
much all we're going to do for marking in shadows, or maybe we can also put in this one here and
just a little bit. There's always a shadow between the eyes here on the forehead, maybe also this one here. I'm going to leave
that there. That will be my drawing to start painting. I'm just going to
lift up the image to see if I've transferred it correctly before I remove it. So you can see that's
actually quite enough to work with for my watercolor painting.
It's nice and faint. I didn't press too hard, so you can see the lines, but it's not indented
in the paper, and this is where
I would leave it. It's a really simple method. If you've just got
a graphite pencil and your printed image. Now you can see I've
printed mine in color, but it's absolutely
not necessary. You can also just work with a black and white
image for this. I would recommend if you're
going to be painting in color that you would
use a color copy, but you can also look
at that on your phone. That would be the first way of getting your image
onto the paper. Let's have a look at another
way in the next lesson.
4. The Grid Method: This method is called
the grid method, and for that, we are going to be transferring this image onto
this paper using a grid. We're going to be drawing
out our grid by dividing this image into several squares
and then doing the same. Basically, let's
say, this image is 18.5 centimeters wide
and 25 centimeters high. I'm going to be
drawing a square or rectangle onto this paper
with the same measurements, and then I'm going
to divide it up into squares of probably
about 1 centimeter. Maybe for that, I can make this image just 18
centimeters wide so that it's easier and I can just divide
it into 18 squares wide and then 25 squares high. We said 18 centimeters. By 25 centimeters. We'll try and get it as
straight as possible. Obviously, you can measure
out the frame 1.5, also 1.5. I am using an HB pencil
for this, by the way. Now we have to make a grid on here and make
a grid on our paper. I'm just going to start
by making a grid here. I'm just going to limit this to 18 as well so that we have the same measurements, 18, Okay. As I said, now we're
dividing it up into 1 centimeter
squares and for that, I'm just going to
make little marks here where there centimeter. So five, six, seven,
eight, nine, ten, 11, 13, 14, 15, 16 and 17, then do the
same on this side. That's 25 and then we're
going to do the same over here and also on this side. Try and be accurate
about this because now we're going to try and get straight lines across from where the
centimeter marks were. This is a great method
if you're doing a really large
scale work as well to get your small sketch or image onto a large surface
because you can really see what's in which square and then quite easy
to transfer over. Now we're going to do the
same for this slide here. You line up the ruler on both sides and then
you make your squares. Okay. Good. You can see we've got a
beautiful grid now and now we've got to put a grid
onto this paper as well. We do the same thing. We mark our centimeters
for ourselves, all around the entire page on all sides so that we get the
straightest lines possible. Remember not to press too
hard and same thing again. Going to match up on
each side and then draw our lines across,
start making our grid. It doesn't have to be perfect, but we want to get it
as much as possible so then we can know which feature
goes and which square. We now have both images with 18 squares across
and 25 squares up, and now we're going
to start counting. I'm just going to
switch this around. I think it's going
to be easier for me to look at my reference
image on the left. I'm just going to take
that down so that I can draw without it
moving all the time. We're going to start seeing
what goes in which square. I'm going to start with
the outline of the here. We can see it's around here, which is two squares
down and one, two, three, four, five, six, seven, eight,
nine squares across. Actually, it's
three squares down. It's at the bottom of
the second square. Three, four, five, six,
seven, eight, nine, here. And that comes down, you can see it goes
through the square here, and then there's this gap. Here, you don't have to count
every time the squares, you can also just have a
look, what does it look like? Well, here, we've got the
hair and then we've got the negative space and you can
just try and emulate that. Of course, you can count
every time if you want. But I think this is also really doable
and it goes faster. This goes almost through the
edges of the square here and it comes down pretty much through the edge
of the square here. And you can really
observe positive space, and negative space here. This is the hair and there's
nothing here and you can really see there's a
pattern in the squares. We're just trying
to follow that. And then the hair goes out. Perfect. Now we're going to do the same for the other side. We said, this is one, two, three, four, five, six, seven, eight, one, two, three, four, five,
six, seven, eight. All right. We're starting here
and it's almost occupying the entire square and then
it comes down and across. Almost the entire square
here, but not quite. You can see there's
a tiny little gap, and then it comes through
this square here. Remember, it doesn't
have to be exact. We're just really
trying to place our drawing on the paper here. You can see that the shoulder comes in the third
square from the bottom. Shall we try starting with
the contours of the face? Shall we see where the chin is? One, two, three, four, five, six, seven, eight. It's in the eighth square up. One, two, three, four, five, six, seven, eight, nine across and eight up, one, two, three, four,
five, six, seven, eight. It's just in here.
Let's just make a little mark there and
see if we're nine across. One, two, three, four, five, six, seven, eight, nine, you can see that it occupies both eight and nine and
then it goes through here. That's basically the
chin and then it comes through this square here. Remember not to press too hard. Just go to concentrate a
little bit here so you don't get lost on which
square you're on. Right now we've got the
contour of the face. We could also put in the neck and for that, I'll
just count again. It's one, two, three,
four. Six across. On the other side,
let's have a look. That's one, two, three,
four, five, six, as well. That comes in just
at this corner here, one, two, three, four,
five, six, Yeah. Look, now we've got our
facial contours in the hair. Let's have a look where
the eyebrows go, shall we? Let's look at this one here. We've got one, two, three,
four, five, across, and one, two, three, four, five, six, seven,
eight, nine, down. Five across, one, two, three, four, five, one, two, three, four, five, six, seven, eight, nine, right here, and
we can have a look. It's pretty much basically
in the middle of the square. Let's try for the other one. We can have a look from
this reference point, it's one, two, three, and then it starts about
the same height as that one and it goes across
one, two, three, four. Don't have to be
super exact again. We're just trying to get
this image onto our paper. Now let's do the Esnaxs. We can take the eyebrows
a reference point now. We don't have to keep
counting from the outside, so we can say, it's one down and one across. We can see that the corner
of the eye is basically exactly on the
edge of the square here and it comes across the
eyelashes are pretty thick, so I'm just going to see
if I can outline it. That's the upper
outline of the eyelash. The iris and the pupil. If you make a mistake, don't
worry you can just erase it. Then you can see
that the shadow of this eyebrow comes
down with the nose, the shadow of the nose,
ridge of the nose, and it comes down
firstly across here, and then it comes
down one, two, three. You can see there's
a curve in here. Then the third one, we're already going out
into the nostril. You can see once you start getting your drawing onto paper, everything becomes
a reference point. We can tidy up these
lines afterwards. I'm just trying to really focus on what's in which square. Not really focusing so much on how my drawing
looks at this point. I'm just trying to
get everything in place and it might not look
like anything at this point, don't worry about that too much. Right now we're just focusing on getting a drawing the
features into place. Now we're going to go up to
this I here. We've got one. This eyebrow is in
this square here, and then one down is where the eye begins,
it doesn't begin. You can be a little bit
liberal with this as well. You don't have to
follow it to a m. Okay. Now for the fun part, we're going to erase
our entire grid, but we don't want to be
erasing our drawing, of course, going to
be real careful. I'm going to start with
the outside of the grid. This is why it's
important that we didn't press too hard because
we don't actually want this grid to feature in our painting in
the end at all. If you happen to erase lines while you're erasing
your grid, don't worry. I would just recommend
putting them directly back in so that
you don't lose them. We're just going to be
real extra careful here. Even if you start to
erase your lines, look, it doesn't really matter,
you can still see them. But once we start painting, if you haven't pressed too
hard on your grid lines, you shouldn't be able
to see those anymore. I like to use this
putty rubber because I can make it to any size I want. For the tricky smaller spaces, it's really handy and
it doesn't smudge. It doesn't make everything a bit dirty with the graphite pencil. It's a bit tricky in the
more detailed areas. But as I say, when you
erase part of the drawing, just make sure you
put it right back in. The fainter your
grid is, obviously, the better it is for you at
the time of erasing the grid. Obviously, if you're using
this method with things like acrylic paint or oil paint, or if you're using
it, for example, for murals then you're going
to be spray painting on top. It doesn't really matter
if you leave the grid. It's only because
usually I'm working with Watercolor that we really don't want this grid in the
background because it will definitely shine through if we don't erase it a little bit. I would start painting
at this stage, and then you can always go and correct things and adjust
things as you go along. Yeah, this would be
my finished sketch to start painting
with Watercolor.
5. Light Source Method: Okay, so for this method, we're going to be
working either with a light table or with
a very light window. So a window where you've got lots of light coming
through the back. I unfortunately don't have that, so I'm going to be working
with the light table. And for that, I have taped my reference image
onto the light table. And then I will just go and
place my watercolor paper, making sure it's the right side. Yeah, I place that over the top. And then I also
want to take that down so that it doesn't
move while I'm drawing. I find that this is
the easiest way to get your image onto paper. So basically, we just start to outline the important
areas for ourselves. So in the face, I can't really see where
the hat ends exactly, so I'm just going to
lightly outline that. Just going to go
around the face, the contour of the face. You want to do this on a
dark space so you can really see the light coming through if you're
using a light table. I start on the eye. Also
reserving the highlights. Eyelid here, shadow
here, eyebrow. Down to the nose. It's just
shadows and planes again. Marking all the shadows
for myself, nostril, and the other side
up here as well, to the eye, eyebrow, shadow over the eye, eyelid. Beautiful eyelash line here. Also outlining the shadows here. Also reserve the highlight
in the eye here. And then just this is
a bit of a highlight. There's also a bit
of a shadow here, another highlight,
and then we've got a little bit of a
shadow coming in here. And then this is
the cheekbone here. So this is sort of highlighted. There's a highlight here. Shadow under the eye, shadow on the side of the face, and then we've got the lips. There's a highlight on top here, which I'd like to reserve. And then the lip says there are some shadows and
some highlights in the lip, which I'm also going to draw in and then the open
mouth a little bit. There's a shadow here.
Always a little bit of a shadow at the
corner of the lip. Then we've got this from under the cheek bone, this shadow, and then it gets a little
bit lighter on this side, bottom lip, highlight, sort of a shadow,
more of a highlight. Highlight. And then got the
highlight of the chin here. This part's all pretty
much in shadow. I've got a little bit of
a highlight on the side. A little bit of a
highlight here. And then it gets a little
lighter around here. And a little later around here. In the ears can hardly see them, but we'll just draw
them in faintly. Other side. Again, don't be pressing too hard.
Let's do the hat. The hat comes round and
it comes around here too. Then we've got the
plats that come down the side and the
shirt, the neck. Yeah, the plat, shirt, plat. And that would be it.
If you want to check. You can always turn
off the light, and then you have the
outline of the drawing. And that would be the
light board method. That would be ready
to paint as well now.
6. Final Thoughts: Did Thank you so much
for joining me today. I hope you've
enjoyed this class, and I hope to see your
projects uploaded soon. Also, make sure to stop by my profile to see what
else I'm teaching. And you can do that just
by clicking on my name. If you love Watercolor
and you've always wanted to paint a
portrait with Watercolor, check out my class Watercolor
portrait from a photo, where we start from
the very beginning and go through all the basics, and by the end of the class, you will have all
the tools to paint a wonderful expressive
portrait with Watercolor. If you have any questions, please don't hesitate to post them in the discussion
section of this class. You can find me on Instagram under Nadia Underscore
Underscore Valeska. Of course, you can also
follow me here on Skillshare. That way, you're always
in the loop about new classes and other things
that I've got going on here. I hope you've enjoyed this
class, and if you have, then I would love it
if you could leave me a review in the review section. I read every single review, and they always motivate me
to keep making these classes to share the things that I have learned on my creative journey, and it also assists
other students in deciding which classes
might be right for them. Thank you again, and I hope to see you again in one of
my other classes soon.
 Nadia Valeska, Berlin based professional artist