10 Minute Art: Whimsical Mushroom Painting in Procreate
 Shannon Layne, Lettering, Procreate & Art
Watch this class and thousands more
Watch this class and thousands more
Lessons in This Class
-
-
1.
Introduction
0:43
-
2.
Sketching the Mushrooms
1:50
-
3.
Painting the Caps
4:58
-
4.
Adding Color to the Stems
1:53
-
5.
Wrap Up
0:24
-
-
- --
- Beginner level
- Intermediate level
- Advanced level
- All levels
Community Generated
The level is determined by a majority opinion of students who have reviewed this class. The teacher's recommendation is shown until at least 5 student responses are collected.
111
Students
8
Projects
About This Class
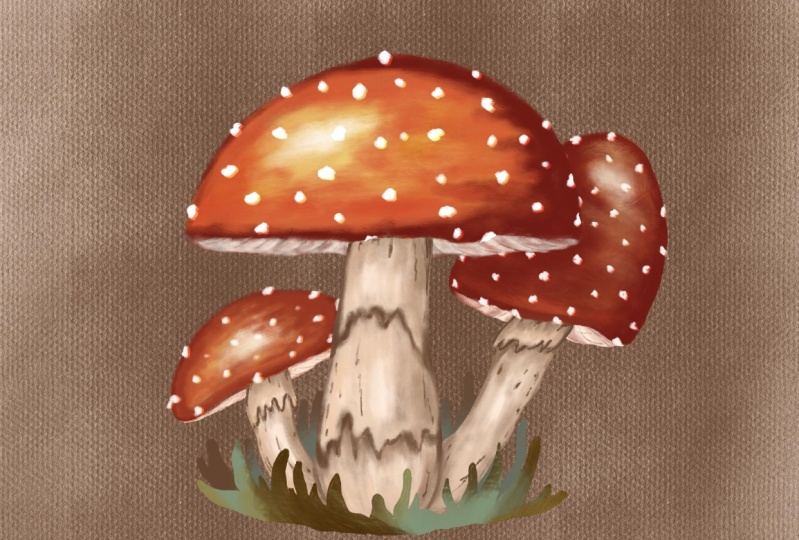
Got just a few minutes to spare and want to create something delightful? In this class, we’ll turn those spare moments into a whimsical mushroom painting session that’s quick, fun and oh-so-satisfying!
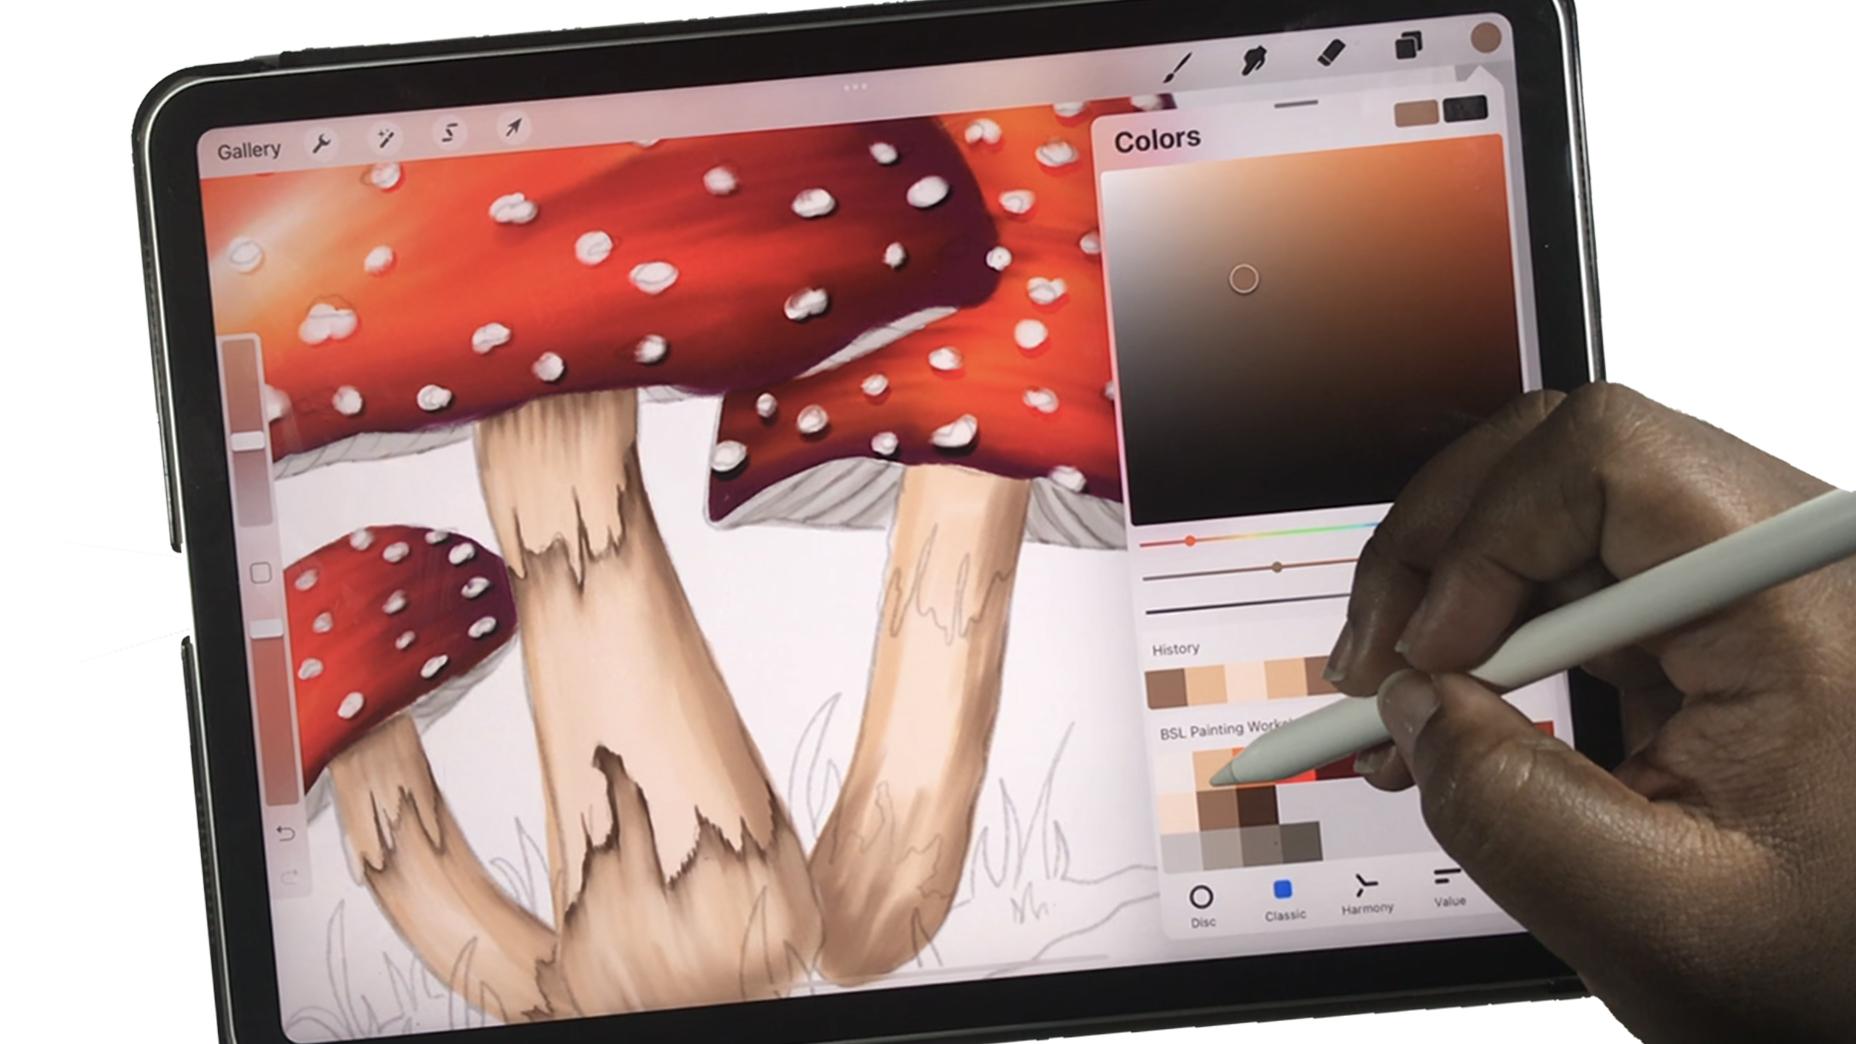
This project is perfect for anyone looking to explore digital painting and create a fun, small-scale artwork. The class focuses on basic Prorceate techniques, such as using layers, blending colors, and adding simple textures, all within a quick tutorial that’s easy to follow.
To follow along, you’ll need:
- an iPad with Procreate,
- an Apple Pencil,
- the free brush in the project section.
So grab your supplies and let’s get started!
Meet Your Teacher

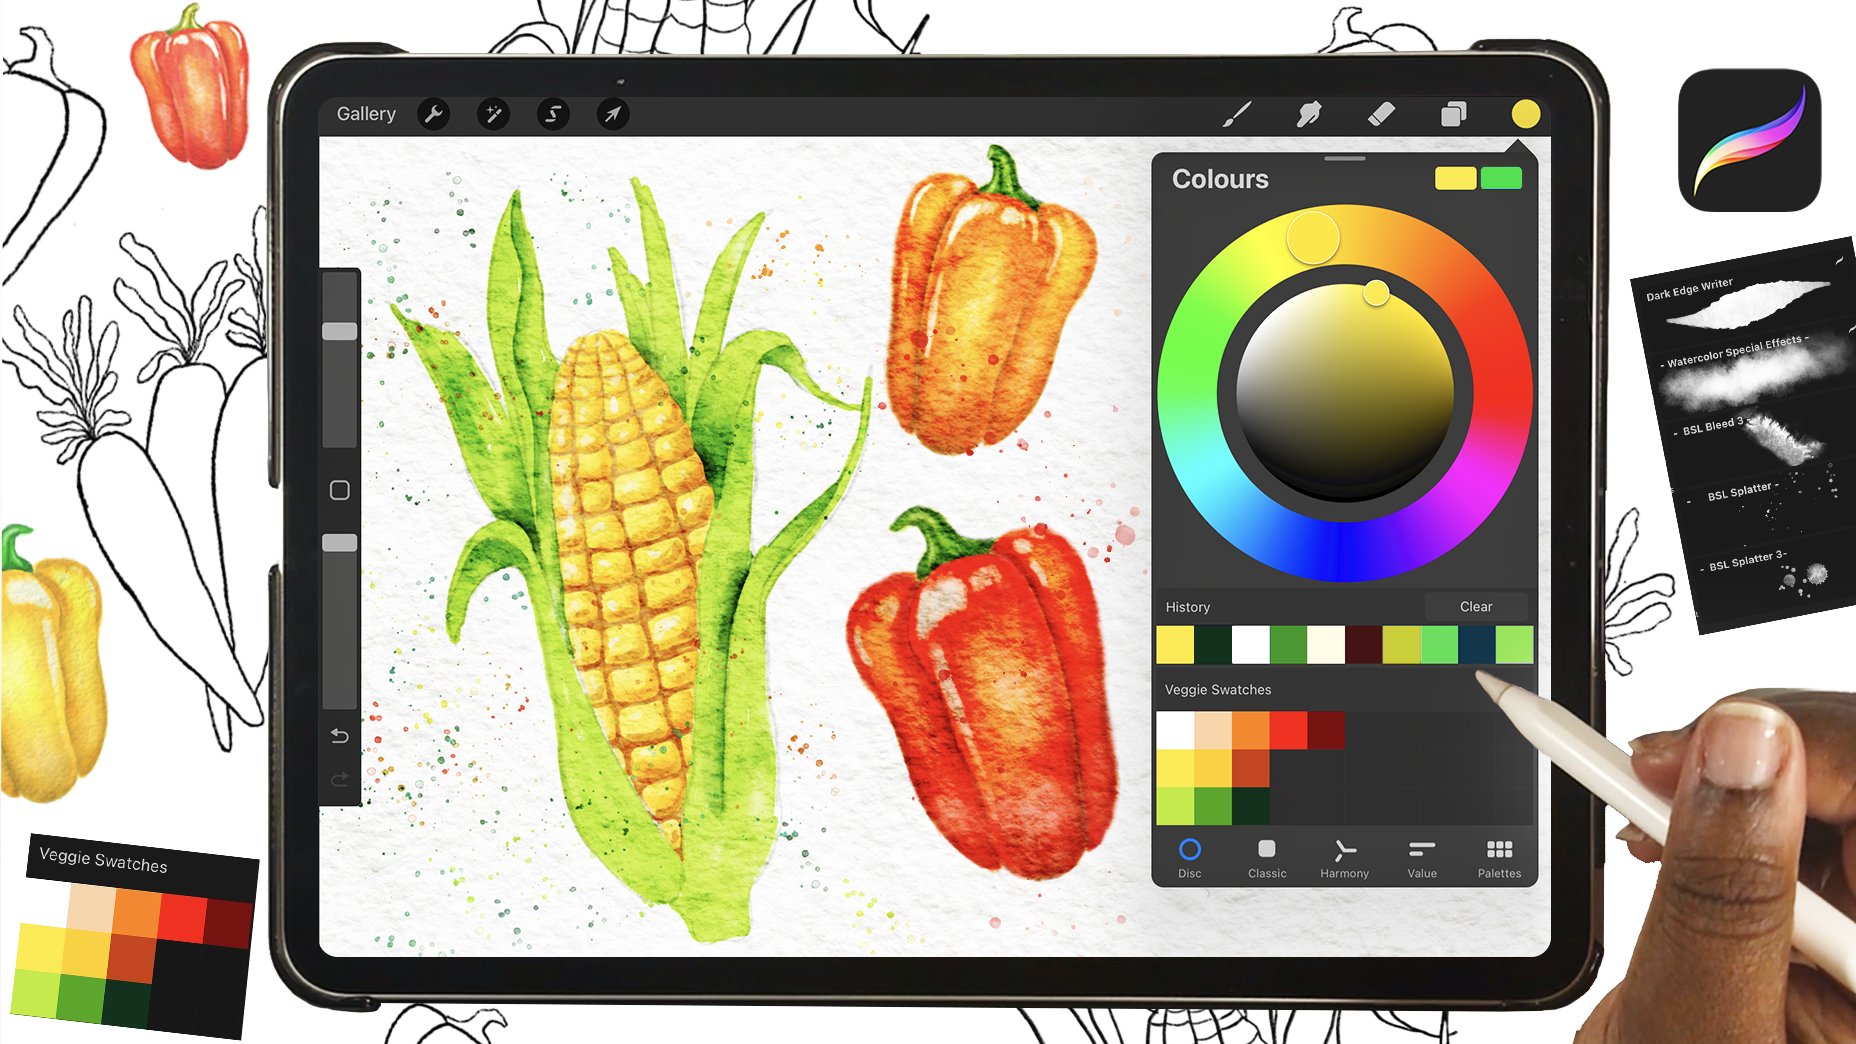
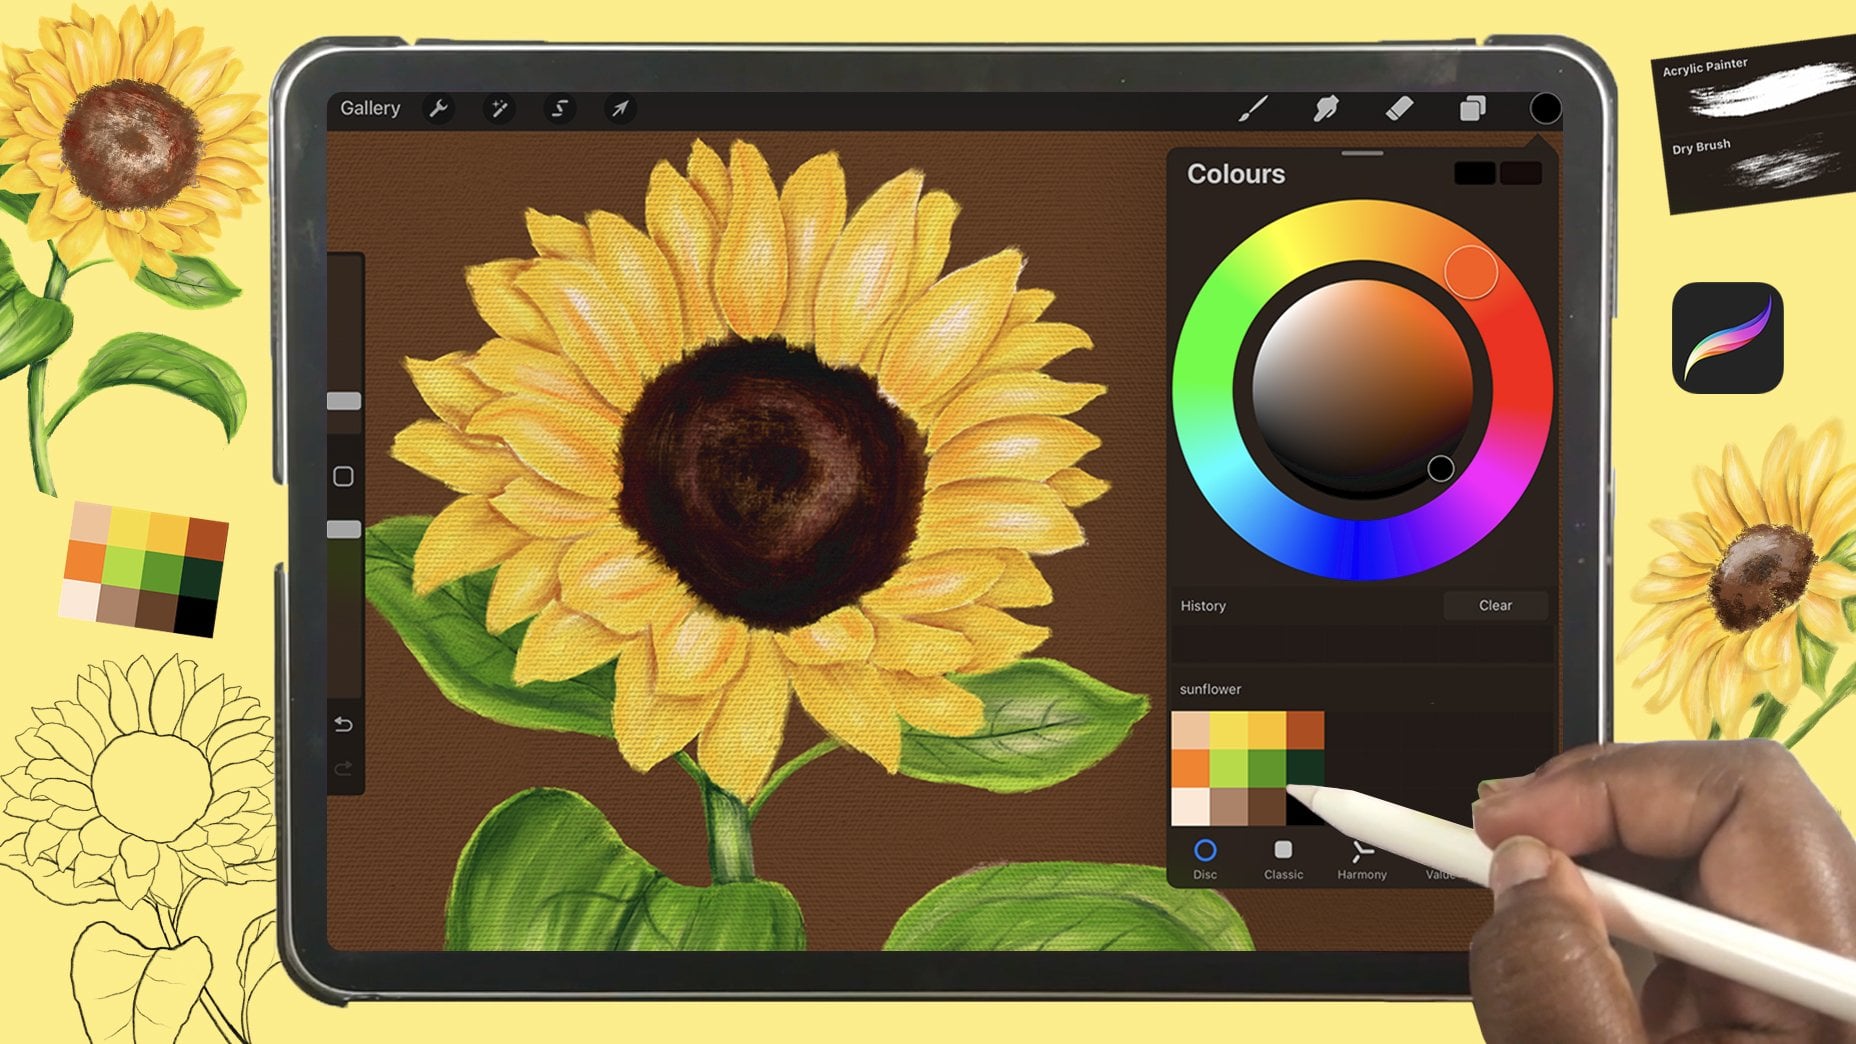
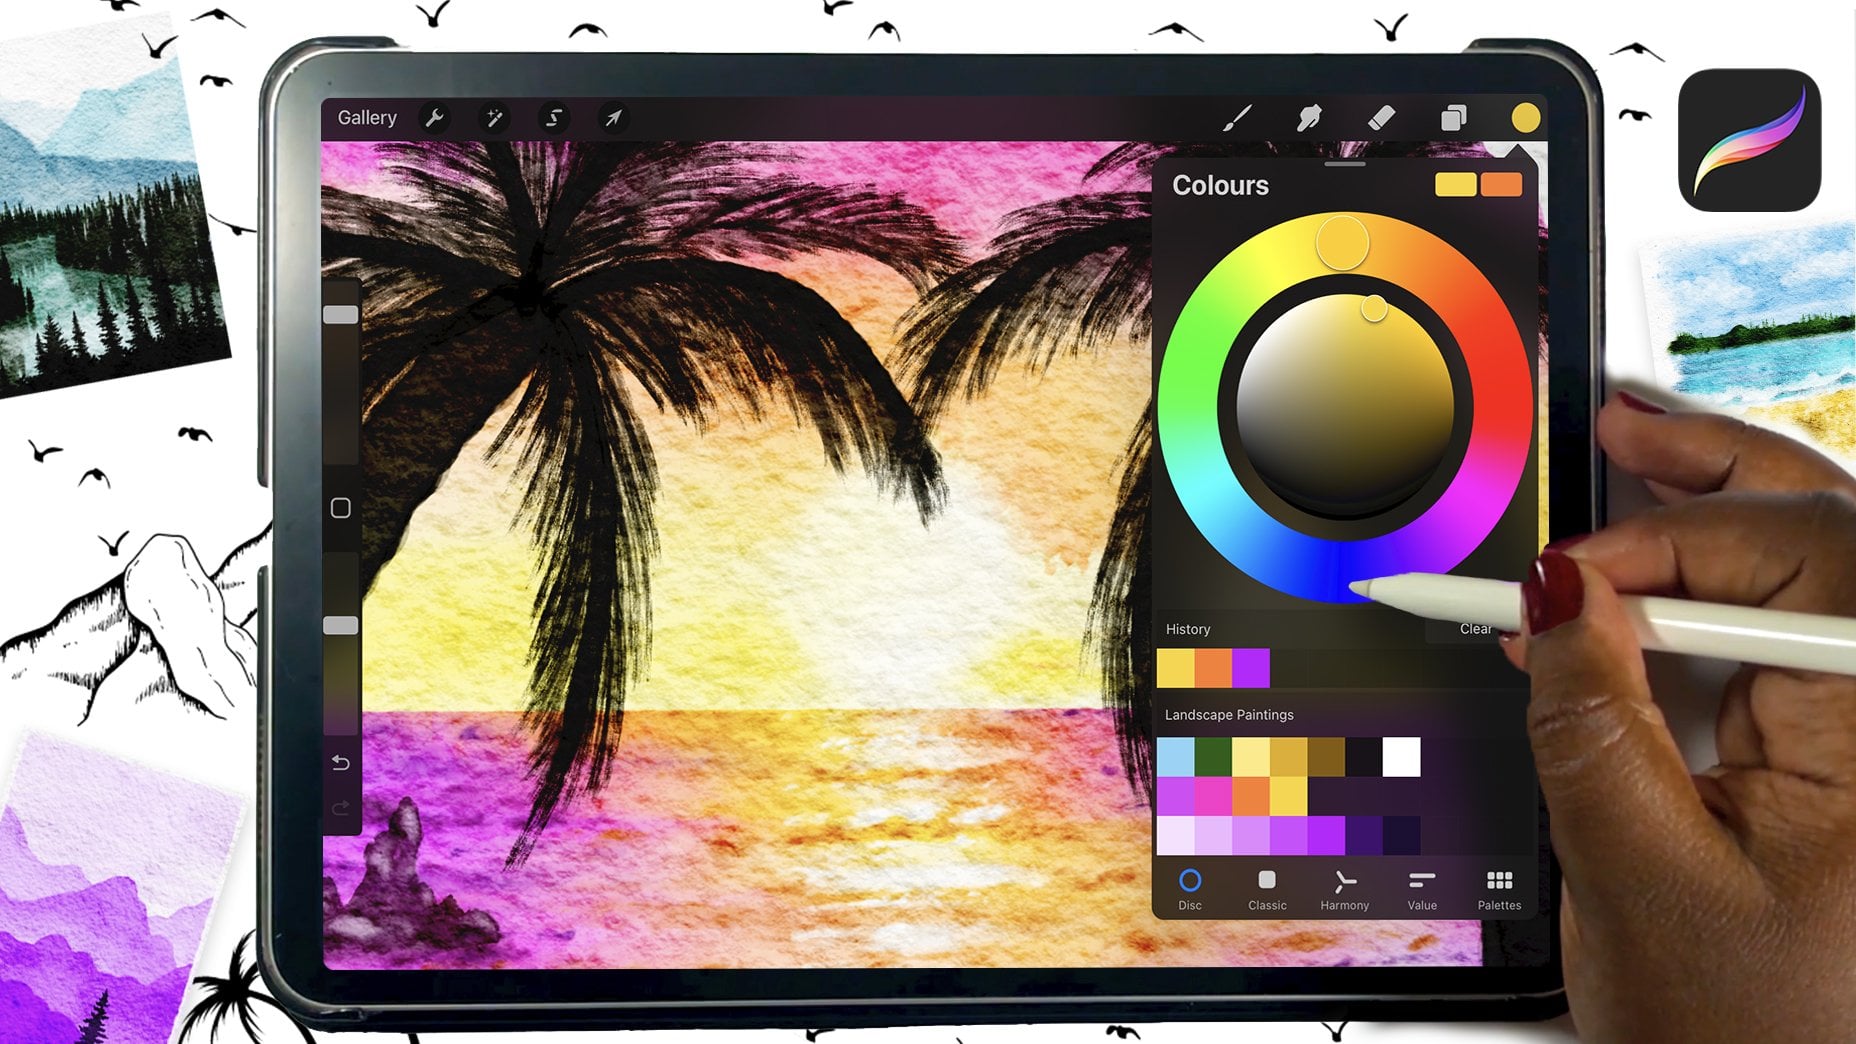
Hi there Creative! My name is Shannon! I'm a Hand Letterer, Artist and Teacher from Barbados. I've been wielding brush pens and paint brushes for the past 7 years and so far, my journey in the art world has been filled with splatters, spills, and a whole lot of joy and creativity! I love experimenting with a range of supplies from markers to watercolor, acrylic and even digitally in Procreate!
I believe that art is a fantastic way to express yourself and let your imagination run wild. So, get ready to unleash your creativity together!
See full profileHands-on Class Project
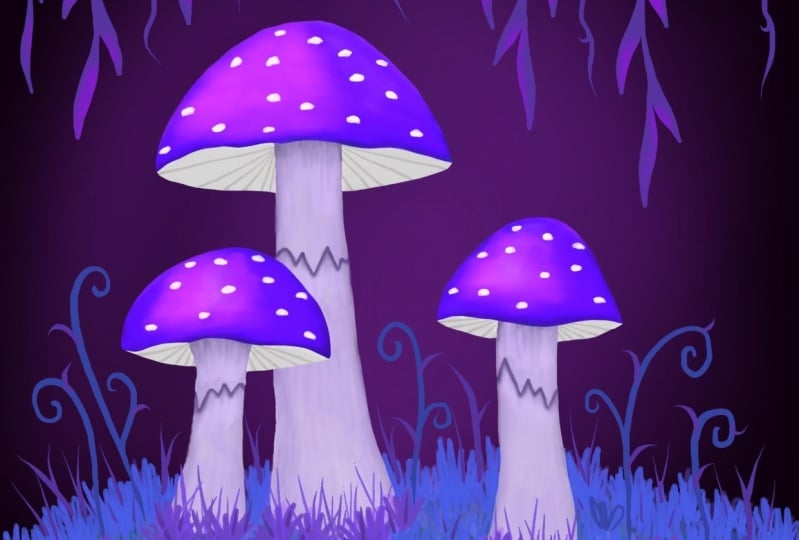
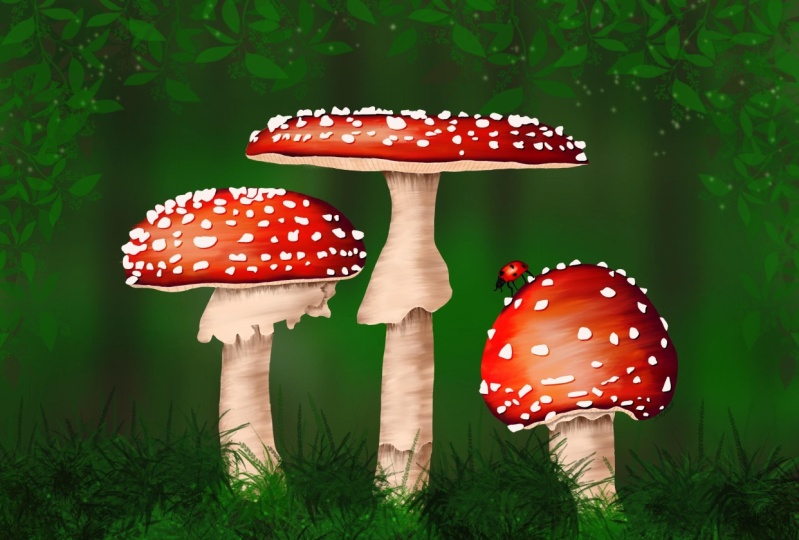
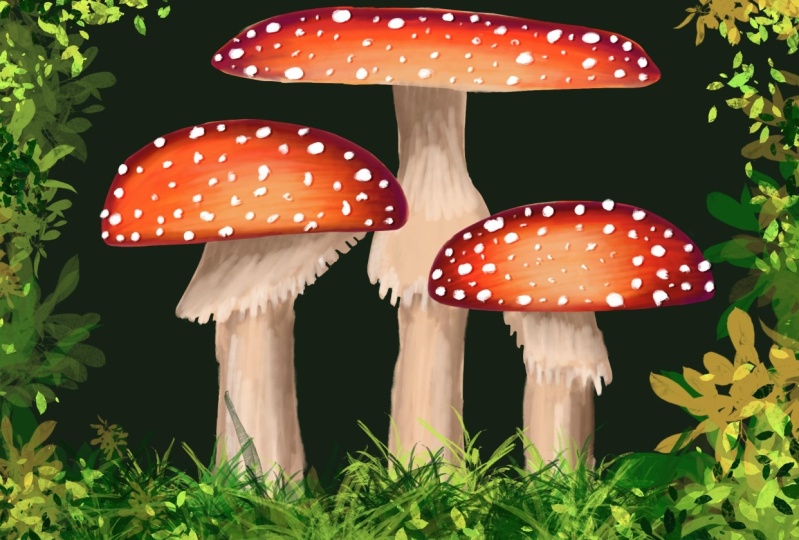
Create and share your mushrooms in the project gallery. Below you can find the color palette that I used along with the gouache painter brush.
Class Ratings
Why Join Skillshare?
Take award-winning Skillshare Original Classes
Each class has short lessons, hands-on projects
Your membership supports Skillshare teachers
Learn From Anywhere
Take classes on the go with the Skillshare app. Stream or download to watch on the plane, the subway, or wherever you learn best.