

Procreate Shortcuts: Essential Tips to Streamline Your Workflow
Learn the Procreate shortcuts that will help you get better at producing quality art with ease!


Procreate is considered one of the best drawing apps on the iPad for its versatility, powerful brush engine and popularity among professional artists. Many digital artists have chosen Procreate as their digital art app of choice not only because of its wide range of features but also because of its many shortcuts and gestures that help speed up the creative process.
No matter if you’re exploring the Procreate app for the first time or you’re a long-time user, you can learn how to use Procreate gestures to boost workflow efficiency so that you can create more digital art with ease.
Procreate beginners can focus on time-saving tools like Quickshape and the two-finger tap undo. More advanced Procreate users can learn how to customize their Quick Menu and layer organization for a truly personalized workspace.
Why Use Shortcuts in Procreate?
Every artist has their own unique work routine. For you, it might mean getting in your morning walk, enjoying a mid-afternoon iced coffee or committing to a daily Procreate drawing challenge. Optimizing your time spent working is just like building a high-quality work schedule.
By learning dozens of Procreate shortcuts and gestures on your iPad Pro, you can save time and energy. Instead of searching for the last color you used within a color palette, you can just click on the colored circle in the top right corner. You might not think this will make a huge impact on your current workflow, but after months of work, those ten seconds saved will shave hours off the time it takes you to make your digital art.
Procreate tips and tools like Quickshape can also help enhance your productivity by helping you draw perfect squares, circles and triangles without using a template.
Essential Gesture Controls in Procreate
There are dozens of essential gesture controls in Procreate, but these are some of the most commonly used among artists and designers.
Two-Finger Tap: Undo in Procreate for easy error correction. If you hold your two fingers down on the screen, you’ll enable rapid undo.
Three-Finger Tap: Redo. Holding your three fingers down on the screen enables rapid redo.
Three-finger Scrub: Move your three fingers around like you’re wiping the screen and you’ll completely clear your currently selected layer.
Three-Finger Swipe Down: When you swipe your three fingers toward the bottom of the screen, you’ll open the copy-paste menu, which makes copying and pasting in Procreate easy.
Four-Finger Tap: Clear the top menu bar and sidebar so that only your artwork is visible.
At first, it might feel tricky to keep all of these Procreate gestures straight. Within a few days, muscle memory will kick in and these taps and swipes will be seamlessly worked into your drawing process. You’ll be able to delete and undo parts of your digital artwork that didn’t turn out how you expected without having to painstakingly erase every stroke.
Top Procreate Keyboard Shortcuts
Since the Procreate app is available on the iPad, most creatives don’t use a keyboard while they work, unless they’re adding text in their Procreate creation. If you have a bluetooth keyboard that can connect to your iPad, these keyboard shortcuts can help enhance your work speed and overall efficiency with a click of a button.
Command + Z: Undo. (There are no rapid undo or redo options with keyboard shortcuts.)
Shift + Command + Z: Redo.
Option + Drag: Duplicate layers or objects.
C: Open the color panel.
V: Enter transform mode.
S: Enter selection mode.
Connecting an external keyboard can enhance the Procreate experience by avoiding screen obstruction and reducing gesture complexity. You can view all of the Procreate shortcuts available with a keyboard by holding the command (⌘) key.
Time-Saving Tools and Features
As a digital artist, you can save a lot of time with certain Procreate tools and gestures. If you’re designing a dreamy cityscape, you can quickly create geometric buildings, signs, doors and windows using the QuickShape tool.
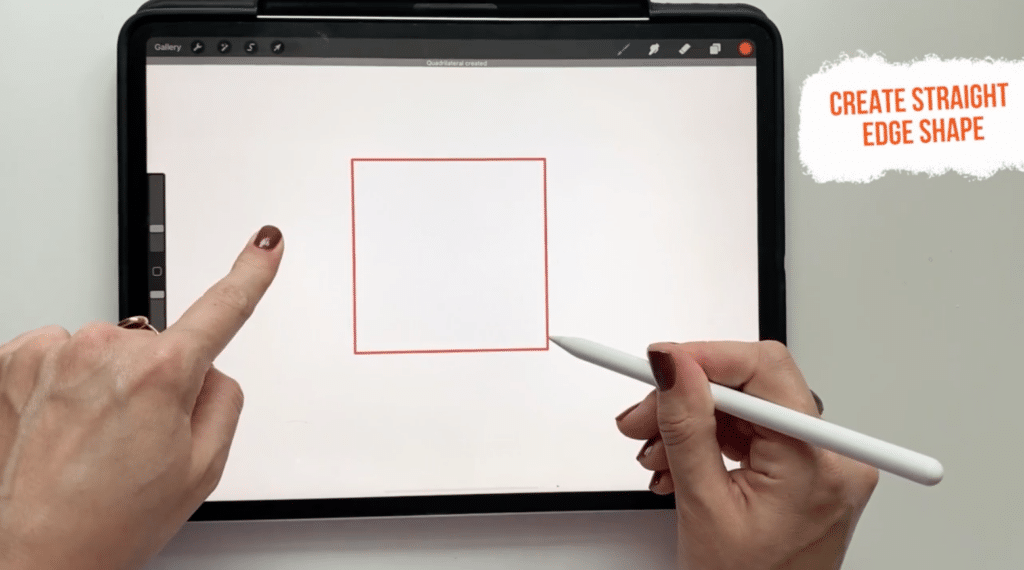
QuickShape: Create perfect shapes like circles and draw straight lines with ease. If you draw a square and hold down your stylus onto the screen, all of its lines will be straight. For a circular shape, the QuickShape tool will enable perfect curves.
Then, if you hold your finger down to the screen at the same time as your stylus, it will turn your shape into a mathematically perfect shape. Next, if you slide your stylus up or down while keeping your finger on the screen, you’ll rotate your shape or move your line in fifteen-degree increments.
Alpha Lock: When you add a shape with Alpha Lock, you’ll only be able to paint or smudge within the constraints of that shape so that you can work without worrying about painting outside of the lines.
Clipping Mask: Clip your active layer to the one beneath it so this new clipped layer will control the contents and transparency of the parent layer beneath it.
Quick Menu: Customize and access your most-used tools quickly. Every part of QuickMenu is customizable, which means you can change its six radial buttons and the shortcut you use to open the menu. Use Actions > Prefs > Gesture controls > QuickMenu to assign your QuickMenu shortcut.
Eyedropper Tool: Hold one finger down on the desired color within your canvas to select it.
Using Layers Efficiently
A perfect croissant has very thought-out layers. If you forget to add butter between layers or overdo or underdo the number of layers, you won’t end up with that perfect airy and flaky croissant. The same goes for organizing your layers on Procreate. The better organized and well-thought-out they are, the easier a high-quality result will be.
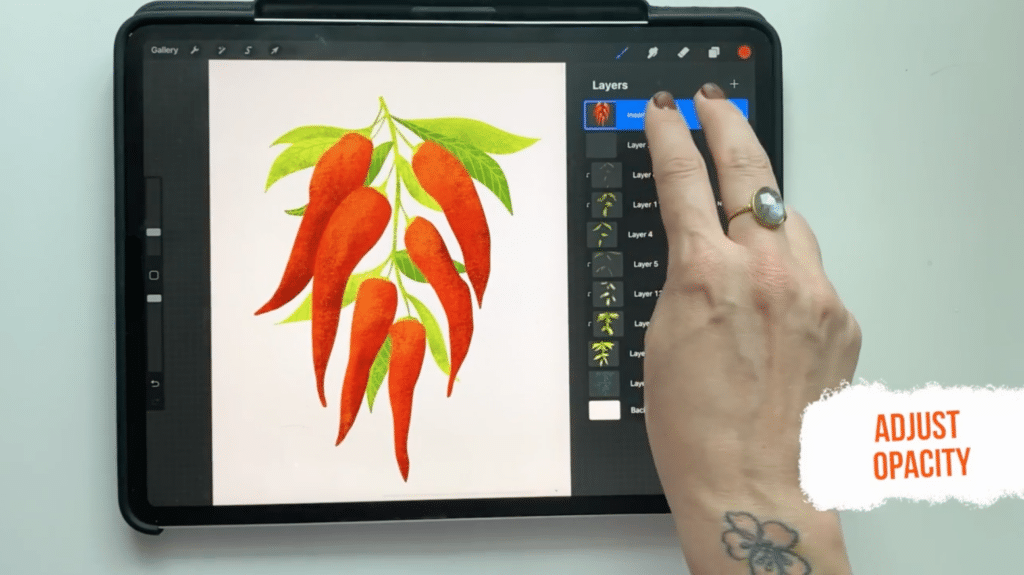
Select Layer: Quickly select and adjust layers by opening the layers panel and holding two fingers on your layer of choice. Tapping a layer with one finger will bring up layer options and layer blend modes.
New Layer Shortcut: Create a new layer for a better workflow by pressing the plus button (+) on the top right of the layers panel.
Layer Opacity: With a two-finger tap on your layer of choice, you can adjust layer opacity using simple slider controls seen at the top of your screen. Slide your stylus from left to right to adjust opacity in your Procreate creation.
Brush and Tool Adjustments
Your brush of choice and accompanying brush set are your most powerful tools when it comes to creating digital art. These shortcuts will allow you to modify your brush settings quickly.
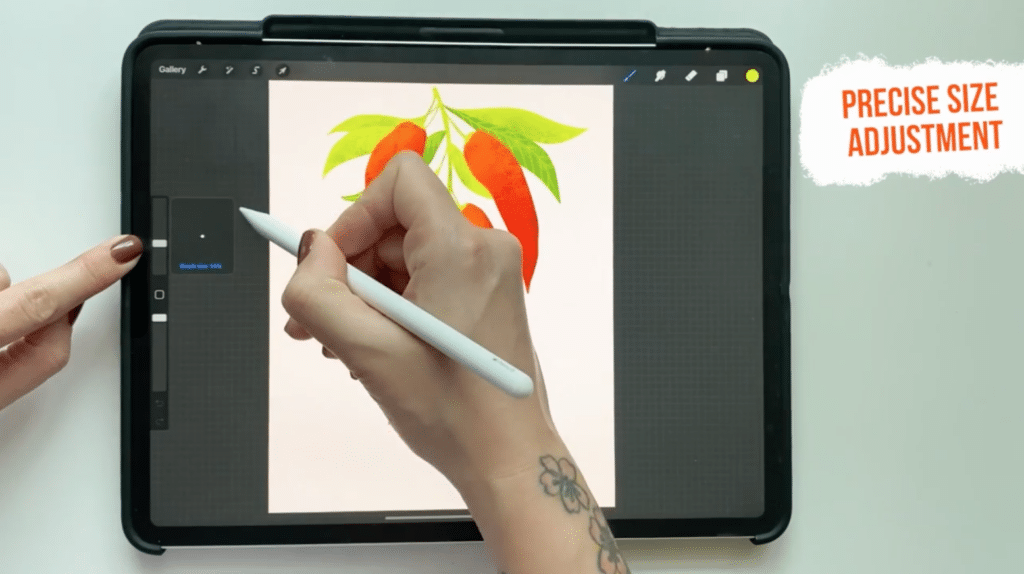
Adjust Brush Size: You can use the top slider on the sidebar to adjust your brush size. For a more precise adjustment, slide your stylus to the right of the sidebar and move it up or down to adjust the brush size more slowly.
Smudge Tool: Tap on the smudge tool in your toolbar and then touch your canvas to start smudging.
You can completely customize Procreate to work best with your workflow. You can personalize the layout of your interface by going to Actions > Prefs or your gesture settings by going to Actions > Prefs > Gesture controls.
Procreate Shortcuts for Color and Selection Tools
Your brush builds your creation, but color helps bring it to life. These color and selection tools will help you adjust your artwork with ease.
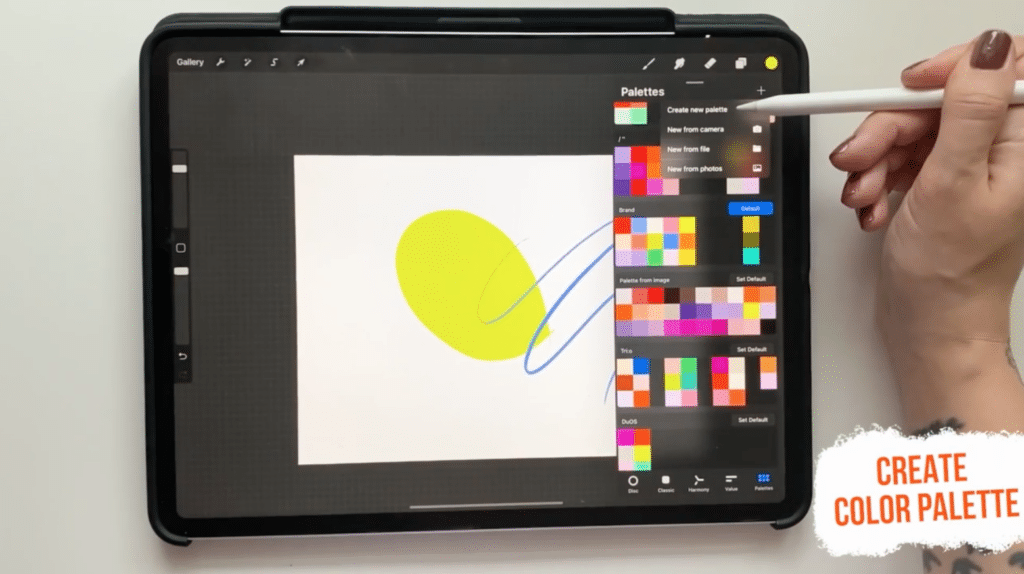
Color Palette: Open the Color Panel and tap the Palettes tab. Add colors to your palette by dragging colors from other palettes or clicking on an empty square, which will be filled with your Active Color.
Selection Tool: Open the selection toolbar by clicking on the Selection button in the top menu. With the automatic mode, you can select parts of your artwork in a single touch. Dive into another Procreate tutorial like Procreate Drawing Party! Digital Illustration on an iPad to explore the other three Selection tool modes.
Previous Color Shortcut: Tap on the Active Color circle in the top right corner to revert to the previous color.
You can also color fill in Procreate by dragging the Active Color circle into any closed shape.
Key Takeaways
Even if you’ve only mastered one Procreate shortcut so far, you’re already on your way to improving your workflow. All of the Procreate tips you add to your toolbelt will help you work more quickly and become a more optimized Procreate artist. Try using some of these shortcuts in your next project so you can start implementing your new skills right away.
For beginners or experts alike looking to learn more about Procreate, its gestures and the versatility of this digital art app, you can find Procreate tutorials and interact with other Procreate creatives on Skillshare.
Related Reading
Calli Zarpas
Producer & Writer by occupation. Ceramicist & Newsletter Editor by avocation.
Learn Procreate with Skillshare – Start Your Free Trial Now!
Explore classes- Unlimited access to all classes
- Hands-on classes with Procreate experts
- Project-based learning for all skills


