

Ocean Photography: Capturing Motion
How do you take photos of water in motion? Capturing the ocean in photos takes good equipment, a little skill, and a few techniques. Learn more.


The fine art of ocean photography presents multiple conflicting challenges: the subject is in constant motion, you’re often battling glare from sunlight reflecting off the water, and there’s a variety of textures to contend with.
This makes ocean photography more complicated than simply rocking up to the shore with a point-and-shoot camera and relying on your compositional abilities like you might be tempted to do with close-up nature photography.
It only takes a couple of additions to your gear bag and a touch of inspiration to take great pictures off the coast of Florida, Hawaii, or California quicker than the tide comes in.
What Is Ocean Photography?
A broad term, ocean photography encompasses anything where the sea is the subject. Be it a landscape of crashing waves on a beach littered with surfers, a blurry shoreline that captures the motion of an incoming tide, or a glimpse of corals and fish below the waterline, if it involves the sea, then it counts as ocean photography.
What Equipment Do You Need To Take Photos Of The Ocean?
When filling your gear bag for ocean photography shoots, you should consider picking up a few things to make it easier to take stunning photos and protect your equipment from salt water.
Most Cameras Will Suffice
The best kind of ocean photography camera is one that will let you manually set your aperture, shutter speed and ISO. Try to choose a more rugged body over a sensitive one, as you’ll photograph in spaces with salt, sand and other microscopic elements.
You Don’t Need Specialist Lenses
There aren’t any specific ocean photography lenses that you need to invest in, but having a mix of options is a good idea. A wide-angle lens will let you fill a larger frame, while a telephoto lens will help you get closer to a wave without danger.
You Do Need Filters, Though
One essential bit of ocean photography equipment is a filter that you can attach to the front of your lens. It prevents your images from being over-exposed by bright sunlight and reduces the glare of the sunshine on the water.
The different filters you should consider for photographing your seascape are:
- Neutral density (ND) filters reduce the amount of light that comes in through the lens and allow you to slow down the shutter speed.
- Gradient neutral density filters have one clear half and one coated like an ND filter. These are ideal for shooting compositions where half the frame is bright, and half is dark, like a shining sun sinking over a darker ocean.
- Polarized filters will minimize reflection and let you see what’s below the waterline while photographing it.
You’ll Need A Strobe For Lighting
Another helpful piece of equipment to elevate your ocean photography is a strobe (or two). If you’re heading below to take photos underwater or trying to capture the tide entering a dimly lit cave, having an external light source will transform your images.
A Tripod Is Also Essential
For long-exposure photography, relying on shaky hands to hold the camera is never a good idea, as your images will be needlessly blurred. But by setting up a tripod, the camera will sit perfectly still, and your pictures will remain crisp.
Ocean Photography Ideas and Inspiration
Since it’s such a broad topic, there’s a lot you can do with this type of photography. You could focus on pausing the movement of a wave, blurring the ebbing tide, or capturing a different perspective by flying above a beach or heading under the sea.
Classic Ocean Wave Photography
The quintessential example of ocean photography is a snapshot of a wave. Whether it’s swelling as it approaches the shore or breaking and crashing onto the beach, freezing the motion of the ocean with just a click can produce arresting photos.
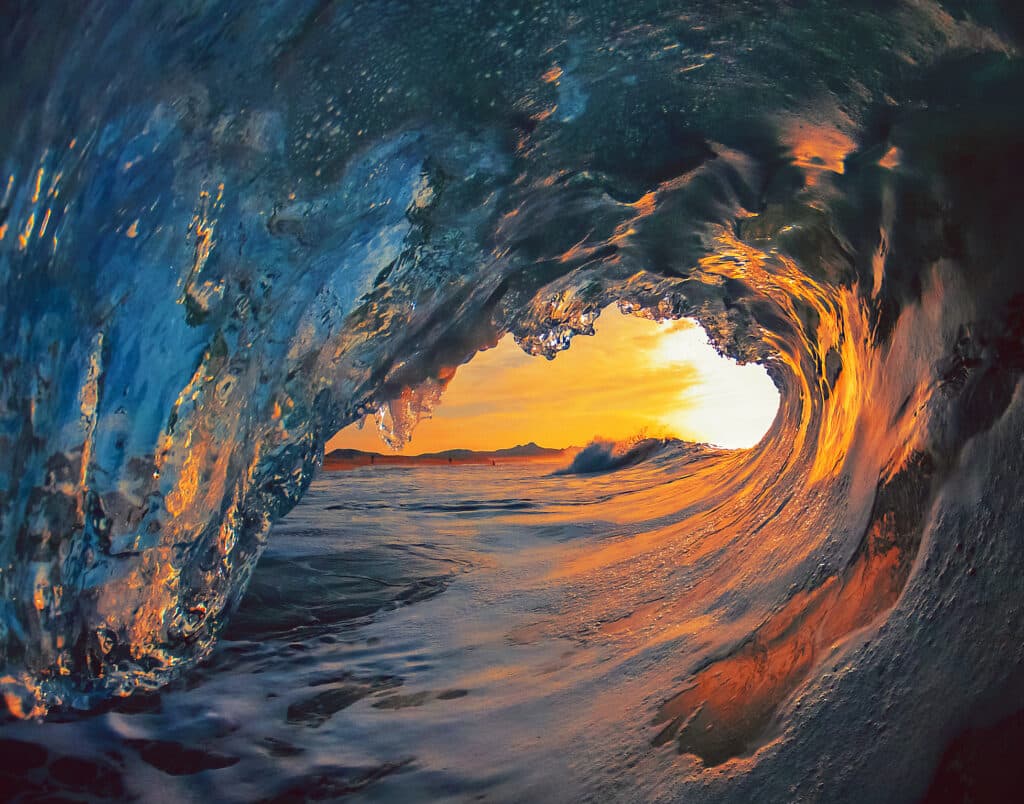
To suspend any movement, you must use a fast shutter speed. Something like 1/1000th of a second is an excellent place to start, but you should expect to tinker with this until you find the perfect setting. Try to capture the wave at various points, observe how it crests and breaks, and switch up the composition and angle to get a range of images.
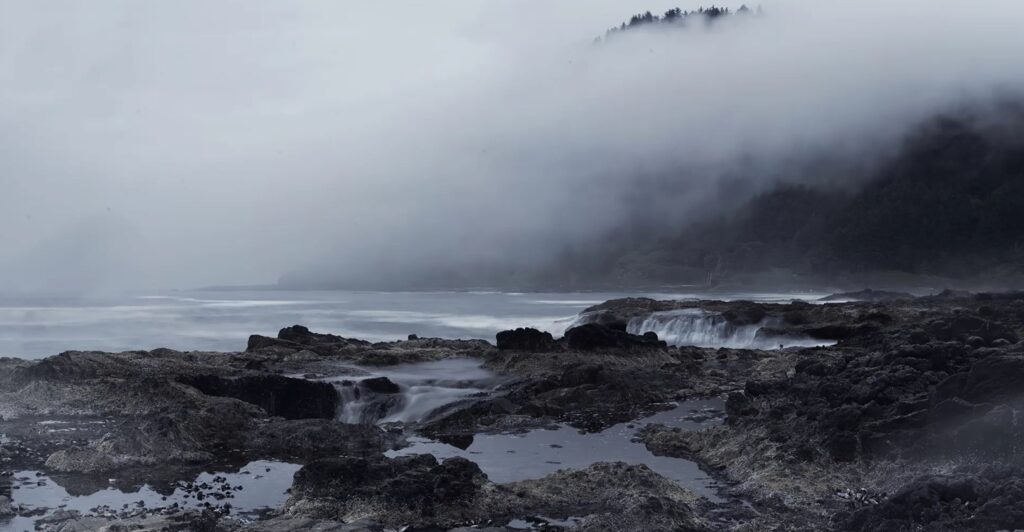
If you want to do the opposite and convey a sense of movement, consider using long-exposure photography to blur the tide instead. Ensure you’ve got a tripod set up and that your camera uses the lowest aperture possible balanced with a slow shutter speed of 15 seconds. When you review your ocean wave photography, you’ll be able to see if you need to extend the shutter speed or open up the aperture.
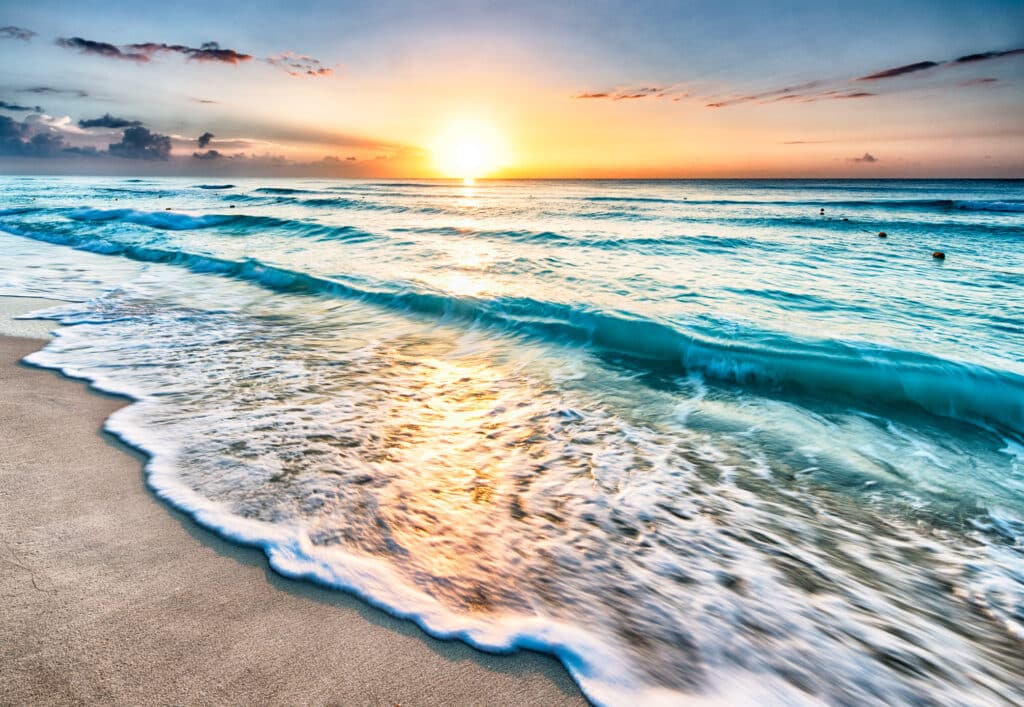
Regardless of what you do with your exposure, being mindful of the time of day can produce some dazzling photographs. You could elevate your ocean sunset photography by scouting out an unusual-shaped beach or cove or finding extraordinary things in the foreground that look ethereal when bathed in a golden glow.
Beguiling Beach Photography
Another subject that’s synonymous with ocean photography is the beach. Think of long waves stretching across the sand as the tide retreats and the sun sets, silhouettes of early morning surfers catching a break during the golden hour after sunrise, or a peaceful image of palm trees against a backdrop of blue water.
Aside from investing in a lens filter, there isn’t much else you need to have a go at beach photography. Just make sure the horizon is straight when composing your image, experiment with the shutter speed, and don’t forget to consider how the light will influence how you shoot.
Soaring Aerial Ocean Photography
One way to present a different aspect of ocean photography is to get as high as possible and shoot from an aerial perspective. Whether walking up a cliff to photograph the seas below or learning about drone photography, an aerial view is an excellent take on ocean landscape photography—even at the most crowded beaches.
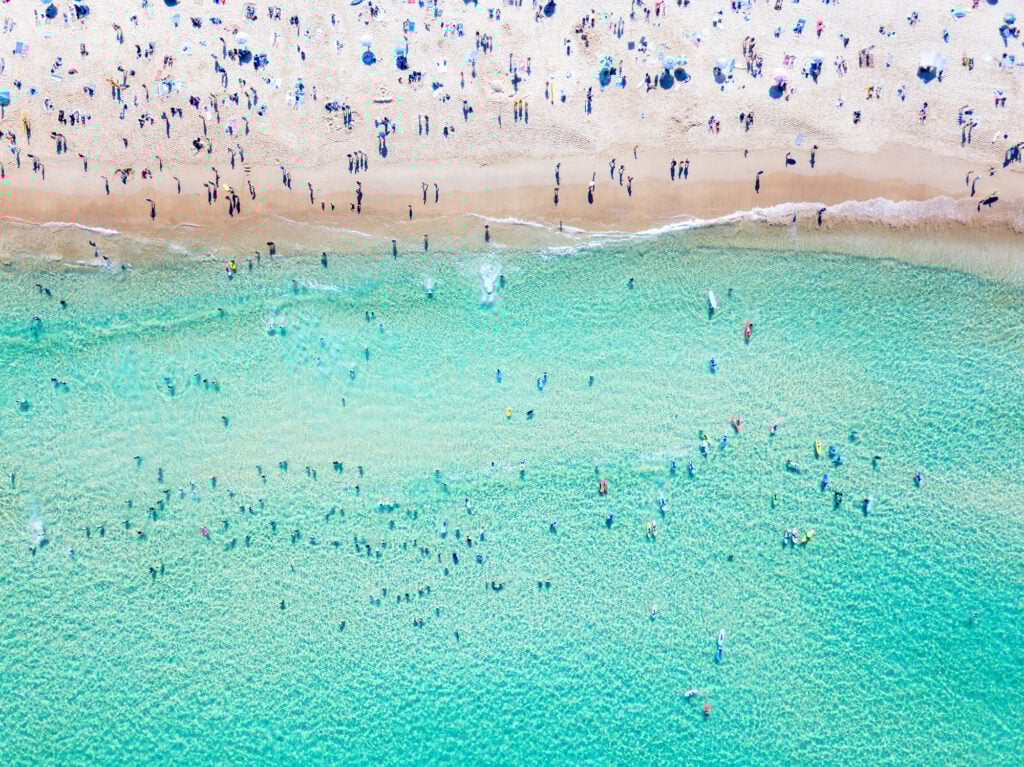
The best aerial ocean photography comes from getting above the shoreline. This doesn’t mean you have to charter a helicopter to get started—you could try from the top deck of a ferry, the highest floor of a seaside building, or simply attaching the camera to a pole.
But a drone is also a wise option for aerial ocean photography if you follow the local laws and regulations for each flight. Your drone may have helpful tools to improve your aerial photography, like adding a grid or histogram to the preview, adding a center point to see the frame more efficiently, and setting up the focus point before you shoot.
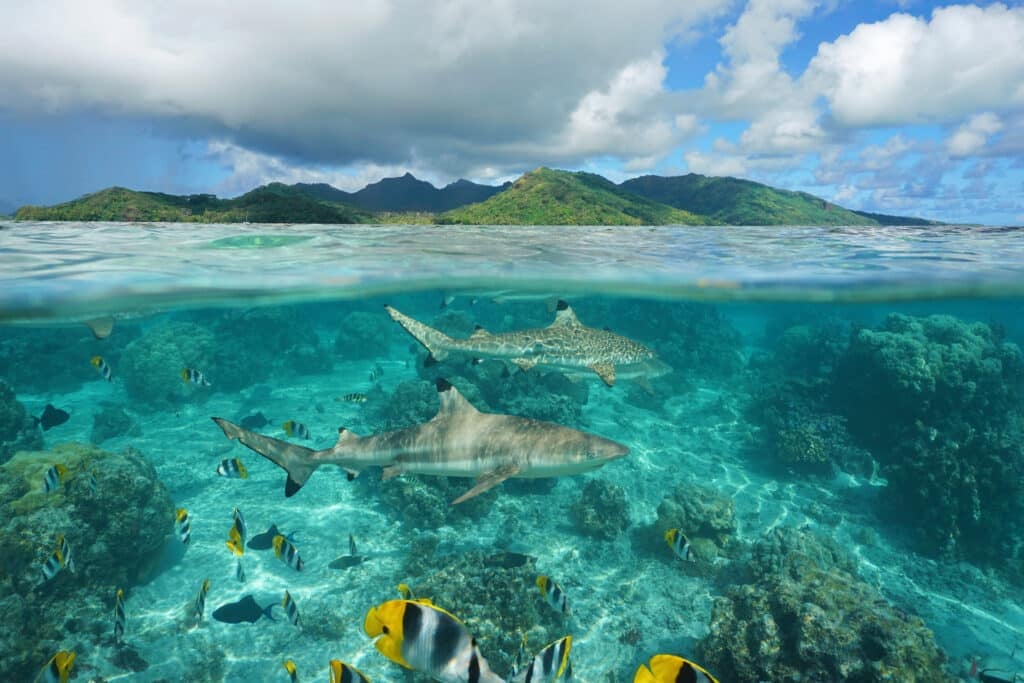
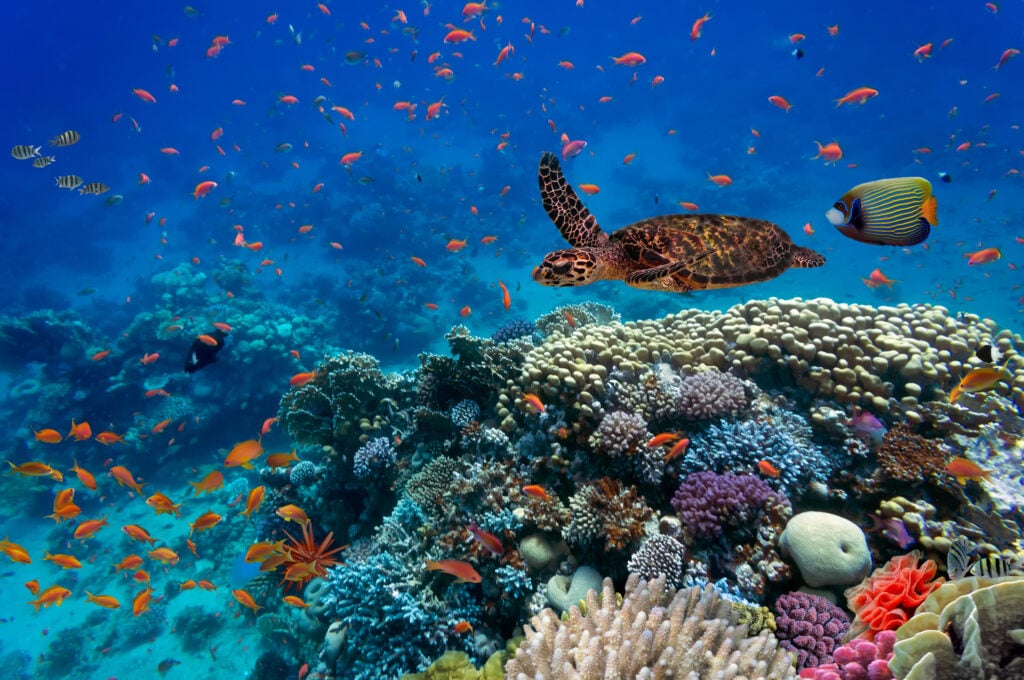
Colorful Underwater Ocean Photography
The most challenging type of ocean photography happens below the surface. You don’t just have to factor in a lack of light; other complications like reduced visibility or limited swimming and buoyancy capabilities can make it even harder to shoot under the sea. But it’s worth mastering those skills because underwater photography can produce astonishing images.
It’s your opportunity to show your friends and family what you’ve seen while snorkeling on holiday or preserve the memory of spotting your first whale shark. You could even make some money by tagging along to dive and snorkel trips and selling your photography prints of sea turtles and coral reefs to the guests.
If you buy the correct housing, it’s possible to waterproof any camera so that you can begin your introduction to underwater photography. If you’re at shallow depths, an underwater camera bag may suffice—but deeper dives will require you to buy the housing that fits your camera perfectly.
Remember that the deeper you go, the more distorted colors become. You’ll have to work hard to maintain your white balance by using a light source, a red filter, or manual adjustments.
Take Photos Worth Their Salt
From the Atlantic and Pacific coasts of America to the beaches of Australia, and all along the stunning shores of the Maldives, Mexico, and Maui, good ocean photography stands out because it’s tricky to master without a solid understanding of the fundamentals of how a camera works. But this barrier is also an opportunity: as your images improve, it’ll be easier to stand out on social media, build a strong portfolio and develop that photography side hustle.
Related Reading
Learn Photography with Skillshare — Start Your 7-Day Free Trial Now!
Start Your Free Trial Today!- Unlimited access to all classes
- Hands-on classes with pro photographers
- Learn offline with Skillshare's app


