

How to Use Pastels: A Pastel Art Tutorial for Beginners
Learn how to use pastels to make art. This step-by-step tutorial and guide for beginners also offers tips for all levels.
Table of Contents


Many of us first learn how to use pastels as children, but with their ease of use and beautiful result, pastels are a wonderful medium for any aspiring artist. In a few short steps, you’ll be on your way to creating your own pastel masterpieces.
How to Get Started Using Pastels
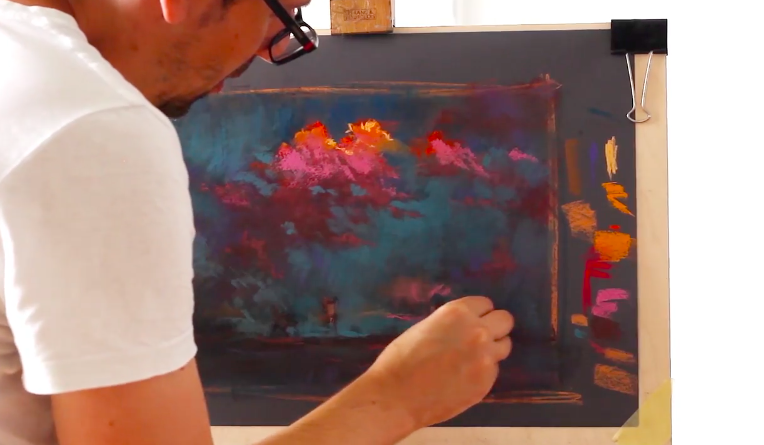
Ready to learn how to use pastels for beginners? First, you’ll need to gather your materials: your pastels of choice, blank drawing paper, and space to work. There are several different types of pastels, each creating a different effect, and you may want to learn how to use soft pastels (the most common variety) as well as other types to see which medium you prefer.
From there, you can begin practicing pastel art techniques before moving on to more complex projects. Though they may seem intimidating at first, don’t shy away from the challenge. Each learning moment will only deepen your skills and expand what you can create with these versatile tools.
4 Types of Pastels
There are four main types of pastels—soft pastels, hard pastels, pencil pastels, and PanPastels. Each has its own unique capabilities, which you can explore whether you are learning how to use pastels on paper or on another artistic surface.
1. Soft Pastels
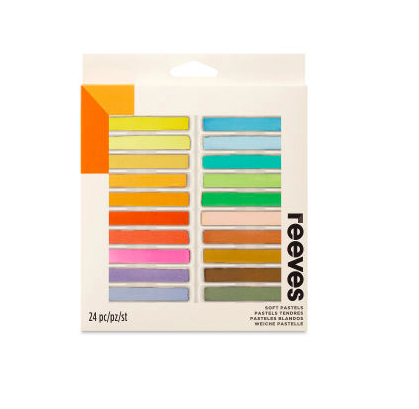
Soft pastels, such as well-known oil pastels, are the most commonly used medium for pastel art. As their name suggests, they’re soft, they’re a bit crumbly, and they require you to use a gentle touch. The benefit, however, is that soft pastels offer a high amount of color saturation, which makes them especially great for blending and layering colors.
2. Hard Pastels
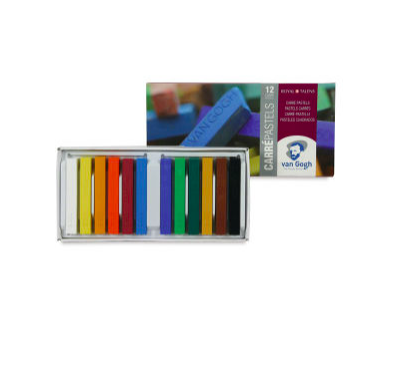
Hard pastels are made of the same ingredients as soft pastels—pigment and gum binder—but with less of the former and more of the latter. As a result, they’re less crumbly and more stable (think the consistency of chalk pastels), which make them great for artists on the go or for covering large surfaces. However, because of their lower pigmentation level, the color is less intense than soft pastels. There also tend to be fewer color options available within curated sets.
3. Pencil Pastels
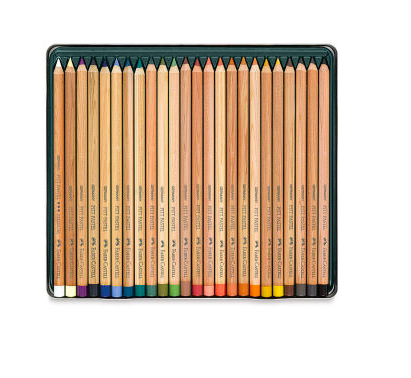
As you may have gathered from their descriptions, learning how to use soft pastels and hard pastels can get a little messy. Pencil pastels, on the other hand, are designed just like conventional pencils, so they’re clean and easy to use. These tools are great for line drawing, outlining, detail work, and even just for drawing and doodling!
4. PanPastels
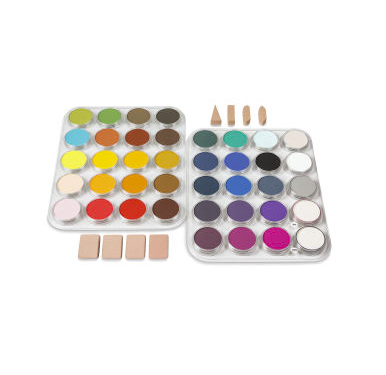
Though they technically fall into the category of soft pastels, PanPastels are set into pans, much like you might see with paint palettes. PanPastels are popular among artists because they boast the highest concentration of pigment, they’re compatible with other art mediums like paint, and they erase just as easily as they blend.
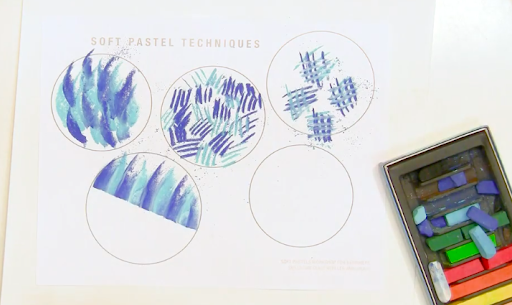
5 Techniques Every Beginner Should Master
Before you embark on your first masterpiece, there are a handful of pastel techniques every beginner should try out. These skills will help you evolve your craft and create the best possible pastel art.
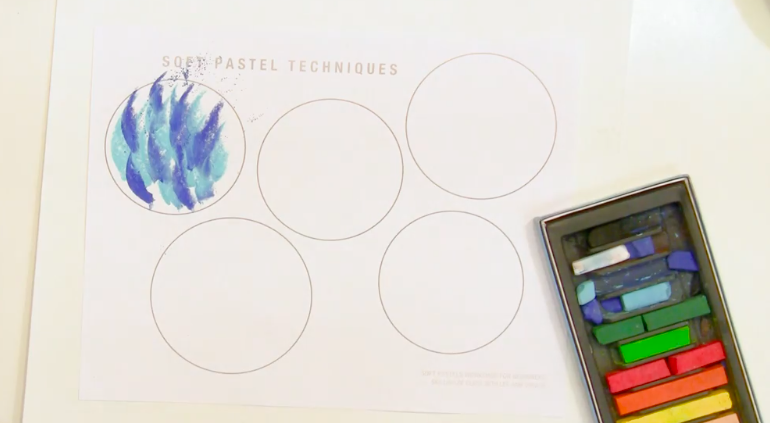
1. Blending
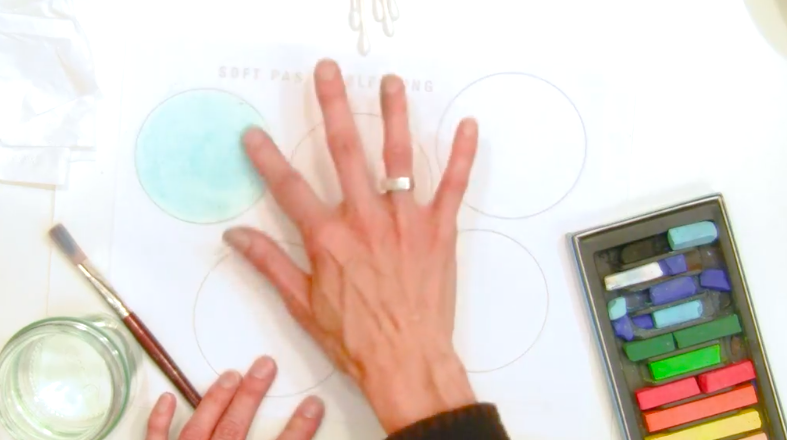
One of the many draws of pastels is their ability to easily blend, and practicing this skill is simple and straightforward. First, using your pastel of choice, rub (or “lay” as it’s commonly called) some pastel on your paper. Using your finger or a small piece of cloth or paper towel, gently rub it to create a blurring effect. As you continue to blend, take note of how the color of the pastel changes—how it gets lighter the more you blend, and how the pastel moves around on the page. You can also try blending colors together by laying them down on opposite sides of your paper and blending toward the center of the page to create a marriage between them.
2. Feathering
Feathering involves creating a line or stroke that resembles a feather—a technique that’s used to add texture and detail to pastel art. To practice the feathering technique, choose a couple of colors and make short, upward strokes on your paper. Apply more pressure at the beginning of your stroke, then allow it to taper off as you reach the top of the line. Using both colors, continue layering the feather strokes on top of each other until you’re satisfied with the result.
3. Hatching and Cross-Hatching
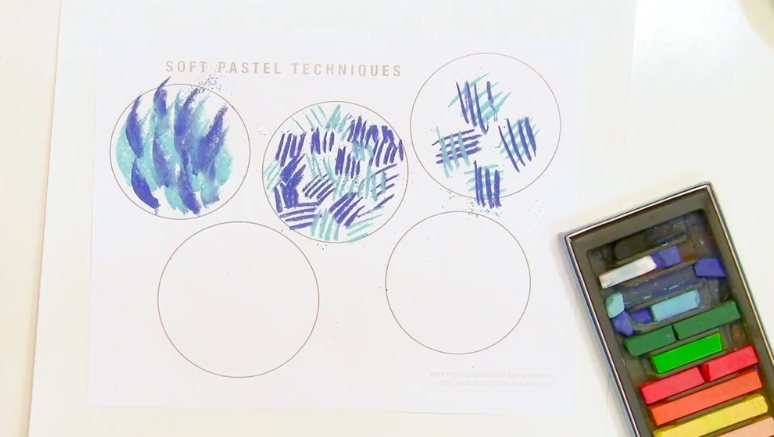
Like feathering, hatching and cross-hatching are color layering techniques that pastel artists employ to create texture and detail. These are great skills for beginners to try because all you have to do is draw lines—they don’t even have to be straight!
Grab your favorite pastel and create small groups of lines moving in the same general direction and angle. Though each “hatch” should be relatively uniform in length, don’t worry about the spacing or thickness of your lines—you can try different styles or even blend them later. To take it one step further and move into cross-hatching, create two sets of intersecting lines.
4. Masking
Because pastels are so pliable, it can be difficult to create sharpness. Enter masking, a pastel art technique that involves covering a part of the creative surface to help you create clean, deliberate lines and edges.
Grab a pastel and two sheets of paper. At your desired angle, place one sheet of paper over the other, and create pastel strokes from the top sheet, over the edge and onto the sheet underneath. When you remove the top sheet, you’ll have a refined boundary and edge.
5. Stippling
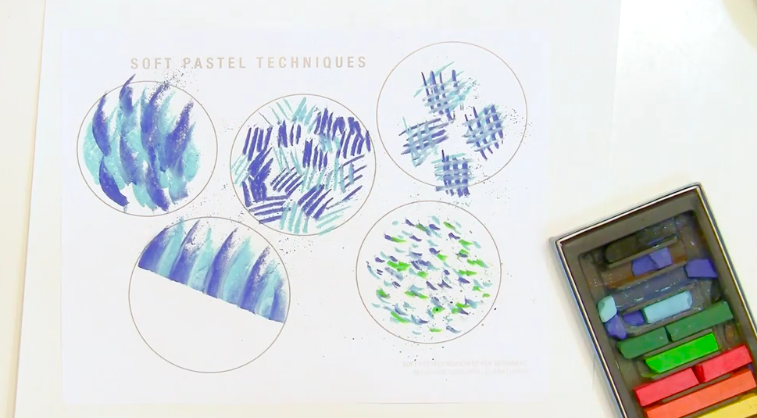
Stippling is a technique used across many different mediums—from painting to clay modeling—and is simply the process of creating groupings of dotted marks. Some pastel artists will create entire compositions using this skill alone!
When learning how to use pastels for beginners, practice stippling by gathering a few different pastels and “dropping” them onto your paper using different levels of pressure. The marks don’t need to be uniform or follow any sort of pattern, and you can layer colors or blend them out to your content. The finished product should have a lot of dimension and texture.
Try putting those pastel practices to work with your gouache skills. These three painting exercises are perfect for pastel and gouache beginners, through to pros who just want to get back to the basics.
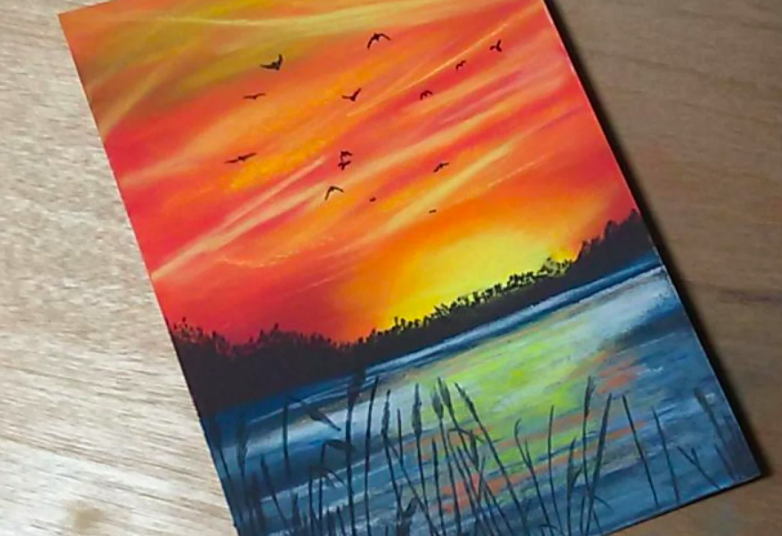
Pastel Art That’ll Inspire You
Before you begin your own pastel work, get inspired by these creations.
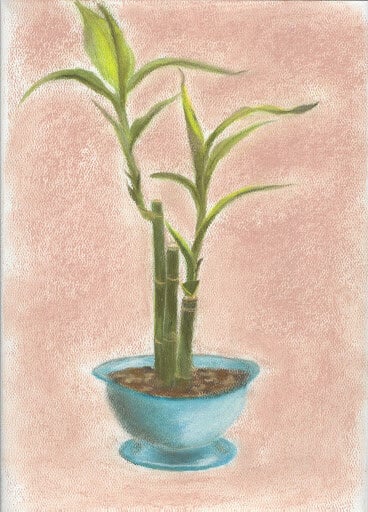
Still life and pastels go hand in hand, and this beautiful bamboo piece by Skillshare student Nancy Staufenberger is no exception!
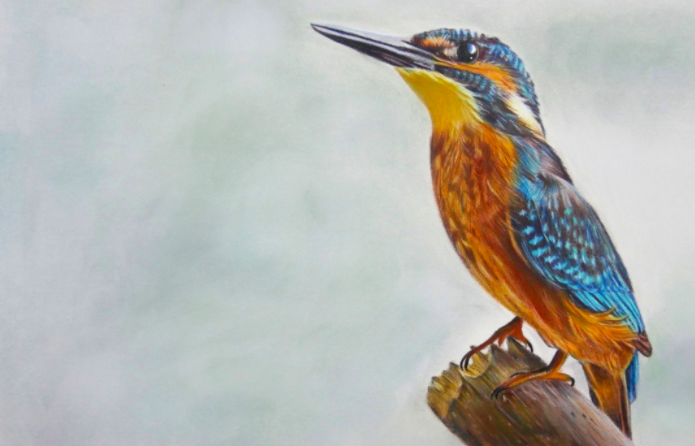
Skillshare instructor and pencil artist Emmy Kalia created this stunning and realistic portrait of a bird using pastel pencils and PanPastels.
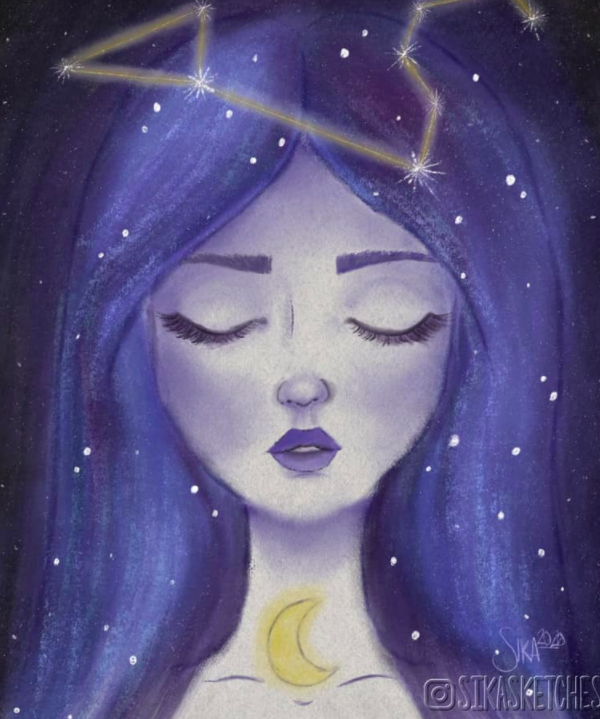
Skillshare student Jessica A. used soft pastels to create this cool-toned portrait. Her blending and linework help this young woman come to life on the page.
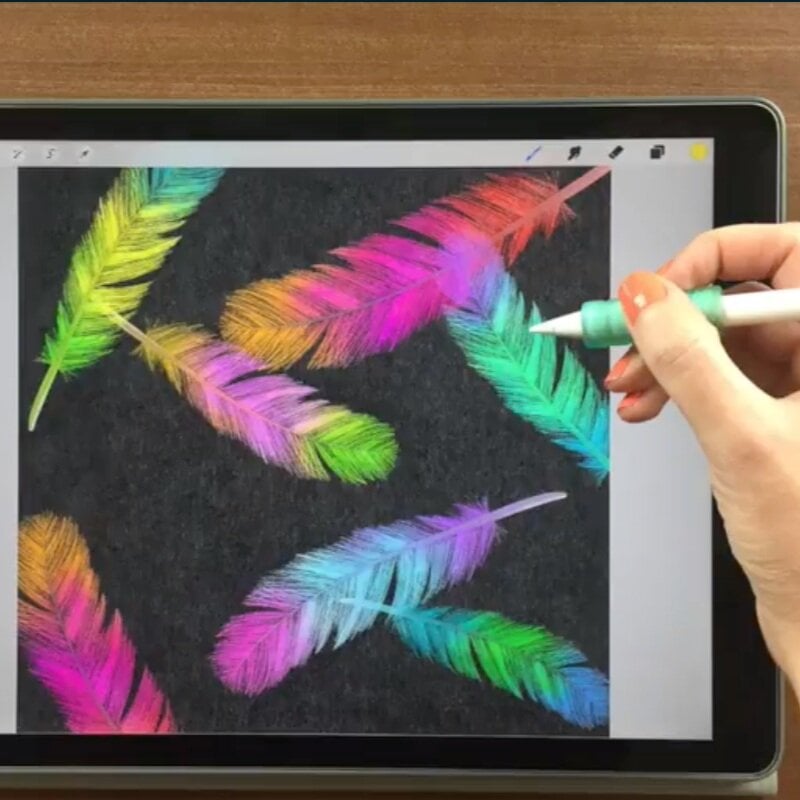
Pastels Are Great For Digital Artists, Too!
Create Soft Pastel Drawings on Your iPad in Procreate + 12 Free Brushes and Templates.
Try Skillshare for free! Sign up for a 7 day free trial today!
Get Started- Unlimited access to every class
- Supportive online creative community
- Learn offline with Skillshare's app


