

From Digital to Physical: How to Print Your Digital Art
Learn the essential steps to print your digital art, including how to prepare your files, select the best printing methods and more!
Table of Contents


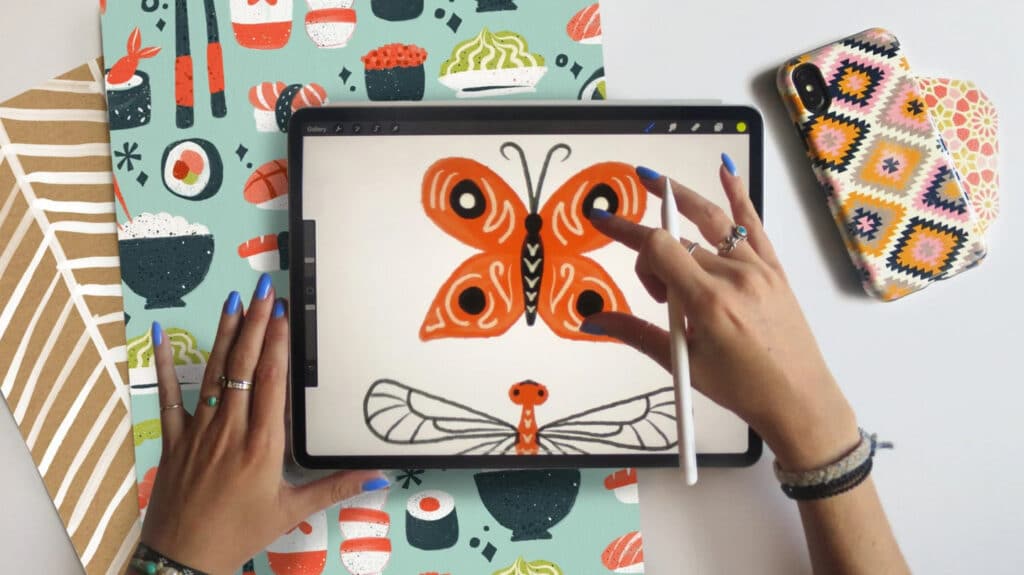
With the nearly universal popularity of software like Adobe Photoshop and Procreate, digital art has become a dominant medium for artists and designers alike. But when you transform your art from pixels to paper, you’ll unlock an entirely new way to experience and share your creations. After all, turning digital work into a physical format can breathe new life into your art, provide a unique way to reach a new audience or help you grow your creative business by selling prints.
So how can you start making your digital artworks into physical prints? Our guide will show you how, from preparing digital files for high-quality printing, to selecting the best paper and printing methods, to troubleshooting common challenges you might encounter along the way.
Why Print Your Digital Art?
Printing digital art lets you experience your work in a new light, both literally and figuratively. There’s just something undeniably special about holding a tangible version of your digital efforts, and that's true whether you're printing your work to create a physical portfolio, sell high-quality prints or simply add unique decor to your own home.
Physical prints allow for a wider range of display options than digital files, from galleries and art exhibitions to home and office decor. Why? Demand for physical art prints is high among art enthusiasts and collectors, who appreciate the tactile qualities and permanence that only a print can provide. Even online, demand for art prints is strong, with marketplaces like Etsy, Society6, and Redbubble catering to buyers searching for one-of-a-kind pieces.
So, whether you’re a novice artist, an established designer or something in between, printing your work can expand your reach and introduce new audiences to your art, especially if you're a strictly digital artist who has never displayed your art in the physical world.
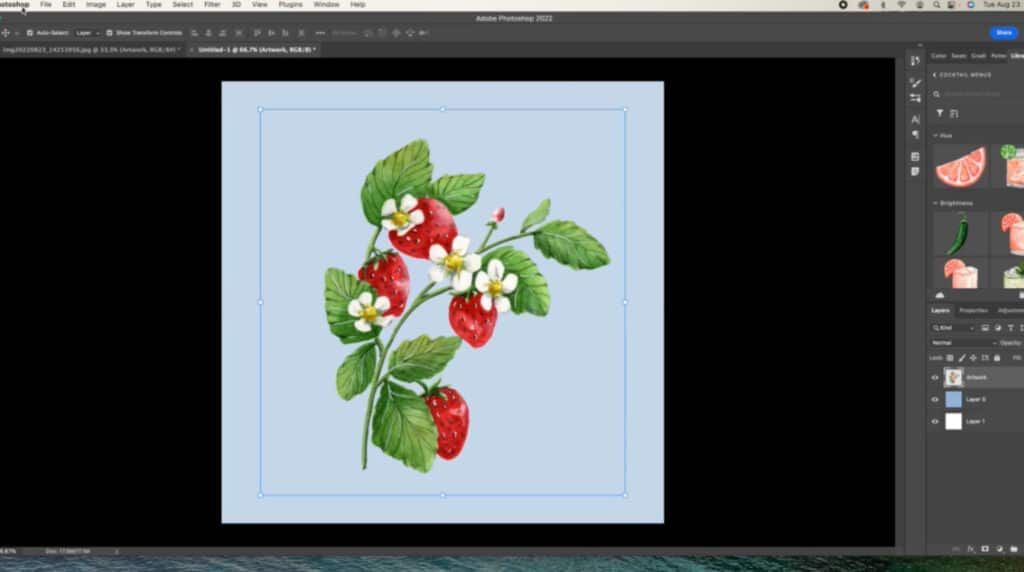
Step 1: Preparing Your Digital Art for Printing
Proper file preparation is the key to achieving beautiful, high-quality prints. Here are some essentials to keep in mind:
- Adjust resolution settings: Resolution determines the clarity of your print. Aim for at least 300 dots per inch (DPI) for a sharp, professional look. And if your prints will be especially large (i.e., poster-sized), consider upgrading to 600 DPI. Programs like Procreate, Adobe Photoshop and Adobe Illustrator let you adjust DPI easily—just make sure you select an appropriate DPI from the start, since low-resolution designs can look pixelated or fuzzy when scaled up.
- Choose your file format wisely: Different file formats serve different purposes, so it's important to know which one is right for you. For general prints, PNG and TIFF files work well due to their high quality. On the other hand, PDFs are a good choice for multi-page projects or if you’re working with vector designs. Try to avoid JPEGs unless you’re printing small or need to keep your file sizes as small as possible.
- Select the right color profile: Screen colors differ from print colors, so switching from RGB (which is designed for digital displays) to CMYK (which is designed for print media) before printing is essential. Programs like Photoshop and Illustrator have options to convert color profiles, which helps ensure your prints closely match your on-screen design.
- Keep an eye on file scaling and sizing: To avoid distortion, size your file to match your print dimensions. For example, if you want a 12 by 18-inch print, set up your file at that size. This will maintain the integrity of your image without compromising quality.
Step 2: Choosing the Right Paper
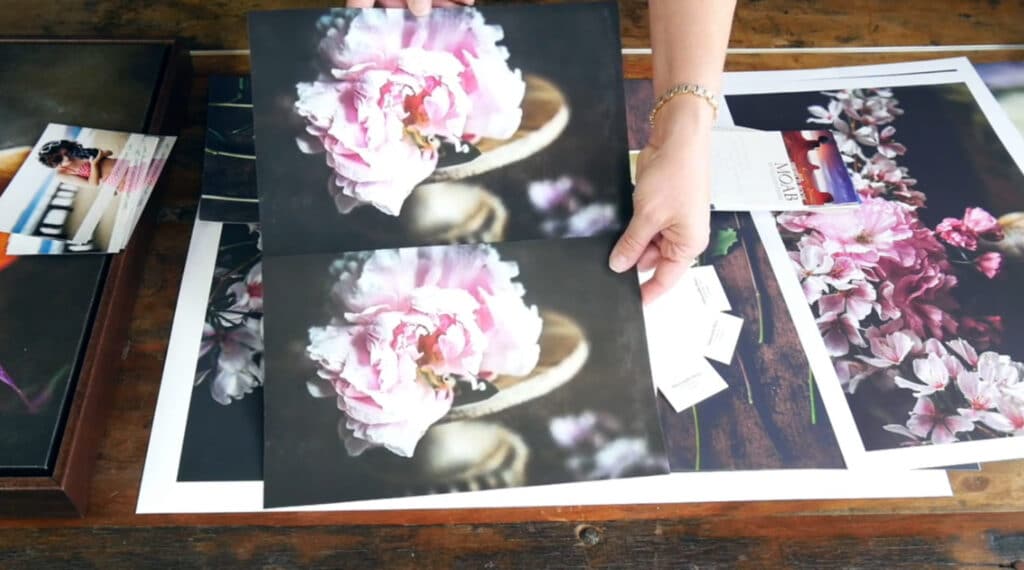
The paper you select can significantly affect your print’s appearance. Use this overview of common paper types to start determining which one is best for you:
- Glossy vs. matte finishes: Glossy paper enhances vibrant colors and adds a polished look, while matte paper offers a softer, glare-free finish that’s ideal for prints with more subtle tones. Can’t decide between the two? You may be happiest with a satin finish, which falls somewhere between glossy and matte.
- Light vs. heavy paper: Simply put, lightweight paper (such as paper that’s listed as 35 lb.) is thinner, while heavyweight paper (such as paper that’s listed as 110 lb.) is thicker. If you use heavy paper, your art print will be sturdier, but the paper may not be compatible with your home printer.
- Fine art papers: For a textured, more tactile end product, consider using watercolor or canvas-textured papers. These high-quality papers are often used for gallery prints and can add a rich sense of depth (as well as a more premium look) to your artwork.
- Metallic and colored paper: If you’re looking to create prints that stand out from the crowd, you might want to use metallic, colored or otherwise eye-catching paper.
- Recycled paper: Perfect if you want to be as eco-friendly as possible, recycled paper often has a natural, textured feel and creates a softer, slightly muted final image.
- Helpful hint: If you’re printing at home, look for trusted brands like Epson or Canon for inkjet-compatible papers. For professional printing, you may want to use a higher-end paper brand like Hahnemühle or Moab, which are commonly used by artists for fine art prints.
The weight, texture and finish of your paper can dramatically transform the look and feel of your print, so don’t hesitate to test different types to find what best suits your art.
Step 3: Printing Options: Home Printing vs. Professional Services
You have two main routes to choose from when printing your art: home printing and professional services. Each has its own advantages:
- Printing at home: Printing at home offers convenience and control over the final product. Inkjet printers are recommended for their color vibrancy and detail. Look for high-quality inks compatible with your printer and adjust its paper settings based on your paper type to get the best results.
- Professional printing services: For larger prints, bigger batches or higher-end production, professional online printing services or local print shops are both excellent options. These services offer easy access to premium materials and equipment, which can elevate the quality and durability of your prints without breaking the bank.
When you're deciding which option to go with, consider your budget, size requirements and print frequency. For instance, while home printing can be cost-effective for small batches, professional services are often a better fit if you're looking to print large quantities.
And if you're unsure which online printing service to use, consider popular options like:
Common Challenges in Printing Digital Art
Even with the right setup, printing digital art can come with some challenges. Here are a few common issues and tips to troubleshoot them:
- Color inconsistency: Colors can look different on paper than they do on-screen, and that's especially true if your monitor isn't calibrated properly. So be sure to calibrate your monitor to ensure its colors appear true-to-life, and always use test prints to make any necessary adjustments before sending a batch of 50 prints to the queue.
- Resolution issues: Low-resolution images can appear pixelated when printed, so start with a high DPI (300 or higher) to maintain quality. And if resolution issues persist, check to see if resizing the file has affected the resolution.
- Unexpected borders or cropping: Borders and cropping can occur if your artwork isn’t sized correctly for the paper you’re using. If this problem is plaguing your prints, try adjusting your file dimensions to match the paper size exactly, and turn off your printer’s “Fit to Page” option to avoid unintentional resizing
- Paper handling errors: Paper jams and misfeeds can happen, especially if you've opted to use textured paper. To avoid such issues, ensure your paper type matches your printer’s specifications, and don't hesitate to switch to a thinner or less-textured type of paper if needed.
- Ink smudging or bleeding: Ink tends to smudge or bleed more on certain paper types than others—glossy and textured paper is particularly susceptible to this issue. The solution is often to let each print dry completely before handling it and make sure to select the appropriate paper type in your printer’s settings.
- Costly ink and paper: The more prints you create, the more money you’ll spend on ink and paper—that’s an unavoidable fact you probably saw coming. But if you’re printing at home (or using a pricey service), the costs can add up quicker than you might expect. To save money, try using a budget-friendly printing service that offers competitive prices on paper and color ink.
- Paper curling or warping: If you’re using paper that’s too thin for the job at hand, you might notice your prints curling, warping or otherwise misbehaving. To solve this issue, try to choose paper that’s both compatible with your printer and suitable for the amount of ink you plan on using. Finally, be sure to let your prints dry on a flat surface.
5 Tips for Enhancing Your Print Quality
To add extra polish and really make your prints pop, try incorporating these handy tips:
- Consider the color of your paper: In Nikki Hess' Skillshare class about selling art prints, she urges students to think about how the color of their chosen paper will affect the appearance of the final print. For instance, a bright white paper will make colors pop, while a warm white paper will give the print a yellowish hue.
- Utilize sharpening filters and make color adjustments: A light sharpening filter can help improve details in your print, especially for artwork with lots of fine details. Increasing contrast slightly can also improve print clarity, as can adjusting shadows, highlights and saturation.
- Remove the background when necessary: In Cat Coquillette's Skillshare class on prepping digital art for print on demand, she reminds students to save their art as a PNG file with a transparent (i.e., invisible) background when necessary. For example, you might want to do so if your design has a white background and you'll be printing it on white paper.
- Proof your prints: If you're printing at home, before you print in bulk, review a proof to identify any last-minute adjustments you might want to make. This step ensures your prints will meet expectations once you move on to the final run.
- Purchase a sample pack: If you're using an online printing service, you won't regret ordering a sample pack. In her Skillshare class on printing and framing, Denise Love recommends ordering a sample pack from whatever service you're using—this will give you the opportunity to see if you like the thickness, texture and sheen of various paper types.
- Use pigment-based inks: Opt for pigment-based inks over their dye-based counterparts, and you’ll get prints with richer, longer-lasting colors that are smudge-, fade- and water-resistant. Pigment-based inks are especially ideal for prints that you want to last for years without fading.
- Add a finish: Want an extra-professional look? Think about adding finishes like lamination or varnish to protect the print and enhance texture. Finishes can also add a slight gloss or matte effect, so you can choose the one you want based on your desired outcome. Plus, decorative finishes like foil stamping or even gold leaf accents can take your prints to the next level.
- Store and handle with care: Once your prints are done, remember to store and handle them properly to keep them looking fresh for years to come. That means keeping them out of the sun, storing them flat instead of rolled up, and always handling them with clean, dry hands.
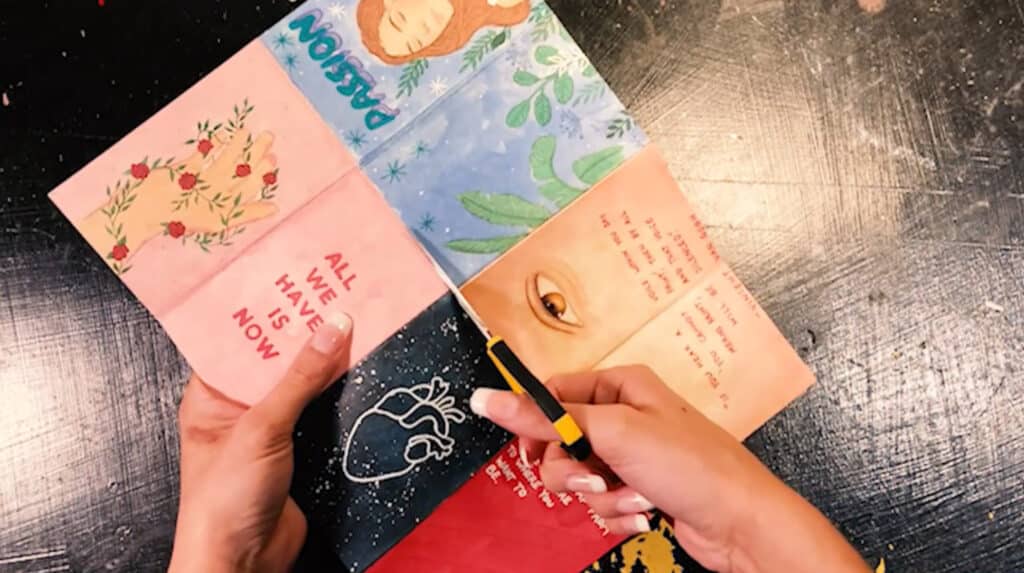
Bringing Your Digital Art to Life
By printing your digital art, you can make it accessible in a new and tangible way. And best of all, the process is achievable at any skill level with the right preparation. From selecting the best paper type and file format to troubleshooting resolution issues and printer errors, each step helps your artwork shine its brightest.
And as an added bonus, turning your digital designs into physical prints opens up a variety of creative possibilities, from showing your art in galleries to allowing others to display it in their homes to creating a line of products that represents your unique style.
And when you’re ready to expand your artistic skill set, expert-led Skillshare classes like these are available 24/7:
- Digital Painting in Photoshop: Create a Stylized Portrait
- Digitizing your Artwork: The Quick & Easy Way to Scan and Edit Artwork in Photoshop
- Magic Mockups and Efficient Workflows: Adobe Photoshop Smart Objects For Digital Products
Related Reading
Carrie Buchholz
Carrie Buchholz is a freelance writer who lives in Northern Colorado with her husband and dog.
Level-Up Your Drawings and Illustrations with Skillshare
Start Your Free Trial Today!- Drawing classes for all levels
- Digital and traditional drawing styles
- Unlimited access to all classes


