

10 Video Editing Projects Made for Beginners
Learn video editing by practicing trimming, effects, color correction, and more—building confidence with every project.


Getting started with video editing can feel overwhelming, especially when you're faced with complex software and endless creative possibilities. But as is the case with many other skills, the best way to learn is by diving into small, manageable projects that build confidence and technique. For beginners, hands-on practice is essential—not just to understand the tools, but to start developing an editor’s eye for pacing, storytelling and visual style.
Here, we’re putting the spotlight on ten beginner-friendly video editing projects. From trimming clips and adding slow motion to experimenting with color correction and mobile editing, these projects are bite-sized, approachable and fun. Each one introduces an essential technique that will get you more comfortable with your editing software, and also help you build a solid foundation for more advanced editing down the road.
Play With Slow Motion
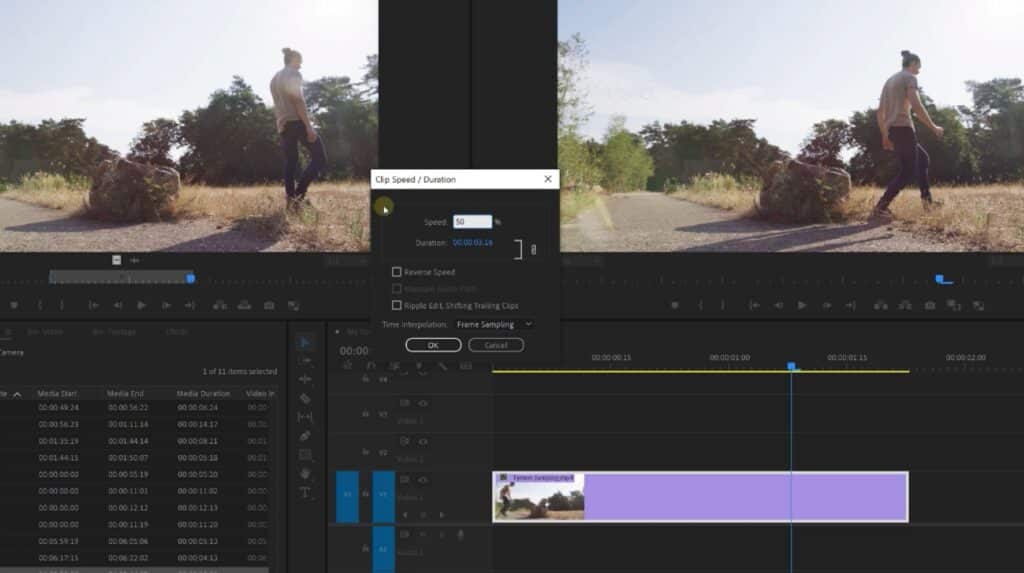
About the project: Adding slow motion to a video is an excellent project for beginners because it introduces the concept of speed manipulation and frame rates, requiring only a couple of clicks and a single video clip.
By playing with slow motion, you’ll learn how to stretch out a moment, whether for dramatic effect or to emphasize details in action-focused footage. You’ll also get to practice adjusting playback speeds, reinterpreting motion and learning the limitations of your footage (especially when its frame rate is low), which will help you build technical knowledge and creative decision-making skills to boot.
Meet the teacher: Jordy Vandeput isn’t just one of Skillshare’s Top Teachers—he’s also the host of Cinecom, one of YouTube’s most popular channels about filmmaking and video editing.
Teacher Tip: Use High Framerate Clips for Slow-Mo
“You need to shoot your videos at 60 frames [per second] or even more to get smooth slow motion,” says Top Teacher Jordy Vandeput. If you don’t, your editing software will “only use a couple of frames per second,” which will result in choppy playback.
Trim Video Clips
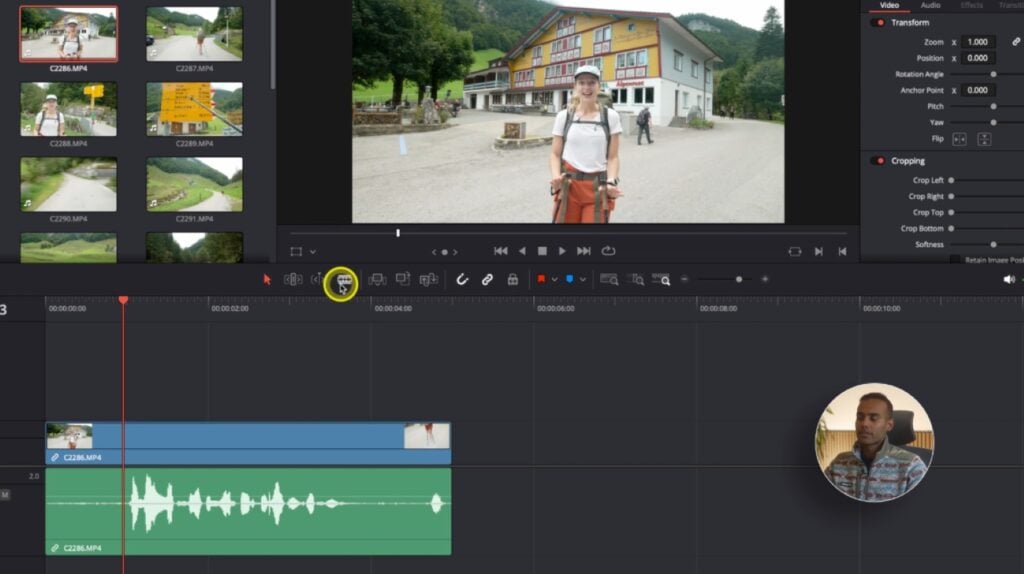
About the project: Trimming video clips is one of the most fundamental skills in video editing, and it’s also a perfect starting point for beginners. This exercise will teach you how to cut out unwanted footage, manipulate pacing and focus on what's most important.
By trimming a clip or two, you’ll also become familiar with the editing timeline and its controls, no matter which software you’re using. It's a straightforward but powerful way to develop your editor’s eye and gain confidence navigating your chosen video editing software.
Meet the teacher: Top Teacher Adi Singh first began exploring videography during a trip to New Zealand, and now teaches thousands of Skillshare students how to make their own videos.
Make Jump Cuts
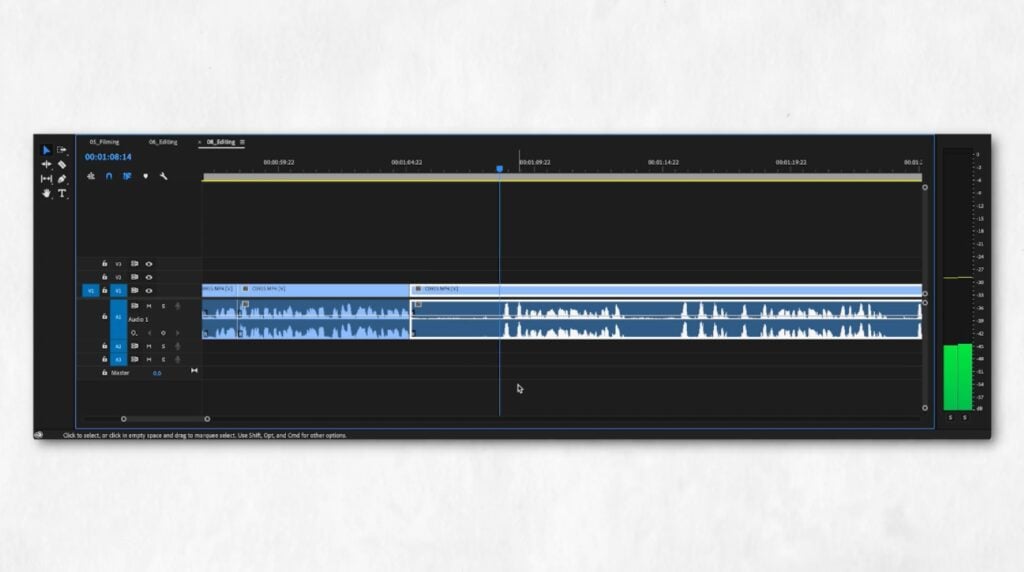
About the project: Put your newfound trimming skills to the test by creating jump cuts. Jump cuts are a stylistic editing technique that is often used in vlogs and fast-paced videos to remove pauses or to quickly jump from one scene to the next.
For beginners, creating jump cuts is a valuable exercise in storytelling and rhythm. It will challenge you to think critically about which moments are essential, and also show you how removing small sections of footage can make a significant overall impact.
Meet the teacher: A professional video content creator and ad agency owner, Christina Redd loves photographing wildlife and making videos.
Assign Keyframes
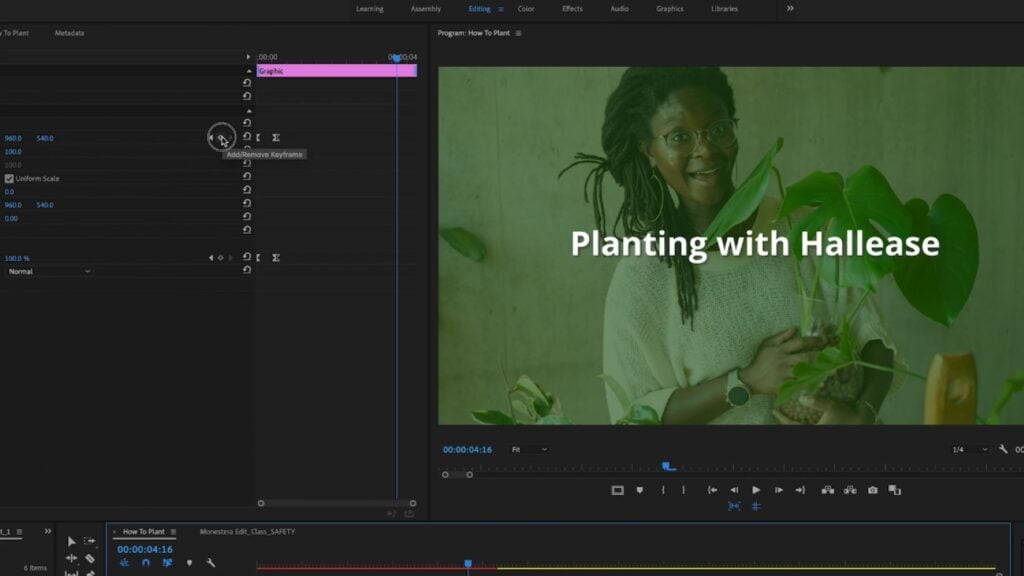
About the project: In video editing, keyframes are like traffic lights that tell the editing software where to start and stop an effect. For instance, you could tell your editing software to add a transition, text overlay or colored filter to all the footage located between two keyframes.
When you’re new to editing, learning how to set keyframes will empower you to decide precisely which portion of a clip’s footage you want to apply an effect to.
Meet the teacher: In addition to teaching on Skillshare, Texas-based video producer, digital storyteller and YouTuber Hallease also runs her own production company.
Add a Fun Effect
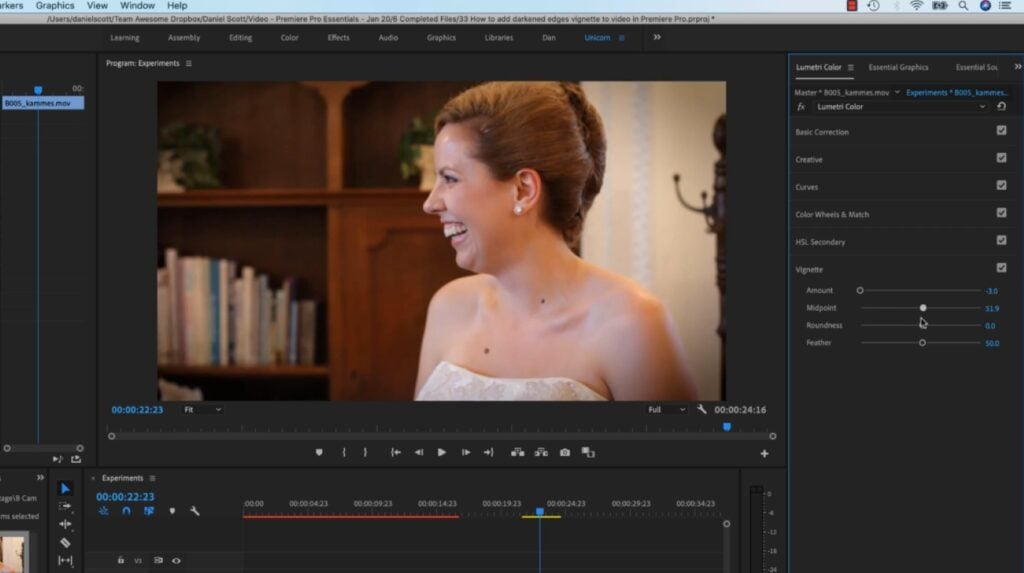
About the project: Adding a fun effect—such as a film grain-inspired filter, text overlay or transition—is a surprisingly powerful exercise for beginners. It doesn’t even need to look particularly impressive; by simply adding an effect, no matter how aesthetically pleasing the results may (or may not) be, you’ll learn how to use your editing software’s effects library and completely change the tone and mood of a clip.
So don’t worry about whether the end result looks professional or not. Just open up your software’s effects library, choose one that sounds interesting and start experimenting. And to build on the keyframing skills you learned earlier, try applying your chosen effect between two keyframes.
Meet the teacher: Top Teacher Daniel Scott is an Adobe Certified Expert who’s helped hundreds of thousands of Skillshare students master UX and UI design, video editing, photo editing, web development and more.
Teacher Tip: Listen to Your Gut
When applying an effect like film grain, “decide what works for you,” because “there's no right or wrong,” advises Top Teacher Daniel Scott. “What I find is that it just needs to be subtle,” but you might prefer a bolder look.
Try Zooming In
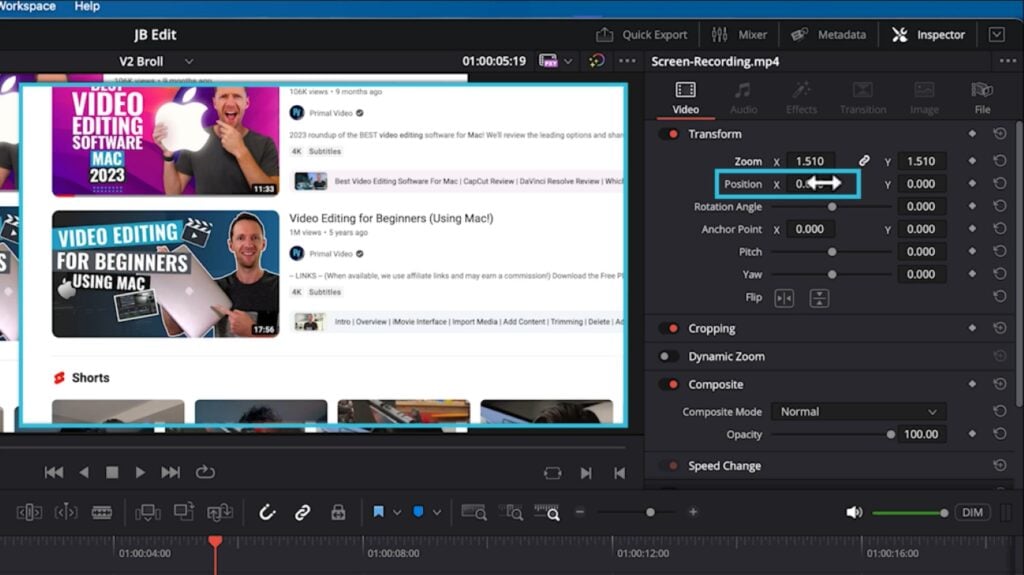
About the project: Practicing digital zooms in post-production will help you see firsthand how framing and scale can direct viewer attention and change the energy of a shot. For instance, zooming in on a specific area can shine a spotlight on facial expressions, reactions or small details that might otherwise be missed.
After completing this exercise, you’ll have a better understanding of focus and emphasis in video editing. Plus, you can use your keyframing skills to make sure the digital zoom you apply only affects the intended portion of your clip.
Meet the teacher: Together with his brother Mike, Justin Brown has built a seven-figure video marketing company and earned more than one million YouTube subscribers. On Skillshare, he shares that expertise with aspiring videographers and entrepreneurs.
Experiment With Motion Blur

About the project: Adding motion blur is a subtle but impactful project that will teach you how to efficiently smooth out rapid movements or transitions. It’s especially useful when keyframing motion or applying fast effects, as it softens the visual experience and gives the footage a more natural, cinematic feel.
This exercise helps beginners appreciate the difference between raw, sharp transitions and smooth, stylized results. Neither is inherently superior to the other, but when you know how to apply and adjust motion blur, you can choose which one you want to use.
Meet the teacher: Top Teacher Sean Dykink is a Canadian filmmaker and video editor who’s passionate about storytelling above all else. In his classes, he shows students how to tell compelling stories through filmmaking and editing techniques.
Create Full-Screen Title Transitions
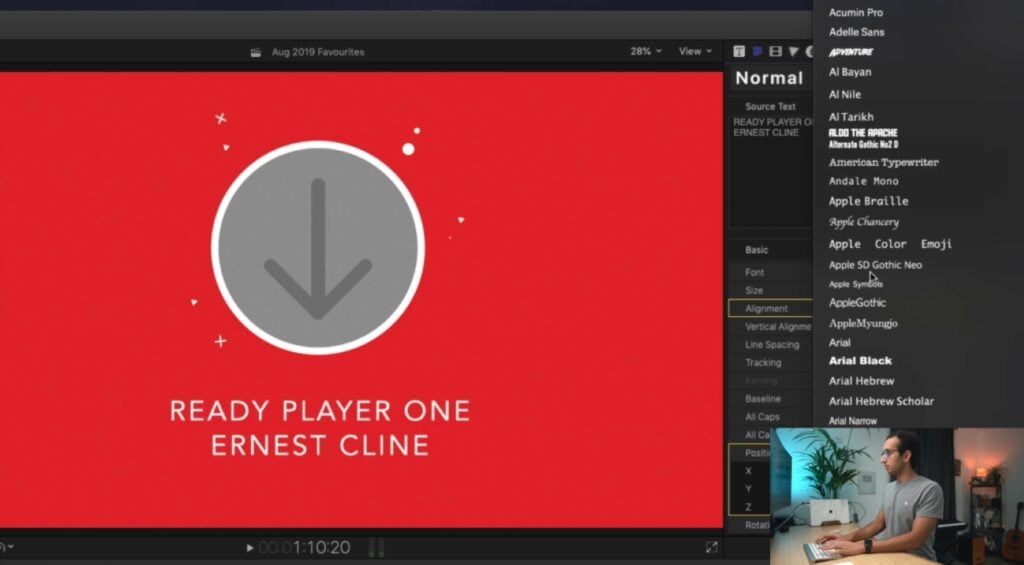
About the project: Designing full-screen titles that serve as transitions—think "Day 1," “Chapter 2” or "Meanwhile"—is an instantly gratifying way to combine typography, motion and timing. As you complete this project, you’ll learn how to overlay text and graphics, sync titles with music or action and create engaging visual breaks between scenes.
You’ll strengthen your familiarity with layering, keyframing and text tools, while also learning the importance of legibility and timing. And once you’re done, you’ll know everything you need to make a polished listicle-style video.
Meet the teacher: Top Teacher Ali Abdaal is a YouTuber, podcaster, entrepreneur and online teacher who shares his wisdom with hundreds of thousands of Skillshare students. And as if that weren’t enough, he’s a doctor, too.
Dive Into Color Correcting
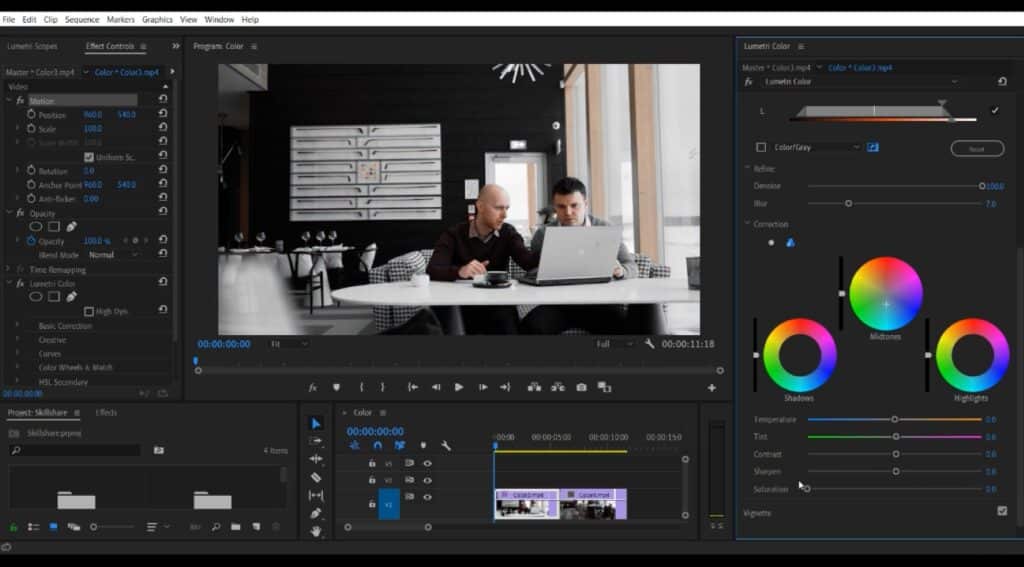
About the project: Color correcting is a valuable exercise that will help cultivate a deeper understanding of visual communication. It also introduces the concepts of white balance, exposure, saturation and contrast, all of which are essential elements for achieving a consistent and professional-looking video.
Even minor adjustments can dramatically improve the quality of your footage, so this project can seriously upgrade your video editing skills. And by dabbling in color grading, you’ll also start to see how colors can be used to convey a certain mood or emotion in your footage.
Meet the teacher: With clients like Red Bull, GoPro and even the Government of Dubai, teacher Erik Aleynikov uses his wealth of real-world experience to guide students through their video making journeys.
Explore Mobile Editing
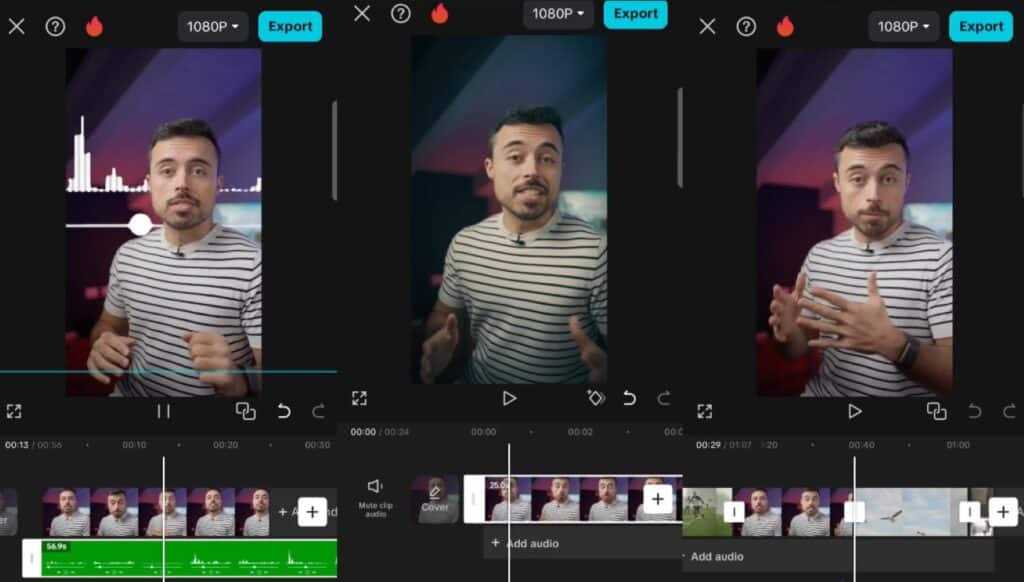
About the project: Don’t want to use desktop software? Don’t sweat it: Mobile editing could very well offer the intuitive, hands-on approach you’re looking for. Mobile editing apps like CapCut often have exceptionally user-friendly interfaces and built-in templates that make learning faster and more accessible, especially if you’re more comfortable using a smartphone than a desktop computer.
This project teaches the core principles of video editing, including cutting, arranging, adding music and applying effects, all without the complexity (or expense) of desktop software. It will also show you how to edit content on the go, so you won’t ever be without basic video editing tools.
Meet the teacher: Enrico Luzi is a Top Teacher who started his career as an engineer in Brazil, but now works as a landscape and commercial photographer and videomaker. And in his Skillshare classes, he shares everything he’s learned with tens of thousands of students.
Teacher Tip: Don’t Underestimate Mobile Editing
“Maybe you've captured some amazing clips, but now you're wondering how to edit them without feeling overwhelmed by complicated or expensive tools,” says Top Teacher Enrico Luzi. “I've learned how important it is to have tools that are both accessible and effective,” and mobile apps like CapCut offer “a full editing suite right in the palm of your hand.”
Small Projects Make a Big Difference
Video editing can seem intimidating at first, but breaking it down into small, purposeful projects can make the learning curve much more manageable (and even enjoyable). As you complete each project, you’ll start to develop not only a working knowledge of your editing software, but also a better sense of timing, storytelling and visual design. These types of core skills aren’t just useful now, either: They’re also the building blocks for more complex edits down the line.
Above all else, if you want to become a better video editor, never stop experimenting, and focus on progress over polish. With every cut, transition and effect you try, you’re becoming a more confident and capable editor, even if pro-level results are still beyond your reach. So pick a project, open your editing software and get started. In less time than you think, you’ll be ready to explore more advanced video editing techniques and truly take your skills to the next level.
Related Reading
Carrie Buchholz
Carrie Buchholz is a freelance writer who lives in Northern Colorado with her husband and dog.
Try Skillshare for free! Sign up for a 7 day free trial today!
Get Started- Unlimited access to every class
- Supportive online creative community
- Learn offline with Skillshare's app


