Transcripts
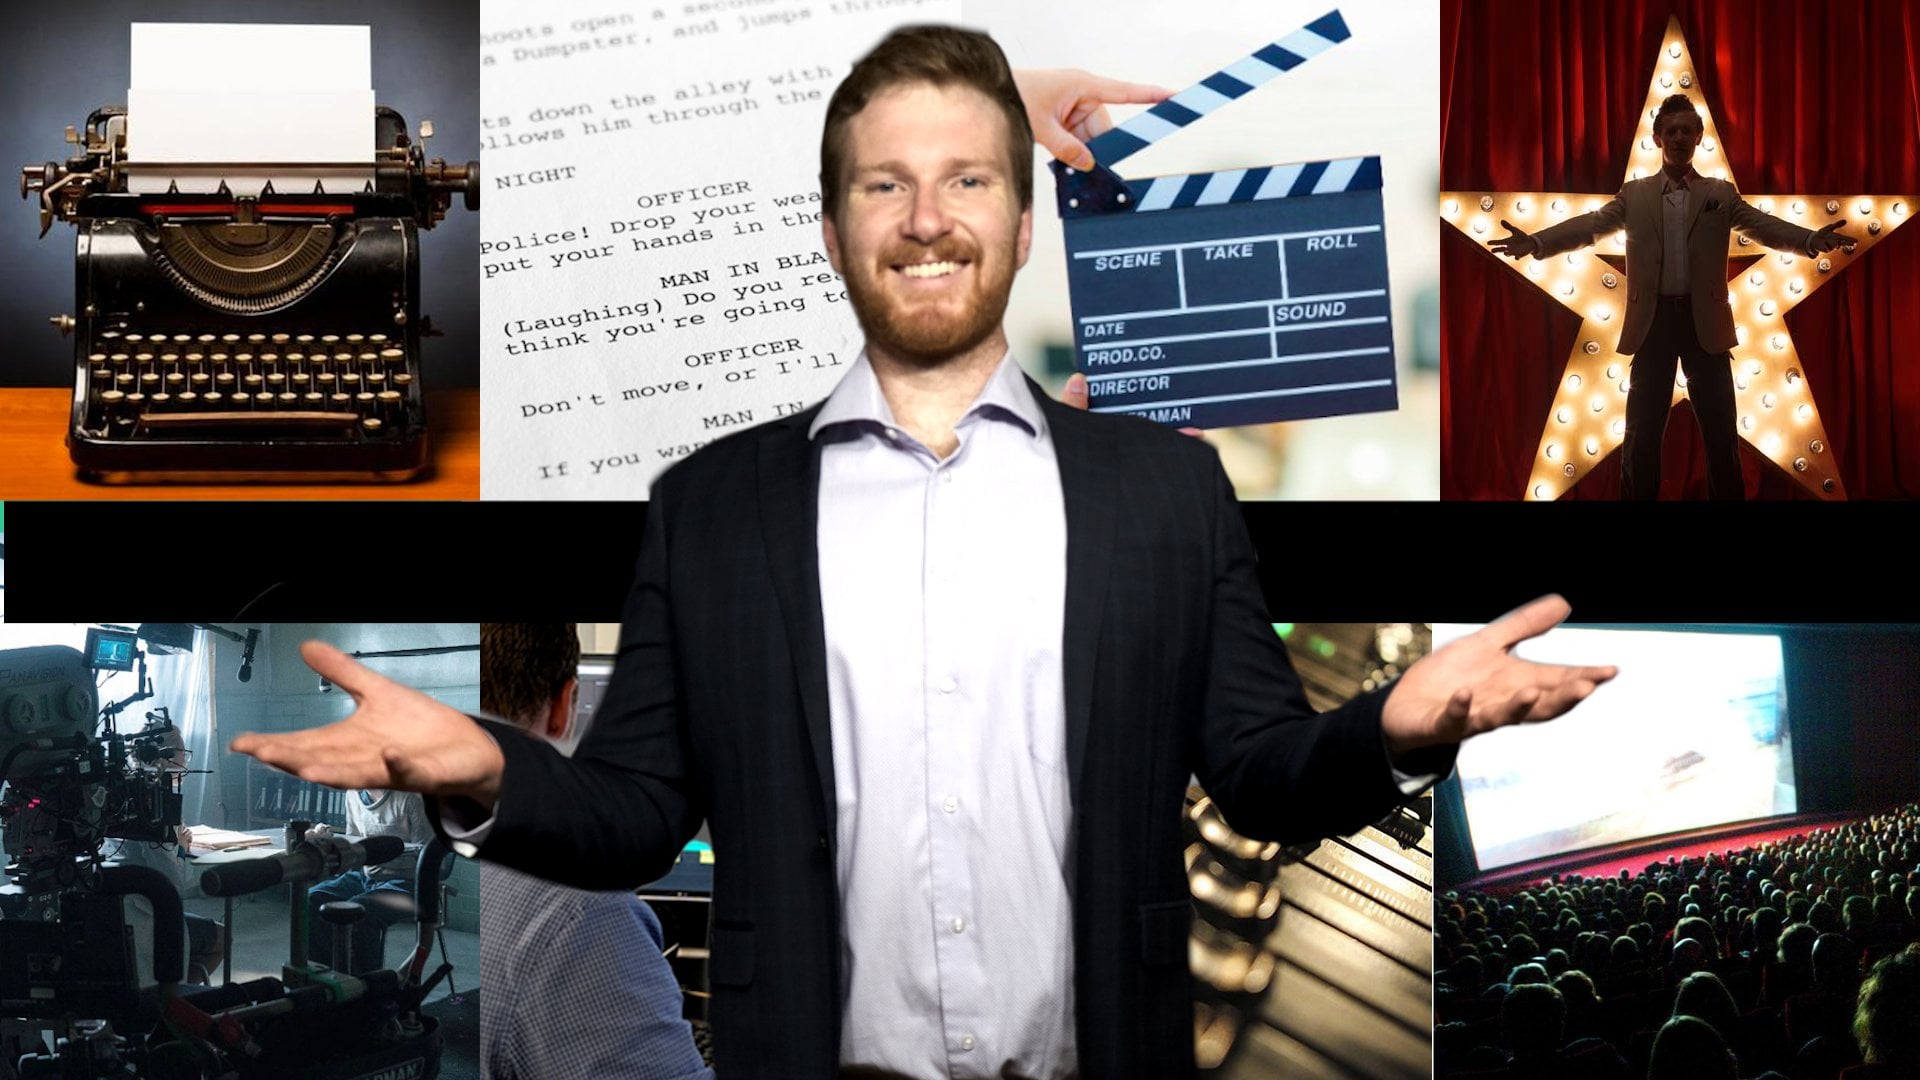
1. Introduction: [MUSIC] A quick video is an
amazing way to communicate your message to the
masses. Think about it. Have you ever been in a position where you work on
this bigger project, you're super stoked about it, it goes live and all of the momentum falls
off immediately? [MUSIC] A good way to prevent this is to
create a shorter video to promote your larger project
and get people excited. My name is Christina
Read, I create videos for myself
as well as brands. On the personal side of things, I create videos in
the ocean and I have a goal of documenting
every ocean on the planet. Then on the brand
side of things, I create ads that really interrupt your social media
experience. You're welcome. Today I want to share with
you everything I learned over the past seven years of
making videos online, specifically helping you create short-form videos that leave people excited about
what you're sharing. I believe people naturally resonate with good storytelling, so this course isn't just for nerdy filmmakers like myself, this applies to
literally anything : if you have a product
that you're trying to sell or you just
want to drive people to your longer YouTube video. I'm going to break
everything down into two main sections,
filming and editing. I'll explain the
best way to film in preparation of
editing your video, and then once we
get into the edit, I'll walk you
through how to edit a video that has good pacing, is snappy, and at
the end of the day leads your viewer
wanting more from you. I've obviously
created videos for myself over the years,
but on top of that, I've worked with creators
and brands and helped them get millions of
views on their videos, and I'm very excited to
unload what is in my brain. I appreciate you
taking the time to watch this course
and let's get going.
2. Class Project: The project for this class
is going to be for you to create your own
short form video. The biggest thing here is
for you to create an idea that you are excited
about right off the jump. In the first section
of this course, we're going to plan your video, go over all of the gear that you will need
to film your video, then we'll detail out
filming the talking points, and of course
filming your B-roll. In the next section,
we're going to talk all about editing. Editing is honestly the funnest part of
the process for me, so we'll talk about organizing your files, creating
the tightest, most beautiful jump cuts to keep the pacing of
your video going, and then of course, adding the B-roll to your
overall video. So that's going to
be the structure that you can expect
in this course, and for this course, you will need a laptop, some type of editing software, and of course, a camera. None of these materials
have to be super fancy. Honestly, you can probably use your phone to
accomplish all of this. I'll be using my
Sony A7S Mark III, my 16 inch MacBook Pro, and Adobe Premiere Pro. As you're going
through this course, you should know that
it is okay to pivot. You can pivot your idea, you can pivot the shots
that you're getting, adjusting as you
go will ultimately result in a better end product. Once you're done,
make sure you share your video in the project
section of this class. I'm very excited to see it. Now let's move on to the next section where
we talk about gear, audio, and lighting.
3. Your Gear: Audio + Lighting 101: In this section, we're going to talk about the
fundamentals of [MUSIC] video creation gear,
audio and lighting. Having the right set of
gear doesn't necessarily mean having the best
gear on the market. Honestly, you have
to think about what you're trying
to accomplish. It doesn't make sense to have a $3,000 Sony camera when
you're filming in the ocean. The best gear in that case, honestly is a GoPro. I do have an underwater
housing for my Sony camera, but I can't tell you
how many shots I've lost because I'm fiddling
around with the settings, whereas with a GoPro I can just hit the Record button and I know that it's going
to get something at least remotely good. Sometimes capturing the
moment is better than composing the best
shot in the world. I was recently in
Mexico photographing some wildlife and the GoPro
came in handy. I digress. Let's talk about the
one thing that I would emphasize above cameras. Number 1 I would
tell you to focus on good quality audio, and then number 2 I
would tell you to focus on good lighting. If your video sounds
bad, it's distracting. If your video looks bad,
it's also distracting. The key here is you want
to eliminate distractions. Your video should be an
immersive experience, and distractions, obviously
distract from sad experience. My typical setup is
a Sony A7S Mark III, a RODE VideoMic, my iPhone, a little tripod, definitely a GoPro and
of course batteries, don't forget your batteries. Like I mentioned before,
you don't need to have the most fancy gear. You can use your
iPhone with a tripod, some natural window light, and then really just make
sure that it's not windy or wherever you're filming is quiet enough that the audio
isn't distracting. You can make a video
with anything. In the past, I have
used fancy gear to compensate for
where I was lacking. Let me tell you from
first-hand experience, you cannot use gear to
cover up a week story. The gear comes after the
amazing idea and the execution. As long as you have
something to create with, you can make something
really good. Now that we've covered all of
the gear that you may need, let's move forward to
the next lesson [MUSIC].
4. Filming: Structure Your Narrative: [MUSIC] Now that we have all of the fundamentals broken down, let's get into the
actual project. I like to break the
planning process of making a video down
into two core pillars. The first one is messaging and
the second one is visuals. These two categories
should work in unison to deliver
your final video. Before you go into filming, you want to think
about your messaging. You want to ask yourself
questions like, what is the one thing that I
want my viewer to take away? Or what do I even want
this video to look like? If you're trying to
make a short-form video about a specific
product that you like, think about some of the value propositions
or the features of the product that you
think are really unique and other
people should know. You should definitely
take this time to do some research on content
that inspires you. If it's inspiring to you, it's going to be inspiring
to other people. Break down all videos. This type of planning process is also known as storyboarding. Storyboarding is an amazing
way to get your idea on paper before you start
filming and editing it. It really makes the end
result better because you can work out any kinks upfront, at the end of the day
that's going to make your editing process
a lot quicker. [MUSIC] Filming the first part
is really simple. Just set up a camera and talk to it. This is supernatural. It's a plant-based essential oil home cleaner with
the service that you get these full-size glass
bottles, which is amazing. I don't have to worry
about adding to the plastic consumption
of the world. You also get these vials. Each of the vials have a
custom formula to clean that the specific places in your
home, like your bathroom, your kitchen
counters, the floor, just fill the glass
bottles up with water, put the vials in, shake
it and you're good to go. I'm very happy to have found a product that
makes me feel safe using and also accomplishes
the goal of cleaning my home. In this example, I'm laying out why this product is unique, why I love using it, and why other people
should try it. At the end of your video, your viewer should be
able to explain what they just watched and why
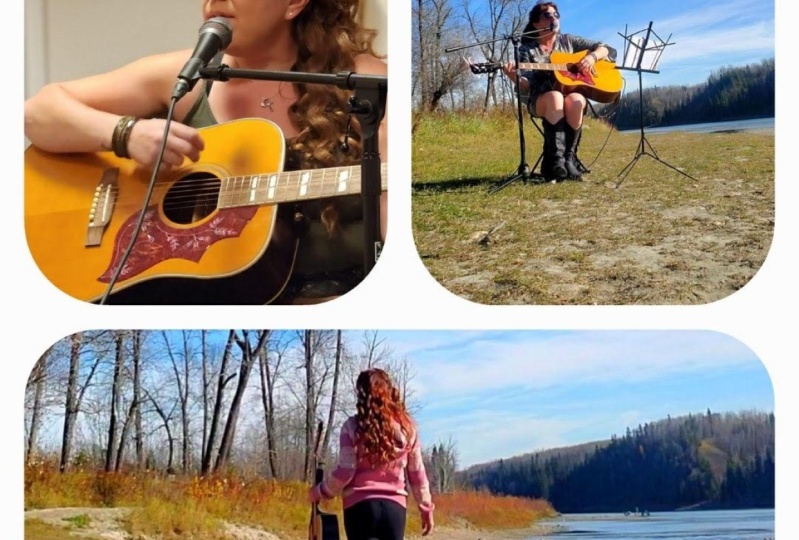
they care about it. [MUSIC]. For this video series, I'll be following around
different creatives who make their living in or
around the ocean. We'll be crossing from Florida to the Bahamas to learn how Steph and Sabine live a
sustainable lifestyle offshore. But before we can do this, there's still a laundry list of things to do in
preparation for the trip. This example was
designed to leave people wanting more
of an adventure. At the end of those 60 seconds, people understood
what I was up to and they wanted to
watch more of that. We touched on planning
your messaging, why it matters to your story
and now we're going to go into filming the visuals
to support that messaging.
5. Filming: B-Roll: [MUSIC] B-roll is
the most fun part of filming in my opinion. B-roll can be buttery slow
motion or fast-paced cuts. But simply put, B-roll is the footage you use to
support your messaging. For these videos, B-roll will be a visual representation
of what your story is. If I'm talking
about the fact that last week I got in a boat, I hopped in the water and I
swam with dozens of sharks, I want to show all of the
sharks that were around me. That's just a quick example, but I like to film two
different types of B-roll. The first one is
establishing shots and the second one is
detailed shots. Establishing shots are
wider-angle clips that give your viewer an idea of what's
going on in the scene. This could be any
type of footage. Drone footage works great, time-lapses work great, and of course, handheld shots. But if you're going to
film a handheld shot, I like to hold it for
at least 8-10 seconds, that way you have a good
amount of wiggle room. You want the establishing
shots to allow your videos to breathe a little bit because throughout
this short video, you're having shots flyby. Having an establishing shot gives your viewer a
second to breathe, understand what's going on, and then get into the
world that you're setting up for them
in this video. I'd like to explain
detailed shots as the footage that really helps your viewer feel the scenes. This can be really nice, slow motion or
really fast-paced, fun adventure clips like these. Those two examples really communicate their own
individual messages. You don't want to put slow-motion
on every single clip. We've all been
through that phase. 2016 was the year that
everything was in slow motion. You want to make
sure slow motion and the high energy
fast-paced clips have context on the video. Filming the supporting
footage or B-roll, is where you really get to
flex your creative muscle. As you're filming, you get to envision what the end product is going to be in the edit and that's the
exciting part for me, so have at it. You should always
make sure your B-roll is placed intentionally. I see so many editors just
slap B-roll wherever they think it should go and that's not necessarily
the best method, that's not the best
way to tell a story. You should always
have a reason that your B-roll is where
your B-roll is. Now that we've covered how
to plan and film B-roll, let's get into the computer, learn how to organize
all of our files, and then let's get
into the edit.
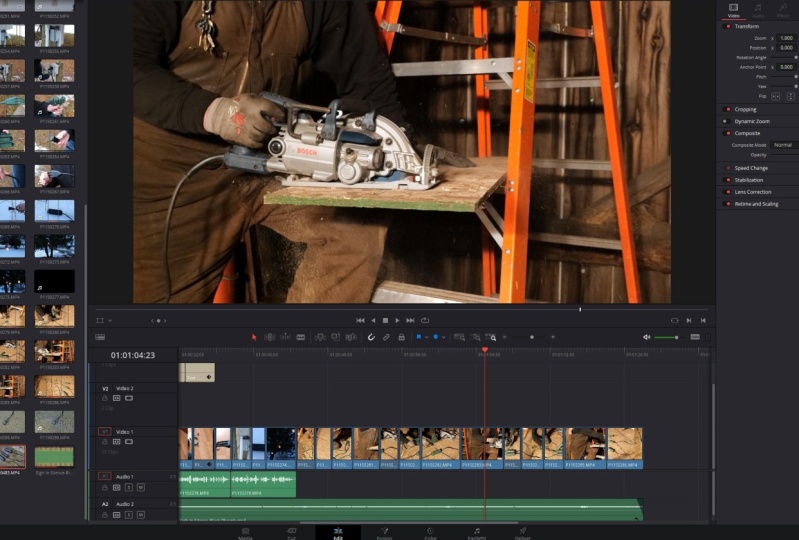
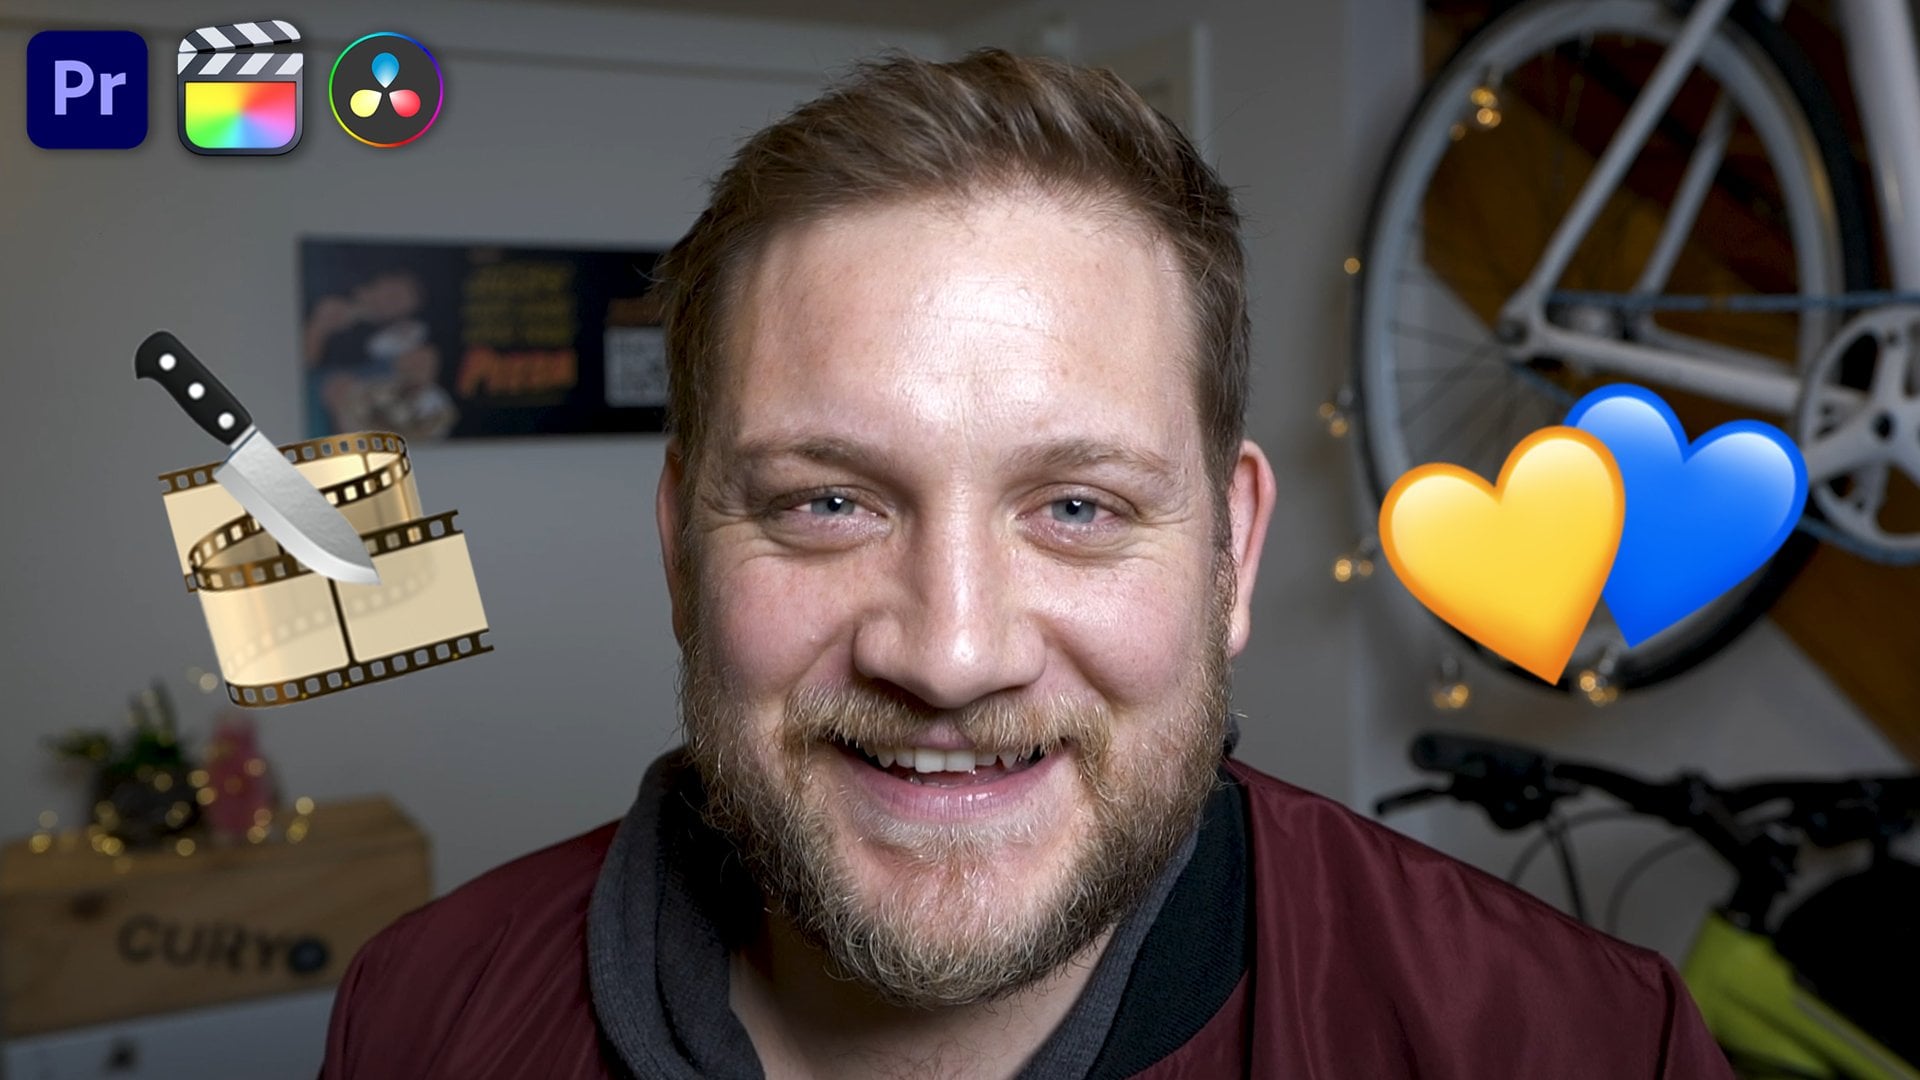
6. Editing: Organize Your Files : We filmed our video and now we're getting into
post-production. [MUSIC] Post-production
is really where all the magic happens. This is where you
can take all of your raw footage and
turn it into a story. My favorite part about editing video is really the
problem-solving that goes into taking bad footage or footage that
didn't really turn out the way that you expected
it to and making it work. I am truly a testament to the fact that good
video editing can take bad footage and turn it into an amazing final product. Even if you're not the
best filmer in the world, you can always polish
it up in post. [MUSIC] With that said, post-production is really the
part where you need to have your crap together when
it comes to organization. There is no covering
up bad organization. Having your files organized
in a way that makes sense can shave off hours of
post-production editing time. [MUSIC] Let us just cover the basics of the
do's and don'ts. Don't ever leave all of
your files on your desktop. Do organize your files in a neat hierarchy
on your computer. I don't care if the folder
is on your desktop, but all of the files definitely should not be on your desktop. I will take that with
me to the grave, you need to be organized. Now that I'm done yelling
at you about that, I will say that file
organization is purely personal, so organize in a way that
makes the most sense to you. I'm going to show the way
that I like to organize, take what I have
and run with it, modify it to your own
personal workflow. Here is my breakdown. I'll name the main folder, the trip or shoot date, and the name of the project. I have folders within that main folder to keep
things even more organized. I'll have a project file folder, footage, audio, and assets. Those are the four main folders that I organize based off of. If I'm shooting with
multiple cameras, then I'll have multiple
camera folders within the footage folder. I drag that all into
Premiere and it's organized so I know
where everything is. This is the baseline of
organizing my files. Now in the next
course, we're going to take everything that
we've worked on into Premiere or your
preferred editing software.
7. Editing: Jump Cuts: [MUSIC] Have you ever
found yourself in the middle of watching
a video thinking, why am I watching
this, or thinking, this video is taking for ever? You're probably
thinking these things because whoever edited the video you're watching wasn't editing with pacing in mind. That's what I want to talk
about in this lesson. When approaching a short
form video like this, you want to continually
ask yourself, what is this adding
to the video? With this kind of
video, you only have about 60 seconds to leave a
lasting impression that's compelling enough to
drive the viewer to take whatever action you're
intending for them to take. Again, a couple of
these actions could be watching a longer YouTube video, or buying a product
you're trying to sell, regardless of what action
you want them to take, you always want your viewer
to be engaged in your video. To keep people engaged, we want to make sure
the pacing is on point, and a good way to
keep the pacing on-point is by using jump cuts. There are so many different
ways to create jump cuts, but the way that I like
to edit is in Premiere. I like to edit based
off of the waveforms. What I'll do is I'll watch where there is a peak
in the waveform. That peak to me indicates that I'm
beginning a statement, so I'll make sure that I cut right where that peak happens. In between every jump cut, I make sure that I always
add a constant power effect. That way, there are
no distracting pops where the audio was cut. Remember, we always want to eliminate distractions
in these videos. Making sure to add that
constant power I found has been the best way to keep the
audio sounding flawless. Something to keep
in mind when making jump cuts is you don't want
to abuse the jump cut. Do you see what I did there? I cut in between
every single word. Something to keep
in mind when making jump cuts is you don't want
to abuse the jump cut. That is extremely distracting. It's okay to let the person
breathe for a second because that's how humans
naturally communicate. I use these jump
cuts as a way to let the video naturally flow, but also keep the pacing moving. Editing video may feel super intimidating
at first glance, but I promise you it is not
as scary as it seems once you master things like the art of the jump cut and adding
tasteful [inaudible], which we'll cover
in the next lesson. But I wanted to take this moment to remind you that this is the creative process
and it is okay to fumble around and
experiment creatively. This journey takes time, so be easy on yourself
and continue creating. [MUSIC]
8. Editing: Cut The Fluff: If you've ever been
bored watching a video because the
shot never changed. That's because nobody
added B-roll to the video. B-roll shakes things up and
keeps your viewer visually stimulated while you
deliver your message. B-roll is super important. [MUSIC] First, let's define
the purpose of B-roll. B-roll should be a
visual representation of the narrative going
on in the video. If I'm making a
video talking about a specific ingredients and the nutritional benefits of a meal replacement
that I'm using, I want to show that
nutritional breakdown. Or if I'm speaking about how high-quality the
ingredients are, I want to show ingredients
like coconut or kale. As a creator B-roll
is my opportunity to show the viewer what
I'm speaking about. Some things to keep in mind
when adding your B-roll. You want to make sure
that your B-roll is placed thoughtfully. You don't want to just add B-roll for the sake
of shaking things up, your B-roll should always
align with your story. You want to also ask yourself, "what does this B-roll
add to the video?" If it doesn't add
context and there's no meaning behind it,
don't add it to the video. Your video has a purpose, so you want to make sure that your B-roll aligns
with that purpose. Something I personally
struggle with is completely overthinking
the B-roll process. Should this clip go here? Or should this clip go here? I want to end this lesson
with my final point which is, be okay with experimenting. Put B-roll in a place that you normally wouldn't put B-roll. That experiment might not work, but also it might
work extremely well. Sit down, loosen up, and have fun adding
B-roll to your video. [MUSIC]
9. You Did it!: Congratulations, you have made it to the end of this course. By now you should have
a strong foundation of creating short-form videos
that inspire action. This structure is
here to help you have an efficient process and help you create effective videos. Just like anything else, be patient with the process, work hard and do
not cut corners. Remember to keep your
messaging sharp and specific, in fact intentional simple visual oftentimes are the best, they create a strong
backbone for your video. Don't put the pressure
on yourself to have the most interesting
B-roll in the world. Honestly simple
is always better, always push yourself
to build your video to match what your skill
level will allow. If you do you'll have a better result from
the end and you will slowly grow to become a
better and better creator. This is a long game
so take your time, do the process properly
and you'll become such a refined and
polished video creator. Thank you so much for taking the time to watch this course, I am so excited to see what
everyone has to create. If you have any questions feel free to reach out
to me on social. That's all I got, cheers.