

A Guide to Product Photography
Learn about product photography and how you can get started with this type of photography yourself.


According to the Etsy handbook, 90% of shoppers say that quality product photography influences them to make purchases. That makes sense, doesn’t it? If you can’t physically examine and touch an item, the next best thing is to be able to see clear, detailed, true-to-life images of it. Good product photography can help a consumer choose between two (or more) similar products.
Whether you’re a business owner looking to better showcase your products or an aspiring product photographer, this guide will help you learn how to shoot product photography more effectively.
What Is Product Photography?
Product photography is a type of commercial photography that aims to accurately and attractively showcase a product. Product photographers use different angles, lighting, and backdrops to highlight an item, including the details of its design and how it’s used in real life. Ultimately, good product photography helps consumers choose between similar products on the market.
Examples of Product Photography
Product photography is everywhere, from magazine advertisements to Instagram photos. Here are a few examples of eye-catching product photography.
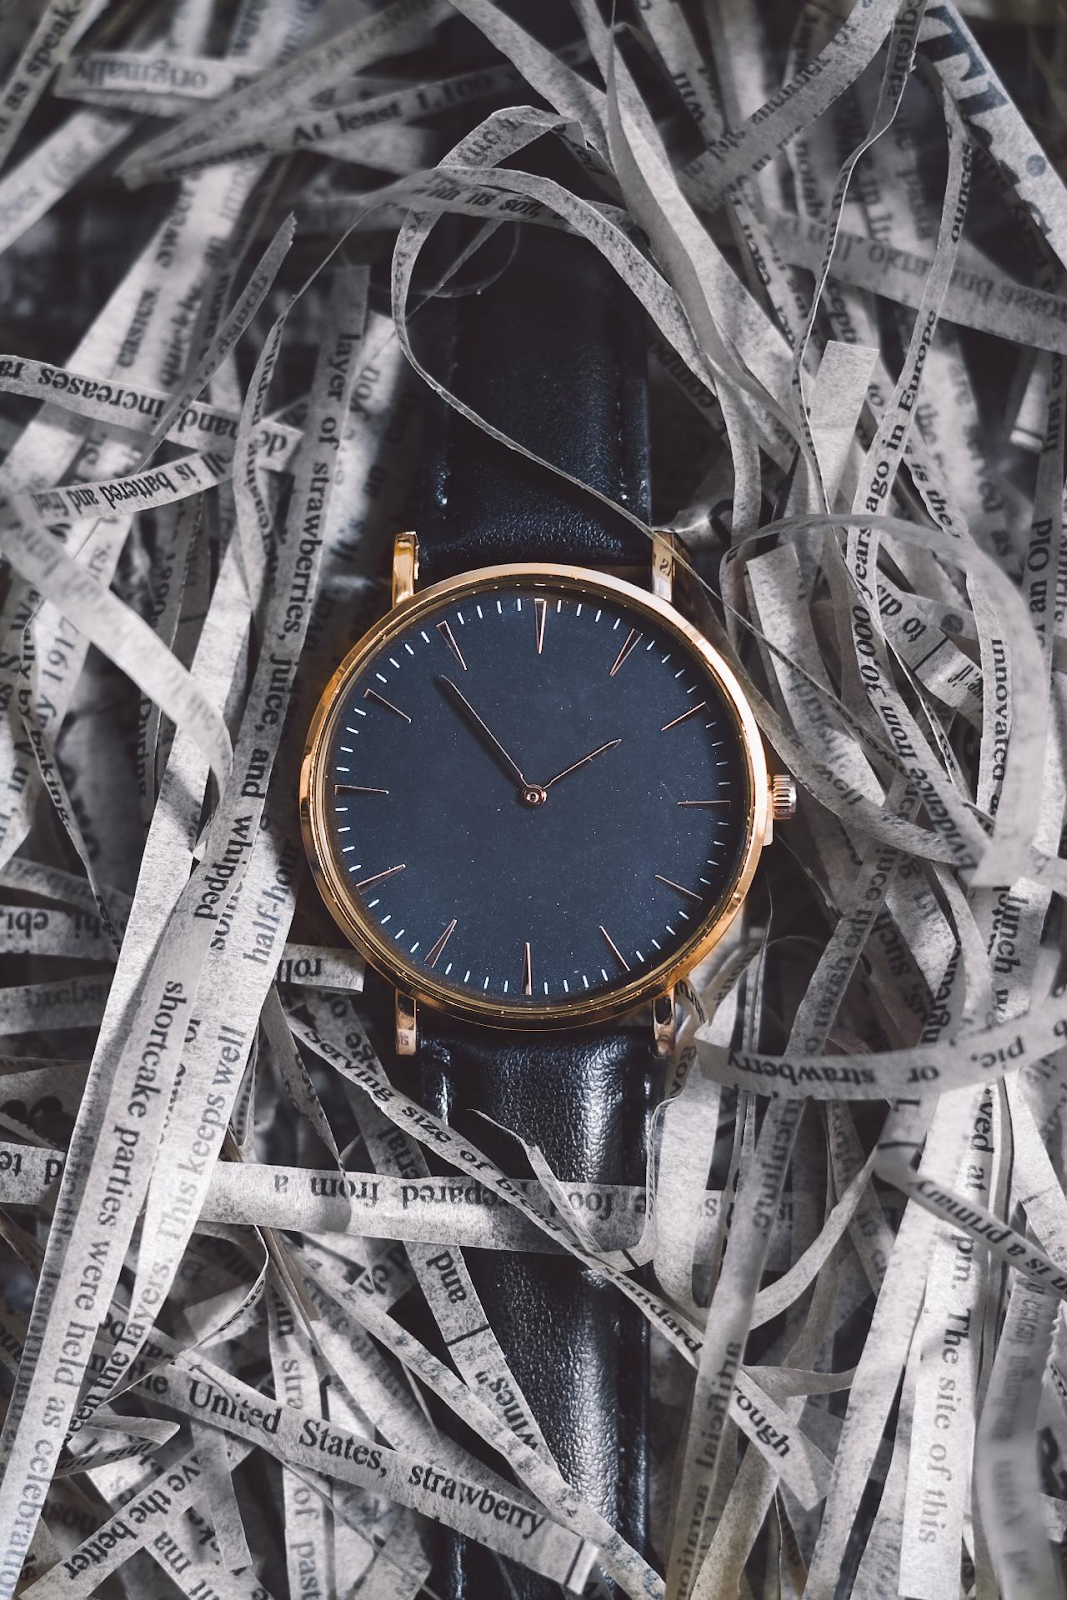
Watch Close-Up
This close-up product photo showcases the details of the watch: the texture of the leather grain, the matte black watch face, and the gold border and dial accents.
Jade Roller Flat Lay
This image of a jade roller is a great example of how to do product photography with white background. The jade plant and jade roller stand out from the white background, allowing the audience to focus on the product.

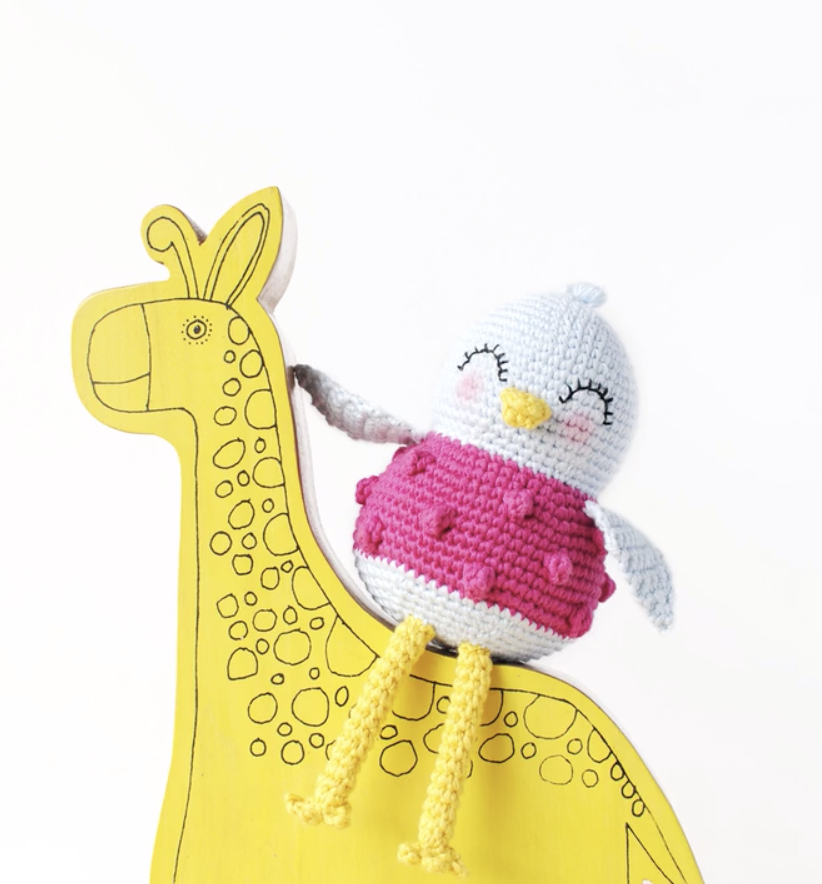
Monstera Earrings
Rather than highlight these earrings within a flat lay, this image showcases them as they would hang when worn. And, as a clever detail, the photo shows the monstera earrings hanging from an actual monstera leaf.

How to Do Product Photography
If you’re involved in ecommerce, learning how to take product photography is essential. Fortunately, you don’t need expensive product photography backdrops or lighting to produce quality pictures. In the tutorial below, learn how to do product photography at home, including how to create an ideal setup for shooting products and how to take effective photos to entice your potential buyers.
Step 1: Gather What You Need for Product Photography
Before you begin shooting images, you will need to gather your tools. While you don’t necessarily need expensive equipment, there are a few critical items you need to make your photos clear, well-lit, and consistent.

Camera
You can take quality product photos with nearly any kind of camera, so don’t worry about buying expensive new equipment. Grab your DSLR, point-and-shoot, or the camera on your smartphone—whatever you already have on hand.
Tripod
Using a tripod can help you standardize your product photography, ensuring that you always capture your products from the same height and angles. For beginners, you can certainly choose to shoot by hand, but there is a larger margin of error for inconsistencies. Even an inexpensive tripod can help you achieve better stability and create more attractive images.
Product Photography Backdrops
For seamless and flat-lay photography, you need product photography backdrops. The size of your backdrop will depend on the size of your product, but this doesn’t have to be expensive, and you may already have something suitable on hand.
For example, for seamless photos, you need a backdrop that goes behind the product, then curves down underneath it for a seamless effect. If your product is small enough, you can use an inexpensive poster board. You can also use paper or fabric (thick and wrinkle-resistant is best). While you can use those same materials for flat-lay product photography, you can also get more creative and opt for backgrounds like wooden planks or marble cutting boards.
Wherever you set up your product photo studio, you will need a backdrop stand or some type of support to hold your backdrop. In many cases, you can use a wall or box and some painter’s tape. You can also opt to build a photo box for less than $10.

Product Photography Lighting
Lighting is essential to capturing quality photos. In many cases, you can use natural light by shooting products near a window or door that lets in plenty of light. It can also be helpful to use a light reflector (which can be as simple as a white poster board), so you can adjust how and where the natural light hits your product.
However, you may also choose to use artificial light. This option can be particularly useful if you want to highlight physical features of your product that may be hard to capture with natural light. For example, if you want to showcase the texture of a watch band and details of a watch face, you may have better luck with an artificial light source, which you can focus more precisely on the product.
Step 2: Set Up Your Product Shoot
Once you have your materials, you can move on to setting up your product photography shoot. There are a few different ways to set up a professional-looking shoot with your DIY product photo studio.
Seamless
A seamless or sweep background ensures that you don’t see any corners, edges, or blemishes behind your product—all you see is the product itself. With this setup, you will use a large, bendable background (like a poster board or piece of sturdy paper) that curves down from the wall and under your product. When you shoot these photos, the background will essentially become invisible.
To set this up, begin by taping the backdrop to the wall or another surface (like a sturdy box). Make sure that the backdrop is long and large enough to accommodate the product. Then, position your light sources, including any reflectors, to minimize shadows on your product.

Flat Lay
In flat lay photography, you shoot your product from directly above. This type of product photography is fitting if your product is flat or doesn’t stand up on its own. It can also be ideal if you want to add other stylistic elements and props to your photos.
For this setup, you will need to lay your backdrop on a flat surface, like a table. Move the table near your light source, adjust the table height if necessary, and then position yourself directly above the product. You can also use a light reflector here to minimize shadows.

In general, it’s best to keep your product photography simple, so you can keep the focus on the product itself. However, it can also be fun to let some personality shine through your photos by adding props to your flat lay shots, especially if you’re going to use those photos for social media or marketing purposes.
In that case, just make sure your props and backdrop elements are aligned with your brand. Skillshare instructor Kristina Turner recommends first defining your brand in three words. For her, those words are, “bright, fun, and friendly.” Each prop and final shot should embody all of those words.

Wondering what props would accent your photos best? Try using tools related to your product. For example, a crocheter might accent flat lay photos with yarn, scissors, or stitch markers. An illustrator might use colored pencils, pencil shavings, or paper. Look at other product photography for inspiration, and continue experimenting to figure out what fits your brand and highlights your product best.

Real World
You don’t have to limit your product photography to an in-home product photo studio. Some products are best highlighted in a real-world environment, where you can more easily showcase how they’re used or model them on a person. In that case, a small-scale product photo studio may not be able to accommodate your vision.
To capture effective photos, you’ll still need to take background and lighting into account. It can also be helpful to use portrait mode on your camera to highlight the product while softening any other potential distractions in the background.

Step 3: Shoot Your Photos
After you’ve set up your backdrop and products, you can now begin shooting. Feel free to experiment, but keep the following tips in mind.
Frame Your Shot
You have many options in the way you frame your photos. For example, you may want an equal amount of white space on all sides of the product to keep the photo proportional. Alternatively, you may want a couple of shots with added white space on one side of the photo, so you can add text during the editing process and use it, for example, for the listing cover shot on your product page.

Shoot a Variety of Angles and Images
When potential customers look at products in person, they’re able to pick them up, feel them, and examine them at all angles. While you can’t replicate the same experience online, you can provide multiple photos to showcase your product at several angles.
With that in mind, when taking product photos, don’t just stop at one. Consider how your future customers may want to see the product—from the front, back, or underside. Maybe they would appreciate a close-up photo that provides a better idea of the fabric or texture of the paint. You might even take some in natural light and some in artificial light to better showcase the true color of the product.
Taking a variety of photos will not only give you a better range of images to choose from when you’re done with the shoot but will allow you to incorporate several images per product on your ecommerce site.
Step 4: Edit Your Photos
Many product photographers use Adobe Photoshop or Adobe Lightroom to edit and finalize their photos; however, there are many software options to choose from, both paid and free.
A Quick-Start Guide to Better Photos
Fundamentals of Photo Editing With Justin Bridges
The first step to editing your photos is to crop them based on how you will use them. If you plan to post the image to Instagram, for example, you will need to crop it to be a square. If it will be part of a product listing, check the requirements of your storefront or website to make sure you use the right dimensions for that listing.
Then, you will adjust the levels, brightness, white balance, and shadows of the photo. Once you’re happy with the way the photo looks, you can move on to uploading it to your social media, storefront, or website.
Product Photography as a Career
If you’re interested in pursuing product photography as a career—maybe, for example, you want to learn how to do product photography for Amazon or how to do fashion product photography—it’s beneficial to have an understanding of how to get started, possible career paths, and earning potential.
Freelance Product Photography
If you choose to work on a freelance or job-by-job basis, you can decide what types of products to focus on (e.g., fashion, beauty, food, technology, etc.), as well as which clients to work with. If you want to break into Amazon product photography, freelancing is typically the way to go, as many sellers enlist freelance photographers to create their listing images.
As a freelancer, you get to determine how much to charge for product photography jobs. You may choose to charge by the day, hour, product, or individual photo. Based on your experience, you can charge anywhere from $25 to $500 per hour.
In-House or Corporate Product Photography
Some companies prefer to hire full-time, in-house product photographers. While this can, in some ways, limit your creativity (since you will only shoot for one brand or type of product), it can also offer stability. According to Glassdoor, product photographers earn an average salary of close to $50,000 per year.
Either career path—freelance or in-house—begins with a strong product photography portfolio. Whether you start by shooting product photos for a discounted rate or simply shoot example photos with things you already own, aim to build up a portfolio website that you can show to potential employers and clients.
The Financial Aspect of Product Photography for Business Owners
If you’re a business owner, you may start off doing your own product photography, but as your business grows, you may eventually decide to outsource it. How much you pay for product photography can vary widely based on who you select as your photographer, as well as the size and styling of your product.
On an hourly basis, product photography pricing can vary from $25 to $500 per hour. A daily rate could range from $300 to $3,000 per day. It all depends on the experience of the photographer and the complexity of your product and vision for your photoshoot.
Whether you sell products or want to pursue product photography as a career path, learning how to do product photography is critical to making your products stand out among the competition. With better product photos, it will be easier for potential customers to see the quality and beauty of your products—and ultimately, want to buy from you. So take the time to experiment and develop your preferred photography style, and then get shooting!
A DIY Guide to Showcase Your Products
Product Photography Basics for Your Handmade Business With Kristina Turner
Try Skillshare for free! Sign up for a 7 day free trial today!
Get Started- Unlimited access to every class
- Supportive online creative community
- Learn offline with Skillshare's app


