Transcripts
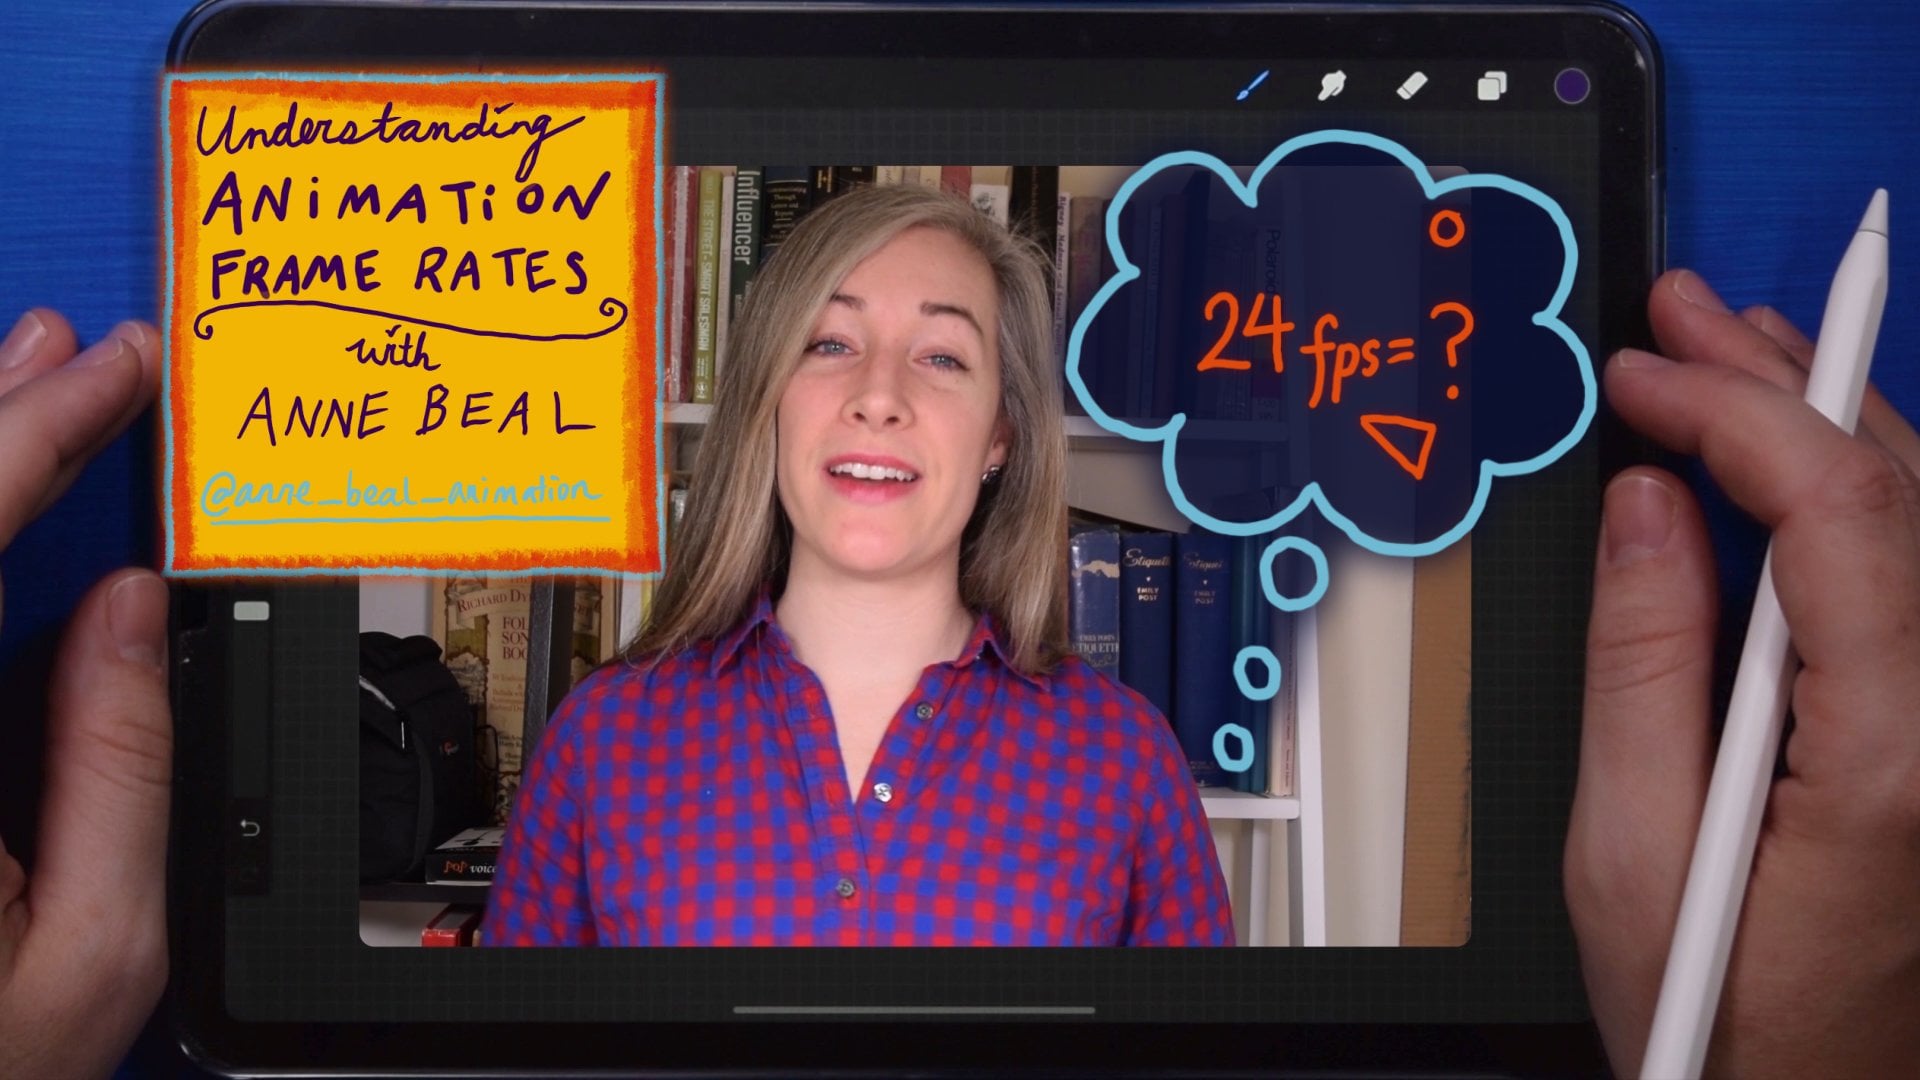
1. Animation: Make a Paper Puppet for Stop-Motion!: Hi, I'm an viel, even animation artist and multimedia filmmaker. I learned my craft at the Rhode Island School of Design, and for three years I taught animation at the School of the Art Institute of Chicago. My animated films have screened in 10 countries, including France is an ISI International Animation Festival, an animation block party in New York where I live and work. Now, in this class, I'm gonna teach you how to make a paper puppet for stop motion animation, including supplies, design, construction methods and best practices. One of the primary things that you'll get out of this class is how construct these really special joints, which make your puppet move really, really well for animation. Thes joints are special because they allow the puppet toe lie flat, eliminating shadows. They don't require any extra hardware like tax wire or string just paper. Best of all, they're easy to repair, and they last for thousands of poses. In this class, I won't be teaching you how to enemy, but I will be teaching you how to make these great puppets the way that I make them in the way that many animators make them. So let's get started
2. Supplies: Gathering Materials: thin this lesson. I'm gonna go over all the supplies you will need to make your paper puppets. You will need a pencil or a pen, or, in my case, I prefer both. You'll need some wet glue, not a glue stick, but wet, squishy liquid glue. I used Elmer's. Um, you'll need a hand held single hole puncher. It's helpful if you have this handy, dandy little catcher, but you actually don't need it. Most of them come with that, but I also need scissors of any size, but I prefer these little ones for cutting out the little details. You also need scrap paper for doodling on and brainstorming your design ideas. Which brings me to another important thing, which is Bristol Board or Bristol paper. The thing we want to take notice here is that this is £100 in weight. It's especially good for animation because since the paper is heavy, it gives it some nice weight in order to hold the pose you want while you're taking the picture of that pose. If it were a flimsy paper, you know, just the air from your hands touching it might make it move where you don't want it to. Really? You want your joints to move a very stable control away. The last thing you need are interiors to call her your puppet.
3. Coloring: Tips and Tricks!:
4. Puppet Design: Inspiration Techniques: Hello, everyone. And welcome back to class. I'm an and I'm teaching you about puppets. Let's say you want to design a puppet based on a frog. Well, you might not have a frog at your disposal at home to just draw. Well, I'm gonna go through for you. Um, something that I might do in order to develop a puppet based on a frog. My first go to is just Google images. Can my type and frog, I get all different kinds of things. Well, let's say I know I want to do a tree frog, and so I'm gonna narrow my search a little bit. There we go. Um, And then and now I can see all kinds of ideas for tree frogs, while Google Search has some really great tools that air especially useful for artists like you can filter based on color based on these adjectives here, like a red eye frog or a dumpy frog. And best thing is, if you click on tools here, you can see size, which helps you filter your results based on let's say you wanted a really high resolution photo, Then it would feel to the results to whatever size you chose. So let's say I want to make my all my images bigger than 10 24 by 7 68 and that'll give me a whole bunch of really high resolution images. I'm not gonna get to into all these details, but basically you go right click, save image as and I I make a folder within my finder. That's you know, I might make a folder that says, Frog puppet Inspiration, And I might put dozens of images in there that I've collected from Google images. So that's one way to do it. Another way to do it, which I totally recommend, is going to your local library. You'd be so surprised how much inspiration you can get from books. And a lot of it is by chance, like you may come across this beautiful hand illustrated book from the early 19 hundreds about different species of frogs, and it might make you really, really inspired to design a cool puppet. So, um, your library is a great place. Your aquarium is a great place. Your botanic garden is a good place anywhere where you can be exposed to things you may not normally be so for instance, with this frog, um, I would take note of where the joints are and how long each of his sections of his limbs are, and that's going to help me figure out how I might want to design a puppet. I also want to think about how this frog moves and how I would want my frog to move. Do I want him to rotate at the risks like this? Do I want the fingers to each have joints? That might be a little tedious, so I might say no on that. But I would like to have the wrist rotate these eyes a really cool element. You could somehow design it so that the eyes rotate all the way around and, like, maybe they get bigger. Maybe they detach, I don't know, but the's concave you some good inspiration. Looking at them in different poses is another good idea. And from different vantage points, it's good to know all different angles of your subject that you're gonna design From when I look at the leg of this frog, I'm looking at how many sections don't need to draw on the paper and cut out individually and then put back together. So with this frogs left leg here, this has 123 parts plus a foot. So that means I'm gonna need to draw this guy. We'll call it a guy. I know it's on a humanoid, but we'll call this a thigh. I need to also try out this shin. We can call it, and you just try to help this extra thing. Um and I need to actually, that's a really good concern. Is like, where is the joint for the foot? So I put the joint here, and we put down here way. Need to look at more pictures to see. This shows you a little bit better, one to leg sections, and then this whole one is a flip. Maybe I want the joint there. So this kind of research is really, really helpful because it helps you narrow down your parts of your puppet. Another great thing that I forgot to mention is How do are there? Artists represent the frogs. There used to be this really great illustrated Siri's called frog and toad that I loved as a child. And I immediately like, I need to go check out frog and Toad
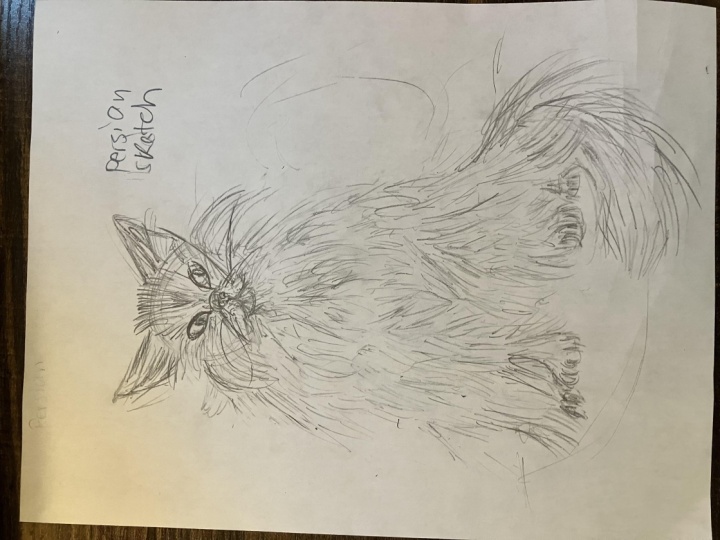
5. Class Project 1: Sketches: for your first class project. Please share a rough sketch of your puppet design. Include a sketch of the full puppet and a sketch of the puppet broken into parts. This will help you envision how each limb will fit together. Remember, you're just flushing out your idea so it doesn't need to be a final drawing. Please feel free to share more than one design and give your feedback to your classmates.
6. Structural Problems to Avoid: I wanted to experiment with her being able to move at her waist on kind of one joint one hinge, and that's kind of cool, but this is a little bit of a structural problem here where I have the hips, you know, they're doing their own thing, but then they're kind of on a hinge, and it just makes it tricky to animate, cause that makes it just move too much. So as you're making your puppet, you're gonna want to think about the ability to animate it later. So this hub, it isn't that great for animation. She just has a little too many joints. And, um, you know, I need toe work on her. In order to really work with her in animation, I might need to just, you know, take her apart here a little bit and then reassemble her. So if you look at her need right here, the width and circle circumference of this joint is based on this hole punch. So you need to make sure you draw the parts where your limbs come together big enough so that when you punch a hole, it won't actually the edge of the
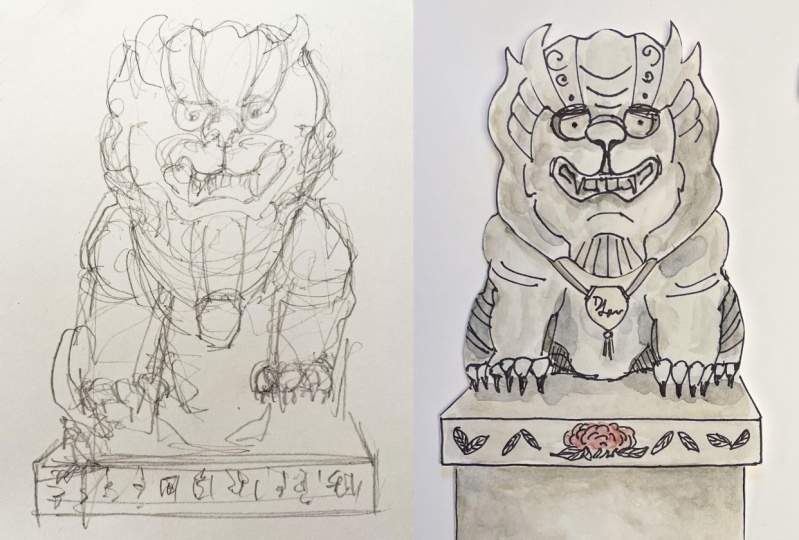
7. Class Project 2: Puppet Design+Parts: for this class project. Please upload a scan of your final puppet sketch and your final puppet parts. This scan will double as a backup for your puppet, in case you need to create a new one from this template later.
8. Construction 1: way talked about. Have a design, your puppet And I give you some tips and tricks about how you might wanna look up images that you can draw from in order to create a puppet that you imagined. So the example I gave wasa frog. So I wanna have designed a puppet based on the concept of a frog. And right now I just have a, uh, like a shin and foot another. Set another foot. We'll see the rest of the puppet later. But for now, I want to show you how to cut out your puppet, punch the hole and begin to create the joint something. Go ahead and cut these out. I'm going to start from the outside and trying to make this process smooth and just easy to handle. So that's why I just kind of keep going in like this. If you're familiar with scrapbooking, then you'll relate to this process. Just trying to be able to control your object and cut it as you go. Okay. So one thing I wanted to mention again is that you wanna color your puppet before you cut it out. That lets that gives you some freedom to go outside the lines like I've done here. It's gonna look a lot cleaner when I cut it out. Go with the leg on the right first. But this one aside for now. Now, one thing that's gonna sound funny right now, but it'll make sense later. Is you want to keep a piece of your best aboard handy because you're going to use it to stir up the glue later. Okay, so this is a perfect thing for starting up the group, so I'm gonna put this inside. Keep it all right. Time for me to switch to my little scissors. Another thing that I like to keep in mind in my designs is that, you know, this might be fun to draw, but I'm gonna have to cut this out later. So I've learned to keep my little tiny details under wraps. It says you can see by my style I really love doodling and little tiny details. So it's easy for me to get carried away. Okay, so that's my foot perch. No, I'm gonna cut out the part time just to Okay, So now it's time to figure out which part is going to be on top in this case. This is the foot misses the shen. I could kind of go either way, but have the in this case, I'm gonna have the foot on top because the design is a little bit more interesting on this part of that on this part. So now that I've decided that the foot is gonna be the joint that's on top of the limb that's on top, I'm going to take note of OK, well, that means that I'm not gonna punch a hole in this because I want the joint to be on the backside. So I'm gonna cut a hole in this. No, I just make sure you center it. Make sure you've got the edge is not punched through. There we go. It was scary, but we did. It's just fine. Pretty such a to five. So you saw Just empty. So you want to keep this little guy that you punched out because that's going to be here, Axl, in the joint. So you've got your object that has a hole in it, and this is gonna rotate around the joint. This is gonna have a little axle on it that we're gonna make out of this and this will rotate around it. And then there needs to be a bigger piece of paper sealing the joint, closing the joint, and it can Onley be attached to the axle so that this is free to rotate. I didn't explain that more thoroughly in a moment, But just know that at this point you're almost ready to make joint. You got to cut out a circle here could technically do a square, but I like to keep everything round. That's just me. But basically, this whole needs excusing. This piece needs to be bigger than the whole, but not so big that it pokes out from behind the joint. So you can test this by sticking it next to this and seeing that. Okay, it's bigger than that. And that's good. It's good. Is it so big goofy that it's gonna show through? No. So that's great. Okay, so these are the pieces that you need. We're gonna make our first joint way
9. Construction 2: Part A: next thing we're gonna do is we're gonna assemble the joint, and in order to do that, we need Teoh, go find our glue and some scrap paper. This is where we're going to keep our glue, so get you go out and just put down a lead to be the glue. Okay? Now, remember earlier I was saying you needed to keep a little extra piece of Bristol board around to stir the glue. Well, now's your chance. Got started to glow around and let it get a little bit tacky. Okay, In the meantime, let's make sure that we have all our parts in order. Okay, We're we're gonna This is what our puppet is gonna look like. This will be on top and it's gonna move this way. We've already used the whole punch to cut this out, and we've saved this little bit. That would cut out what we need to do real quick while we're letting our who get tacky is just trim this just a little bit. Just make this circle ever so slightly smaller. This will allow us to have it rotates smoothly within this whole. This is what I like to call the axle of the joint. So just to confirm, it's gonna, you know, fit pretty usually in there. Okay, Now I need to decide exactly where this axle is going to go. And the way I do that is I get my pencil, make sure it works. And I find exactly where you want to put this and make a mark right in the center. I tend to do a little cross hair, So that's where I'm gonna put little dot of glue. So I got a little axel. We've got the joint that's gonna be on the bottom. This one's gonna be on the top. This is gonna be covering our joint. Drug is this seems to be better than this, but smaller than the width of this, it's gonna be wonderful. No, you're good. Should be tacking by now. You just want to get the tiniest tiniest that because you do not want it to get all messy. Because if it smears and it's messy than your puppet's gonna stick together. So the trick is to try to get this little diamond glue only here, Right on your calls here. So you've got your little axle here. You're gonna gently drop it. OK, now, it's not perfect, but I'm gonna take my pencil and kind of no gym right to this center, and then I'm just gonna gently tablet and top it, just like a few times you said I'm doing here. Yep, It it's. And then I would I like to do it. My job in the circle and a concentric circles. Just kind of like a spiral going in. You can see that on my other puppets, too. Here. So I'm gonna let that went dry for a minute.
10. Construction 2: Part B: This should be drive by now. So now we're ready to test it out and make sure this rotates around this gently and then we're gonna put this on top real quick. You don't want to accidentally blew this this way because then it would wouldn't be facing the correct way. So make sure you know it's easy. I've done this. Just make sure you do it where the design you want to be on the outside, just outside. So gonna fit this over that, and it looks like it's it's not gonna have to hard time turning. So it's good news. So now that that's dried, I'm gonna do the same process again as faras Little little tiny thing. And I given kid just this off. And now I have a fresh later Little tiny that again your little war. After a while, you get good at it, estimating whether that's gonna squish out too far. Um, trust me, you're gonna mess it up the first time. Maybe a second time. Maybe that their time. It's totally fine. These joints are easy to repair. Okay, so I've got that down. I'm good and gently drop this other piece down Oops. Okay. Hopefully, I didn't smear when I just did that. But I'm gonna take a little pencil again, Then press just like this gentle. I have a pen that I use for this because I know why. It's more satisfying to do this with the pen. But as you can see here I use a pin for this instead of a pencil. In this pen is like running out of ink. Which is why I've got this, um, piece of tape around it because it's basically that tells myself, Okay, all you suspend for this purpose because it's running out anyway, it gets going on it. No problem. Now here's the tricky part. Um, you just want to make sure it can rotate like it hasn't gotten accidentally glued down so so far. It's good, you know, throughout this drying process, what I do is I just try to gently make it protein while not letting this part. So hold it down and it could be a little tricky, just trying to make sure it's smooth, that it can rotate around the axle and that I haven't accidentally glued it down. It's kind of safeguards it from getting go down accidentally. What's more, that's gonna take, you know, a minute to dry while I'm letting it dry, I'm gonna cut this one. So now we have this interesting looking foot rotates on this should.
11. Real-time Demo: Attaching the Head: so God had made two marks. This mark with my pencil was the 1st 1 in this 2nd 1 On top is the one I settled on and how I arrived. That was I just guess and check. Really? So I put it here. I think that's about right. But then I rotated it and realized that was just a little bit too close because it was blocking part of the nostril here. So I raise it up just a little bit here on. I like that much better because they can see the whole nostril. So I've got my placing now. I need to decide where the joint is going to go. I think right about here. That's where it should go. But to test this, I need to see what it does when I put my own finger there to pivot. Does this behave? How I wanted to? Yes. OK, so I need to figure out which thing has a whole on it. It's not this one, because I would see it. So I do not want to make over in this one. Make a hole and this piece, because it's going to be behind the top one so but a crosshatch. And that's right. About where that waas. Okay, now, this is the risky part. Thats where you punch a hole in two year puppet. So at this point, you should be pretty sure where you want it. Okay, there we go. Now here is the under. This is what I want to cut down to a little bit smaller. Just cut the perimeter a little bit so that it will fit inside here. So this is what I've got. Get my scissors and trim off the edge a little bit. Okay? How is this going to rotate around this? Let's just make sure it does. That fits in pretty well. Now, to glue this to this stuff here, Forgot to put out my little blue thing. A little scrap piece of paper for the group. Almost forgot about my stir thingy. Use this. I'm gonna touch this Here. We're it Just dammit. Group drop this year gingerly. Just kind of very gingerly. I don't want anything to squish out. Going to go in a little circular pattern. I think it's just more sand than in those practical. While I'm waiting, I'm going to take another piece of crystal and make a circle that is bigger than this circle which will cover the joint. Okay, Okay. You know, go making sure rotate. Just fine. Sure. Like it go. Looks good. Mm. Take my little pointer again, Lou. Tiny. Just a dad. Good. This you really don't want the glue to smear around because it will make the joint stick together. You just want the point of contact to be the outer cover. And when I called the axle So I just have to be patient and I'll take my pencil or pen and go in a circular motion. You can't see me. I'm going like this. This was going like this. Really? See that letter? Okay, now you just have to wait for, like, so a minute and 1/2 and I like to do as I waiting. IHS, hold this down gently and then see if this rotate because I want to confirm that I haven't glued it in place accidentally. Okay, through this part is rotating around the joint fluidly. You can see better if I do this. Okay, another second. And it seems good. Todo there go. Okay, that's
12. Class Project 3: Show Us Your Puppet: for your final class project. Please upload a photograph of your final puppet. I can't wait to see what you've designed.
13. Final Thoughts:
 Anne Beal, Animation Filmmaker + Multimedia Artist