Take Better Photos of Your Art and Illustrations
I decided to complete all five set-ups for this class because I’m the teacher and I had to. But also, because I wanted to focus on improving the photos I take of my art.
For all of the set-ups, I did simple edits on my phone to tweak the photos so they pop. I focused on exposure, black value, sharpness, and the temperature or cast in each photo. I like my photos to be a little warm, but you may find you like your photos more neutral or cool. The more you take and edit photos the better you’ll be able to make these small tweaks without even thinking.
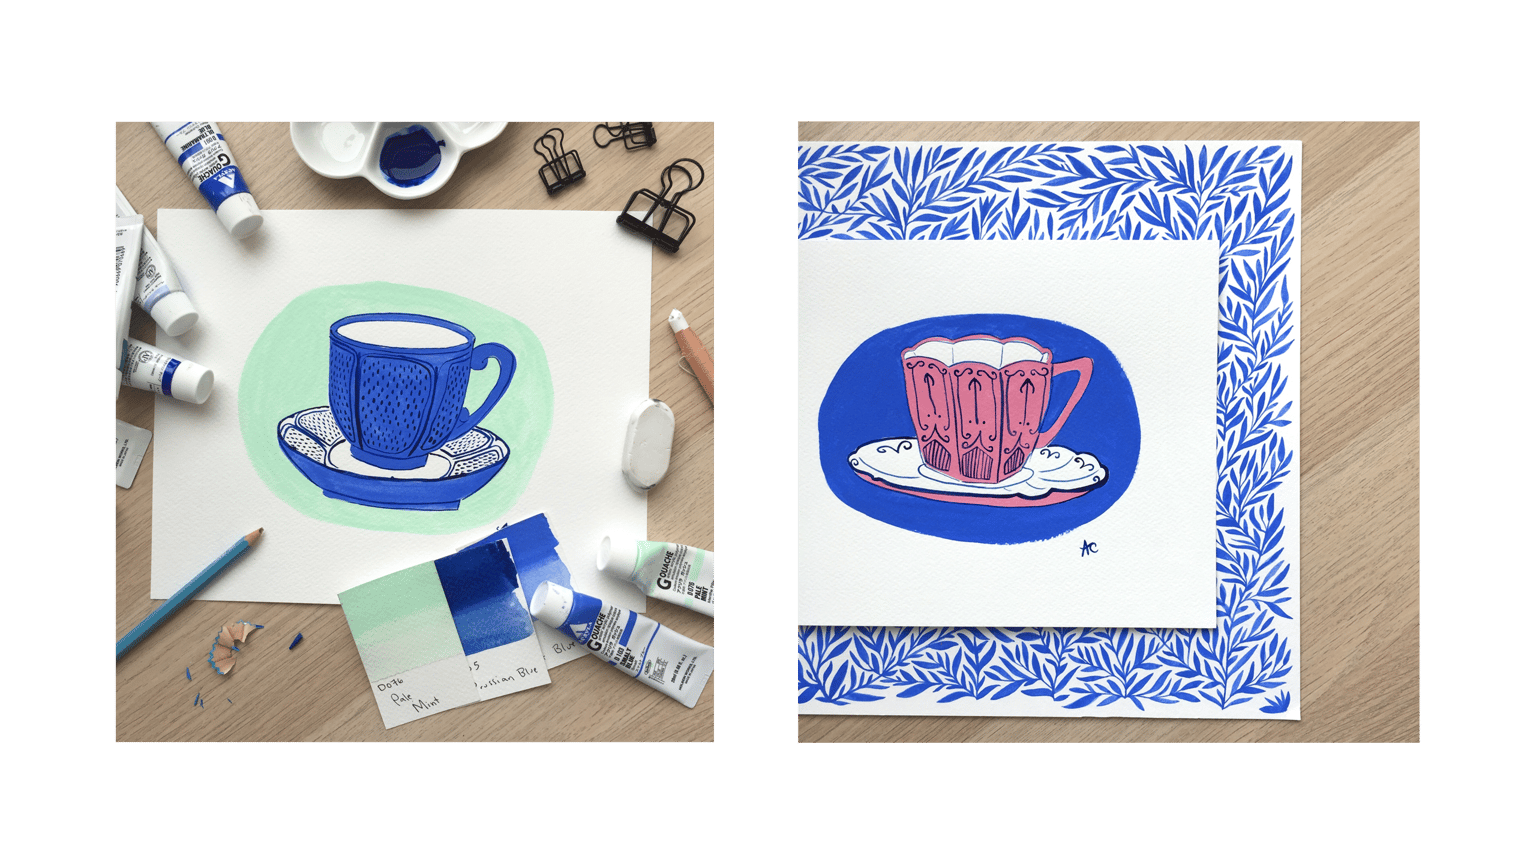
Flat Lay
I started with the flat lay set up, which is where I am most comfortable. It doesn’t take much fussing and I can use things from around my desk. I particularly loved the simple set-up with my painted background (it’s good to know the hours I spent painting it weren’t a waste!) and the messy desk set-up with the pencil shavings which just looked so dynamic. In both photos, I tried to ensure there was white space around my work, that the artwork was the focal point and that all of the colours in my photo worked together.
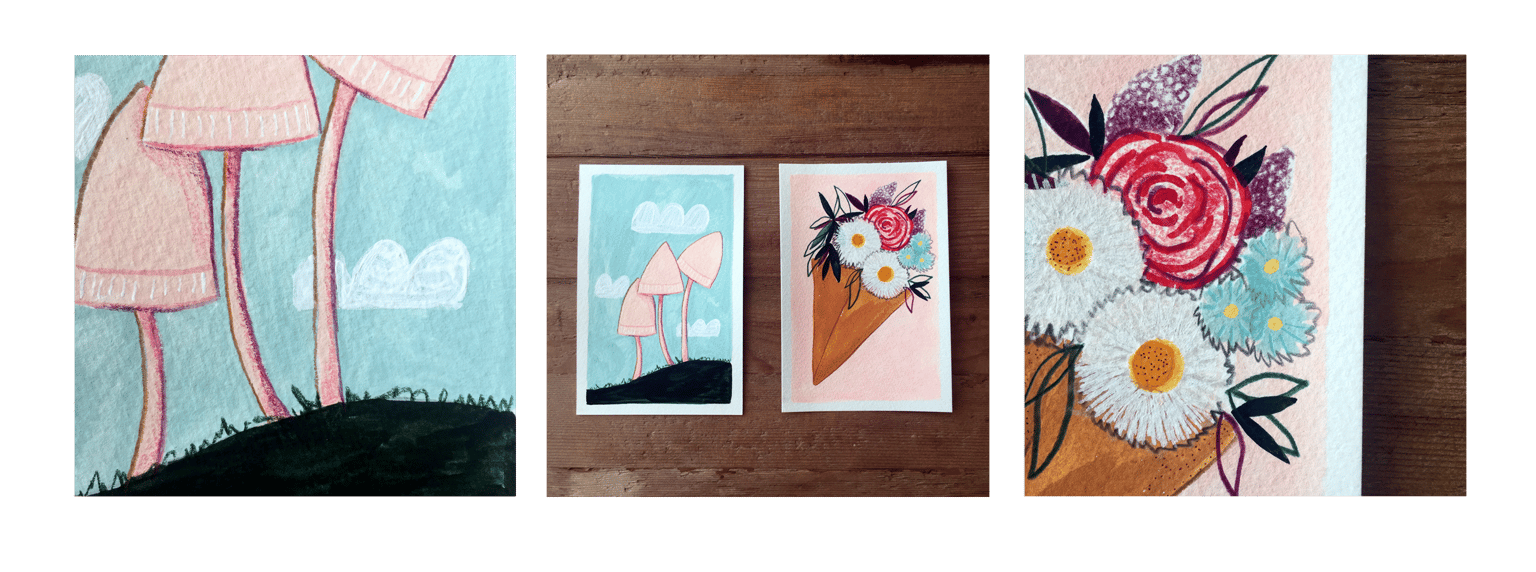
Details
I don’t often take detail shots of my work for social media, but this was a great way to dip my toes in! In a detail shot, you need to find focal points within your piece, rather than using the whole piece as the focus. I particularly like the photos I took of my bouquet, that focus in on the details of my flowers, and the textured cloud behind my mushrooms.
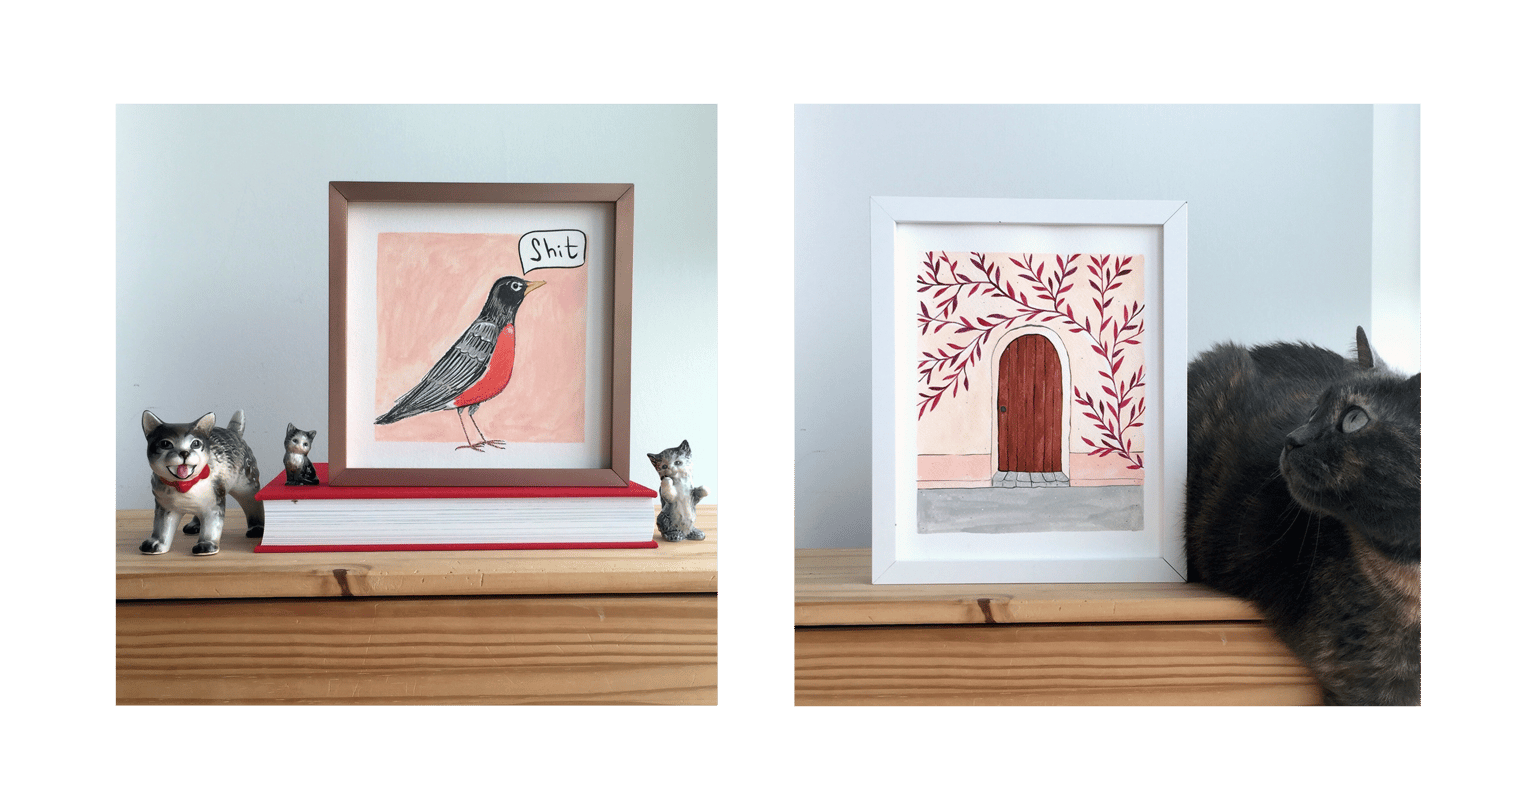
Still Life
This set up in a bit more complicated, especially when you are also filming it. But the key is, keeping your set up simple, taking photos of every part of your process as you build it up and take it down, and making sure it’s not skewed. I particularly like the ones where I got Penelope to join in. She’s always in my space so why should she be in my photos too!
Gallery

This set-up works particularly well for paintings that had a lot of leg work like sketches and studies. I had just finished up a commission for a friend and it was the perfect chance to try out the gallery setting. I love the way it lets me play with colour, and texture, and let me play around with which part of the composition was the focus.
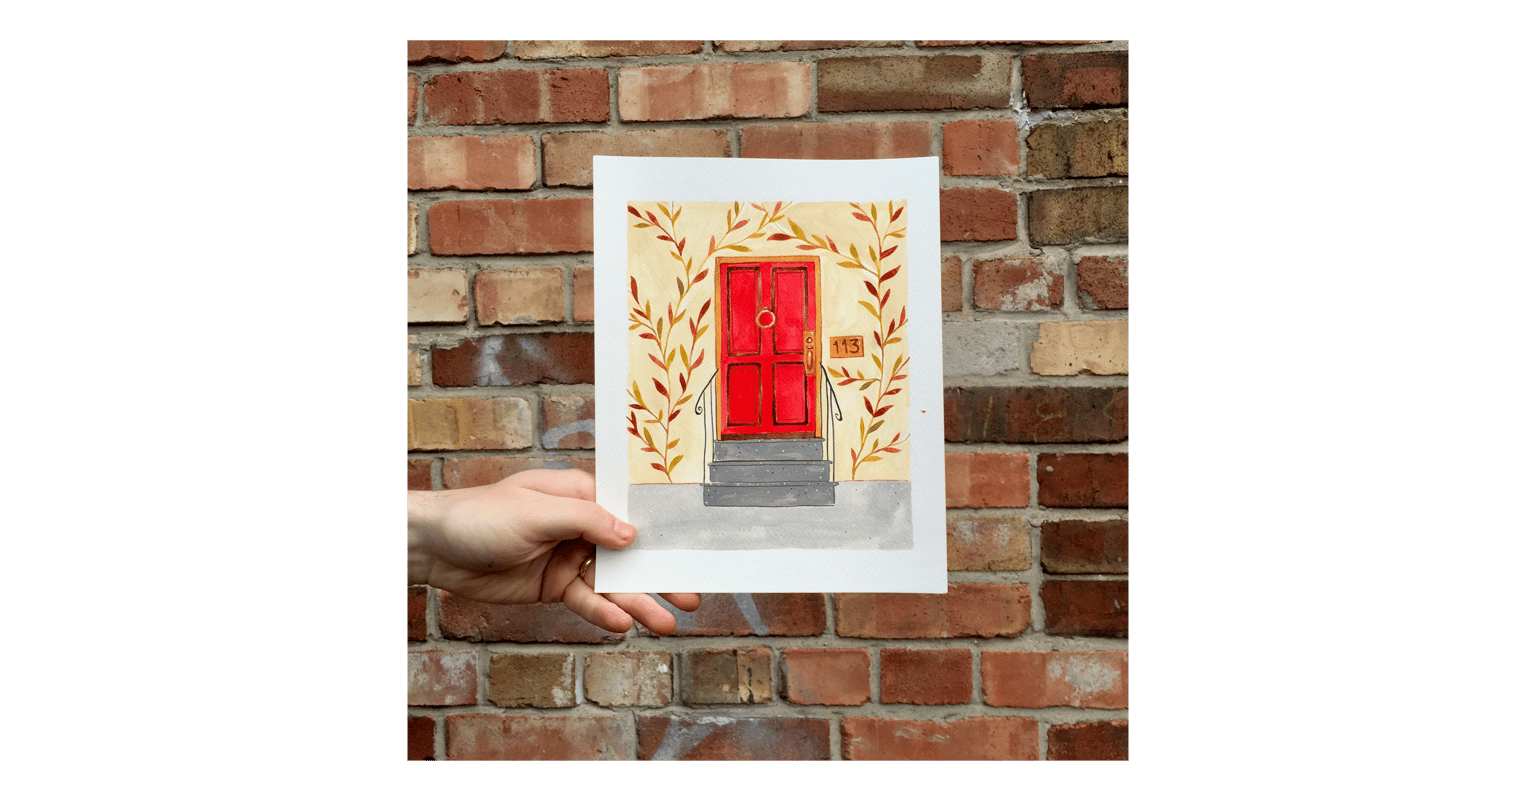
Outside
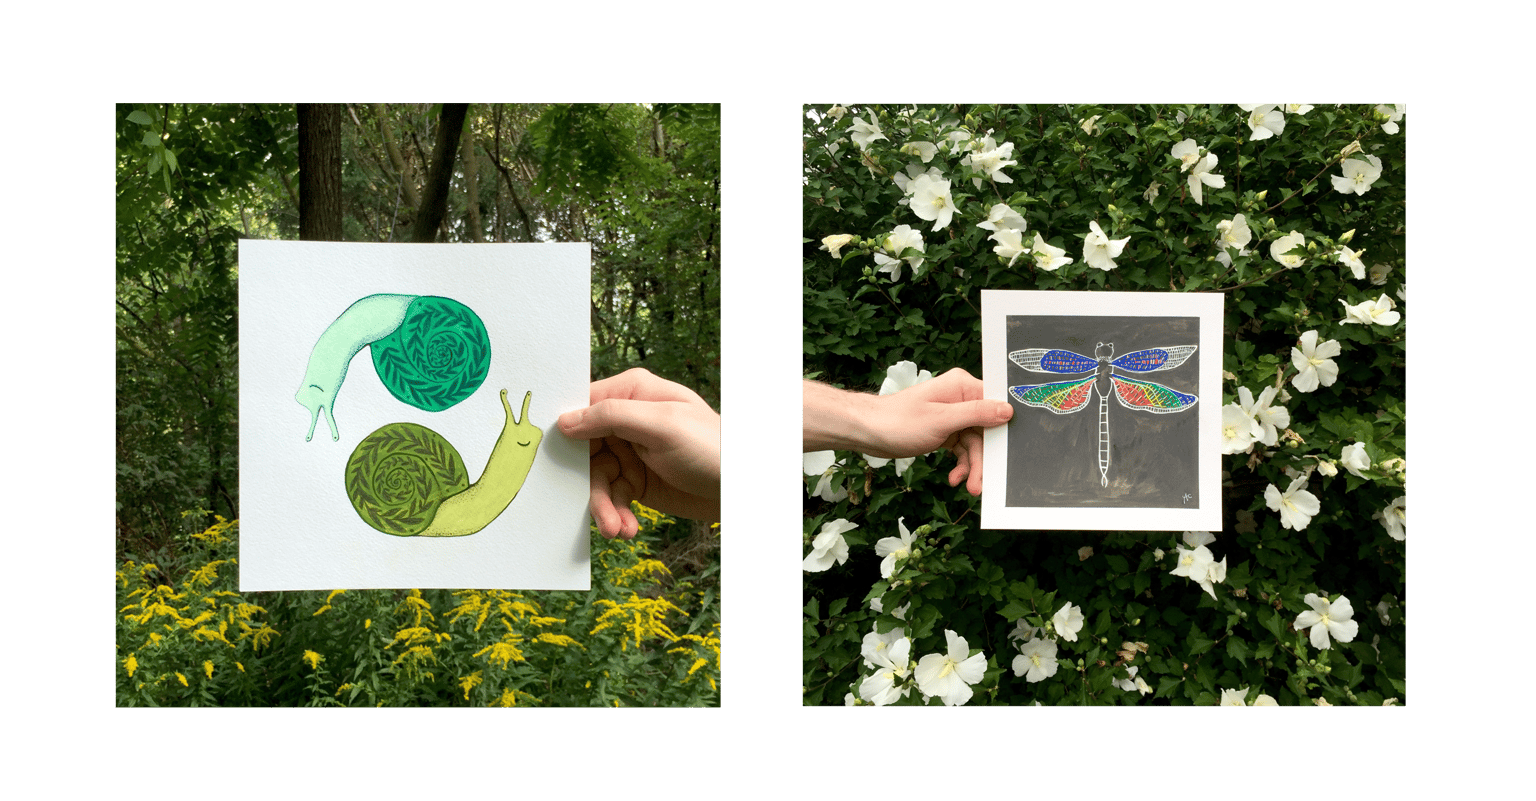
To be perfectly honest I was terrified to go outside to shoot my art. I had the vivid fear that someone would run up and steal my tripod when I was trying to get a good shot. But there were so many gorgeous outdoor shots, that I knew I had to give it a try.
And it turns out, most people are awesome and no one aid attention to me even one bit. Instead, I had a wonderful day wandering around my neighbourhood with my husband in tow, looking at things in a new way. I loved finding cool textures and exploring new places to shoot my art, and I think this is going to become a regular occurrence.