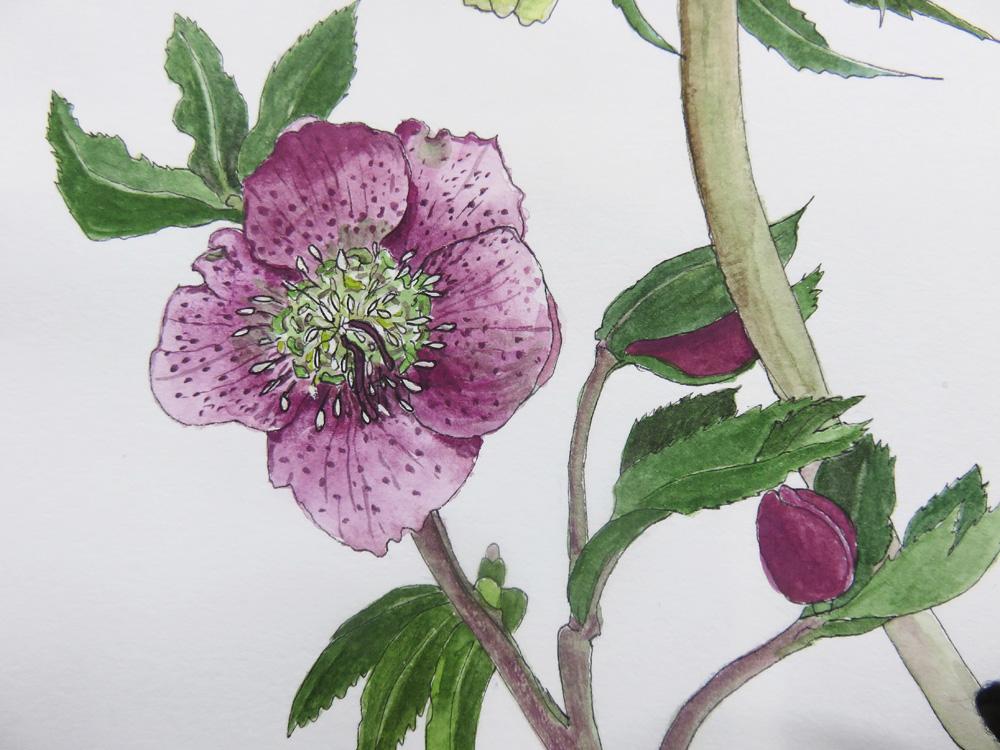
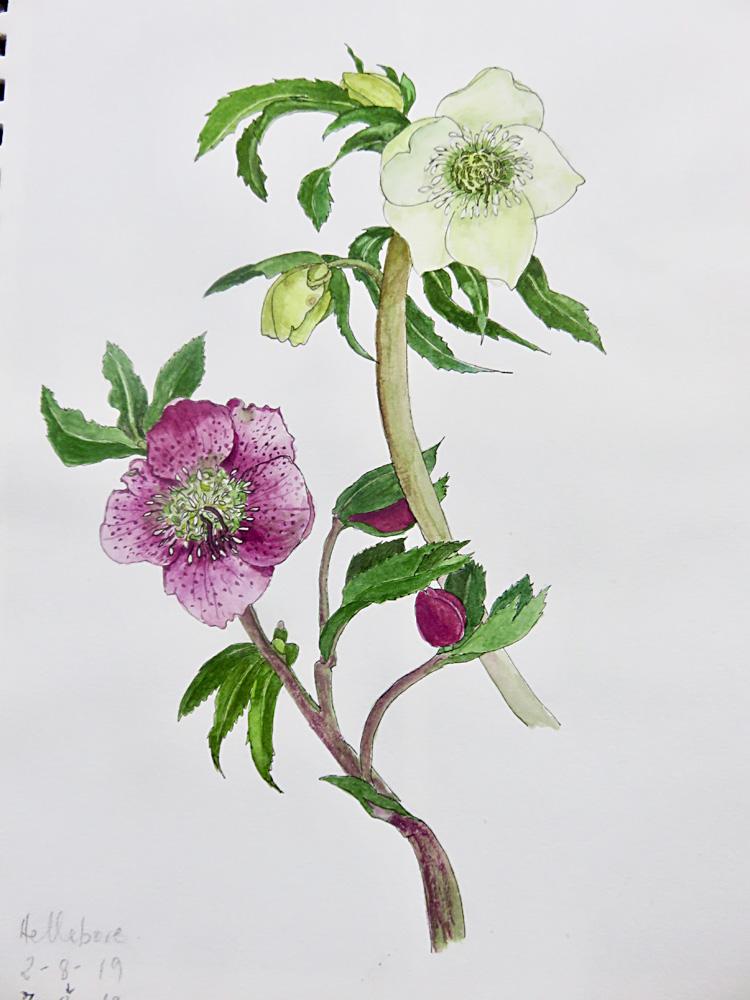
Hellebore
I painted these hellebores in August 2019. I drew them in pencil, then inked the shapes, and erased the pencil marks. I built up layers to add shading and depth. I was interested in this class as I wanted to be more precise in how I painted botanicals. I usually paint with a free brush, love watercolour blooms and using lots of water, so this way of painting is quite difficult for me!
Here is my colour investigation of my small set of Daniel Smith. I do have other similar brands but had not done colour mixing with this set before.
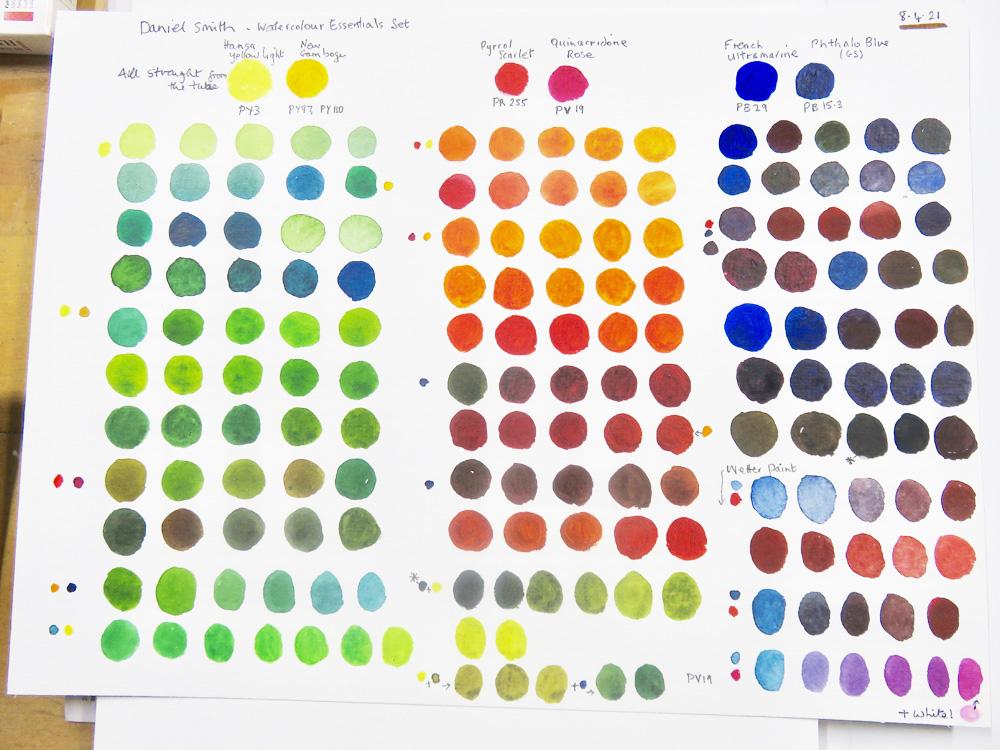
I enjoyed the classes on experimentation with very wet, too dry and just right paint. I found that I could mix the botanical application with the wetter application of paint. (See the little red flower at the left lower corner.) I added to or went over some of these control tests - was good fun trying them out.
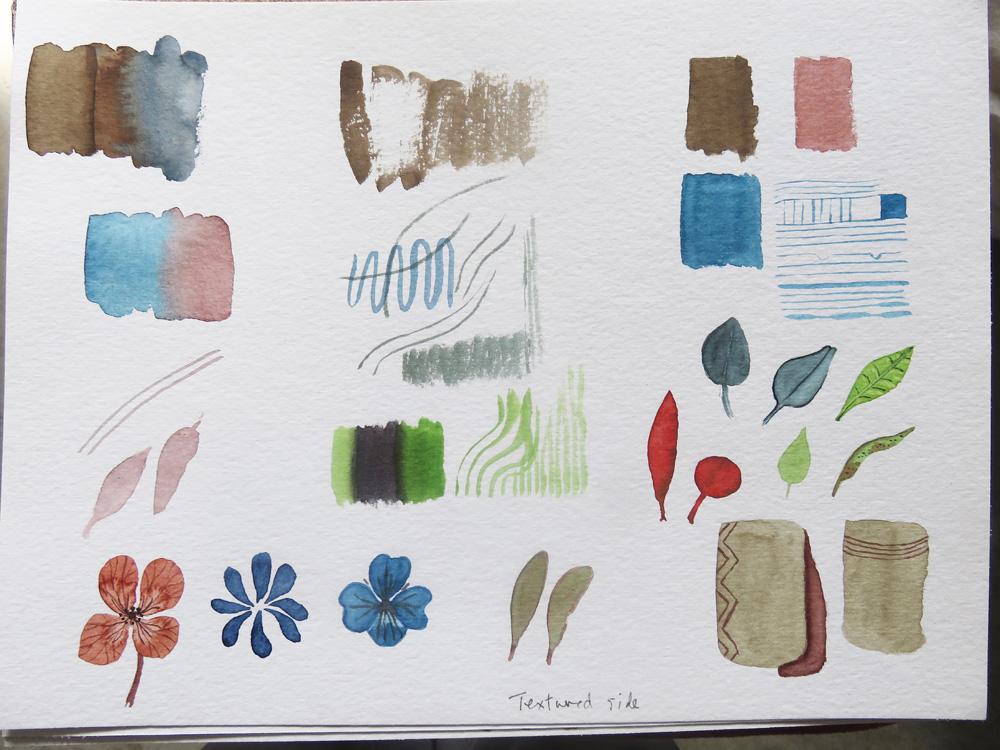
I have a new block of mixed media 310 gsm cotton paper, 9,4 x 12,6 inch by Hahnemuhle so was also curious to see how it responded. I tried both sides of the paper - the textured side being the uppermost side on the pad. I used a pointed round size 10 brush.
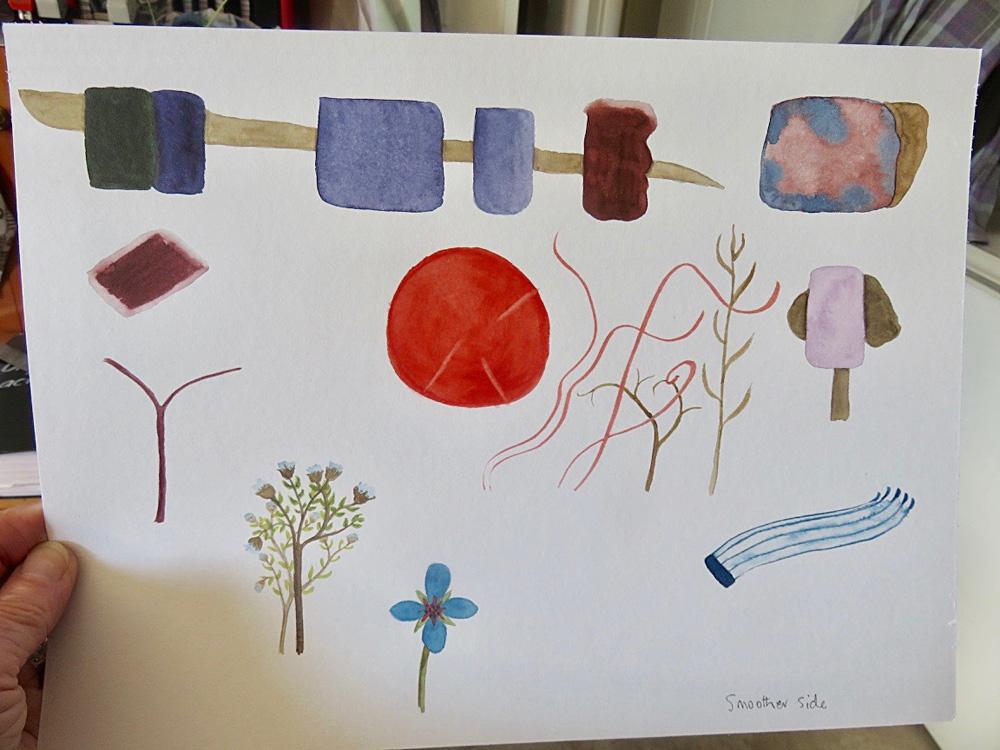
I did a lot of layering of paint, and lifting and shading on this sheet which was the smoother side.
This is a detail of part of the hellebore painting. You can see that the blending is rough. I find I get very lost in shading etc, things seem very complicated! I find your way of painting very direct and orderly, giving a smooth result. I think these exercises will help me, I've learnt a lot.
Anne, Thanks for this great class. I am tempted to try it again with gouache.