Expressive Art Journal with Writing Focus
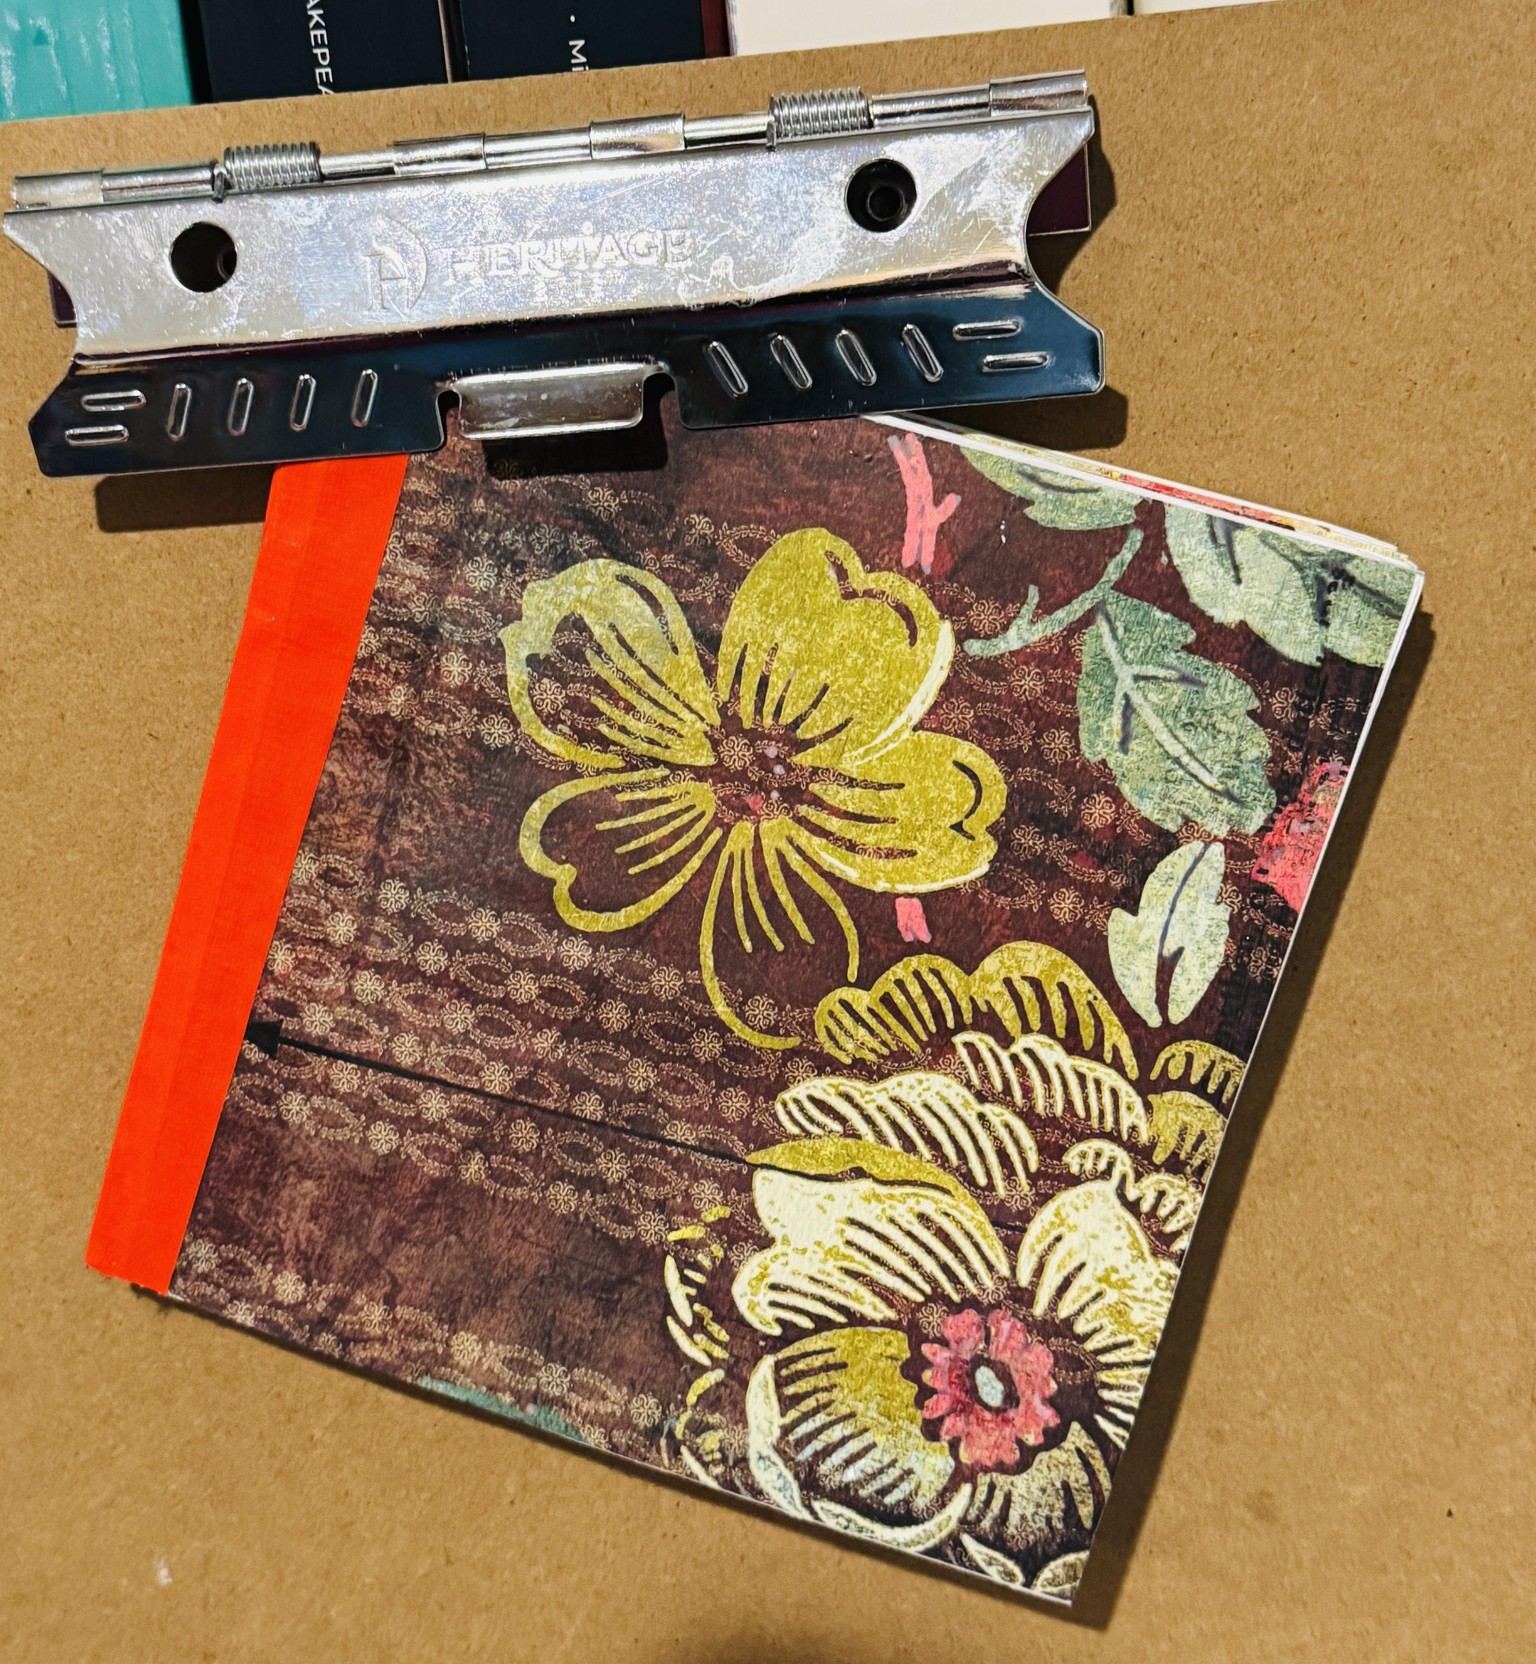
This is my 6"x6" art journal made from scrapbooking papers in need of recycling. It has 8 double spreads (16 pages). I bound the whole thing with library tape and also used matte medium to hold the pages together and keep the paper and other items in place. Another GLUE NOTE: I added a PS at the end about how I got the whole set of spreads to hold together with pad-glue.
I'm a retired academic who taught writing among other things. I write, so several spreads include a pocket with paper for writing. I don't know what I will write about tomorrow or next week, but I will add headings when I am about to write. Believe me, I have PLENTY of words for headers! Also, I am drowning in embellishments, textiles, stencils and all manner of media for projects like collage.
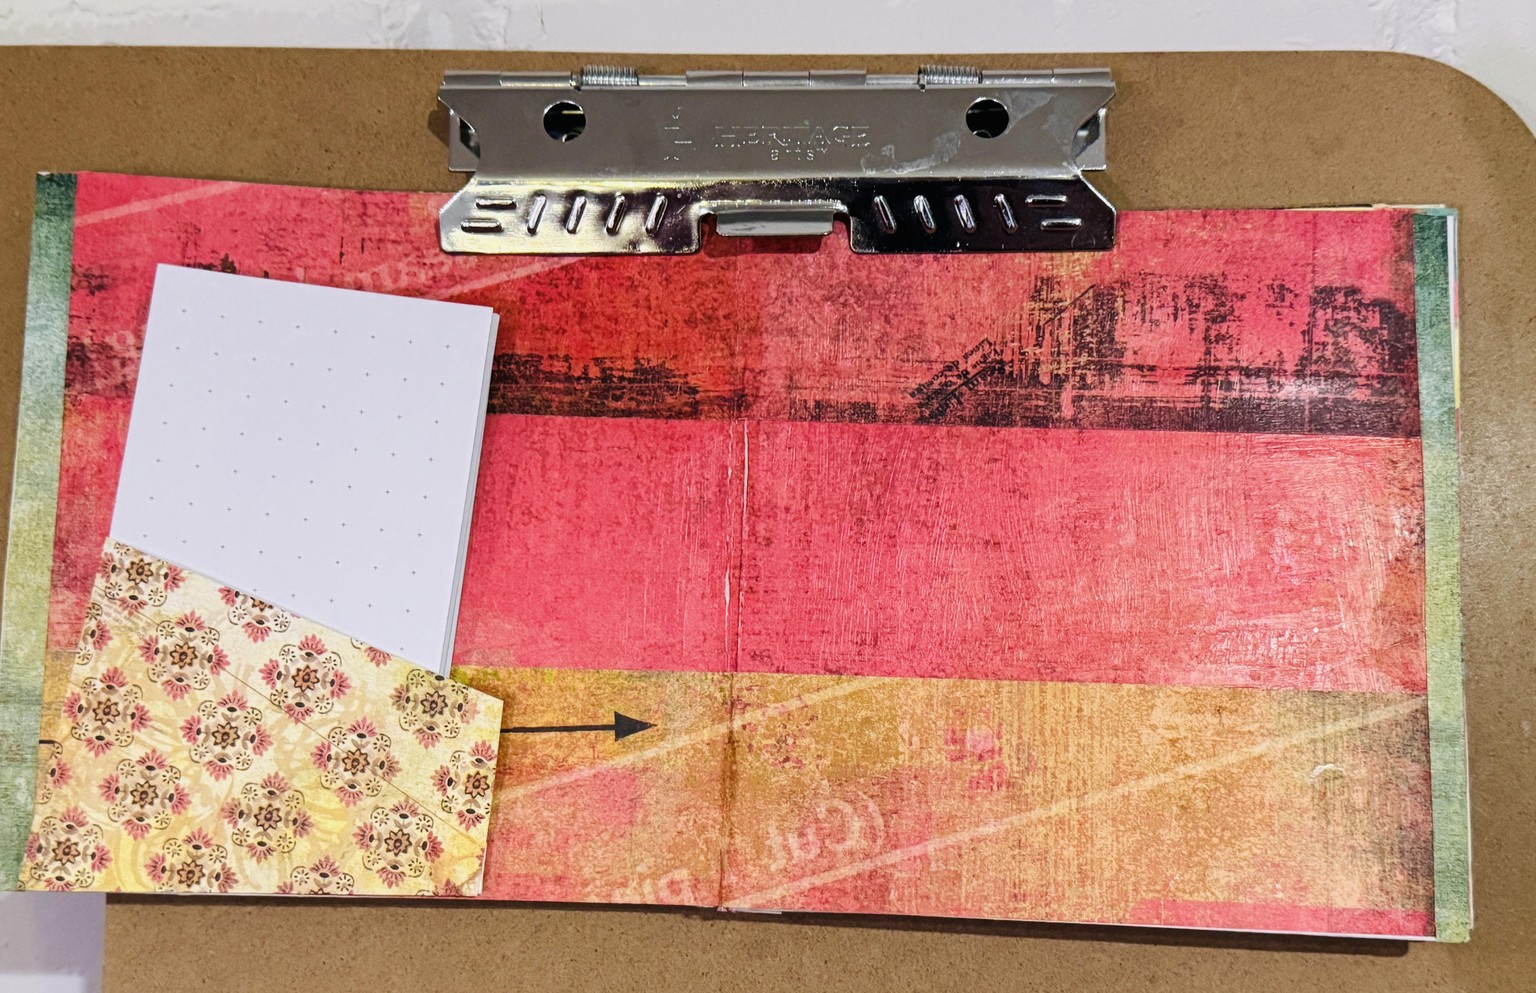
I like this page since I added a funky pocket with cards ready for writing. Only when I open the book to know what my topic will be about do I add paint or whatever. (Before it was a pocket, it was a tag which is why it's tilted so it fit in place where the cards won't fall out.)
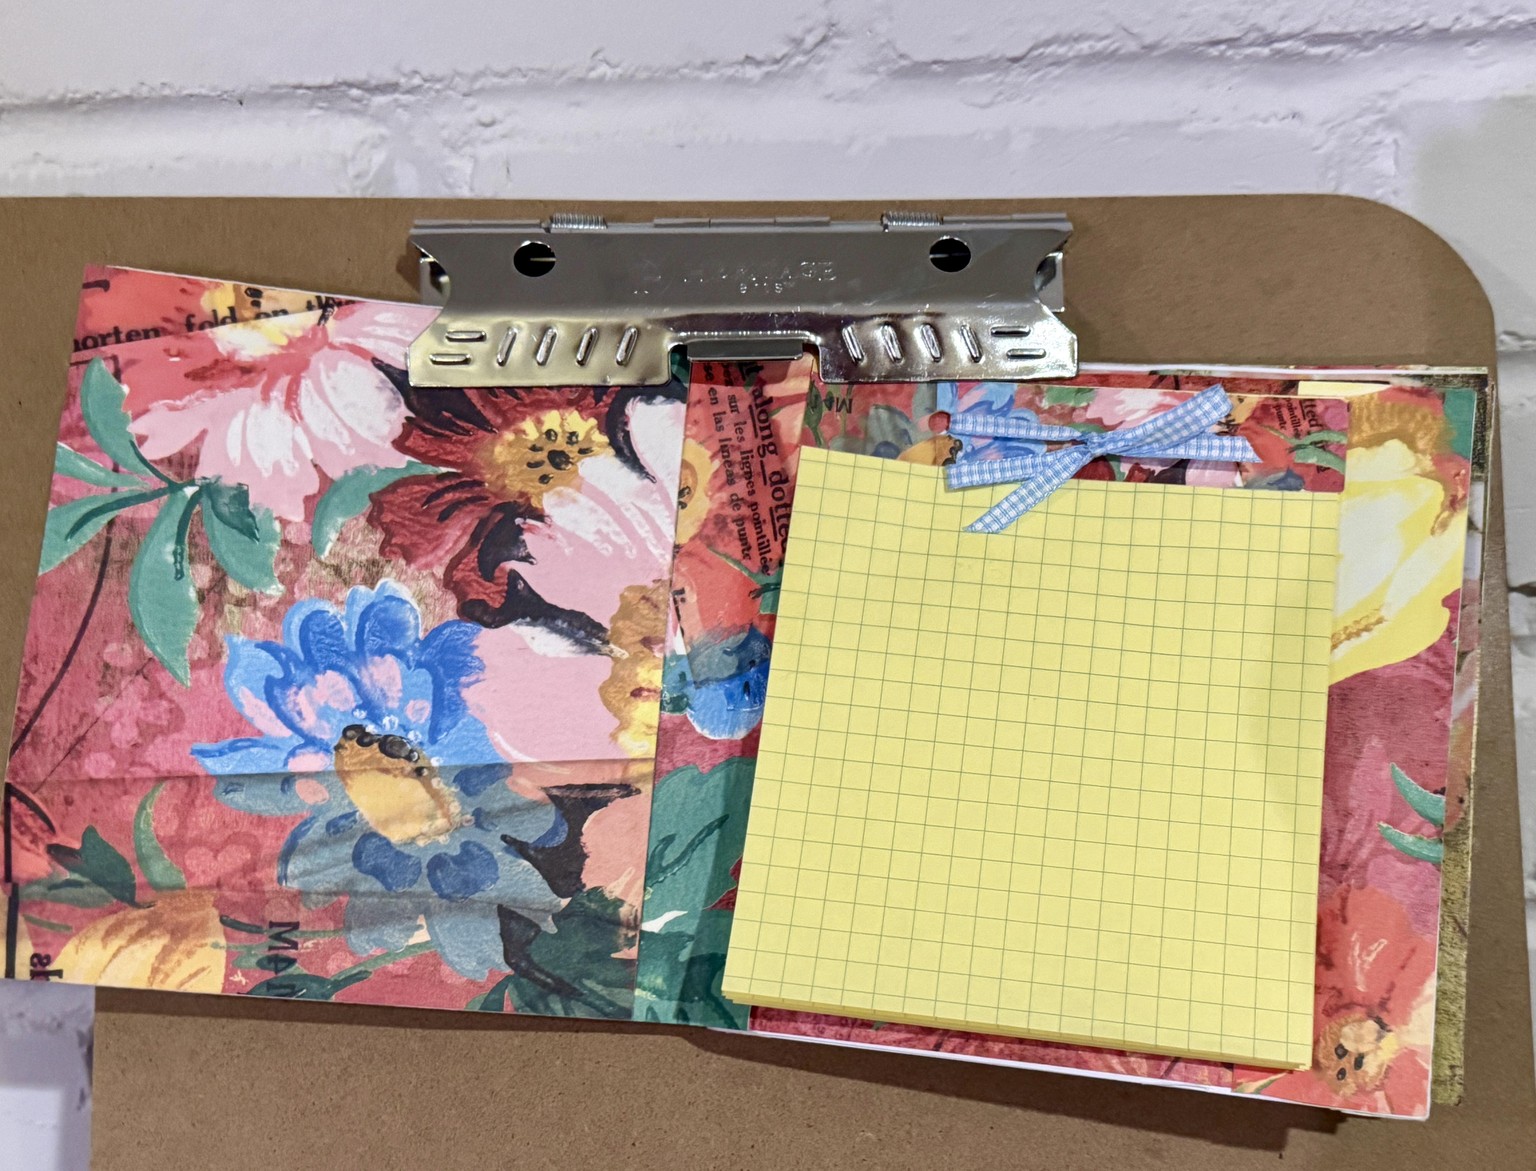
On this spread, you can see how I adhered paper in the center of some spreads so I could eventually get the whole thing to hold together. The design still looks intentional and "put together." I got fancy here with a little pad I made a little pad using yellow graph paper.
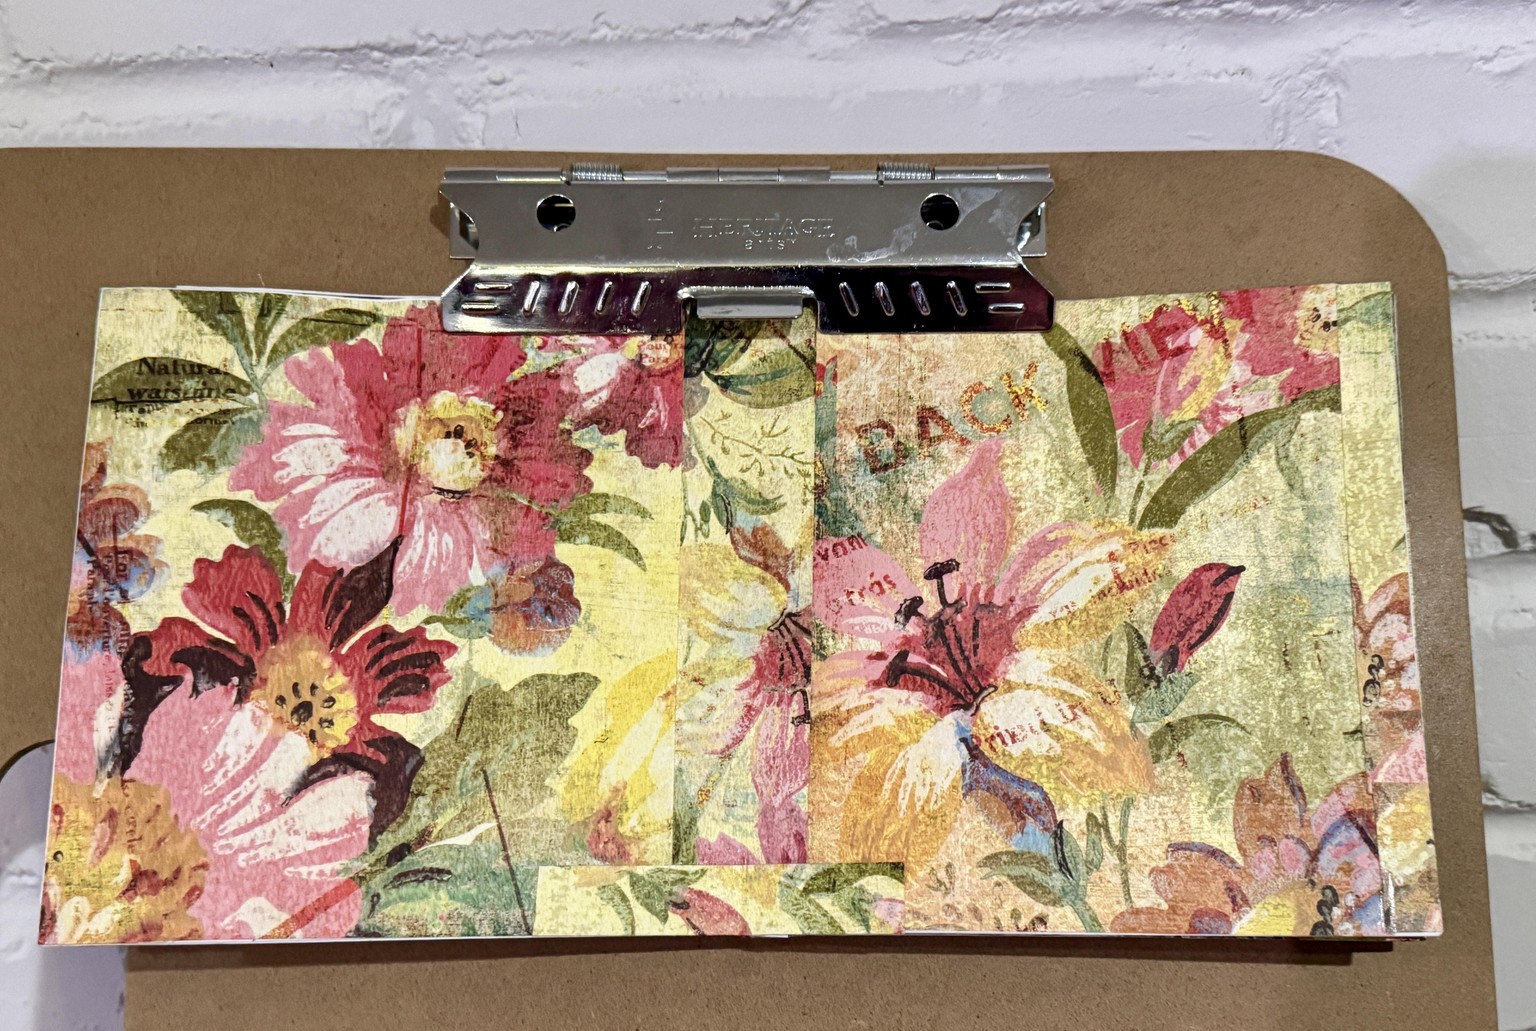
No place for little note cards on this spread, but I think the paper I added to make it fit and hold together looks like it's coordinated. (It is. 😉
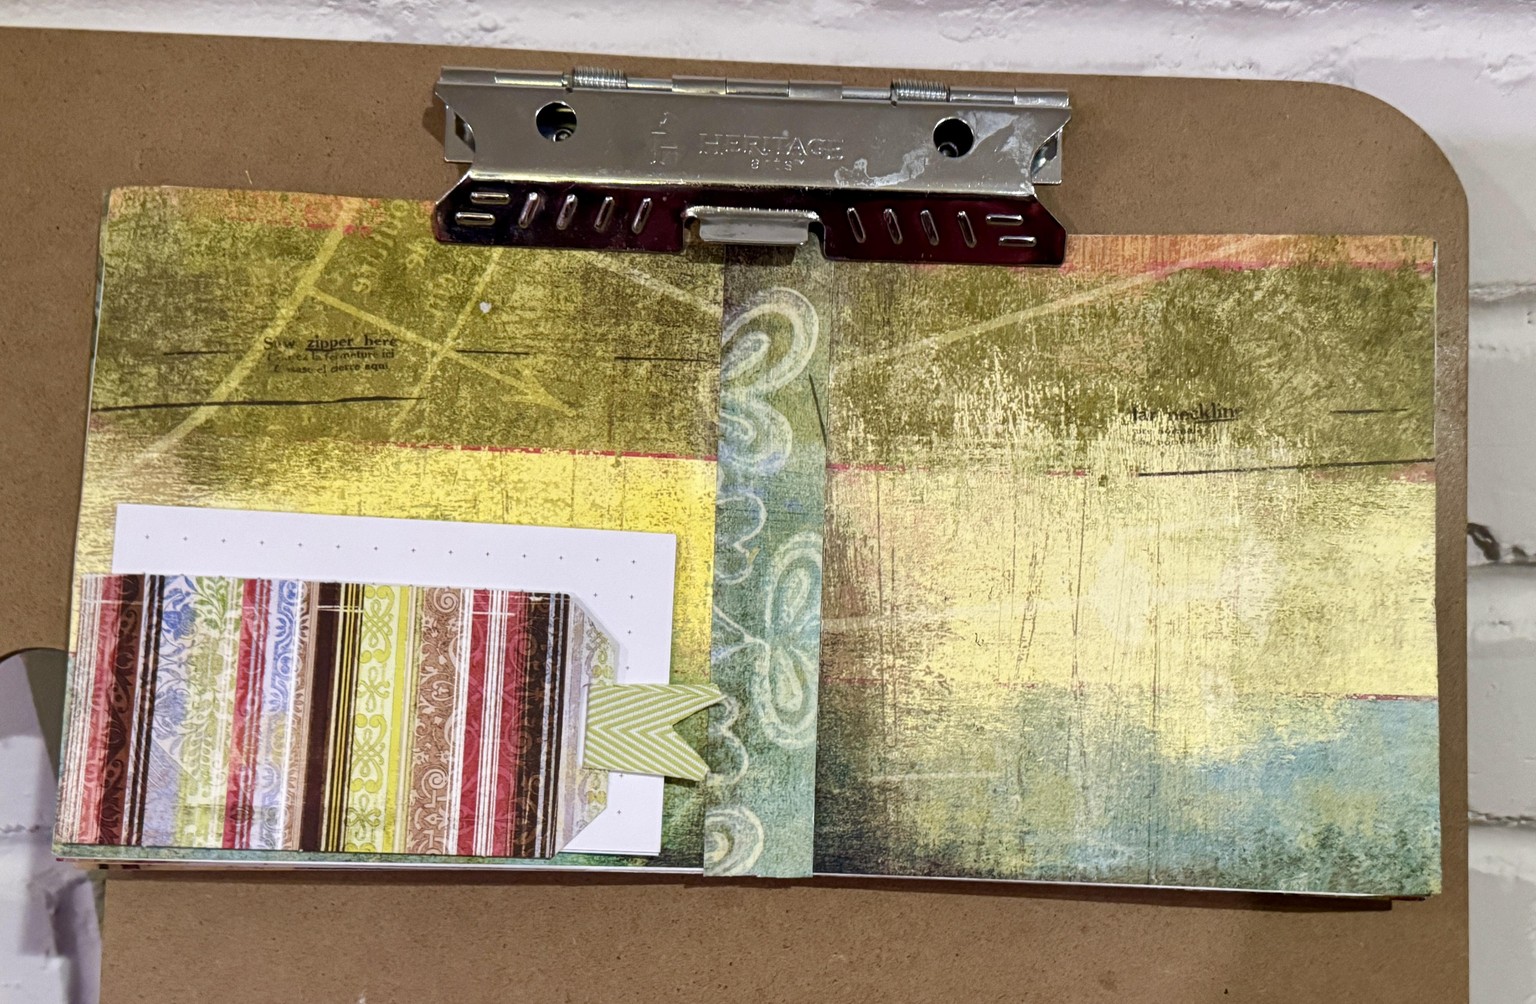
Another spread with a center piece added to hold it together and a tag added to hold small note cards. (Sometimes I just tear up pieces of usable paper to write on later and pop that into a made-up pocket.)
So, that's it. It's an art journal for me since my lifelong art involves text. Text arises from reflection for me, and as much as I admire more spontaneous and already artsy journals, this is what's useful for me. Thanks much, Jenn, for a class that inspired me to share my own art journal style. I have plenty of sketchbooks nd such, but this one is primarily to become my own storybook. Self-published. LOL! I liked the class and will be definitely using that packing tape decal idea, hoping it will work. Last time I tried it, I couldn't get the process to work, but yours worked like a charm. Onward!
Judy
PS IMPORTANT NOTE ABOUT BINDING THIS WEIRD SET OF SPREADS: Important to share, because of the way I made this, I had a challenge to hold the whole set of spreads together. Once I had them firmly clipped together and even with each other, I carefully spread some glue on the side that needed binding. Takes two coats. From Amazon, my pad glue is red, and messy. I didn't know it would be so red or that if it driped down where it could either stain or stick on pages! If you get this kind of glue, choose white. More important, remember to use care that glue doesn't drip from your binding area down to your art pages. Clips were essential: I used big clips on either side of the binding area, so on actual top and bottom to keep the spreads tightly together where I was gluing the binding which was held on top for the process. I also used a big clip at the bottom, which was actually the right side of the book. Here, you see library tape covering the bound area which is where I used the pad glue. (This glue also good for note pads which are fun tyo maker and give away.) Or, just buy a notebook! LOL!