Transcripts
1. Intro: Hi everyone. I'm Martha Arrington and I'm an artist educator and certified than tangled teacher. Today, I'll be teaching you all how to draw, even take girl. This class is for beginners. And anyone who already has some drawing experience and just wants to expand their knowledge. You don't have to have any prior art skills or have taken any classes, art classes, drawing classes. Only prerequisite is that you know how to write your name. You'll be training is entangled tile using three unique tangles. And tangles are just patterns. Patterns that are easy to learn and relaxing to draw. This class is a follow-up to my other class, since beginner's guide, which gives you a little bit more history and information on the xin tingle methodology. It's not a requirement for this class though, but if you are interested in learning a little bit more background information, please check it out. Okay, let's go ahead and jump right in so you can get started drawing.
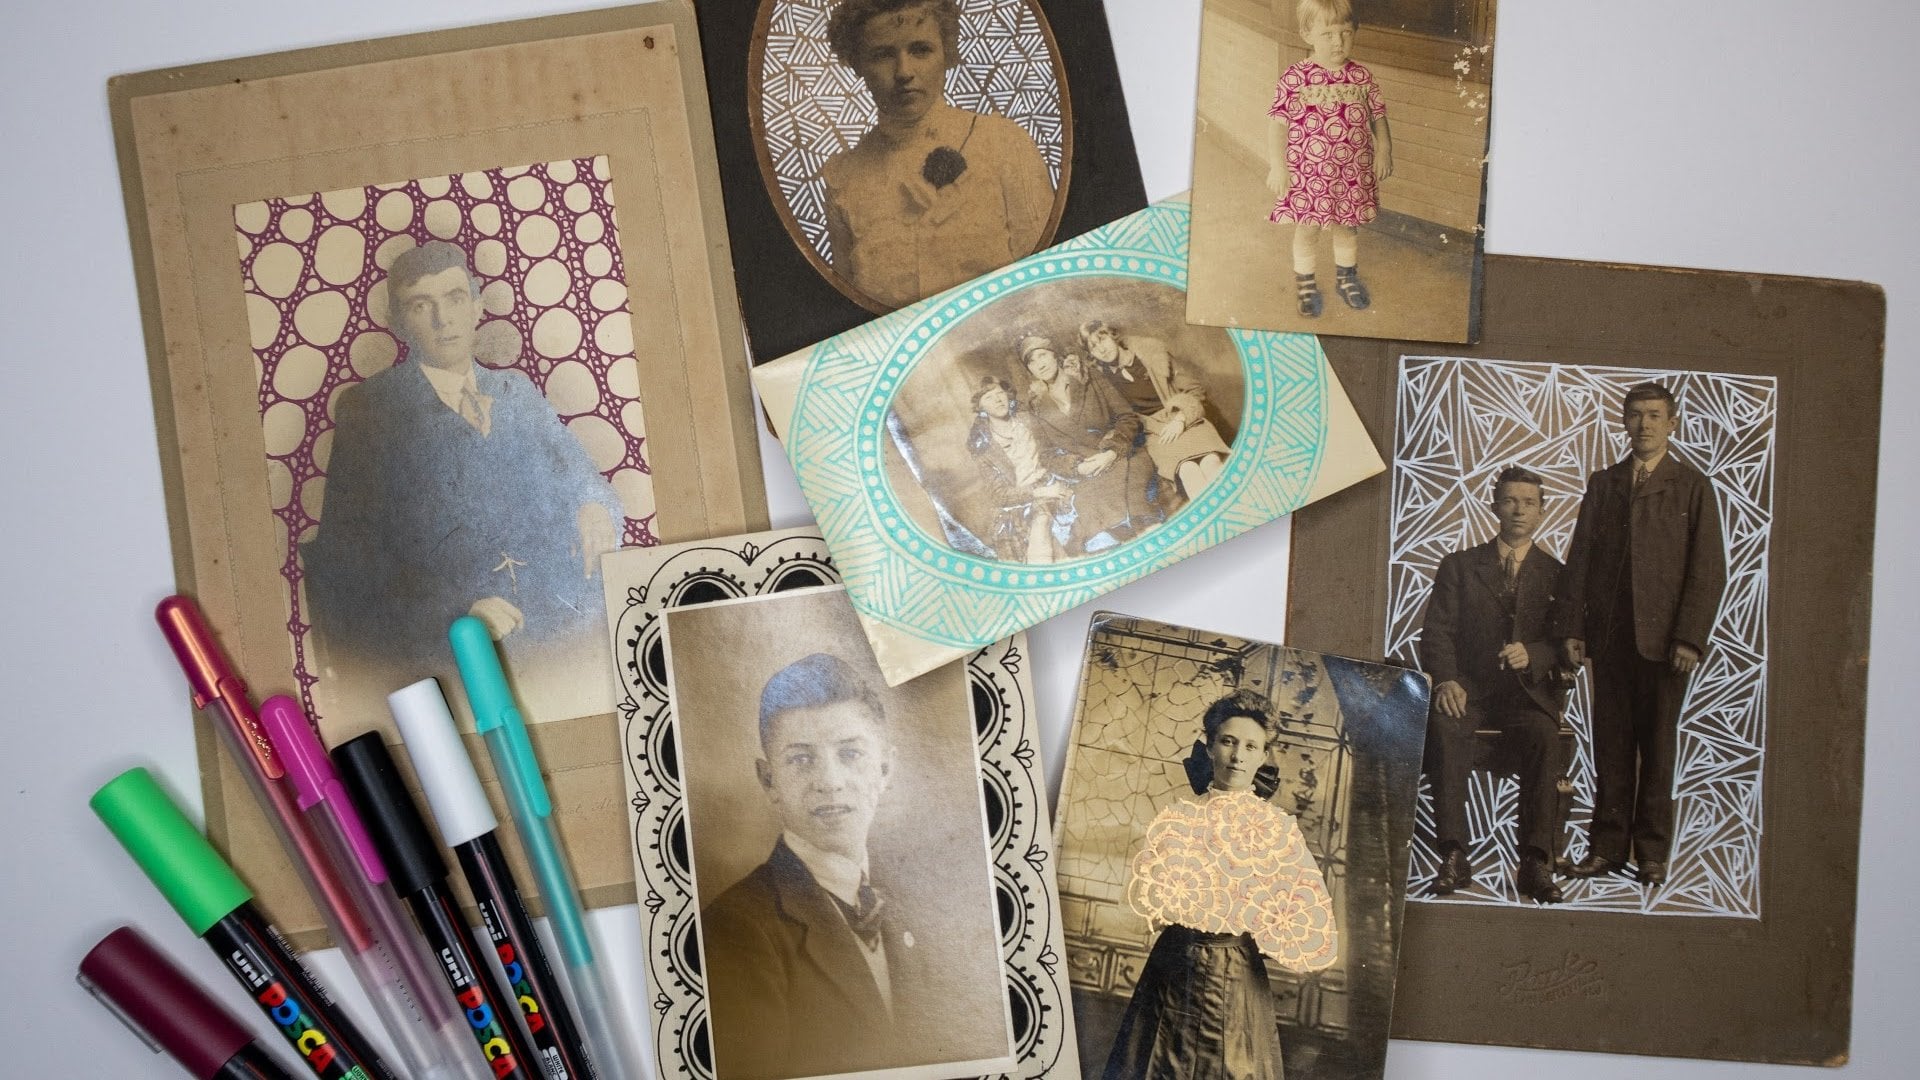
2. Supplies: You only need four things to create yours entangled tile. I use a traditional disentangle tile for my paper. I ordered this room's entangled.com. It's a 3.5 square piece of paper with a nice tooth to it, so it's not perfectly smooth like a piece of copy paper, a nice deck old edge. If you don't have access to that or you don't want to order it, just use something similar in size like a post-it note. That is a great alternative. The pen that I use is a pygmy micron 01 size pen, which is a very, very fine point tip. We do intricate patterns and so it's easier to get. It's easier to draw with when you have the finer tip pen. So any pin you have laying around the house will do. But the finer that tip, the better. We'll also use a pencil. We don't use erasers and disentangle, so just keep that in mind, but any pencil that you have will work great. And then the final thing is a tortilla ion or a paper blending stump. And we use this to smudge the pencil into the paper. If you don't have one of those, just take a paper towel folded up until you get this hard enough and you'll use it the same way. So go ahead and collect your supplies and let's get started.
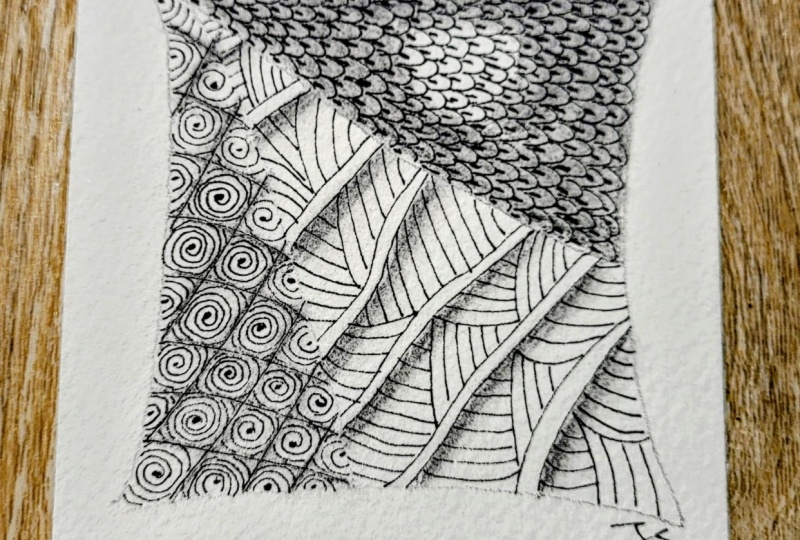
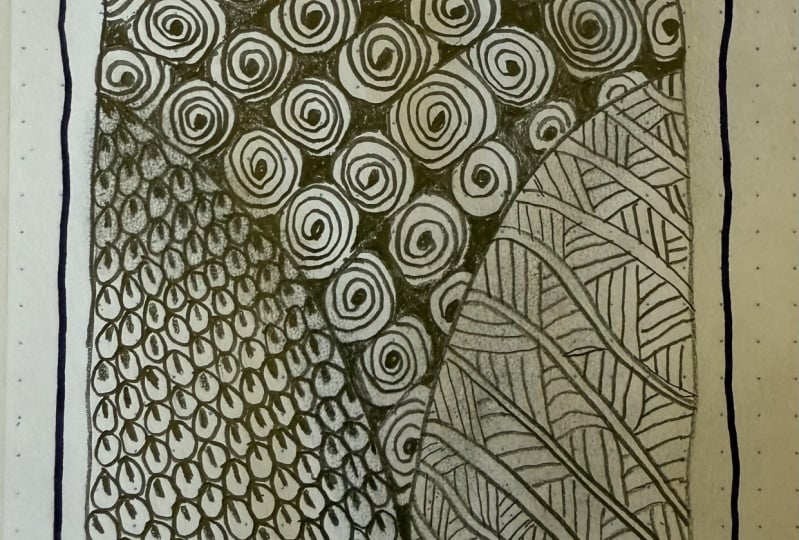
3. First Steps & TAGH Tangle: So there are eight basic steps in this entangled method. And the first is gratitude and appreciation. So I like to come into my practice and just close my eyes and take a couple of deep breaths. And think about something that I'm grateful for for the day. So think of something that you're grateful for and bring that gratitude into this press. Step two is to add four corner dots, one in each corner. So go ahead and grab your pencil for this step. And we're going to add the dots close to the corners of our paper. And then the next step is to create a border and bite. Connecting these dots. We will have that. The lines don't need to be perfectly straight and they don't have to be really curvy either. Just a simple line connecting them. So now we have a border. The next step is to create or draw the string inside. So this is a pencil line. And what it's gonna do is gonna divide this space up into smaller spaces. So we have one large area and we want to create three smaller areas. So I'm going to draw the letter V. And that is going to divide MySpace, this inner square into three smaller areas. So the first tangle will be doing is called Rick Roberts and maria Thomas, who are the founders of this entangled method, have come up with very unique names for their tangles. And sometimes I know the backstories. Unfortunately, I don't know how the three tangles we'll be doing today were, were named. But anyway, first tangle is top. Go ahead and choose one of these three areas. It doesn't matter which one you choose. There is no right or wrong for this. I'm going to choose this area over here for mine. And I'm going to start here in a corner. And I'm just going to draw a curved line that looks like a teardrop or a raindrop. And if there's any space, I'm going to draw one to the left and to the right of it. And then I'm going to draw curved lines starting in the center of that teardrop, over to the right and over to the left. So little hilltops. And I'm going to do this. From the next. So it's like I'm jumping from hill to Hill. And I'm even gonna draw them to the left and to the right as if they were to continue moving all the way to the right and all the way to the left, we just don't see them. So from hilltop to hilltop, a nice little curve. I love this tingle because it looks like the scales of an animal, like a snake. We'll just continue on until we have filled up this entire space. Just, this is just a nice curved line. We're going to be drawing just a very small, little tiny, almost like the same shape. Little small raindrops or teardrops in these crevasses. So it looks like I've gotten all my little crevices filled in with these small tear drop shapes. And I don't know, I always have to go back and check something I haven't done, but it looks pretty good. And that is the tangle.
4. TORTUCA Tangle: The next tinkle we'll be doing is called torque 2k up. And I'm gonna do it down here in this section. Tortosa starts out like a lot of tangles with a simple kind of checkerboard pattern, so a series of perpendicular lines. So I'm going to start here by drawing parallel lines. And I'd say they're about the width of my finger, distance apart from each other. You can do it smaller, you can do it bigger. There's no right or wrong, but I find my fingers width works well for me. So there's a set of parallel. Now I want to add the perpendicular. Notice how I'm turning my paper. You never really want to contort your arm or your shoulder, your hand, and make it uncomfortable to draw. It's a lot easier just to turn the paper, so just a little helpful hit. And then perpendicular lines. Alright? And you'll notice that my lines have a slight curve to them. You can make your straight, you can make them curved. Again, there's no right or wrong for this. Ok? We are going to be drawing a spiral shape inside each of these diamond shapes. So I've turned mine, so I have diamonds instead of like rectangles. So I'm gonna start here, and I'm going to start with just a little p or oval shape. I'm going to fill it in and then I'll start my spiral. So I'm just going around that central shape. And eventually I'm going to touch the edges. And then I'll need to pick up, instead of crossing over this line, I'm going to pick up my pen and only draw inside of this one diamond shape. Or you can see it up close. Alright. So I'm gonna do another one, starting off with an oval, very tiny here in the middle. And then drawing around it a spiral line, which is just a continual curved line. And once I touch the border of this smaller space, I'll just make sure I pick up my pen, little oval and draw my spiral. And I will continue to do that for all of these areas. Now, a situation like this where you only see a portion of the diamond. What I like to do is just draw what I can see. So I can only see half of that oval and I can only see a portion of the spiral. So really, it's just a series of curved lines. There we go.
5. SHATTUCK Tangle: The final tangle today is called Shutterstock, and we'll do it in the last area that we have, are going to start out by drawing some parallel lines. And they can be straight. I'm going to make mine slightly curved. Yeah, and then I'm going to go about a fingers depicted distance away and draw another set of parallel lines. And another. Until I filled up this whole area. I'm going to start in the top left corner, the very tip, top left corner. And I'm gonna draw down. So I'm going from left to right. I'm going to draw from this left side, a diagonal line down to the right side. And then above this line, I will draw parallel lines to fill this area. So that first line we drew, I want you to find the bottom of it. So it should be on the right side. We went from left to right. And we're going to start there. And we're going to draw another diagonal line down to the left. I'm starting right at that point where I stopped. And I'm drawing down to the left. And then up above it, I will draw parallel lines to it until I filled that area. Come down to the bottom left corner of what we just drew. And we're gonna go from left to right. Now, I won't be able to see where it connects, obviously because our line doesn't get drawn that far. So I just stopped with the pencil line and I stop at that border that I drew in the first steps of the tile. But above it, I will draw parallel lines, can fill up that area. And to the left I have a little bit of space cleft. It's gonna mimic this area right here. So essentially you are doing a series of parallel lines and then you're doing a series of parallel lines that are perpendicular. So they kind of flip flop. And I fill up what space is visible. Okay. Well, I'm going to come over to the right side and I'm going to kind of mirror what I see, what I just drew. So earlier I true from left to right, from top to bottom. I'm going to do from bottom to top, going from left to right and fill in with parallel lines like I did before. And then I'm going to come down from that bottom point. Fill in. Ok.
6. Shading: The next step in those entangle method is to shade. So I'm gonna use my pencil to add a little bit of gray area to this black and white drawing. I'm gonna start with the top tangle since we did that went first. But I'm just going to start here. And I'm going to shade kinda the edges and corners. And essentially what's going to be left in the middle is kind of like this large kind of egg shape that won't have any shading, so it's completely white. So I'm coming here on the edge of the space. Or the taught angle is. And you have this large circles if you wanted to start with a circle first and then just fill and around it all the way into the corners. And when I shade, you'll notice that my pencil is really flat on one side. It's because I never want to shade with the point, so I don't want to hold it perpendicular straight up and down. I want to use the side of that lead to add this grey to the, to the tile. Okay. I can see you see it a little bit better. Once I hold it close. Then I'm going to grab my tortilla to blend this pencil into the paper. Not only does this press the lead into the paper, it also kind of softens the edge of the line that you drew. Not something that you can probably see until I hold it a little bit closer. But all I'm doing is going on top of where I drew the pencil. And again, kinda just shading or smudging it in. And I'm even going to come into this whitespace. Even though there's no pencil here. There is pencil here on the end of the tortilla ion, and that will slightly come off here in the middle. I have this center that's white and then it gets lighter and, or, excuse me, it gets darker and darker and darker until you get to the edge. Now, I wish to scared of shading When I first started San Diego, I thought I would mess it up, but there really is no way to mess this up. We'll go on to the Tor 2k and next, we're gonna keep the shading for this one really simple as well. I'm going to add shading on those kinda bet checkerboard line design that we did first. So just drawing a little bit to the left and a little bit to the right of that line. And then all the parallel lines to it. And then I'm going to turn my tile and do the perpendicular lines. Then grabbed my tortilla and do the same thing I did with the tar tangle. And that just kind of smudging is what I just put down. Potential softens up that pencil mark. It makes it glow pencil. If that's, if that's what I like to think. Nice softness. Just really nights it adds a nice dimension to each of these, these tangles are awesome. And then the shutter, the last angle we did, I'm going to draw to the right side of each of these lines that I did to divide up the space a little bit to the right here. And then I'm gonna blend it in with my tortilla. Just kinda soften it up. Alright. And that is how you can shade your tile.
7. Final Steps: Now we are almost at the end. You all, we are going to sign and we're going to initialize our tile. So if you are using a traditionals entangled tile on the back, they have two lines. And I like to right my firstName. And I also like to write the date here on the second line. 20, oh my goodness. 21. Ok. Now that I've signed the back, I'm going to add my initials to the front. I think I'll put them right in here. And you decide where you would like yours to go. But that's how I sign my tangles. And then the final step you all is to appreciate this wonderful drawing that you did. This really relaxing meditative drawing method. It's so easy to learn, just a very simple curve, lines, straight lines, easy shapes. And you have created this beautiful work of art. I really hope that you'll share it with everyone in the class. Projects.
8. Outro: Congratulations on completing your son tinkle tiles. I hope you enjoyed it. Does entangle practice has brought a lot of joy to my life, and I hope that it brings some value into yours. I can't wait to see what you've drawn. So please don't forget to share your tile in the class project sections. You're also welcome to share your work on Instagram. Just don't forget to tag me so I can see it as well. Thank you for joining me on your creative journey. If you'd like to stay up-to-date on others than tangled classes. Please don't forget to hit the Follow button above. And until we meet again, happy tingling.
 Martha Arrington, artist | educator | czt