Transcripts
1. Zentangle® Inspired Pattern Brushes in Adobe Illustrator - Intro: Hello. I'm Helen Bradley. Welcome to this graphic design for Lunch class, Zentangle inspired brushes in Adobe Illustrator. Graphic design for Lunch is a series of classes that teach a range of tips and techniques for creating designs and for working in applications such as Illustrator, Photoshop, and Procreate. Today we're looking at creating pattern brushes in Illustrator. We're going to make some Zentangle inspired pattern brushes using a range of techniques in Illustrator. Now the tools that we're going to use to make this project can be used in any version of illustrator, so it's going to be easy for you to use, even if you're using earlier versions of Illustrator. As you're working through these videos, you might see a prompt which lets you recommend this class to others. If you're enjoying the class, please give it a thumbs up. These recommendations help me get my classes in front of more people who just like you want to learn more about Illustrator. If you'd like to leave a comment, please do so. I read and respond to all of your comments and I look at and respond to all of your class projects. If you're ready, let's get started making Zentangle inspired pattern brushes illustrator.
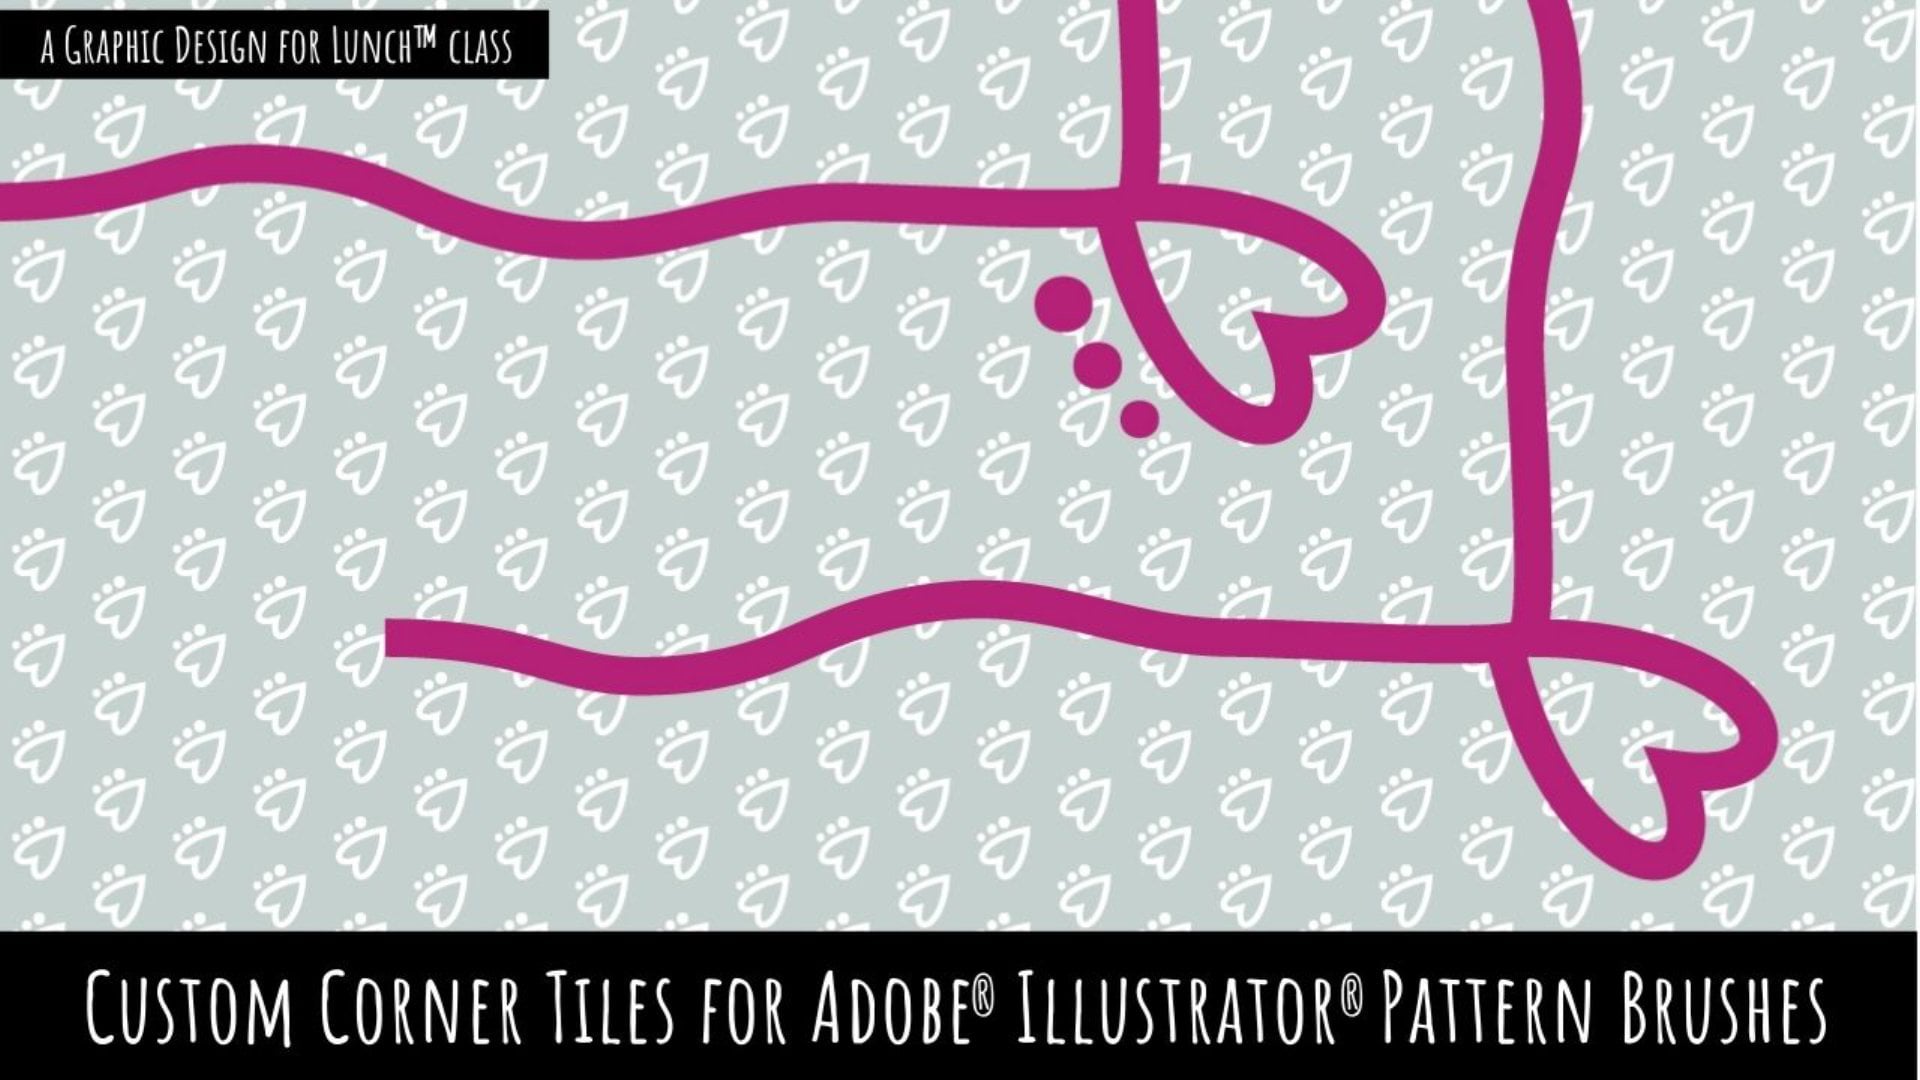
2. Zentangle® Inspired Pattern Brushes - Part 1: The brushes that we're going to make in this class are going to be loosely based on Zen tangle patterns. I've gone to a site called tangled patents.com and there a lot of zen tangled designs here and many of them can be adapted to illustrate a brushes, and that's what we're going to do. So I'm going to close this down for now and we're going to start with a brush so I'm going to choose File New, and the documents are going to be 1,000 by 1,000 pixels in size. The brush that we're going to be creating is going to be based on a Zen tangle called heart vine. So I'm going to start with a line and it's going to drag out a line here, it's going to have no fill and a black stroke and it's going to be a two point line. We're going to create a heart to go with this and I'm going to do it using the pen tool, but it's really quite easy to do so I'm going to show you how to do it. You're going to click and drag with the left mouse button and you're just going to drag in an upwards direction pointing towards the top left corner of the image, and you want a line that's about this long, so I haven't actually let go the left mouse button at this point, I've just clicked and dragged. At this point, I'm now going to let go, and I'm going to move down so that I'm almost directly underneath the starting point here, if you don't get the exact position don't worry I am going to show you how you can fix that in a minute, and right here now, I'm going to click and drag to the bottom right corner of the image. I'm looking for a nice sort of bend here, and that's all I want and then I'm going to press the Escape key. That's all you have to do, it's just click and drag, click and drag twice. So now with the direct selection tool, I'm selecting either both of these points choosing object, path, average, I'll click vertical and click "Okay". What that does is it ensures that these two points are exactly over the top of each other. Now I want to a duplicate of this heart-shaped, so I'm going to select it and choose object, transform, reflect, I'll choose vertical and click "Copy". So now we've got two heart shapes. We're going to select either both of them and I'm going to the transform tool. If you can't find the Transform panel here in your sidebar, choose Window and then transform. What we want to do is we want to disable Aligned to Pixel Grid, so that the next technique we're going to do, it's going to work. I'm going to the Align Panel again you can choose Window Aligned to find it. I'm going to click the fly out menu here and choose show options, from the align line to list I'm going to select aligned to key object. Now because I've got both shapes selected, one of them should now have a thicker blue border around it. It's now my key object, so I'm going to click here on the vertical aligned top option so that we align the tops of the two objects without letting go of the shapes that I have selected here, I'm going to distribute spacing option. I'm setting the spacing to zero, and I'm going to click here on the horizontal distribute space. What that does is it puts the two shapes on top of each other. I'm going to select this shape and just alt drag it away because I wanted to keep a duplicate away on the side there. This set is too big, so I'm just going to hold Shift as I sized them into a better size, and I'm going to move them right over my line here. Let's zoom in a little bit, so we want to make sure that they're positioned correctly, which they're not right now. I'm just going to move them right over the line. I'm going to select this half of the shape and I'm going to invert the fill and stroke, so it's now filled but with no stroke. I'm going to select both sides of this object and I'm going to choose object, transform, move. I'm going to set the angle to 90 because I want it to move up. I'm going to set the horizontal to zero because I don't want it to be moved horizontally. I wanted to be moved in a negative direction, so I'm going to click in the vertical area and press Shift down arrow to move it up, and I want to move it past where it is right now and then click copy. If I zoom back out with Control or Command zero, you'll say that's moved and duplicated into position, I think it's probably gone a little too far so with it's still selected, I'm just going to move it down. I want to flip this though, because I want the black on the other side and right now I've got my two shapes selected, I'll choose object transform, reflect, and that will reflect them over this line and I'll click, Okay, this is the foundation of my brush, but I think the line is too tall, so I'm just going to select the line and just hold Shift as I drag it down so it's not quite as tall as it was. I'm also going to move it up a little bit so that it just touches the bottom of the heart. Again, we can zoom in to make sure it's looking okay, here I don't think it's gone up quite far enough. That's perfect there saw the start of our brushes going to be this end, and this is going to be the top of our brush and these two lines look pretty much the same length as each other, maybe a little bit longer at the top I am just shorten it a little bit. We'll click away from it, press Control Commands zero just to zoom back out. We're going to make this our brush, but we need to rotate it, so I'm going to take the shape and I'm going to rotate it holding the Shift key so now points in this direction needs to for our brush otherwise that's not going to work. Before we actually create our brush, let's just check the last pallet to make sure it's nice and neat and they're not groups within groups. Well, there aren't everything looks really tidy here, this is the set of shapes that we have selected here, but actually make it a group by choosing object group and so this is going to be my brush and this called brush one. Now this is not the actual brush, this is just the shapes I'm using to make the brush. We need to now make the brush by going to the brushes palette here. Again, you can get to it by choosing window and then brushes, I'm going to click they fly out menu here and choose New Brush and we're making a patent Brush, and I'll click "Okay". I need it to be set to tints and I don't want to corner pace now you may not have this option if you're in earlier versions of illustrator and that's just fine because we don't want it anyway. We're just making organic brushes today, so they're not going to have any corners, they just going to be brushes along a swirly path. We might however, use these options for start tiles and end tiles, but nothing else, I'll click "Okay". I'm going to click away from this shape, I'm going to click the brush tool and I'm just going to drag out a pretty line, and because my brushes selected, it's being applied to this line. With the line selected am now going to the bottom of the brushes panel here for options of selected object. I'm just going to wind back the brush because it's too big and thick forming. So there's our brush or the basis of our brush. It's got a really nice starting point, when we just drag to make this brush, the starting point is really pretty, the end point is not at all pretty. So let's go and see how we can improve it. Actually just going to remove this brush and kick this one. Going to my heart shape here and what I'm going to do is join name spaces together, they've already been nicely arranged, so I'm going to choose object path, join, that's going to give me a single shape. I'm just going to size it down and rotate it 90 degrees and go and place it where it's going to bay over the top end of this brush. Now, right now it doesn't look like a very inspiring end of a brush it's just a bit blah. So let's go and see what we can do with it, going to select over it and I'm going to copy it and paste it in place. Edit, copy, and paste implies. Then I'll hold Alt and Shift and I'm just going to re-size it down, and then I'm going to move it so it tucks into itself here. If I hold the Shift key as I move it, it's going to be constrained to moving in a perfectly horizontal direction, and still think it needs to be a little bit bigger so I'm going to Alt, Shift, drag it to make it a bit bigger and now let's just go and move it a little bit. I'm going to duplicate this Copy, Edit, Copy, Edit, Paste in place and again, Alt Shift drag to make a smaller version of it, move it into position hold Shift as I do so, so it's constrained to moving horizontally. For this one I'm just going to flip the fill in stark so it now has a sort of fill end. This is going to be a much more attractive end to my brush so I've selected, I have all of these elements. In the brushes palette here, I need to drop it into the end brush pace, which is this one here, this is an outside corner, this isn't inside corner, this is the start tile, and this is the end tile. So I'm selected always elements, so I'm just going to start dragging them, add the alt key as I drag them and just drop them into this panel here, and you'll see that it looks really big here, just ignore that it looks so big everything's perfect I'll click "Okay". I'm asked if I wanted to apply it to strikes, well I already have a brush applied to a strikes so I'm going to click apply to strike so that the end is going to be applied to my existing brushstroke, Control or Command zero. Then select over the brush, just sides that down a little bit, can say that the top of the brush get sized with the rest of the brush. So that's the first of our brushes were going to come back in the next video, I'm going to show you a simple setup for testing this brush and just saying how it looks when painted onto a colored background.
3. Zentangle® Inspired Pattern Brushes - Part 2: What I wanted to do here is to duplicate my art-board. So I'm going to the art-board tool here and I'm just going to hold Alt as I drag a duplicate art-board away and if I add Shift, it's going to be constrained to moving in a perfectly horizontal direction. Just going to let go everything, and I have now a second copy of my art-board. If I click on the selection tool, I can just remove the pieces from this art-board that I don't need on it. I'm just going to use this to test paint my brushes, but without closing the brushes document down. Then make a rectangle that is the size of the art board. Since I've started with a document that's a 1000 pixels by 1000 pixels, a rectangle of that size is going to be perfect. I'm going to apply no stroke and no fill. I'm going to the aligned tools and I'm going to select align to art-board. Then I'm going to center this on the art board. I'm going to bring the fill to the front and I'm going to apply a fill color to this. So I'm going to choose pale green. It will be neither in my layers palette if I make a special lab for this art-boards. So I'm going to click to create a new layer for this art-board. I'm going to take this rectangle and put it on that layer. For now, I'm going to lock down this art-board, so it's not in the way. I'm going to go to this art-board, I'm going to go to my brush tool and I'm just going to click and drag a brushstroke. Now we can't see it because it's got a green stroke in our fill, but we'll be able to see it in the last pallet and I can pick it up here. With it selected, I'm going to press default for my default colors, and I'm going to my brushes panel, and I'm just going to click on the brush that I created. I don't want it to have a fill, so I'm going to turn the fill off. I'm going to this option here, the options of selected object and just decrease my brush, and click Okay. Now this is going to be the same brush that's going to be applied whenever I draw a brush in here so I can just start creating some simple brushstrokes. You'll find that with this brush, if you start you'll brush line between two hearts that you can get the appearance of the brush actually being more like a vine. It's a really pretty brush this one. I really like it and I hope that you do too. So that's basically how it draws. I'm going to lock it down and just close at that layer. I'm going to unlock this layer, I'm going to go back and select this panel here, press Control or command Zero. So we can get to work in the next video on the next brush [inaudible] you might like to say the process of duplicating an a art-board and painting with your new brush.
4. Zentangle® Inspired Pattern Brushes - Part 3: The next brush we're going to create is going to be based on a zentangle pattern called jitters. We're going to create a heart again, I'm just going to go quickly ahead and create my heart shape. You will do it just the same way as we did before. I haven't done the world's best job here. I'm just going to adjust this a little bit before I go and position the anchor points over the top of each other. I'm going to duplicate and reflect the shape all in one process. I'm going to move the second version out of the way of the first. I'm going to select both and align them to the key object, make sure they're aligned at the top and that they're distributed correctly and now I'm going to join them. That makes a single heart shape. I'm going to tuck a duplicate shape away by alt dragging a copy away just in case I need it later on. With this heart shape, I'm going to flip this stroke and the fill. I'm actually going to make sure it's filled with perfect black, which it's not. I'm just going to make myself a pure black by setting the say M-Y-K values to 100 each and then click "Okay". I'm just going to store this in my swatches palette again here. This will help me make richer color brushes in future. I'm going to the rectangle tool, I'm just going to drag out a small rectangle here. I want the hearts to be joined to each other when I make the brush and the select over both and from the Pathfinder, I'll click "Unite" to make a single shape here. Now we're going to fill this shape with a scribble. I'm going to choose effect, stylize, scribble. You can set the settings for your scribble exactly the way you like. I'm thinking that this might be better if it was angled slightly so we could fill this top corner. But you've got options here for overlapping your path for increasing the variation, so that goes slightly outside the shape. You can increase or decrease the stroke width, you can increase or decrease the spacing. You can get all sorts of effects here with this dialogue. I'm just going for something fairly standard, but I do want to fill both corners of the heart and so I think this angle's going to be perfect. I'll click "Okay". If we are not going to have trouble when we create this as a brush, we need to expand this appearance. I'm going to choose object, expand appearance. What this becomes, then it's just a series of lines that just happened to be in a heart shape. It's going to be a perfect start for our brush. Select over everything here and I'm just going to tuck my swatches away here and I'm going to my brushes palette. I'm going to click the "Fly-out Menu", choose "new brush". All of these are pattern brushes because that's the only way we can create these organic brushes that repeat along the line. I don't want my corner tile, we're not doing corners today. All we want is the tile that's going to be repeated along our path. We want to set it to tints so we can recolor it and click "Okay". Let's just pop that out of the way. Let's go and click anywhere on the documents, so we deselect everything, go to "my brush" and let's draw a simple line. I'm going to select over the line. I'm just going to reduce the size of the brush because in reducing the size of the brush, I'm going to get a more heart like look to it. Of course, we can also re-color the brush by just selecting a color to apply to it and there's our heart brush. For this heart brush, it has a not a very good starting point, but it has a really good ending point because it's ending on a full heart. Well, let's go and see how we would start it with a smaller heart. Just going to take this heart and I'm going to reduce it in size. I'm going to apply the exact same scribble to it. I'm just going to put it in place and I'm going to choose effect, stylize, scribble. I've made a mistake there and I had the color on the stroke and not the fill. I'm going to need to flip those before I apply this scribble or it's not going to look any good at all. I'm going to use the same options for my scribble as I used the first time, just so it's going to be repeated, so it's not going to look incorrect and I'll click "Okay". I'm going to take this heart and I'm going to expand it, object, expand appearance. Again, it's a series of lines, I'm going to select that. I'm going to alt drag it and when I do, I'm going drop it in this panel here. This is the one for the start of the brush. Let's just alt drag it into here and it goes into the start of brush, you can see it in position here. It looks much bigger, in fact, it looks bigger than the other hearts, but it's not going to be once we get it started on our brush. I'm going to click "Okay" and then we are going to apply it to strokes and our stroke has become really big, so we're just going to go and re-size it for this document. I know you have this small heart at the beginning of the line and then the other hearts are much larger. There is a heart brush created again as a pattern brush and this time we used the scribble effect with the brush.
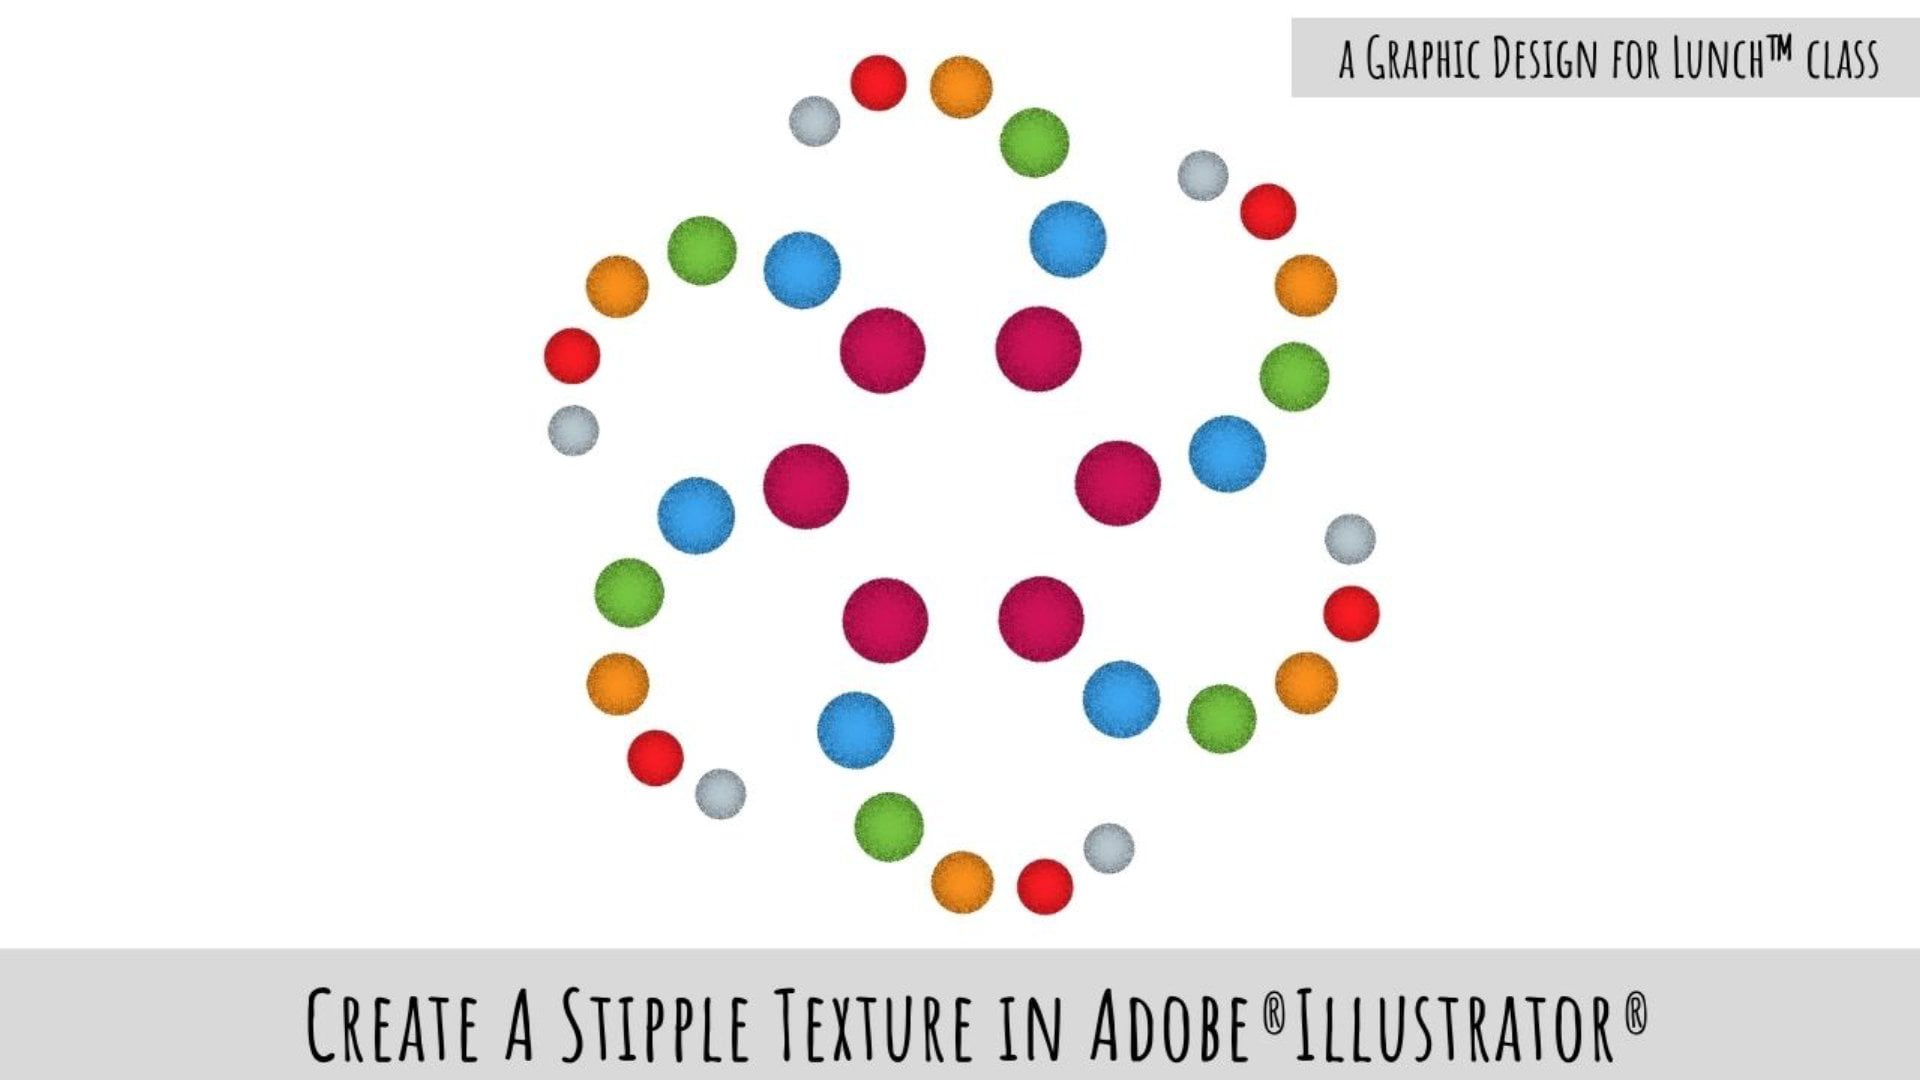
5. Zentangle® Inspired Pattern Brushes - Part 4: The last parts that we're going to create is based on a tangled design called three loop six. We're going to start out with the Pen tool. I'm just going to draw a simple leaf shape. Now I have the smooth option on my Pen tool set very high. If I double-click on the Pen tool you can see, that the lines are being smooth as I create them. I've just drawn this leaf. If you prefer to use the Pen tool, please by all means go and do it using the Pen tool. I'm selecting over my shape, I'm going to set this to the default colors, which is a black stroke and a white fill. I'm going to increase this stroke value to something like about five points. I want to rotate this shape so I'm going to select it, I'm going to choose Effect, Distort and Transform, Transform. I'm going to click on preview and I want to rotate it around this bottom most point. So I'll just click here. I'm going to make two copies of it. I'm going to just start adjusting the angle and it's going to go in a negative direction. I want an angle of between minus 20 and minus 25 just to get this nice rotation. I want these pieces to size down as they rotate. From the scale options, I'm going to sit horizontal and vertical to 80 percent. That reduces the size of these leaves as they rotate. I think I could do with a little bit of extra rotation here. So I'll click Okay. I'm going to expand these shapes. I'm going to select this shape and choose Object, Expand Appearance. That just expands it into its three component shapes. Now I want to spiral, so I'm going to the Spiral tool. I'm going to click it once and click once on my document. Based on the spiral settings I'm using, I'm using a radius of 50 pixels, a decay of 65, five segments and a anticlockwise spiral. I'm just going to click Okay. Let's zoom in to see what this looks like. I'm going to rotate my spiral a little bit so it's standing up a bit more. I'm going to move it into position where I want it to be. I can scale it down a little bit in proportion by holding the Shift key as I scale it. I think I'll just rotate it a little bit. It's going to zoom in here because I think that I could join up my shape a little better. Let's go to the Layers palette. Just going to turn my spiral off for a minute and I'm just going to join up the very edge of this top path. Now when I put my spiral back over the top, if I set the spiral to have a rounded end by choosing stroke and then round the caps, then I'm going to get a slightly better finish to my shape. This is going to be the shape I'm going to work with. I'll press Control or Command Zero to zoom back out. Now I'm going to select either the shape that I've created and I'm going to make a brush from it. But before I do so I need to rotate it. So I'm just going to hold Shift as I rotate it 90 degrees. That's important because we want this brush to draw along a line. I'm going to select either my shape and then I open up the brushes palette. I'll click the menu and choose New Brush, Pattern brush, okay. You can see what our brush is going to be like. I'll click Okay. Now I'm going to paint a line with it. I'm going to the brush tool here, it's going to paint a line, and then let's just size the brush down a little bit. I want to zoom in because I want to show you something about this brush that we're going to fix. Right now, you can see that there's a little gap between the ends of the brush. Well, we can adjust the brush so that it overlaps a bit better. To do this, I'm going to press Control or Command Zero. I'm going to select over my line and remove it, and we're going to look at some settings that we can make with our brush. Now what you may not know about brushes is that when you create a pattern brush like this Illustrator places a rectangle around the brush shape, which controls the spacing. Now that means if we place our own rectangle behind this brush shape, we can control the spacing manually, and that's exactly what we're going to do. I'm going to select the Rectangle tool, I'm going to draw a rectangle over my shape here. We're going to zoom in so we can see it more clearly. Now the rectangle wants to be just over the end of the shape here, but fall short of the tip of the shape. We also don't want it to have a fill or a stroke, so we're going to disable the fill and stroke. I'm going to the layers palette, because I need to put the rectangle behind everything. So I've just moved the rectangle to the very back. We're going to select over the entire shape and make a brush from this. Again back into the brushes palette, again, New Brush, Pattern Brush, Okay. This time you can already see that the brush is overlapping. So I'm going to set the colorization method to tints and click Okay. I'm going to zoom back out. I'm going to deselect my shape and I'm going to my Brush tool. I'm going to make a brush line, and you can see that our new brush is overlapping. If we don't want it to overlap so much, then we can alter its spacing. Just going to the options of selected object. Now the reason why we want the brush to overlap is that you can't set the spacing to a negative value, but you can set it to a positive value. So I'm just going to wind up the spacing here to about 30. Now you can see that this brush is going to overlap nicely because we can increase the spacing but we can't decrease it. We can also adjust the size of the brush as we've been doing all along. I'll click Okay. If we zoom into this line now, we can see that the brush shapes are overlapping as they stretch along the brush. Now, knowing this about brushes, we can create something very interesting in terms of the tip for our brush. We're going to do just that now.
6. Zentangle® Inspired Pattern Brushes - Part 5: Let's zoom into our shape so we can see it. I'm going to add some elements that I want to appear on the very, very end of my brush. So I'm going to create some circles, and they're going to be filled circles with no stroke. Having created one of them, I'm now going to go and press "Alt" as I drag a duplicate away. I'm going to enlarge this one a little bit, holding shift as I do so. Now I'm going to do the same thing again. Again, enlarging it. I'm going to borrow these two. I'll drag over to the other side of the shape. Now I have some shapes and I have the rough alignment I want to use for these shapes to be the tip of my brush. Now that I've got them lined up, I'm going to move them. So I'm just going to "Shift" click on each of these and just move them horizontally, holding the "Shift" key as I do, this is really important because we want to borrow this bounding box that we created for this brush as well. So I'm selecting over just it, and again, I'm holding "Alt" and "Shift" as I drag it out over here. I'm going to size this rectangle but only pulling in from the outsides, not from the top, because I don't want to change its alignment. This bounding box is going to affect how this entire brush works along the path, and I don't want these dots to move because I had them strategically placed relative to this leaf. I'm just going to experiment with this. We may not get it the first time, but let's have a go. I'm going to select over all of these dots and my bounding box. I need to make sure that my bounding box is behind everything, which it is, you can see here's my bounding box, and here are my dots. I'm going to open the brushes palette and I'm going to drag these into the tip of the brush area. So I'm going to "Alt", drag into this very last box here because that adds them to the tip of the brush. You can see them here. I'm just going to click "Okay". I'm going to apply them to the stroke. Let's zoom back out. Select over this shape and go and make the changes that we know we want to make to the brush size and to the spacing. I'll click "Okay". Now let's just zoom in to test this. Well, you can see that the dots have appeared around the tip of the brush and they're actually overlapping the tip of the brush. I just think they could be a little bit closer. So let's go and do just that. "Control" or "Command Zero". I'm going back to my shape here, and this time I'm going to move my bounding box. So I'm just selecting the bounding box, and I'm going to move it further towards the start of the circle. So I'm moving it across to the right. Now I'm going to grab all of these shapes plus my bounding box and "Alt" drag them in to replace the current set of dots. You can see that they're sitting a lot closer to the tip of the brush here. So I think they're going to work better this time. I'll click "Okay", we're going to apply them to the strokes. We're going to select over our stroke and let's just adjust the spacing and the scale. So I'm going to bring the scale back down to about 38. I'm going to increase the spacing to about 30. You can see now that the tip of the brush is working a whole lot better. Let's just test this at 40 percent because that's a nice round set of numbers. So I'll click "Okay". The tip is working really, really nicely on this brush and the spacing is really nice too. So I'm going to double-click on the brush, knowing now what I know about the spacing and the scale, and I'm going to set the scale to 40 percent, because I know that that looks better on the kind of document I'm working with here and I'm going to set the spacing to 30, and I'll click "Okay". Now I have a brushstroke that's going to paint in a really interesting way. The tip of the brush actually overlaps part of the brush itself, one of the pattern tiles. It's all done with a bounding box. Illustrator is going to give you this bounding box if you don't put it there yourself. If you do put it there yourself, then you get a lot of control over what happens at the tip of your brushes. We've used that in this instance to overlap the brush tip over the very last pattern element for your brush. Your project for this class is going to be to create one or more of the pattern brushes that you've seen created in this video, or go to tanglepatterns.com and find a design that you like, and make that into a pattern brush. You may also want to try the special pattern brush that has a tip that actually overlaps part of the pattern brush itself. When you've created your brushes, post a small illustration showing us your brushes in the class project area. I hope that you've enjoyed this class and that you've learned something about creating organic style pattern brushes in Illustrator. If you did enjoy this class, and if you see a prompt to recommend it to others, please give it a thumbs up. This helps others to identify this as a class that they may want to take. If you'd like to leave a comment, please do so. I read and respond to all of your comments, and I look at and respond to all of your class projects. My name's Helen Bradley. Thank you so much for joining me for this episode of Graphic Design for Lunch, and I look forward to seeing you in an upcoming episode soon.
7. Zentangle® Inspired Pattern Brushes - Extra video: This is a short additional video, and I'm making it for anybody who's using an earlier version of Illustrator and who've perhaps is having a little bit of difficulty getting the start or end pattern tall in place for their brush. I've already created these elements. This is part of the brush. This is going to be the basic brush line. This is going to be the starting patent tile and this is going to be the ending one. I'm going to create my brush by opening my brushes palette here. I'm going to select off of this shape which I've grouped exactly as I did in the video. I'm just going to click "New Brush" and we're going to select "Pattern Brush" and click "Okay". This is going in as the main towel on our pattern brush. I'm going to select "Tints" and then just click "Okay". Say If you were now having difficulty selecting and all dragging these pieces into place, let's see how we could circumvent that problem. I'm going to select this piece here, and it's all grouped together. I'm going to drag and drop it into the swatches palette over here. I'm going to click away from this shape. I'm just going to double-click on it in the swatches palette. I'm going to call this end tile, and click "Okay". Now I'm going to do the same for this, select over it, drag and drop it into the swatches palette. Click away from this shape and then just double-click on it here and call this start tile, and click "Okay". Now let's go back to our brush. I'm going to double-click here to open up the pattern brush options. This here is the place where we would put the beginning tile. I'm just going to click once on this option here. You can see down here I've got a swatch cold start tile. I'm going to click on that to make it my starting tile. Then I'll click here, this is my end tile, and I'll click here on end tile. Now the tile stand here could be called whatever you like, you can call them anything, doesn't matter. You just have to be able to identify them to put them in these boxes here. If you make a mistake, just click back on the box and just select a different tile. Well, I had made a mistake, so I'm just fine. Now I'll click "Okay". Now let's test it. I'm going to the brush and I'm just going to draw out my brush. I'm just going to select either my line. I'm going here to the options of selected object. We're going to scale my brush down a little bit. Preview, so we can see what it's looking like and click "Okay". If you're experienced trouble selecting these brushes and alt dragging them into the box here, then just forget about doing that. Create them as swatches instead, and then you'll be able to access them through the brush pattern options.
 Helen Bradley, Graphic Design for Lunch™