Transcripts
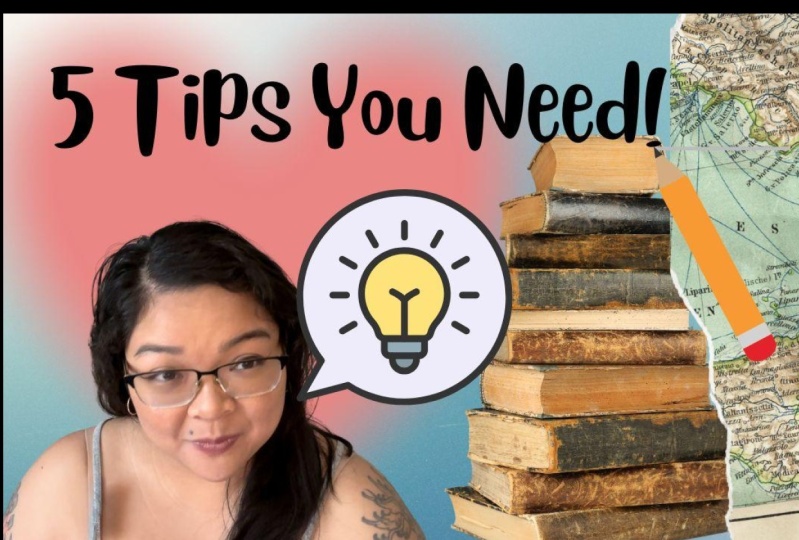
1. Introduction: Being Confident in Front of the Camera: Hi. I'm Nadine Skyora. I'm Kristen Sarah. We've both been full-time content creators for nearly a decade. We're here to share our insider tips and tricks with you. You too can earn a living traveling the world and creating content that inspires. In this course, we are going to help you develop your travel vlogging skills, so that you're more comfortable engaging and entertaining on camera. We'll help you to be more natural and authentic, as well as learn some interviewing techniques. We're going to teach you all of our tips and tricks that are going to up your travel vlogging game. This course is for vloggers who are still trying to find their on-camera a voice, for those who might not be that comfortable in front of the camera and it's holding them back from showcasing their kick-ass personality to the world. By the end of this course, your authentic, badass self is going to be shining through that camera lens. This is Part 2 of a five-part series we have here on Skillshare, on travel vlogging. You can do each course bit by bit or do it all in one go it is up to you. Everything you learn each course you can apply to any genre but because Nadine and I are experts in travel vlogging, that is what we're focusing on. Now let's go.
2. Being Yourself On Camera: How do you get noticed in an industry where getting noticed is what will help you turn your passion into a career? The answer is simple, by being yourself. There is a difference between being yourself and acting like the way you should. You need to stop acting and start being. First and foremost, Know your advantages and don't be too hard on yourself. You are enough just the way you are. There's only one you in this world and no one else looks exactly like you laughs, walks, or talks the way you do. It's nearly impossible for someone else, no matter how great of an actor they are to perfectly mimic what is already totally effortless and natural to you, so use your uniqueness to your advantage. Of course, it is easier said than done, especially when you are told to "Act natural" when you have a camera pointed at your face. If you are not used to being in front of the camera, don't be surprised if you feel unnatural and not yourself at first. The more you are in front of the camera, the more naturally it will start to feel. Finding your own camera self isn't something that happens overnight. It takes time and experience, so don't be too hard on yourself. As soon as you press that record button, something shifts and you get all up in your head. What needs to be done is to get out of your head. Shake off those doubts, worries, and fears, and just go for it. Here are some techniques that will help to get you to that point of feeling comfortable in front of the camera sooner than later. Number 1, breathe. Take a deep breath before you start talking and anywhere in the video recording process where you start to feel overwhelmed. Breathing helps to calm you down and also helps you to be more present. This will ease your anxiety and help you to focus on what you're doing. Don't be hard on yourself if you don't get that ideal shot in the first take. It doesn't matter if it takes you 50 takes until you get that shot that you feel great about. We've all been through it, so don't beat yourself up about it. Number 2, dance and sing it out. While you're setting up your tripod and camera, put on some music and pump yourself up. Just let yourself sing at the top of your lungs and dance like no one's watching. This will loosen you up a bit and get your endorphins dancing with you. Endorphins are a natural stress fighter, so it will help you to relax in the most natural and funniest way. Three, set a clear intention before you press record. People who watch your videos will be able to tell if you're genuine or not. Setting an intention before you hit play will help you to not just be genuine in what you're talking about, but also give purpose to what you are about to record. Ask yourself these questions. What is it that you want your audience to get out of the video? How are you helping them? Ask yourself these questions and go into the recording keeping your answers in mind, you're clear intention will guide you along in the most genuine way. Four, put the focus on serving others. When you focus on how what you're creating will help your audience, you'll automatically spend less time focusing on yourself. For example, when I'm sharing my top travel tips with my audience, I know that I'm going to help them reach their travel dreams quicker because I'm offering them money-saving tips or words of advice that they need to hear in order to make a move in the direction that they want. Knowing that my advice and experience can make someone's traveled dreams come true, fuels me. It gets me excited and allows me to perform at my best. Five, talk to your camera as if it's your best friend. This is my favorite piece of advice that works extremely well to everyone I've shared it with. Each time you press record, I want you to look into the camera and talk to it is if you're talking to your best friend. Look into the lens as you would into the eyes of your best friend and share your story. Don't worry if you stumble on words or you need to start all over again. You can cut out all that gibberish in post-production. You may even choose to leave in those "screw-ups" and your final project, as this makes you look more human and relatable. Six, don't be afraid to be passionate and enthusiastic about what inspires you. Your passion for what you're talking about is going to make others interested in what you're talking about, even if they weren't interested in the topic before clicking play on your video. Your passion will inspire others. Don't be afraid to speak your mind and share things about yourself you may find embarrassing or negative. There are others in this world who will watch your videos and be so glad you exposed yourself and that way. Your honesty will help you build strong relationships with your audience. Seven, never give up. Like I mentioned already, the more you film yourself, the more confident you'll be and more natural it will feel. The first time I recorded a video of myself was one of the most nerve-racking experiences. I had issued a video submission for a college course I was trying to get into. I remember having the camera all set up, and I was ready to go and my boyfriend, now husband, was helping me record. But every time he pressed the record button, I couldn't get out any words, I just couldn't have him in the room with me and better than that, I couldn't have him anywhere near the room where he could hear me even the littlest bit. I actually had to ask everyone in the house to leave. I was in tears because I couldn't believe I was applying for a broadcasting course when I couldn't even film my submission in front of the people that cared most about me. I felt so silly and not good enough. I was worried about how I would sound or how I would look. I was worried I'd screw up. Eventually, I shot the video, but the whole experience piqued my anxiety and I knew I wanted to get better at this. I kept hitting that record button and I kept making more videos. I also got into the broadcasting course, not that year, but the year after. Today not only can I film in front of my loved ones, but I run around the streets all over the world, and I film myself. I've hosted several television shows and won awards for my hosting. I don't care who's watching, what they think, I do it because I love it. It's no longer something that gives me anxiety, but it gives me a thrill. Today it's my job. How cool is that? It just takes time to make you feel comfortable in front of the camera and that's okay. It will take some time and process to accept that you are enough, but you are. Remember to never give up. If you are really shy and want to try and break out of your shell a bit, taking an acting or improv class will also help tremendously.
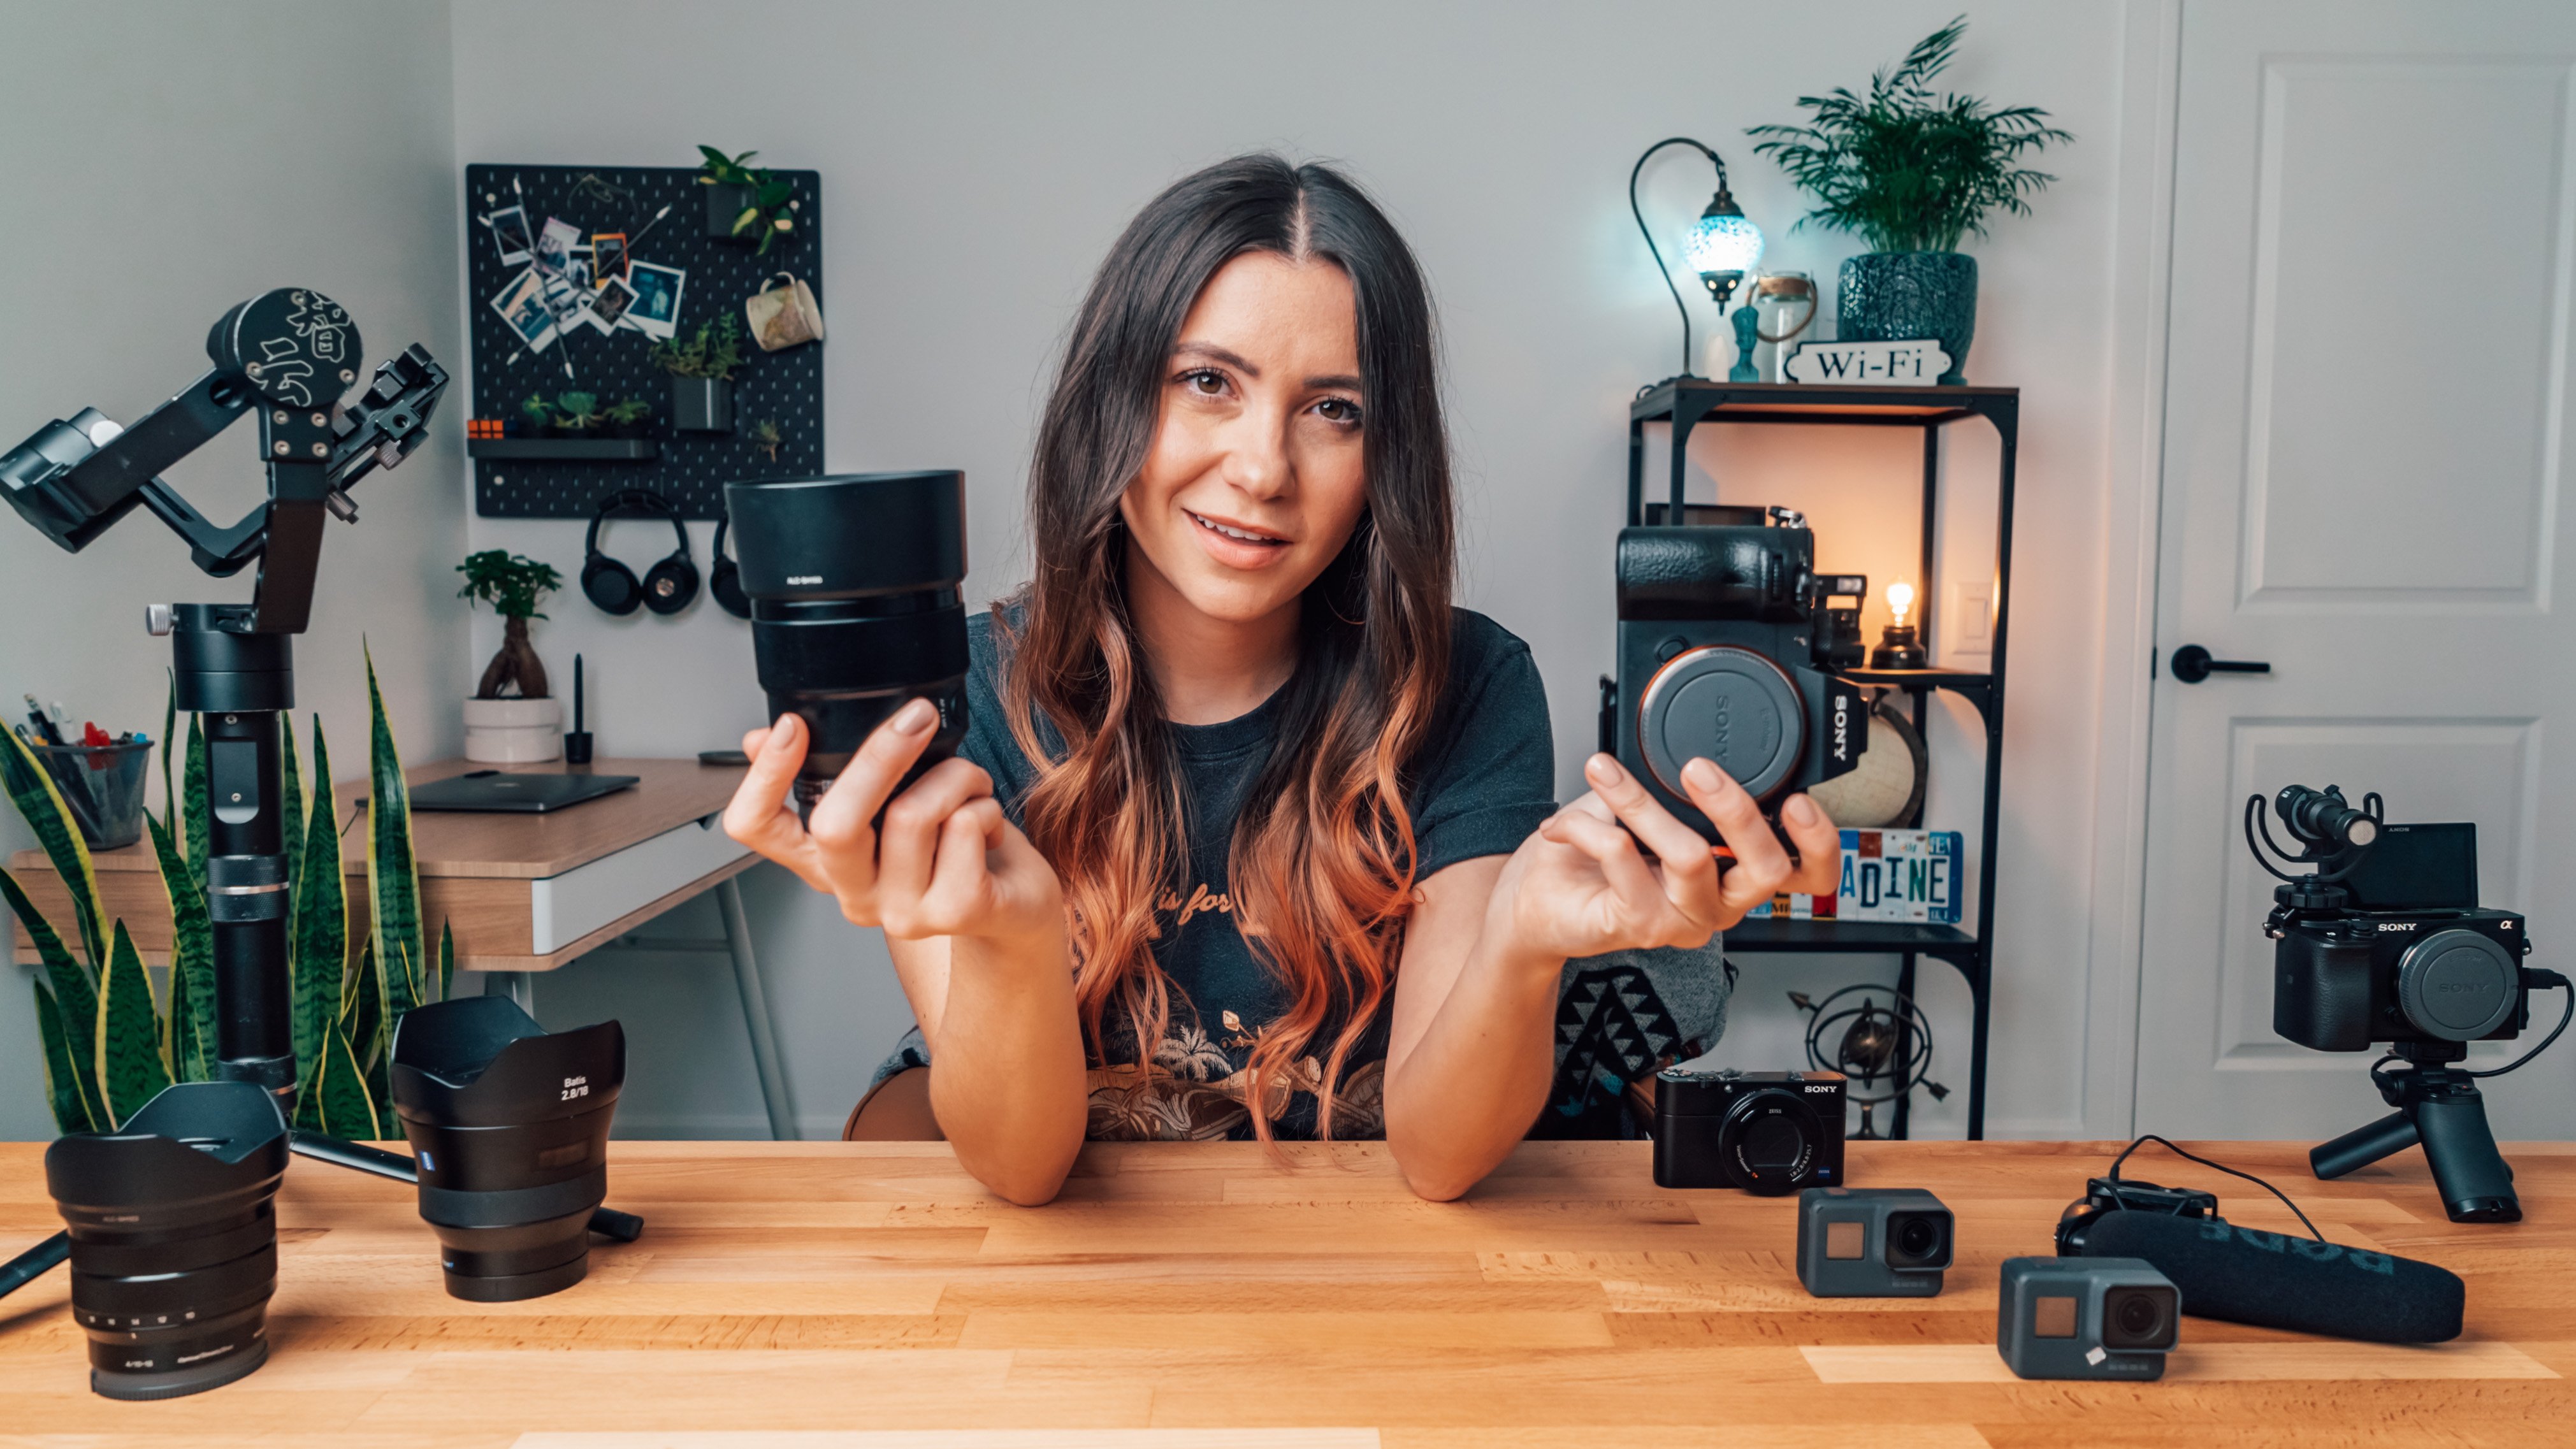
3. Intro To Your Camera: If you're new to operating a camera and you've never ventured outside of the auto mode, it can be a bit overwhelming. There are a lot of different buttons and features that your camera can do that can really up your filmmaking game. Each camera body is different, but there are some features on the cameras that don't change pretty much no matter what you use. We're going to go through some of those features to help get you out of auto and into manual. When you are starting out, it is totally okay though to keep your camera on auto. I filmed many years of travel videos all in auto without touching any of these other dials because [inaudible] adding the footage, I was capturing the image, that was number one. I was being able to create the story and all of these modes and different dials can be a bit overwhelming and a lot to think of when you are just running, gunning, trying to get that. So I recommend just perfecting your video-making skills first and then we can move more into the manual skills, which is what we're going to get into, all the different modes and the buttons which really help you transition from auto to manual. Most digital cameras will have a dial on top, which is meant for selecting different modes. We'll only cover four of the main modes here as there are other modes that might change from camera to camera. The three main modes we're going to cover are program mode, aperture priority, and shutter priority. All of these modes are essentially a form of auto, where one of the settings is in manual. In program mode, it allows you to set the ISO, and then the camera will handle the rest. In aperture priority, you have control over the aperture where then the camera handles the ISO and the shutter speed. Controlling the aperture will control your depth of field. If you want to take landscape photos, you might want to set your camera to F16 to get a really deep depth of field or if you're taking a portrait, an F1.8 will give you a really nice blur to the background behind your subject. Shutter priority will give you control over this shutter speed. ISO and aperture are set by the camera. Setting a high shutter speed will allow you to shoot fast-moving subjects like a race car and getting sharp images without motion blur. Then, of course there's manual mode and this gives you full control over the ISO, aperture, and the shutter speed. This is for the more advanced users who want full control over every aspect of the image. Right now I'm in auto mode and as you can see, there's a light coming from the window and I am perfectly lit, but if I was to rotate as I would while vlogging, now the camera starts focusing on the background because that's what it thinks I want to focus on and my face, well, you can't see my face anymore. Now, I'm in manual mode. As you can see I'm properly exposed and focussed and if I rotate toward the window, I'm still properly exposed because the camera isn't trying to automatically adjust to my background and I can adjust the settings even more if I want to be a little bit brighter. So I can just rotate my dial, either down or I can rotate it up to adjust as I go. That is the benefit of filming in manual. A nice little hack for you to practice going from auto to manual is to take a photo with your camera in auto and then look at the settings that the camera is automatically adjusting to with your aperture, your eyes, and your shutter speed. Then go into the manual mode and adjust those settings manually and just do little tweaks here and there, see how they affect your image. Holding your camera, you want to know how to hold your camera properly to avoid shakiness so you can get that nice, still image. Here's how you do that without using a tripod. Let's start with the bigger camera. If you have a bigger camera like this that has a heavier lens, you're going to want to use two hands; one to hold the body, one to hold the lens, and the closer you have the camera to your chest, the more steady your shot is going to be. If you're holding your camera out like this, after a while your arms start to get fatigued and they start moving the camera, you're going to get that shaky image which you don't want. If you are vlogging, you can hold again, the camera body underneath and the lens as well, underneath and there you go. You can extend your arms. It does get a little bit tiring that way, but if you have it too close then you're just going to get a shot of up your nose and you don't want that. If you're using a point-and-shoot camera, it's going to be a lot lighter, a lot smaller, a lot easier to hold. You just need the one hand. This one here has a flip screen, which is great. If you're vlogging, you can actually see the shot and you're just cupping the camera in your hand like this and what I like to do, especially if I'm doing adventurous activities, is have the strap on, put the strap around my wrist just in case you do drop the camera. Another thing I like to do with the point and shoot cameras is use either a gorilla pod or you can get a grip like this. This one's from Sony and it has a record mode at the front as well as the picture mode so you can actually record video and take photos without having to look at the back of your camera. When you're holding it out, you have a nice firm grip. It also can add an extension when you're using the gorilla pod so you don't have to extend your arm as far, you can keep it a little closer, gives you more support and you can actually hold the camera up a lot longer without getting tired. When it comes to the position of your camera, you do not want it too high because then your audience is looking down at you. You don't want it too low because then they can see up your nose and that's not that flattering. You want it at eye level. That's the perfect place to be because you're at eye level with your audience, people that are watching you behind the camera. Unless you are going for some look that requires you to go up and down, just keep it at eye level. Walking with your camera: you're going to want to keep your camera closer to your body to give you more support so you can hold the camera longer. If your hands are and your arms or out too long, you're going to get fatigued really quickly. Also, it allows you to keep the camera steadier because it's following along with your body. Think of it as if you had a cup of water and it's filled to the brim and you're trying to walk across the room to hand it to somebody. You don't want to be walking around like this, you don't want to be holding it out like this, you want to keep it close to your body and glide. Same thing as with your camera. To get that very smooth gliding motion, think of it as carrying that very full glass of water. These days, a lot of these cameras have really good stabilization so it's going to help you as well to get that really smooth shot. I'm going to want to do what's called the ninja walk. You're going to get those squats in. You're squatting down a little bit, bending your knees, and just gliding across the room slowly and steady, keeping the camera at the same level versus just walking normal. You're getting that shaky shot which you don't want. Also, if you're getting a pan this way, you just squat down and keep the camera at the same level, By using your legs, is really going to help you. You'll feel that burn definitely, but it's going to give you that really nice shot, nice steady shot. You can also get that push-in look without actually gliding forward. You could just bend your knees, keeping the camera as close to your body to start as possible, and just pushing forward with your body and then eventually your arms till you get to the point where they're almost straight but not quite, because as soon as you get straight, your arms start to shake a little bit. Just keep your elbows bent a little bit and it'll give you a nice pull or push-in look.
4. How To Vlog: Vlogging has become its own style of film making over the last few years. In short form, it's called video logging, which is where you speak directly to the camera in the same as you would be chatting to a friend, natural, raw and unscripted. Although these lines get blurred more often than not, think of vlogging as a more natural approach to presenting where you are exploiting and showing things as they're happening in the moment, whereas hosting tends to be more scripted. Well, vlogging is more personal, it's more raw, by holding the camera yourself, you're able to connect more one-on-one and directly with your audience. Also, a lot of people tend to find that vlogging is easier. It's an easier way to be in front of the camera and be more natural in front of a camera. You're also able to do it by yourself as vlogging requires nobody else but you holding a camera. So it's obviously a great choice for the solo traveler and capturing experiences spontaneously. It's quick and they're easy to capture moments on the go as they happen. No set up required, no tripod, no camera person, just you. Wide angles are your friend, nobody likes a direct close up of your face, so try and find the widest angle possible for your camera or lens, this will give you a bit more frame to work with. Flip-up screens help you see the framing so you can make sure you are consistently in frame and in focus. But don't look at the viewfinder and try not to stare at yourself the whole time. It simply looks the best and is the most flattering for everyone. Before you hold your camera out, figure out where the lighting is, then check to see, is your face lit? Is it too bright? Will there be a camera shadow on your face? The point of vlogging is to be real and honest with your audience, don't fake reactions or glorify things that don't need to be. The audience can see right through you and that can ruin trust. Although you are filming your face, you shouldn't forget that what you film behind you is just as important. You are traveling to spectacular locations so make sure you're always showcasing your surroundings as well. Guys, right now we are in the beautiful little town of Sille, just outside of Konya here in Turkey. It is quite different from Istanbul, way more rural, and this city is actually over 5,000 years old, very, very old. We just finished the most amazing Turkish breakfast full of all of these different cheese patties and maleids and spreads, and now we're just going to go visit one of the churches here. Now, vlogging sounds pretty easy that is, until you find yourself in public, then it can get pretty awkward. If you are going to be travel vlogging, you will have to vlog around other people. So, here's how to get over that. Well, everybody is going to be awkward and embarrassed when they first start out, it's natural. It's awkward to film yourself, and then when you start filming other people in your vlogs, that's another level of awkward. Best advice is to acknowledge that awkwardness and then just keep on vlogging. The more you practice, I promise you, the more easier and more natural it will become. The more awkward and shy you act, the more people will question what you're doing. Just talk to the camera and forget about the fact that there is other people around, and just talk with confidence, just through the camera. Still feeling uneasy, wearing sunglasses helps and start by filming with your phone, it's easier, less conspicuous, and less awkward. It's inevitable, people will watch you while you film. Luckily, if you are at any tourist spot, you'll just look like an overly enthusiastic tourist with the camera, trust me, it's much more common than you think. Plus, vlogging is becoming way more common and soon you won't even get sneaking glances. Also, most people just think you're taking a selfie anyways. Guys, here's some advice for you, if you want to become a successful travel vlogger and how to get over the awkwardness of vlogging in public because right now I'm surrounded by a lot of people here. The key is, no one cares. Nobody cares. You think it's embarrassing, you think people are judging you, they don't care. They really don't care, so don't care. Just do it. There you go.
5. How To Host: Hosting is the art of presenting or introducing an idea, story, fact, or event to the camera, which is typically pre-planned and are scripted. The art of hosting takes practice. The first time you put yourself in front of the camera, you may feel a little shy or a little awkward, this is completely normal, so don't beat yourself up about it. The more you practice, the better you'll get and the more comfortable you will become. Here's some tips on helping you improve your hosting skills. Rushing through scripts will cause words to mush together. Take a deep breath and enunciate and pronounce words clear and concise. Stand tall, relax, and avoid too much movement. When you're standing still, keep your feet shoulder-width apart, and have a relaxed upper body. Avoid traveling or swaying back and forth. You can include hand movements and gestures when you speak to add a little life and make it a little bit more exciting, just don't go overboard as it will be a little distracting. Look into the camera. Try to avoid looking up or down or to the right, to the left, basically off-screen, unless you are referencing that specific spot or a person. Look into the lens of the camera and connect with your audience. Bring energy. Hosting requires far more energy than you think you may need. Remember, the Internet is a fast-paced medium, and if you're not engaging your audience, they will get bored and click away. The easiest way to keep engagement is energy. Personality is what's going to separate your hosting skills and your videos apart from everyone else. Now, you already have a personality, you just might not know what it is. It's just a matter of finding out what makes you special, and showcasing that in your hosting skills. Do you have a quirky eye-blink, a silly laugh, a dramatic eye movement? In the Internet world, these aren't necessarily bad things, and they could all be put together into your onscreen personality, which is totally allowed to be a slightly different than your off-screen personality. Most on-camera personalities are slightly exaggerated versions of themselves. Just be confident and outgoing, these qualities make the best host. If what you're reading doesn't sound natural, modify it to make it sound more like you and what you would naturally say. Add your own words if you can. You're trying to tell a story and engage your audience, so you don't want to make it seem like you're reading, add highs and lows, pauses. This helps keep your audience's attention and keeps them engaged. Make sure you allow for pauses and a bit of time at the beginning and end of each recorded hosting bit. This makes it much easier to edit and ensures none of your speech gets cut off. This can be hard, especially as scripts can change often and at the last minute. There are many techniques that can help you memorize scripts and facts. In one of your exercises, you'll get to practice these techniques. What is your demographic? Who are you speaking to? How old are they? What are they interested in? Facts, history, comedy. Try and target your scripts in bits of information in your hosted segments to their interests. You can always change your tone and mannerisms to match your demographic. For example, I've hosted for both YTV, which is a children's program, so I had to be more animated and a little bit more energy, and I've hosted for Angry Planet, which is geared towards an older demographic, so I had to tone it down a little bit and use less exaggerated facial features. Smile, unless you are reporting the news or doing a story on a slightly sad or somber topic. Smile, the camera loves it and your viewers will see you as a more open, friendly, and charismatic person. Hello Adventurers, my name is Kristen Sarah of Hopscotch the Globe, and I am here on behalf of Flight Center Canada to share some helpful travel tips and advice. Today we're talking about packing, but not just any type of packing, packing everything you need in just a carry-on. Why would you want to pack everything in just a carry-on you ask? One, it saves you time at the airport. Two, you don't have to pay checked baggage fees. Three, you never have to worry about lost luggage. After a lot of trial and error, I put together a packing list that works for me and will hopefully work for you too. Whether I'm traveling for a week or an entire month, I bring the same amount of clothing with me, and I just do laundry once a week.
6. Conducting Interviews: Interviews are a way to add an additional point of view or opinion to your story. Let's go over a few key aspects of conducting a proper interview. In the other world of travel, video making, and getting to know your subject for the interview isn't always possible though. However, if you do get a chance to do some background research before the interview, it will allow for better codes, questions, and conversation. Warming up the interviewee with a few simple questions even when the camera is not rolling allows them to get more comfortable talking to you. You can try simple test questions and see how they respond. Five minutes is a good length to get a person relax before you start asking the real questions. Another tip for conducting a great interview with a nervous subject is to tell them that you're just going to chat a bit before the camera is rolling when in fact you actually hit the button without them knowing that you are recording them. Many people get nervous as soon as they know the camera is rolling. If you tell them that you aren't recording, they'll be much more natural and relaxed. In our past experience when we reveal too much to the subject that we've been recording the entire time, they are relieved that the interview was over, rather than upset that they didn't know they were recording. Another way to help a nervous interviewee is to record in a quiet setting or conduct a dual interview with more than one person. This helps people feel more at ease and less pressured to answer every question. There are two ways of interviewing someone. One way is a sit-down interview that can take preparation to set up. Generally, the interviewer and the interviewee are sitting down facing each other. How they access to two cameras is very helpful when shooting an interview like this. You want to position your two cameras on opposites to get an angle of yourself and your interview subject. The cameras must match as far as height, and angle, and settings. Preferably try to use the same type of camera so footage matches. Having a setup like this allows you to control things like lighting and focus. Another style of interview is on location. This is usually spur of the moment interviews that you might not have much time to prepare for and usually consists of you and the object standing side-by-side in frame. These interviews can be shot single camera using a tripod or handheld, or you can do a PoV interview with you behind the camera and your interviewee in frame. In this case, be sure you establish where subjects eyes will be. Either you'll have them looking slightly to the left or right of camera at you, or directly into the camera's lens. Typically in studio lighting requires a three-point lighting setup where you'll have your key light, your field light, and your back light. However, when you're traveling, daylight, sunlight, or creative use of indoor lighting will be your only options. The main goal is that you want the basis of your main subjects to be evenly lit. You don't want your subjects back-lit as that creates silhouettes, you don't want harsh lighting from above as that creates deep shadows on the face, and you don't want a harsh light directly in front of the subject's face as that will cause overexposure and squinting. A full body shot where you see the subject's entire body from the feet to the top of their head. This is a great shot if you're showcasing a lot of movement. A medium shot is when you shoot a subject from the chest to the top of their head. This shot is good for general face expression and hand gestures. A close up is a shot where you show only the subject's face. Ideal for catching dramatic emotions and facial expressions. Don't leave too much space above the heads of your subject. At the same time, you don't want to cut up your subject's head. The safest amount of headroom is leaving about 3-5 inches above your tallest subject's head. Technically, for anybody that appears recognizable on camera, you need to get written or recorded permission to film them. If you're producing a video for a brand, company, or a network, they may require written approval called a photo release form. This is a simple form that grants you, the filmmaker, permission to use footage of the subject. If you're filming someone for your own personally use, the easiest way to do them is to ask them verbally on camera for their permission. That way you're not traveling with a bunch of documents that could easily get lost or damaged.
7. Behind the Scenes: Shooting a Vlog: We are going to do the intro to The Behind the scene. Intro to. We both use similar cameras for vlogging. These are really great. You can put them in your pockets. It's easier to shoot with these, especially when traveling and things happen just randomly and spontaneously. We're going to use it for our intro. Yes. We're going to do two intros. Possibly, we want to get something showcasing a location. If you look behind us, there's a Kensington sign there, that's cool. There's also the Kensington market sign there. When we first stop at a place, I like to look for a sign, because it's a really easy indicator of where we are. Establish your location. Yeah, establish your location. We could probably get a shot of that later, a close-up of the Kensington Market sign [inaudible]. Then, we can either transition into our intro or we can do it in front of something. Twenty four? Yeah, let's do 24. Okay. X-A-B-C-S-H-D which is the best highest you can get without doing 4K. But I don't ever film with 4K, it's really hard for me to edit. It definitely is. Do you use 4K? Yeah, we do. Especially when incorporating drone footage, but most of the time we'll just do a combination of 4K and 1080. It's important to always make sure your lens is clean. I see a little spot on here, so I'm just going to give you a little rub down. All right guys. We are going to be doing a behind-the-scenes of how we would film a travel video. This is in Kensington Market, and we're going to talk about it, go through it, like we were doing a small little piece here in Toronto. Which we're doing, we're just going to explain our shots, our thought pattern, how we think when we are creating a video. We're just going to verbalize it for you so you can get an understanding. Yeah, the setup and the thought process. Let's get this video started. [inaudible] is getting some shots of just different random Kensington signs. Right now we're just scouting the area, finding out where is a good place to do our intro, because that's the first shot that you're going to see so it has to be good. Yeah. I think we got it. Yeah. I think we are going to do with this is the background, give us a nice depth of field. We'll set up a tripod very quickly. Yeah, because cars are coming. Yeah. We'll do it on the street. I'll put this on there. What do we want, a medium? Let's say medium shot. Okay. Medium shot is about midways, a little bit of headroom. You don't want too much headroom. I'll start, I'll Intro. I'll be like, hey guys, today we're exploring Kensington Market here in Toronto. [inaudible]. Hey guys and welcome to Kensington Market here in Toronto. This is one of the most multicultural places in the city. You can get food from all over the world, local shops, and it's one of my favorite places, so let's go explore. Let's go explore. We're going to do a second take because it's nice to have choices when we're editing. Yeah, especially with the intro because it's important. In the city, you can get food from all over the world, a lot of cool shops, and it's one of my favorite places. So let's go explore. The sun's going down, so we want to. Try and match. Yeah. Where is the busiest part of? Probably just over here, at the intersection. Since we already have the tripod out, we want to do a time-lapse. It's really good for busy scenes. Anytime there's a lot of movement, I always like to include different types of time-lapse. This would be like people, cars time-lapse. We've picked out an intersection that we're hoping is going to be pretty busy. It looks pretty busy. It usually is. It's a good spot. We're going to set that up. There's two different ways that I take time-lapses. With this camera here, you need a remote to do a photo that takes a photo every second or every five seconds depending on the settings. We can't do that because we don't have that remote, so we're just going to actually take a video. But some cameras like GoPros, I have a GoPro in the bag, we could use that as well and just take a photo every five seconds. I think that's good. Maybe we can zoom in a little bit. Maybe zoom in a bit more of just like that brighter too because of the the sky. Yeah, the sky is giving us a little bit of odd lighting right now. That happened. I was going to say, I need at least five minutes. I find that if it's under five minutes, it doesn't look good if it's a bit too short. Yeah. We want to do something between five and 10 minutes. Usually you're not going to hold the time-lapse for any long than 10 minutes which will really going to speed it up. Christine made a little boo-boo. I did. It happens more than you think. We're using the camera audio instead of the road mic that goes on top of the camera and better quality because I put the input in their. Cool. Now we're going to fix that. This is the audio now and this is how it should be for the rest of the video. It happens though. Sometimes you make mistakes, it could be you have the wrong settings on. That's why you have to be really quick and on the move, but you also got to make sure things are set up. Yeah. But it does happen and don't worry about it. B-roll is also really good because sometimes audio isn't the greatest, maybe it's too windy or whatever. I like having that option to do a voice-over instead if it comes down to it. B-rolls are the thing that just get it, just have it, because it could fill in so many holes if you're missing something for content. I always like to think of, where's my B-roll going to be and then where's my content going to be? Yeah. We're going to go around and film some B-roll next and what are you looking for for your B-roll? Establishing shots. I want wide shots of the whole place, close ups of interesting things around the area. I like showcasing people in a place. Time is ticking. Time for this to be finished. All right, time-lapse complete. Excellent. We can put the tripod away. We will put the tripod away now. Do you just keep it like that? I guess so. Yeah. We can also use a light to our advantage too, because the sun is setting and it makes for some really beautiful shots. We might be able to use that to our advantage before it goes down too low and it's too dark. Yeah. We want to make sure we get all the outdoor shots now. It's actually the magic hour right now. That's what it's called. I like to use the small [inaudible] , small like closer [inaudible] longer wider shots. Yeah. Me too. What is up with the door though? There's the Canadian flag here. I think flags are awesome to shoot especially as travelers. Right now we're shooting in 24, I'm going to go to 60. That way we can slow it down because we have double the amount of frames basically. I'm going to do 120. It's moving a little bit. Make it more cinematic. I like walking shots. You're going to bump into a pole. You're going to definitely bump into a pole. You're going to bump right into a pole. Do you want one on walking on the street? Yeah, let's do that. You want me to get you or you want to get me? Okay, yeah. Here, I'm going to weave in between these poles like that. Okay. That'd be fun. I'm just trying to create something dynamic. I like movement. Especially if you're exploring a place, you want to see instead of just going boom, boom, boom place, you want to walk. Let's shoot that you're walking there. Are you going to walk right off-camera? Do you want it 120? Do you want it slow motion? Yeah. It is in 120, isn't it? Yeah. Yeah, that's what you had it on? Yeah. Let me just do manual focus. Right now, it's in auto-focus. I'm going to switch to manual focus so I can pole focus. Basically, what that means is I'm going to be focused on this pole here, and as I'm panning out, I'm going to change the focus to [inaudible] that she's walking by. When traveling, you can't always plan everything that you're going to go out and film because magic happens. We've got a street performer over here, it sounds beautiful, and I want to incorporate it into the video. When it comes to adding music tracks to your videos, I like real music on the street, natural sounds and this is perfect [inaudible] underneath. I got a variety of shots. I got wide shots, close-ups, I have him, I don't know, is it called strumming the guitar, and also recorded for a little longer to get a longer track of the audio so we can use it. The things you can do in editing. The things you can do in editing. Thank you. Do everything in one shot if you can. Yeah. Good advice. Bye. When you film, it attracts people. You make friends easier. I like this alleyway. I'm going to take you, and you got to walk in zigzag. Yeah. All right. One more time. I'll swivel this up. Are you going to pan up? No, I'm going to hold it for a steady shot. Okay. This is like a little bulk store. There's a couple of these in the area and probably get three different, maybe some of these fava beans. I like to sometimes use my body just to create some movement instead of having every shot steady. Even if it's a little shaky, I like that. It makes it more raw. Just some interesting things that really define this place, create some movement instead of having every shot study. This camera here is really great for close up and very detailed shots, so I'm just going to get a couple of those, maybe switch it up here. I got a few shots of the beans ready. We get some of that. I think that's fine for here. We're going to move on. I already made some talking bits because that's important till you tell the story. We'll just see where is the nice spot, always just look what's behind us. [inaudible] I don't even know. It's all good here, I'm telling you. Now, I'm confused. What country do we want to visit? Where do we want to eat today? There's some really good empanadas around here. I don't know how you feel about that. [inaudible] empanadas? I'm sure we can arrange that. We're going to eat empanadas. Let's go see it right there. You do the same thing, combining vlog style with more cinematics, nice shots. It's more personal. Yeah. Vlog is more personal. We like to incorporate a bit above. Yeah. [inaudible] but yeah. All right. How are you feeling about food? Are you hungry? You want to try something? There is a lot of different food that I've noticed here so far. A lot of variety too. But let's see exactly the price, maybe some foreign country foods that I haven't tried. How are feeling about Jewish cuisine? Always. Always. Let's go. Let's go. Right there. There we go. All right. Let's go. lead the way Kristen. I like to record my feet walking. It makes for, again, movement, movement to destination some shots [inaudible] Yes. We're losing light. We got to be finished on the B-roll and then we'll go to the parking. We will set it up and then we'll go to the indoor stuff. Okay. Cool. Loud noises. Always got away from loud noises. Maybe some of specific things or signs that look cool that distinguish the area, given that uniqueness. The reason for that is we can be creative with those shots in editing because they're dynamic and different so you can mix them together, which you will see. Do we know any more of history? One shot that I really like to take is in manual focus. I like to go close up, focus on something and then pull it away and it quickly just goes out of focus. You'll see. I like to take little reaction shots of the vlog. Oh my gosh. This looks very interesting. When I saw the sign, I was like, go get your pick like a Missy Elliott song. No, just me. I just bought fruit chops [inaudible] eating. That could be cool to get maybe like [inaudible] just like a nice B-roll, but I think it's really nice to do lit. [inaudible] servers always save me. Sometimes you just don't get enough talking bits and it really helps to tell the story. Sometimes when you're in a location, you're running out of time like right now. We don't have enough time. We're running out of light. Yeah. We want to focus on the shots first because you can't go and refilm most of the time so we want make sure we get these W shots and that is the beauty of voiceover. Definitely, we'd do some voiceover and maybe some of the bits, just a little bit of overview of what this place is. Why don't we go film the park a little bit because this is a really cool hangout area in the city and then grab something to eat and wrap it up, I guess? Yeah. Let's do a little vloggy vlog here. Let's set up the Gorilla. Let's set up the Gorilla and do a [inaudible]. We are different people, different cultures, different looks. People are into just different things, but it brings everyone together, and it's usually really busy in the summertime. People are eating and just hanging out. We're going to go play in the park. Yes, we are because although it's busy in the summertime right now, we're the only cool kids in the town. It's what you do as an adult, you play in the park just like a kid. Let's go play in the playground. I always like to keep an eye out for really cool or quirky things that I can find when I'm filming, like a playground, just to add that fun, comedic element to it, so it breaks it up. If I'm going to be doing like a lot of information or a lot of B-roll, I just like to have little fun bits, it just keeps the pace and keeps, I don't know, people engaged, and I enjoy it, so a little comedy. Let's go play. This is why GorillaPods are awesome. You can just set them up on places, so if you don't want to carry a big tripod out with you, which we don't always carry. I don't always carry a tripod at all with me. No. But I always have a GorillaPod because you can makeshift tripods, especially if you're filming by yourself. It's cool. You can wrap around anything, and it's perfectly stable. Yeah. I love swings. Oh, you should take your backpack off. That's okay. I was like, "Oh, my God. Oh, God." I was like, "Oh, my God. Oh, God.". More. I was going to do it from the top. Maybe not. I don't know. What do you think? What if it was here, and it showed us racing up or something on each side. Oh, yeah, that would be cool. Okay. I'll go here. Go. Go. I was like, "That was a lot harder than I remember." That would be in post. It'd almost be like as you're upside down, it'd look like you're not, and then I do this, and then you are. Does that make sense? That wouldn't be in post, that would be right now. No, you film it upside down. Oh, yeah, yeah, yeah. I am upside down, so I'm right way up. In post, it would look like that. It's so good. Damn, that lighting. Is it, really? Yeah, it's amazing. This is how you get full-volume hair. Oh, gosh. Well, I've not held myself up by my legs in a long time. Well, that was fun. Always fun at the playground. Always fun at the playground. But now, I'm really hungry. Food time. Let's do this. The GoPro's great for this section, which is good. Sometimes, it depends on the surface. It seems like it will work here. Just framing up Nadine. I remember this being a lot higher but it is fun. Oh, man. Oh, gosh, this is fun. Wait, is it recording still? It was recording, I just think it turned off right now. Oh, shit. This is slightly more terrifying than I remember it being. Don't let go. The screen turned off. Yeah, that's fine. It's still recording. It's still recording. The sign, it looks cheesy, but this menu looks pretty legit. What are we thinking? I'm thinking like, "Whoa, this looks like a good choice." Is this a good choice? Yeah. It's very vegan-friendly. Now that we're inside, we're going to switch to probably using a small camera a bit more because we want to not be as obtrusive because obviously you're filming and don't want it to like, "Whoa, big camera, what are you doing?" We were walking in the street and settled upon this place, it's called Cosmic Treats. Vegan treats and cakes. Vegan treats. Oh, my God. Wait, wait, wait. Wait, wait. Focus, focus, and action. Now, I really feel like a kid in a candy shop, literally. We went to a playground, and now we're in a vegan treat bar. There's a cheesecake that's vegan, and I was like, "What is that?" Now, I really like a kid in a candy shop, literally. We went to a playground, and now we're in a vegan treat bar. When it comes to showcasing food and being in restaurants, I love getting close-ups of good dishes, wide shots, eating shots, and also describing in detail how everything is tasting, and textures and everything. Your eyes do not deceive you, this glass is crooked. I'm like, "How am I supposed to drink from this?" That's trippy. You're a little bit weirdly-backlit. Cheat, cheat, cheat, cheat. That's much better. Better? Yeah. Christine, because she was sitting behind this lit-up cake twirling display, she was really backlit and was getting a weird lighting behind her, so I got her to cheat a bit more, which is a film term where we cheat her over, so now she's sitting really awkwardly at the table in person, but it looks a lot better on camera. Now, she's more in focus. You still see the cake tray, but it's not overpowering. Now, I get to eat that cake. Which cake is this one? Is this the chocolate peanut butter cheesecake, which is everything that I love to eat? In life. In life, all in one thing. Oh, my God. Holy crap. Are you going to cry? I might. Chicken in Caesar wrap, vegan. Vegan chicken Caesar wrap. It tastes just like a regular chicken Caesar wrap. Really creamy texture. It's just spot on, very peanut-buttery. I was filming Nadine talking about the cake and before she finished talking, I panned down because I thought she was done, and then she started again, so I went back up. In order to create continuity in the video, I can take some B-rolls that I shot, and just put it over that little glitch where I went down and then came back up, and you wouldn't even be able to tell. Well, that was a very delicious, wonderful brief trip into Kensington Market. I hope you enjoyed our little exploration and adventure today. It was fun. I felt like little kids playing in the park, and then going for dessert. It was like graffiti, art, dessert, playground done. What more can you want? I don't remember the last time I was on a teeter-totter so that was good. That's awesome. We almost forgot, but it's very important to do, a call to action, tell people to subscribe to your channel, to give your video a thumbs up, leave a comment. If you enjoyed this video, please give it a thumbs up, and let us know down below in the comments, and subscribe to our channels. We'll leave links to that in the description box below, so you can go and check those out. Bye. Bye, guys.
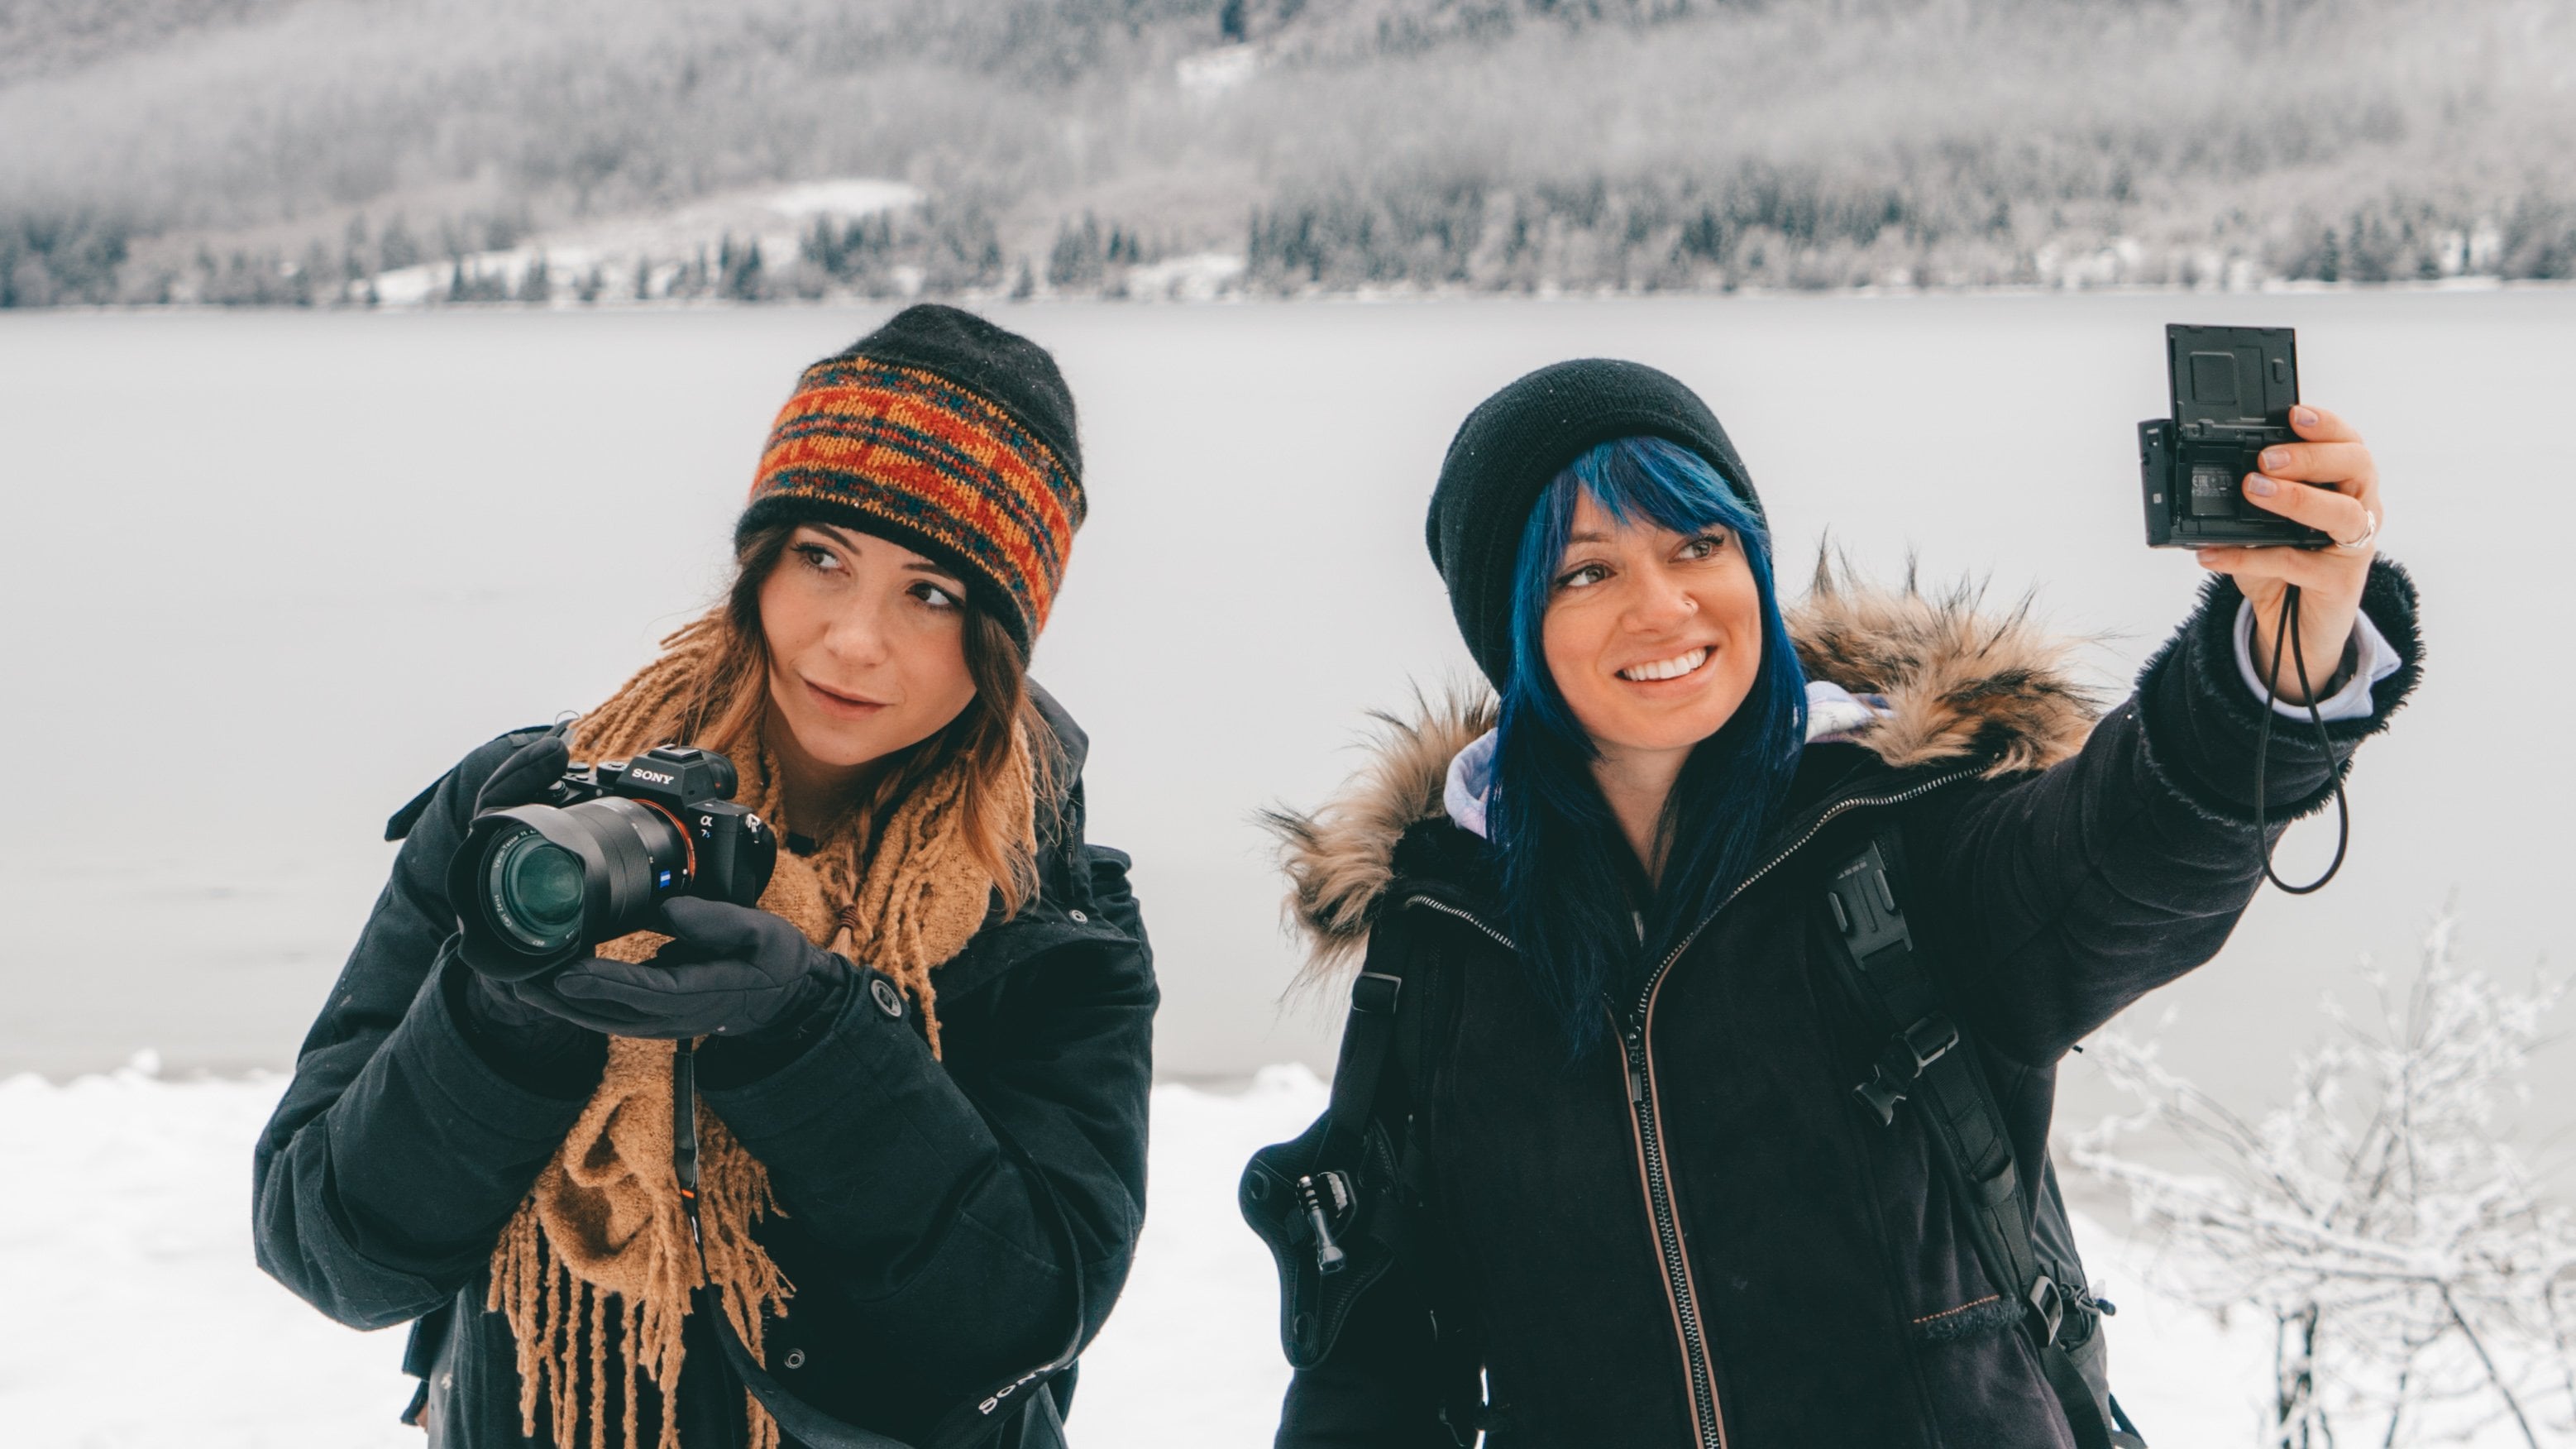
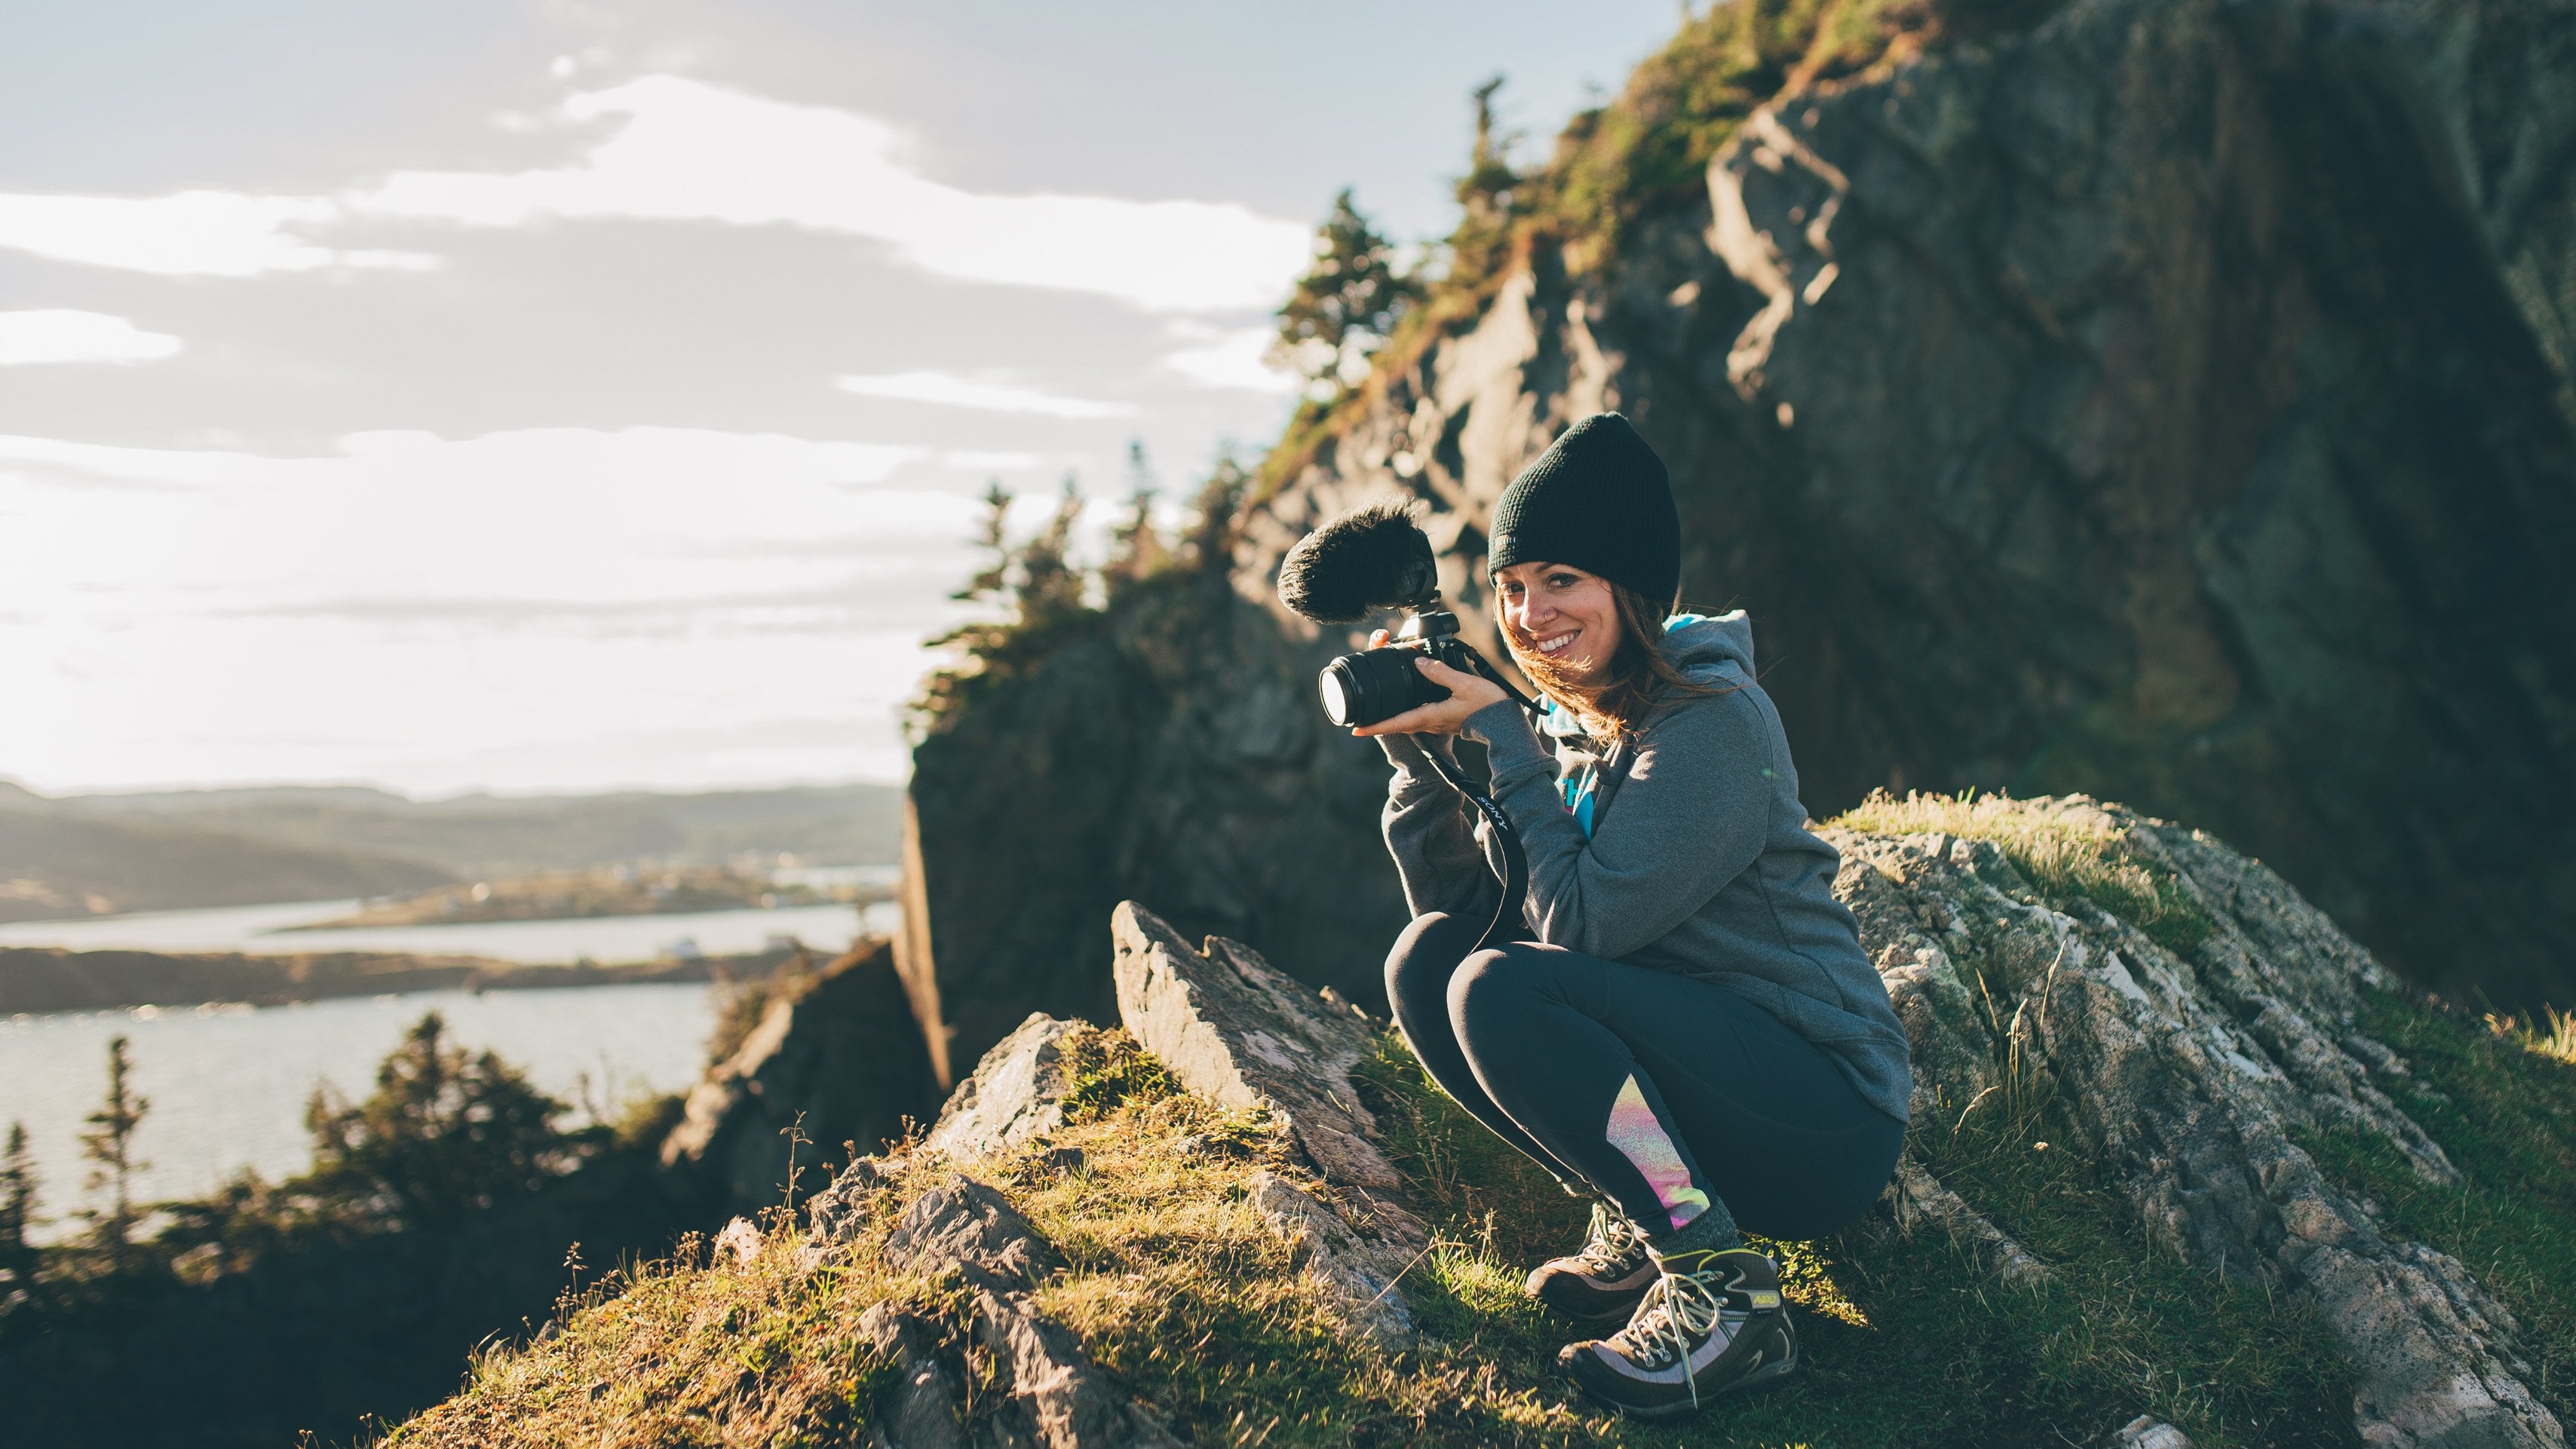
 Kristen & Nadine, YouTubers | Videographers