Transcripts
1. Introduction: Harmony is what we
are attracted to. Harmony is what makes
things pleasant. Harmony is what is
around us and nature. A seed grow in a soil that is
in harmony with its needs. A Music with harmony
is pleasant. If you want to make
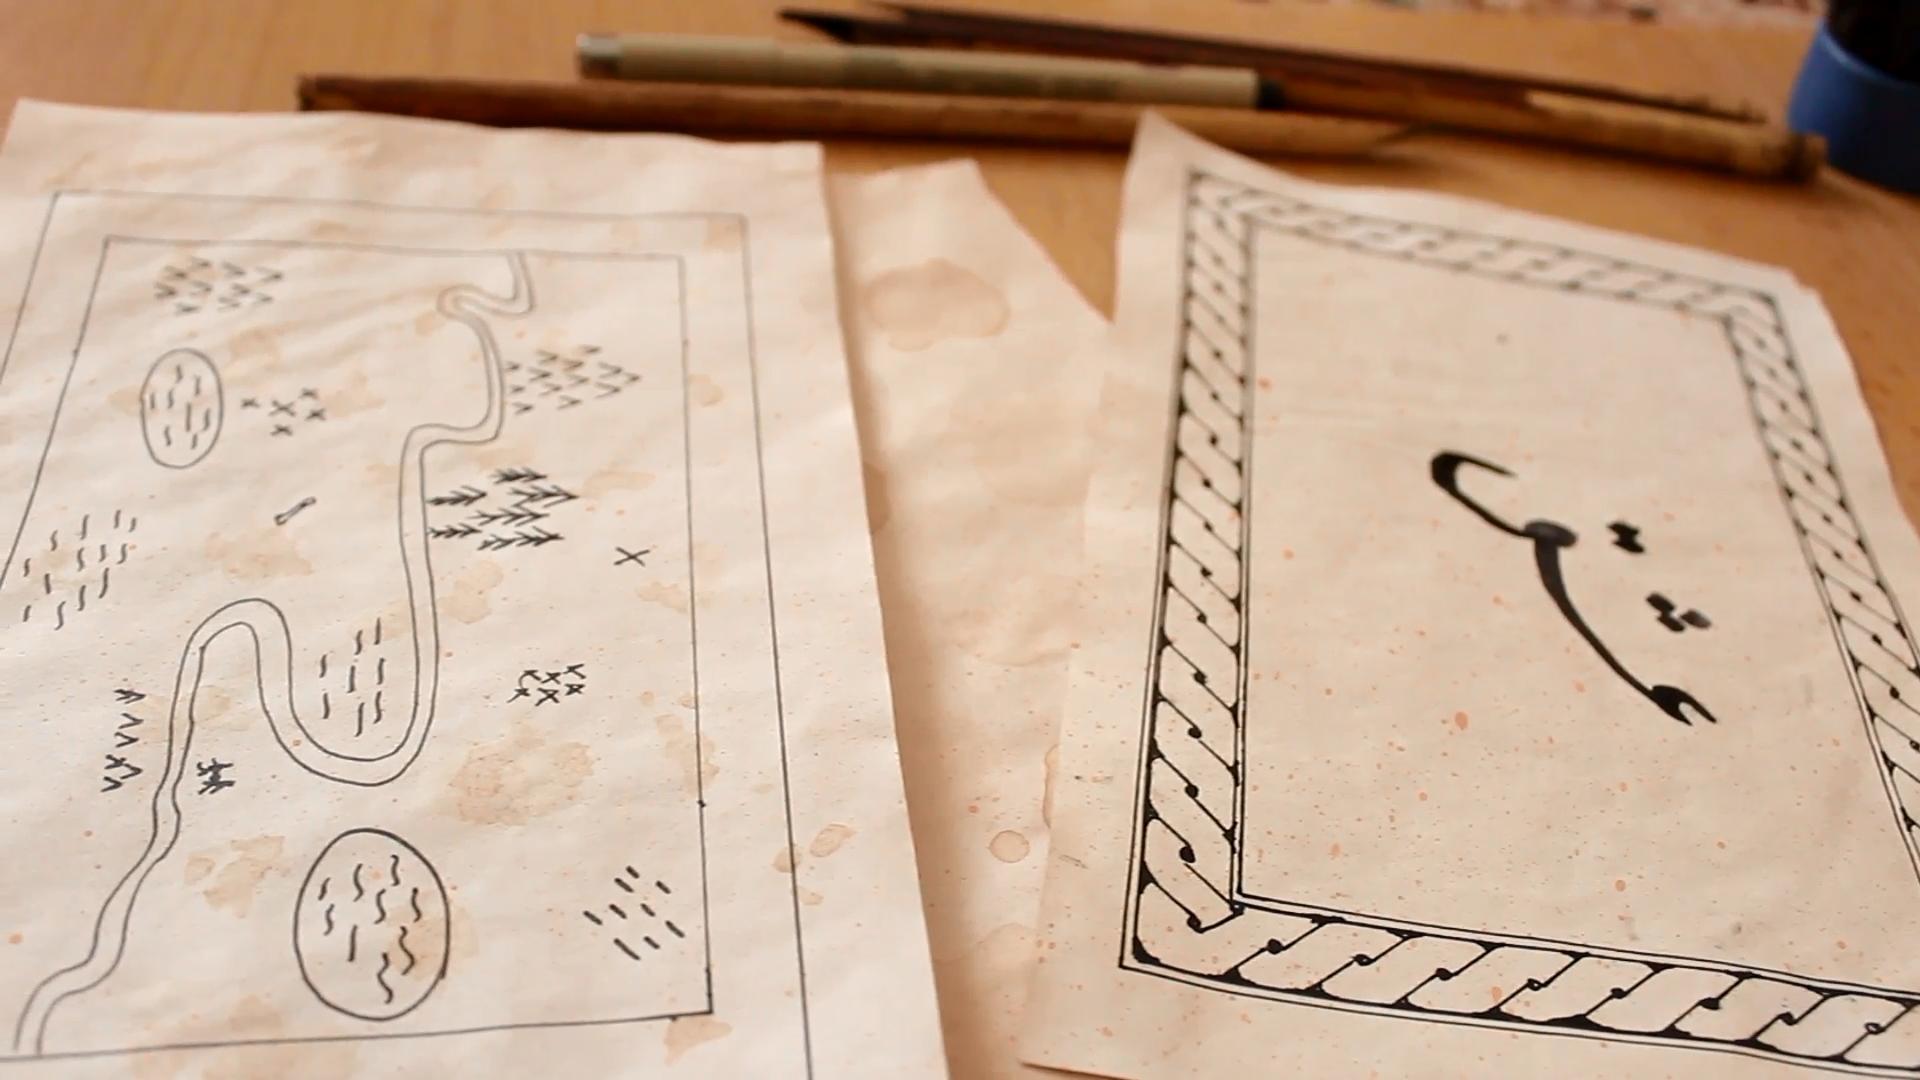
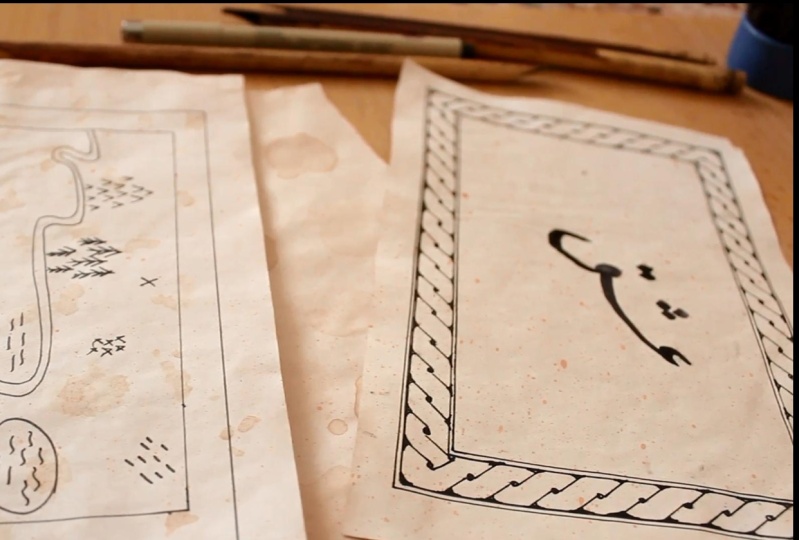
a collection of old looking style design or
illustration, for example, a calligraphy with an old style decorated with ancient
style patterns, or a map of a fantasy
historical novel. Then you need papers that are in harmony with the subject. You need old papers. In this class, I
teach you how to turn simple factory made papers
into looking papers. For this class, you
need browed tea. You can use simple tea
or you can use T bag. You need cotton ball. You need an old to sprah, some brownish color, You need
paper and you need a dish. I'm Hadis, and along with my other classes about
ancient style patterns. Here I am to teach
you how to turn papers into looking
papers for your design. Are you asking if
you can use coffee? Yes, you can, and I will
tell you other alternatives. Are you ready to make your collections of
your looking design? Yes. So let's make the papers you need
for your collection.
2. Sinking: Here I have simple white papers and we want to
color them three t. Yeah, I have t. You can use your morning
or evening or like me. You can use a tea bag here. I have used the tea
bag to make too fast. Let me take it out. Okay. Here we need a dish and
we pour tea and the dish. The size of the dish should be as large as we can
sync the paper, float and the t. Now
I bring my papers, pick one of them and saying Get
emptied completely lead to cover it completely. And important tip here
is that we let t Cool. We never use hot tea
or warranty because it makes the paper texture damaged. Now, I want to let this
float here for 5 min. Another important tip is
that we never risk thinking. I've worked an artboard. Dad has calligraphy on
it or a drawing on it. We first colored
paper and then give it to their calligrapher
or artists. Let it sink for 5 min. Another tip is that if you use a glossy paper that
is for calligraphy, you should give it more time. Now five-minutes and his past. And I take the paper gently out. We have this farmer
and his drink. I pretend that their paper here, and I want to let it
float here for 2 min. Turning minutes has passed. And we again take this paper gently out and hanging
from a string. Let them draw and I
show you the results. Let's say this is the
sample paper, white paper. This is the one that
was in T4 five-minute, and this is the one that
was there for 20 min. You can indirectly aren't
these papers if you want. But here it is a straight, no need for irony. And if you want darker papers, can route dark hair
t, using less water. In the next lesson, we go for adding a
stains to our papers.
3. Adding Stains: Endlessness and we want to
add this to the pay for. Yeah, we have two
ways to do that. I use the tea bag that we
used in the previous lesson. Or you can use the t that you
brew for morning or ethnic. Yeah, I caught a tea bag. Then I start using
the pieces of t. I'm putting them on the paper. The way you put them on
the pay per the design, how much of them you put is completely up in your opinion. When this dries out, then the stains we'll shade on their paper. Just boot time. I undo this patiently
on the paper. Okay, Great. Now let's go for another way of putting
stains on the paper. I use a cotton ball and I
wanted to sink that in. Let me soak that in t. Now I touched the paper
right there, cotton ball. When it dries. This stains. Be amazing. Yeah, I covaried, read more tea and I soak it in more tea. And I could more gods. So you can say that on camera. Yes. The shape that you put, the size of this thing
is completely open. Your deadline, the design
that you have in your mind. Now let it dry and
see their results. Here is the result. This paper was a stain my
routing direct pieces of t, and this is the one we
used cotton ball on that.
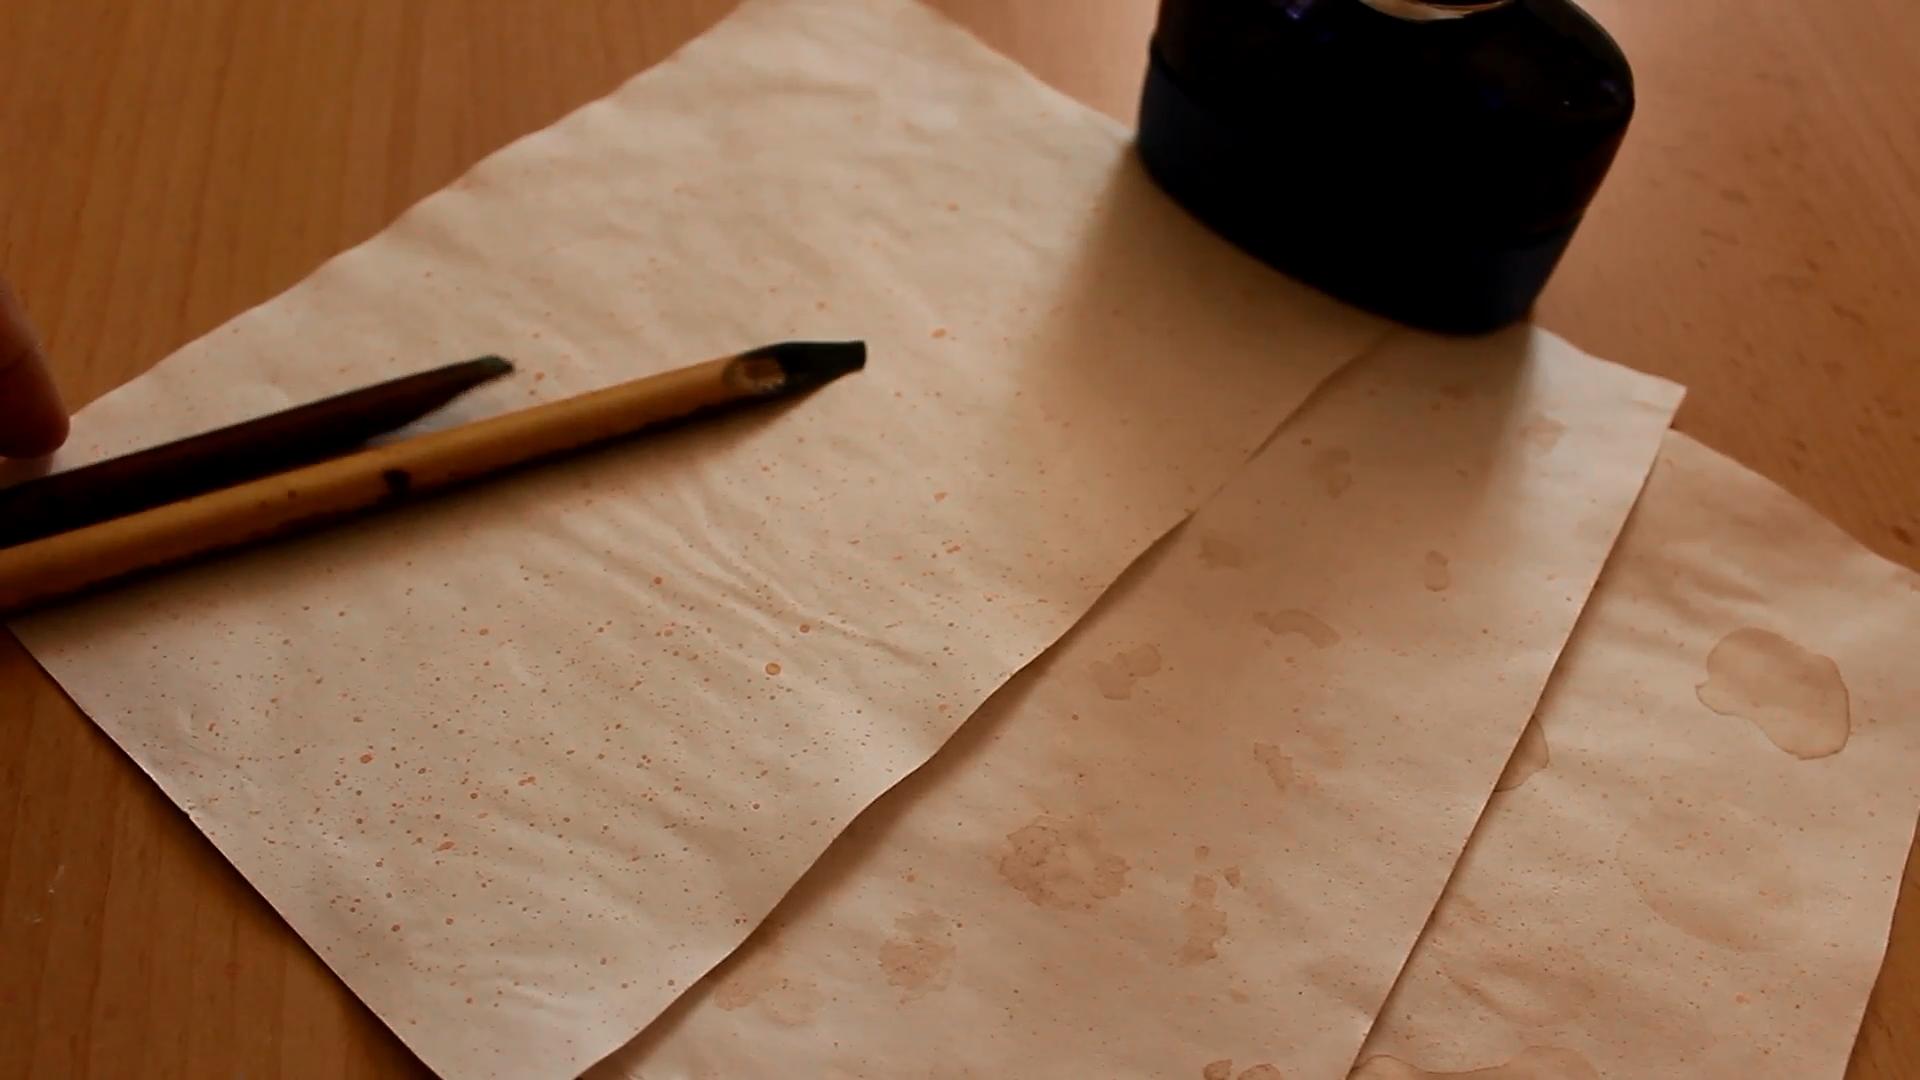
4. Splashing: Here we want to add a
stain on our papers. Here we have our papers, this one that has stained
using cotton ball. This one that we put
directly pieces of t on that here at paper, died with thinking technique. Now we want to use a
toothbrush, some ink. The handkerchief. The color should be in Brown family here
I use lighter one, but dark Ron will give
us a very nice result to the processes that we
take their toothbrush. We put that in the age. We take the axis out of it and start splashing on the paper. Let me show that. I put the tooth brush and ink. Here. I use gouache. I take the accessing from toothbrush using
your handkerchief. I started splashing little
tiny drops over the paper. They important tip is
that I keep holding an instance of atleast to any centimeter between
my hands and papers. You can use a
airbrush or those air rushes that they
used in nail salons. This all toothbrush will give us a more beautiful results. With tiny circular dots. We get to accessing out
because we don't want two large drops suddenly appear uncontrollably
onto paper. Let me show that
and another angle. To prevent this splash. Sit on your table or the things that you have on your
table or even your mouth. Please. First cover them
and then do this technique. Let me show that closer. You see as I splashed tiny small drops or
appear on the paper. Okay. We let it dry and voila, we have our papers
to work on that. And then next lesson, we will summarize what we
learned in this class.
5. Project: The project of this class is so much interesting that I am sure you will make that
just after you learn that. But don't forget to
take your photo of your project and post that
in the project gallery. I told you you need brewed tea, but you can use
other alternatives. You can use coffee. You can use oiling
skin over value. You can boil Skinner
pomegranate, or you can use whatever
comes to your mind, e.g. maybe you want to boil onion
skin and see what happens. Let's make the project gallery, a gallery of our experiments
about the steps. I teach you some
techniques and some steps. But the steps are just
for educational purposes. You can use one technique to
all of them or all of them. You can change the
order of applying them. You can apply them
on just one paper or you can apply them
on different papers. Anything that you like. And you want to experiment. If you want to experiment
just one technique. So you need less material. You don't need all
their materials and tools that I told you and
enter reduction radio. I am very much interested to see a photo of your project
in the project gallery. There is also another section
called review section. The review section,
review that class and share with me your
valuable suggestions. That is very valuable for me. Also answered this
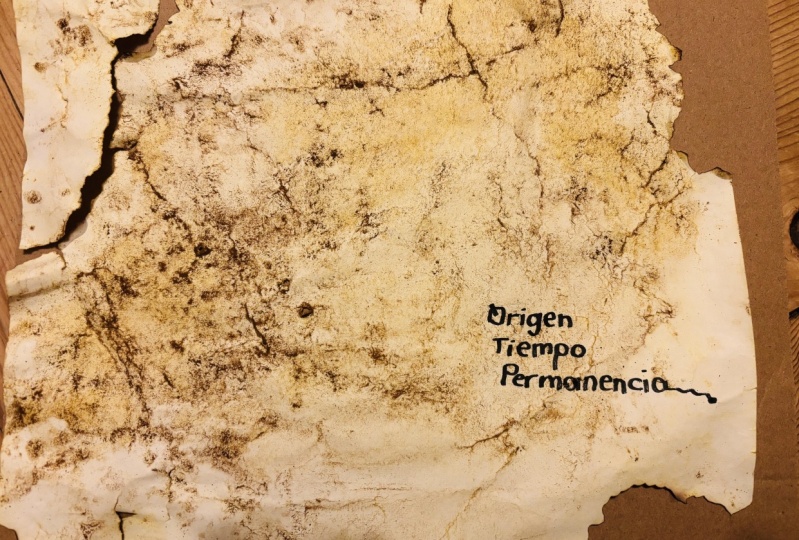
question, right? Three words that you would like to write an adult looking paper. I want to read those three words and their review section. So are you ready to make
your old tooting paper? Let's get started.
6. Sum-up: Congrats. Now you know how to make
an old looking paper. In this class, they learn some
techniques on how to turn a simple factory made paper
into an older king paper. Let's review important tips
for thinking technique. We never use hot
tea or warm tea, let it cool down
and then use that. Tip number two, may never
risk coloring an art book. We first prepare the
paper and then apply their calligraphy or
patterns or design on that. If you are a team
accepting commissions, first prepare their paper
and then give that to their calligrapher
of your team or the elimination
artists of your teeth. The second technique,
stain technique. We can use cotton ball or we put directly the pieces
of t on the paper. The third technique,
splashing technique. We can use airbrush or
simple OK tooth brush. Tip number one, we get the excess ink on the
toothbrush with a handkerchief. Tip. Number two, we make an
a space of athletes to 80 centimeter between the
tooth brush and paper. Okay, Now I am very interested to see your
experiments and your project, and the project gallery. I'm also very interested to read your suggestions and
the review section. Under review, answer
this question to write three words that
you would love to ride an unknown looking paper. I also love to read those words. Thank you very much for
being with me. See you soon. Bye.
 Hadis Malekie, Detective in C4C Flat