Transcripts
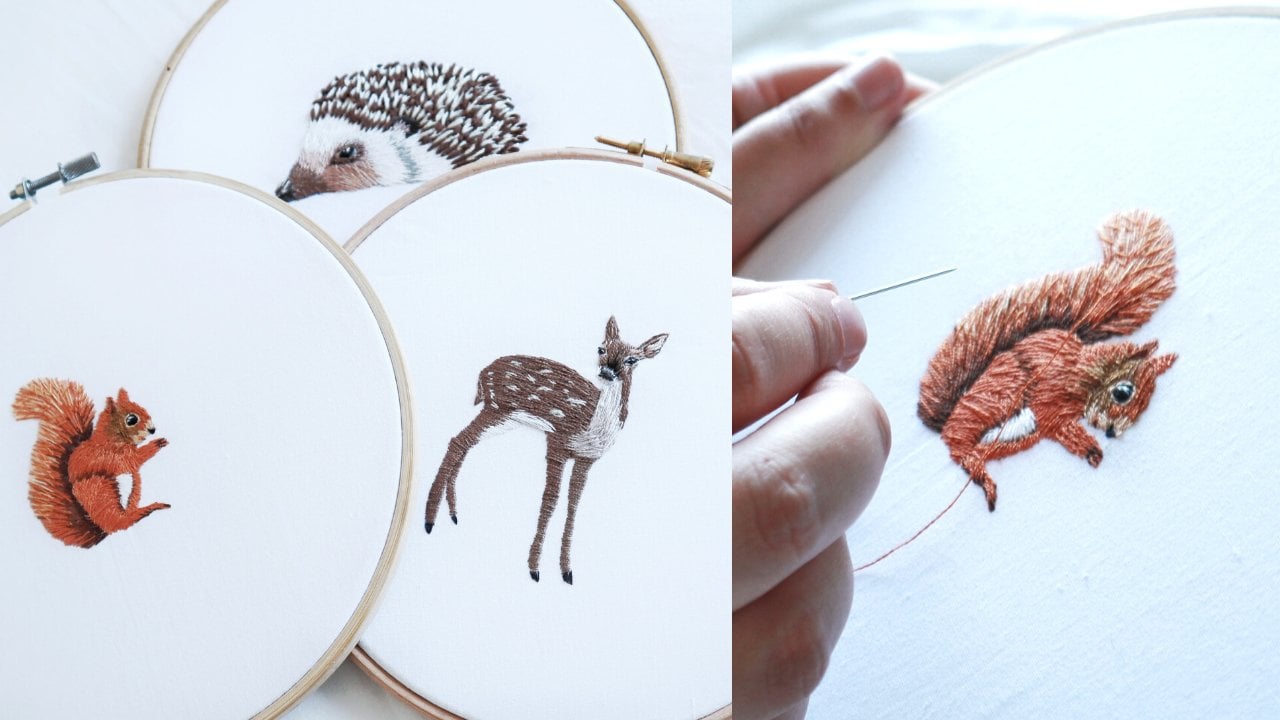
1. Introduction: I don't like to throw out my clothes because they got holes in them. I want to continue to use them
every day. Visible mending is a way to
mend clothing, and also decorate it
at the same time. Many cultures have visible
mending traditions. Currently here in the West, visible mending is
extremely popular due to the popularity
of Sashiko. But Western visible mending
is not Sashhiko. I'm not qualified
to teach about that because I am not Japanese. However, I am qualified to teach western
visible mending. Hi, my name is Jax Lily, and I like to learn new things. I started sewing waay back
when I was six years old. But I started
learning embroidery pretty recently
during the pandemic. I'm autistic. So when
I find clothing I like, I want to keep
it for a long time. I want to mend it. So I
recently learned mending. The last thing about me, I'm disabled,
and that affects my sewing. I will be sharing my tips for sewing with a disability. This class includes
four main things: First, the ladder stitch. Second, the running stitch. Third,
the short and long stitch. And the fourth thing, I will teach you
how to make and use a patch. I hope you all enjoy my class! If you're curious about Sashiko, I have some
recommended readings below in the class resources. Also if you want
to see more from me, Follow me here on Skillshare
and Instagram. Bye-bye.
2. Project: This project is to mend a t-shirt. I want you to do three things. Number one is to pick a
shirt with a hole in it
and mend that. Number 2 is to ask. Uhm.
One what-if question. Number 3 is to answer your question
using your mend. If you don't understand what
this means. That's fine. Throughout the class,
I will explain what it means to ask a what-if question
and to answer it. For the project,
you need four things: A needle, thread,
t-shirt fabric, and scissors. The project goals are. Uhm. You need to practice all
the stitches I teach you. Second, you need to identify which way is
best for your shirt. And the third goal is the most important:
to experiment with ideas. If you struggle to
come up with ideas, that's fine. I'll give you examples of three ways you might
mend a shirt You can just do that. The first way is to
use a ladder stitch
to close a hole. The second is to use a patch. And the third is to use the short and long stitch to trace. Remember, when you
finish your project, I want to see it
in the gallery. So remember to post in below. Lastly, if you have very strong
feelings about something, remember to post about it
below in the discussion area. I hope to see all of
your beautiful projects.
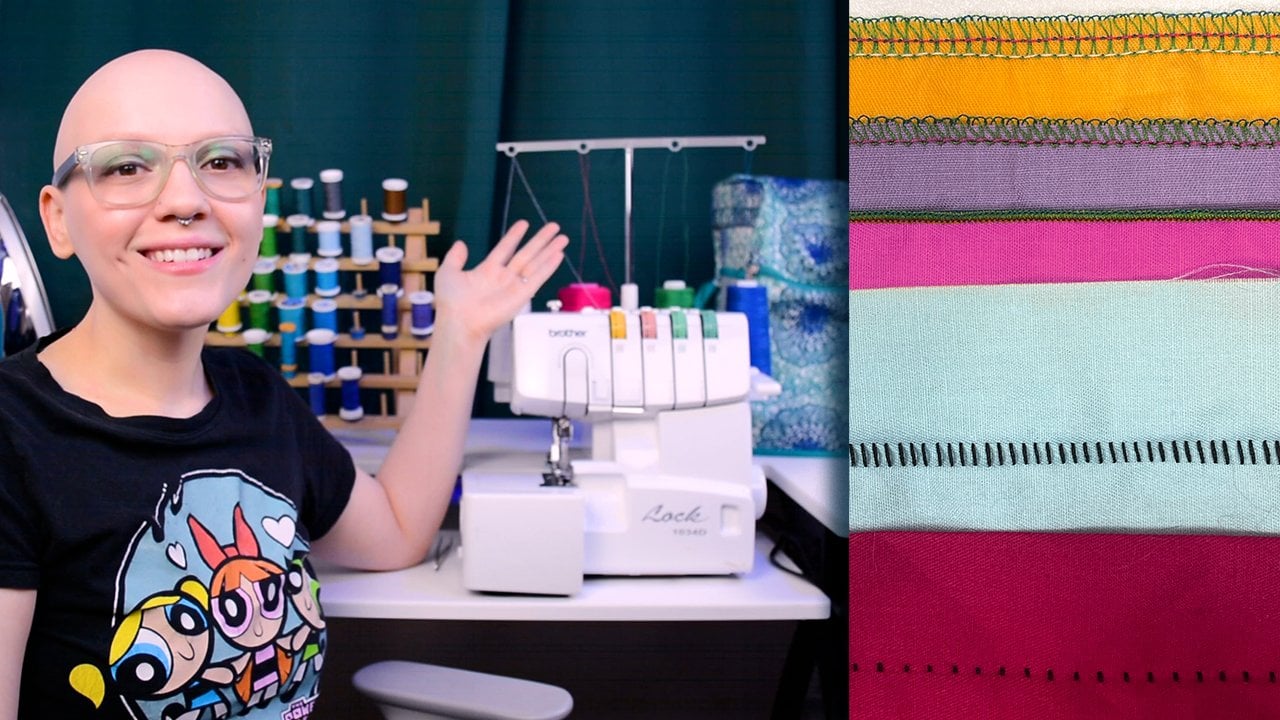
3. Materials: For this class,
I'm focusing on
t-shirt fabric. This kind of fabric
is called a knit fabric. This means there are teeny tiny
knit stitches. If you pay close attention, you can see very thin columns
made up of teeny V's. This makes it very stretchy. If you want to use a patch, it's important to use
the same kind of fabric. So you can- if you have
another t-shirt
that you don't like, you don't have to get rid of it. You can use it as a patch. The next thing is a needle. There are many kinds of needles. If you go to the store
and try to pick a needle, but you're like, "oh, I
don t know which to use. I'm so confused!" It's fine. There are two kinds of needles
most people use. The first is a sharp. The second is
an embroidery needle. A sharp is very thin
with a small eye. It's used for
normal hand sewing. For this class,
it's best not to use this because in this class
we're doing embroidery. The thread is a bit thick,
not thin, so it's important
to have a bigger eye. So the other kind,
the embroidery needle, is better to use. It's similar to a sharp, but the eye is big, so it's easy to get
the thread through. But if you struggle
with dexterity, or making small movements
with your hands, it might be better to use
other kinds of needles. I have three recommendations. The first one is crewel needle. This needle has a huge eye, bigger than
the embroidery needle. So it's very easy to get
your thread through it. But most of the time
this needle is thick, so it's not great to use, but if it works for you,
go ahead. The second one is
a darning needle. This one is similar than
the sharp, but it's very long. Normally, the sharp is
about this big, but the darner is
about twice that length. It's very easy
to manipulate and grip. But if dexterity and grip are extremely hard,
that's okay too. The last needle is
the doll needle. Normally, it's used to make,
well, dolls.
But this needle is huge. It's very easy to just grip and stitch big stitches with. So, you can find one
that's fairly thin, and use it if you really struggle
with dexterity, That's fine to use. For the thread,
most of the time when sewing, you use sewing thread. It's very thin, but it's
hard to use for embroidery. For this class, it's better
to use embroidery floss. This has strands
that you can separate and then put back together. You can make any size
thread you want with this. Whatever you need. The last thing you need
is scissors. There are two kinds of scissors
you might want to use. Fabric scissors and
thread scissors. If you can only get one
pair of scissors, use the fabric scissors. These are specifically
for cutting fabric. They're very sharp
and easy to use. Do not use paper scissors,
it won't work. The thread scissors
are very small and they're used specifically
for cutting thread. There are many
other useful things you can use for your needs. You have problems with vision, you can use pins to help
make a tactile guide. You can also use
a needle threader to help get the thread
through the needle. Also thimbles help
with gripping problems. I use a thimble a lot. So if you struggle
with grip problems, pay attention to how
I use the thimble. So with that information, hopefully y'all can get your materials and
start sewing with me.
4. Starting and Ending a Thread: [soft music] Now, ready to start sewing?! Eh, not so fast, OK? First, we need to know how
to start and end a thread. Normally with sewing,
you tie a knot in the thread. But the problem with that is
with embroidery, we use a lot of threads. With lots of knots, it rubs up against your skin and starts to hurt after awhile. I don't like that. So, it's important
not to tie a knot. But what do you do? How do you secure a thread
without a knot?
[music calms] The first way is to start a thread
with the loop method. But, only if you have an
even number of threads. This is because
you need to secure your thread by folding it in half
and using the loop. So this method always
has an even number of threads. With the doubled thread, bring the needle up through
the back of the fabric. Then flip the fabric over.
Now, there is a loop
sticking out of the back. Bring your needle
back up to form the first stitch and then
put it through the loop. Draw the thread gently until the loop closes,
and you're done. Loop works for starting,
but what about ending? How do you end a thread? There are two ways to end. Both of the ending methods
can be used to start as well. First is the weave method. The weave method works if you have a ton of
embroidery stitches. Weaving is easy. Flip your fabric
to the back of your work. You can see there are
a lot of stitches in a thick layer. Slide your needle
under those stitches, between the stitches
and the fabric.
Easy, you're done. You can make this
even more secure by weaving a thread
back and forth a few times. But the problem with this is the stretch of the fabric
will be reduced. So don't weave too many times. Once is fine. But if you're worried,
you can weave your thread diagonally instead of horizontally. This will maintain
the stretch of the fabric. The last method
is used for patches. When you're finished
sewing on the patch, you have a fabric layer
and a patch layer. Draw your needle between
the two layers and up again. And that's it. Your future stitches
will go through the thread tail, securing it. For starting with thread, sometimes it's difficult
to see where the end is. Sometimes, you pull it
all the way through again and again and again. It's hard. So what do you do? If you're struggling,
use your thumb and forefinger to pinch the thread near the needle hole.
Slowly pull the thread through, feeling the thread as it passes
through your fingers. Stop pulling
when you stop feeling the thread. So remember,
for embroidery, don't tie knots in your thread. You don't need to.
If you need to, look over this lesson
a few more times. So, the next lesson
we start sewing. Finally!
[upbeat adventurous music]
5. The Ladder Stitch: Now we can start sewing! But,
before we start embroidery, we need to close the hole. You can do two things. One is the ladder stitch,
and the other is a patch. In this lesson, I'm teaching
how to do the ladder stitch. What is the ladder stitch? It's a really fun stitch. It looks like a ladder. You stitch on one side
of the hole, and then the other
over and over. The thread lays over the
area like ladder rungs. Then when you're finished, you hold both ends and pull
and the hole closes up. This stitch is best used
for tears or cuts. I use it for t-shirts
or whatever. Also, it works beautifully
for cat and dog toys. I know in the last lesson, I explained how to
secure a thread. But for this stitch,
you don't need to. This is because for our project, we're just going to
take out this thread later. So you don't need to secure it. We can if you want to,
but you don't need to. So to start sewing, start your stitch
below the hole. Insert your needle
into the fabric. And then up again,
just like inserting a pin vertically.
Down and then up, Repeat this on
either side of the hole. Alternating sides. Don't pull tight yet.
Stitch gently. You don't need to pull it tight. Keep going all the
way to the top. When you're done,
hold the thread at the bottom
and at the top and pull. The hole will
shrink and close. Hey, some mistakes might happen. So pay attention. If you've finished
pulling the stitch tight and the fabric looks
puckered. That's normal. Don't worry. Later, you can cover
it with embroidery. But there are ways you can
reduce pucker. First, when you start
your stitch, don't start it
too close to the hole. Started lower down
in line with the hole. Maybe about one centimeter
below it, or even up to an inch. Increase the width of the
stitch around the hole, and then decrease it
again at the top. That will look a lot better. Another mistake is sometimes sewing too close to the
edge of the hole. That's incorrect because later the hole will tear open again. You want to stitch more, maybe half or one centimeter
away from the edge. This is because it will
tear due to the fabric at the edge of the hole
being weak and easy to tear. So for our next lesson, we'll learn a stronger way to
support the t-shirt fabric. Remember, if you have a
tear or cut in your shirt, the ladder stitch is
a good stitch to use. Pay attention the quality of the fabric surrounding the
hole, this very important. If the t-shirt fabric
around the hole is weak, you need more support. If you have questions for
me about this stitch, remember to use the
discussion area down below.
6. Making a Patch: In this lesson, I will show you how to make and sew a patch. The best time to
use a patch is if the hole is, um the area around the hole is worn out. The first thing you need to
do is measure for the patch. I can't see the
full damaged area. So I measure by feeling
the fabric around the area. You can feel
where the fabric is thinned out and
where it's thick. Where it's normal. I can feel all that,
but I can't see it. So I feel around. Now that I've found
the damaged area, I use my finger to measure. You only need about
one centimeter, the same as the tip of a finger. You can measure using a ruler. But most of the time I don't. Cutting is easy, just use fabric scissors
to cut around. And you're done! You have a patch! You don't need a large
seam allowance because we're using knit fabric so that... you don't need to worry about
the edge of the fabric fraying. If you struggle to see the lines on your fabric, it's fine.
You can use pins to outline and use that as
a tactile guide for cutting by feel. Now, you need
to sew the patch onto the t-shirt Do that with a basting stitch which I'm signing as
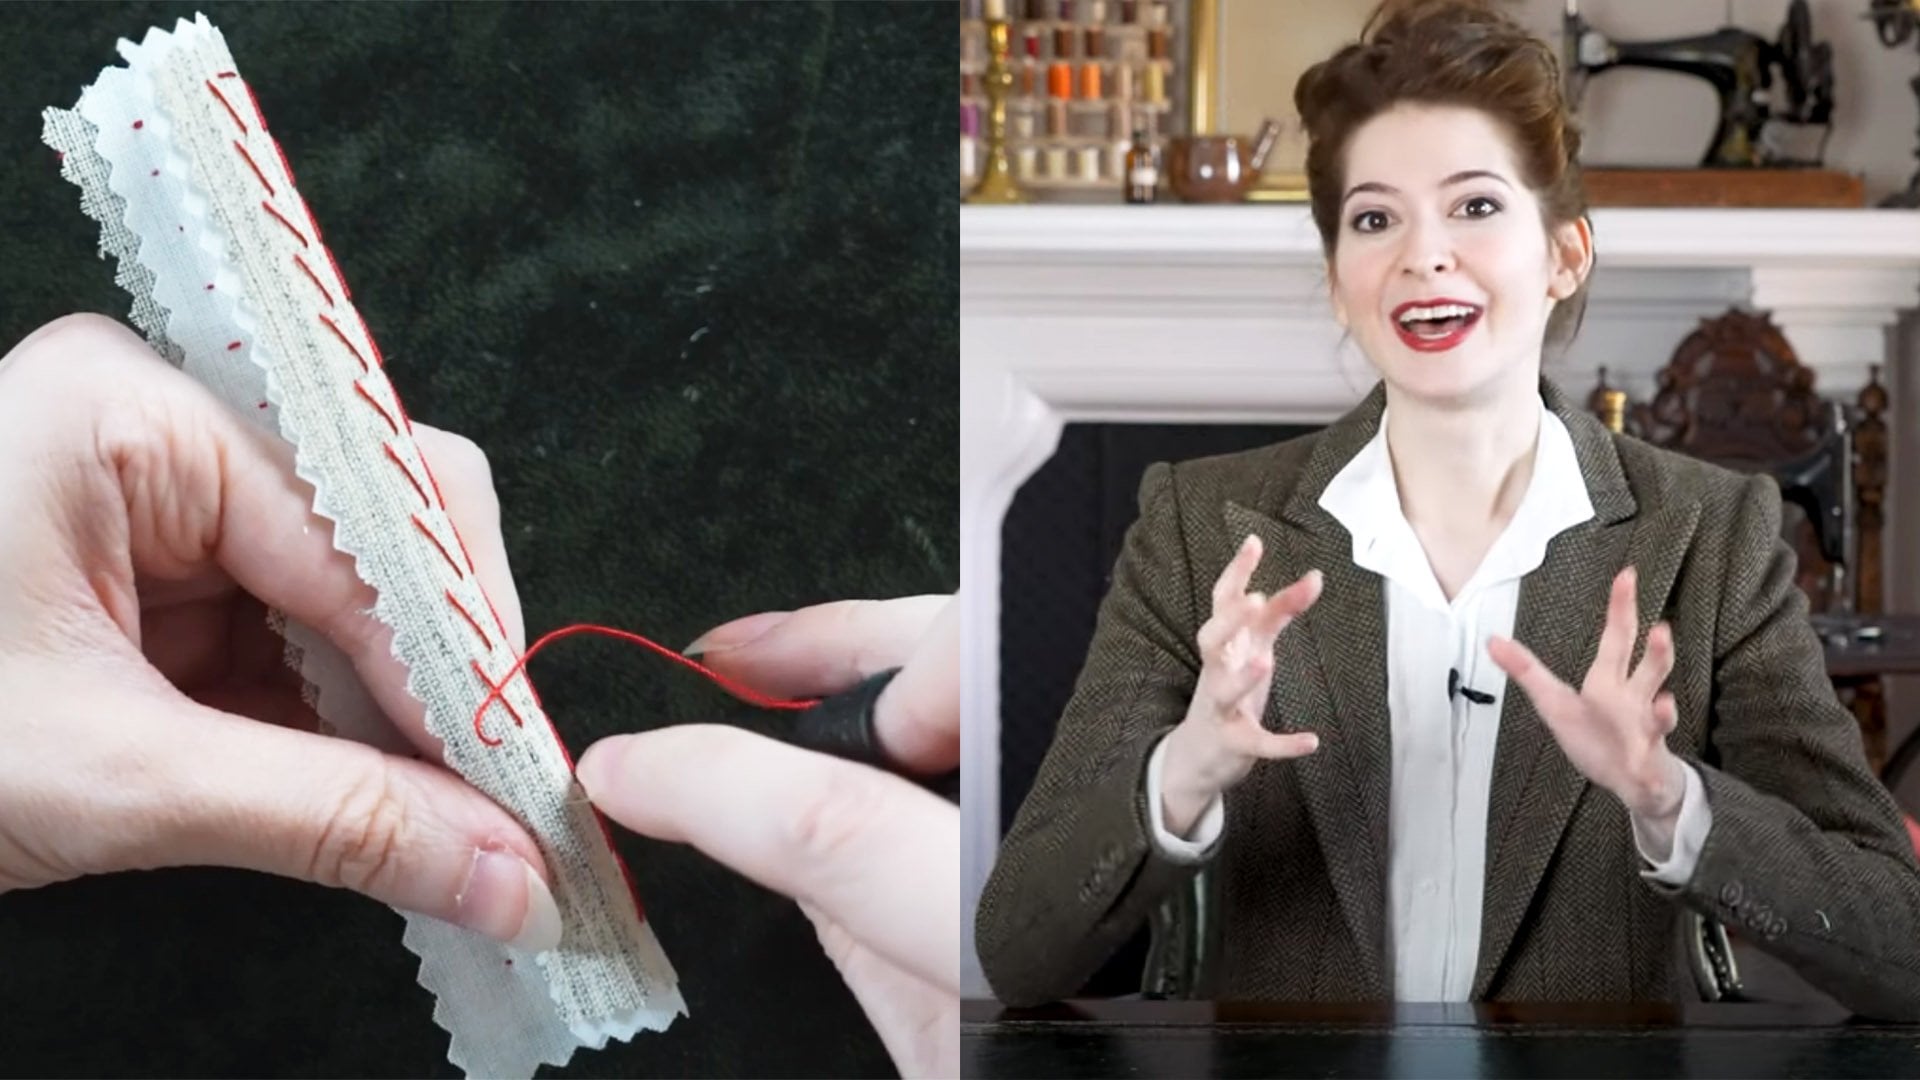
"temporary stitch." What is a basting stitch? It's just a normal
running stitch but you use large stitches. Normally,
you would use tiny stitches, but with a basting stitch, you use large stitches. This is because later,
we want to remove them. The basting stitch is easy. You have your patch
on your fabric. And use your needle to go down
into the fabric and up again in a straight line
all the way around. Remember to leave a tail so later you can remove the thread. Stitch all the way
around and you're done. There's a second way to
do a basting stitch. But this time, instead of going around the edges, you
stitch in the middle. Take your patch on
the fabric and use a stitch that's kind of
like a ladder stitch. Start stitching in the middle of the patch near the edge, side to side, in columns
the whole patch is covered. I like to do that
if the patch is a weird shape or very large
or if just like that, I sometimes prefer to use it. But whatever, use
whatever works for you. I will describe
three common errors. First, with the basting stitch, sometimes you use
very small stitches. That is incorrect because later it will be too
hard to remove them. So try to use large stitches. But the second error is
if you stitch too big, you don't need to do that. What happens is the patch will start to come off and not that. The third common error
is sometimes you measure everything and cut everything
and stitch your patch on. And then notice it's too small and part
of it isn't covered. You need to throw it out! No, no, no. Don't toss it. Just make a second
patch and layer them. You don't need to throw
out your work. It's fine. The fun part about
mending is you can mend, again and again,
layering and layering
your patches and spreading
out your design. Everything becomes beautiful and your mending patch
design is wonderful. I really love mending
with the visible mending. Again, remember, patching is good for if
your fabric is worn out. Also, patching is good for
holes on printed t-shirts. But if you have a hole on
a printed t-shirt,
used to patch underneath not on top. When you're done, you can use the short and long stitch
to trace the print pattern. Patching is a wonderful time to try asking a
what-if question. You can use different shapes, different fabrics, but I do recommend using the same
kind of fabric. But if you want to do something, but you're worried about
ruining your shirt, It's fine. Ask me about it below
in the discussion area.
7. The Short and Long Stitch: So the last stitch
for the class: the short and long stitch, which I sign this way. I chose this because it's
a very flexible stitch. you can use it for
many different designs. Another reason I
picked this stitch is, it's good for knit fabrics. Knit fabrics are very
stretchy, so you need stitches that continue to stretch. This stitches done,
it looks like a lot of straight running
stitches side-by-side, but it's not stitched in straight lines. It's stitched in
rows of vertical stitches. This makes a zig-zag shape. Anytime the stitch shape is
a zig-zag, it will stretch. This stitch is a little
bit complicated. Hopefully, I'll explain it well. But ASL is my second language. So if I explain poorly, hopefully the
demonstration will. So the first stitch. The needle comes up on
the top of the stitch and comes down right below
to create a vertical stitch. Next, the next stitch is level with the top
of the first one, but it's half the size. Continue making alternating
short and long stitches for the entire first row. Now notice that you
have different length stitches. Short long,
short long,
short long. On the second row,
don't continue this pattern. Only stitch the short stitches. Stitch under the first short
stitch in the first row. Then skip the long stitch and stitch under the
next short stitch. Continue making
stitches only in line with the short stitches
from the first row. Now notice the first row's long stitches have
become shorter. The bottom of the pattern
still looks like it has a short and long pattern
along the whole bottom. Now, all the stitches
will be the same size, but they will continue
to be offset. Continue stitching in
rows the same way. Row by row. Stitching only under the short stitches from the previous row and
skipping the long ones. But on the last row, if you want the bottom
to be straight, stop skipping. Continue the short
and long pattern from the first row all
along the bottom. But follow a line on the bottom. Done! The full stitch is finished! You can use it to do
a lot of things. It's a little like coloring,
but with thread. But again, with all stitches, it has common mistakes. But some mistakes are
not really mistakes. Sometimes you just
need to relax. So sometimes you start
stitching and as you go, you notice there's a gap
in your previous row. You gasp. And it seems like maybe
this was a mistake. But sometimes with
stretchy fabrics, what happens is you hold the fabric in a way
that stretches it out. So try putting it on
a flatter surface and if the gap is still
there, it's okay. In the next row, just filled in. Doing that will
change the pattern. You'll have short long,
short long short long,
short short. It just happens that sometimes your pattern gets messed
up and that's normal. Pattern will almost
never be perfect. But when you're fully finished, it will look beautiful. No one will notice that. The next mistake
really is a mistake. Sometimes you accidentally
reduce the stretch. What happens is if
you stitch too tightly. Don't do that. Relax
and be careful and gentle. Also sometimes if your stitches are way too close together, the problem is the same. The stretch of the
fabric is reduced. So try to experiment
and see what works for you. The last mistake is
sometimes you finish stitching and
turn your work around. Suddenly you notice the
thread is all tangled. There's loops everywhere. It's just a disaster. That's fine. Most of the time, if you
accidentally mess up the back, you'll keep stitching over the messed-up part and
the stitching itself
will secure the thread. So just check and give the loops some tugs. If they're totally
secure, just trim them. If they're not secure, maybe use some more stitches over that area to secure it. This stitch is a great
time to experiment. You can do whatever
shapes you want or color in a
drawing full of stitches. Or if you have
a print T-shirt, you can trace the print. It's a lot of fun.
Just, for this stitch, do whatever feels right. If you continue to practice, you will learn more about what feels right and
what feels wrong. But only with practice. If you don't practice,
you will never understand what is right
and what is wrong. You just need to keep stitching. Remember,
if you struggle a lot or feel excited
about your work. Post about it below in
the discussion area. I want to see what
everyone has to say.
8. Conclusion: Thank you so much for
watching my class. I really enjoyed making it. I tried to make a class before using my voice,
but it didn't work. I can't use my
voice for filming. so I tried to just use AAC, but, um, it looked weird, so I decided to sign. But, ASL is my second language. Most of the time, my ASL
is mixed with PSE, which is a kind of
Signed English. So hopefully, if you
all can understand ASL, I hope you understand me. And if you don't understand ASL, I hope you enjoyed watching ASL. So this class seemed simple, but really there
was a lot to learn. We learned five things. Number one was how
to select materials. Number two was how to
start and end a thread. Number three was how
to make a ladder stitch, a basting stitch. and a short and long stitch. Number four was how
to make a patch. And number five, we learned many ways to sew
with a disability. But there are three
most important things to remember from class. If you forget everything else. The stitching, the
patching, whatever. Your mind is wiped of it all, remember three things. First, always ask
what-if questions. It helps to come up with ideas. Second, keep testing
different ways to see what helps you do
something easier. Third, always use appropriate tools and assistive technology
for your needs. For this class. I wanted to
include a lot more things, but I didn't want to
overwhelm you all. So if you want to
learn more sewing and stuff, let me know down in the discussion
area or in the review area. I will be paying attention to
all the comments to see what people
want to learn next. So I can make a new
class for you all. Because I want to teach
things you want to learn. But also things I
think our interesting. But if I think it's interesting, but you all don't want to learn
that. What's the point? So remember to let me know
what you want to learn. Also, it really helps me
if you review the class. If it's good or bad. Whatever. It still helps me. It helps me learn what to do better or what to keep doing. So drop a review, thanks. Lastly, if you liked this class and want to see more
classes from me, follow me here on Skillshare. Also, if you want to see what my progress for the next
class I'm making is, Follow me over on Instagram. Thank you so much for coming
here to learn with me. Bye-bye.
 Library of Lily Lol, Sewist, Librarian, Professional Learner