Transcripts
1. Class Introduction: Whether you're creating
a storytelling video, a how-to or a simple explainer. Being able to write
a compelling script is absolutely essential. It is the core and foundation that everything else in
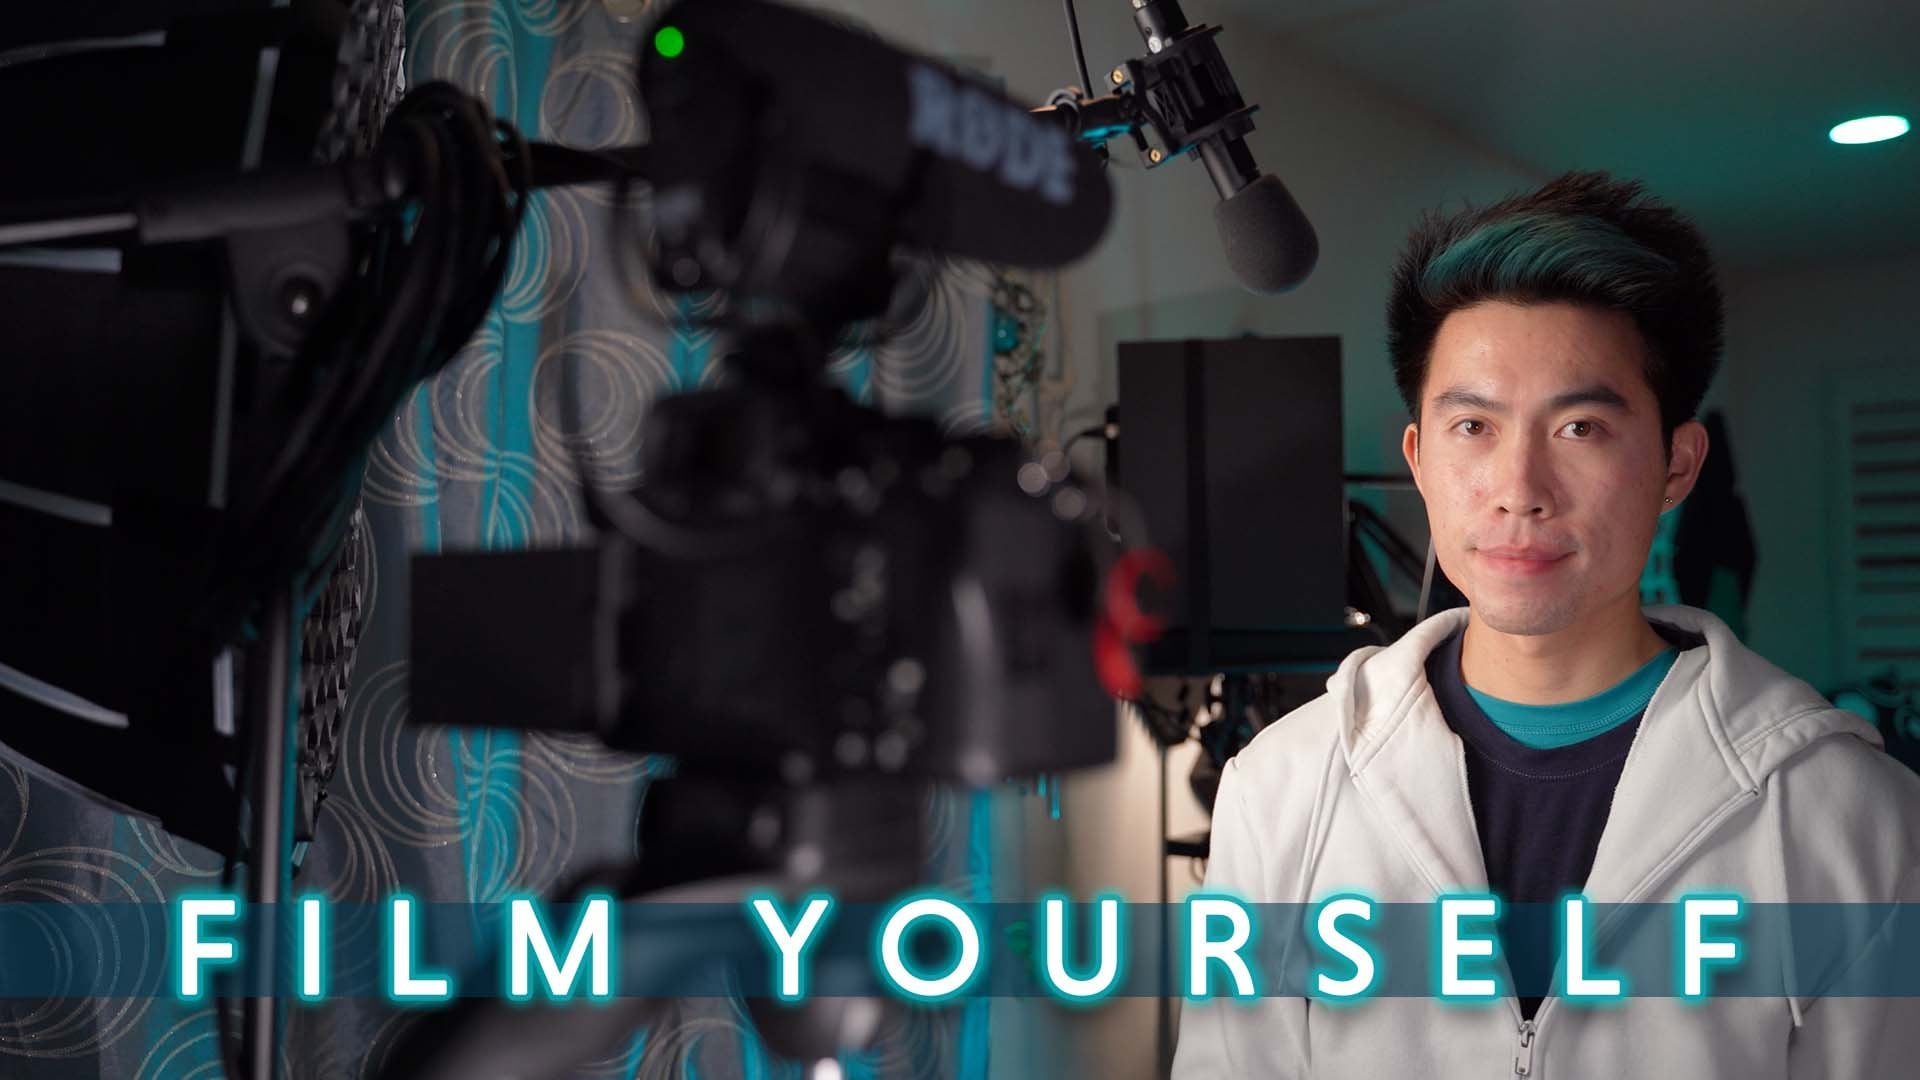
the video stands on. Hi, my name is Scott Lu and I'm a video creator on YouTube. I've scripted and created
videos with over 100,000 views. And I'm here to share
my personal method for how I write my scripts. In this class, you'll go
through for core lessons that will cover
all the essentials of writing a good script. First, we'll start off
with how to create a well-structured outline and a defined objective which will serve as the foundation
of your scripts. Next, I'll cover how to approach your first draft and tips on
how to avoid writer's block. After that, we'll take a look at some writing techniques that can help you take your writing
to the next level. Finally, we'll cover the best techniques on how to finalize your script by reading it from the perspective
of your viewer. As a bonus, I'll also discuss
how I personally approach scripts that are made for
how to add tutorial videos. I've created a lot of how-to videos on YouTube
over the years. And I've created a
class on Skillshare that received a staff pick. So be sure to check
out that lesson. The class project will be to
create your own scripts by using the three draft
method I'll be explaining. So follow along and do the lesson assignments
at the end of each lesson if you want to make the best out of this class, There's also a worksheet
available for download that outlines the class
and class project. Finally, this class has
no prerequisites and it's for anyone interested
in learning how to write scripts for video. If that's you,
Let's get started.
2. Objective & Outline: Before you create
your first draft, there are two very
important tasks you need to accomplish. They are to create an
objective and outlined. Let's talk about the
objective first. Your objective is what your
whole script is based around. If you don't have a clear idea of what you're
trying to say or do, it's gonna be very
difficult to write. I highly recommend having only a few objectives and
making them very specific. For instance, the objective of the introductory video
that you watched for the scripting class
was to convince you that this class is
worth watching. The simplest way to fulfill that objective was to
establish credibility by highlighting successful
scripts that I've written and explaining
the value of this class, but covering what you'll learn
if you decide to take it. It's a very simple
objective that guided the entire scripting process for that introductory with you. After you decide on
a clear objective, the second action is
to create the outline. Generally, an outline
contains an introduction, three to five main points
that support the objective. And finally, a conclusion. You can think of
the main points of the outline as a list of many objectives that fulfills
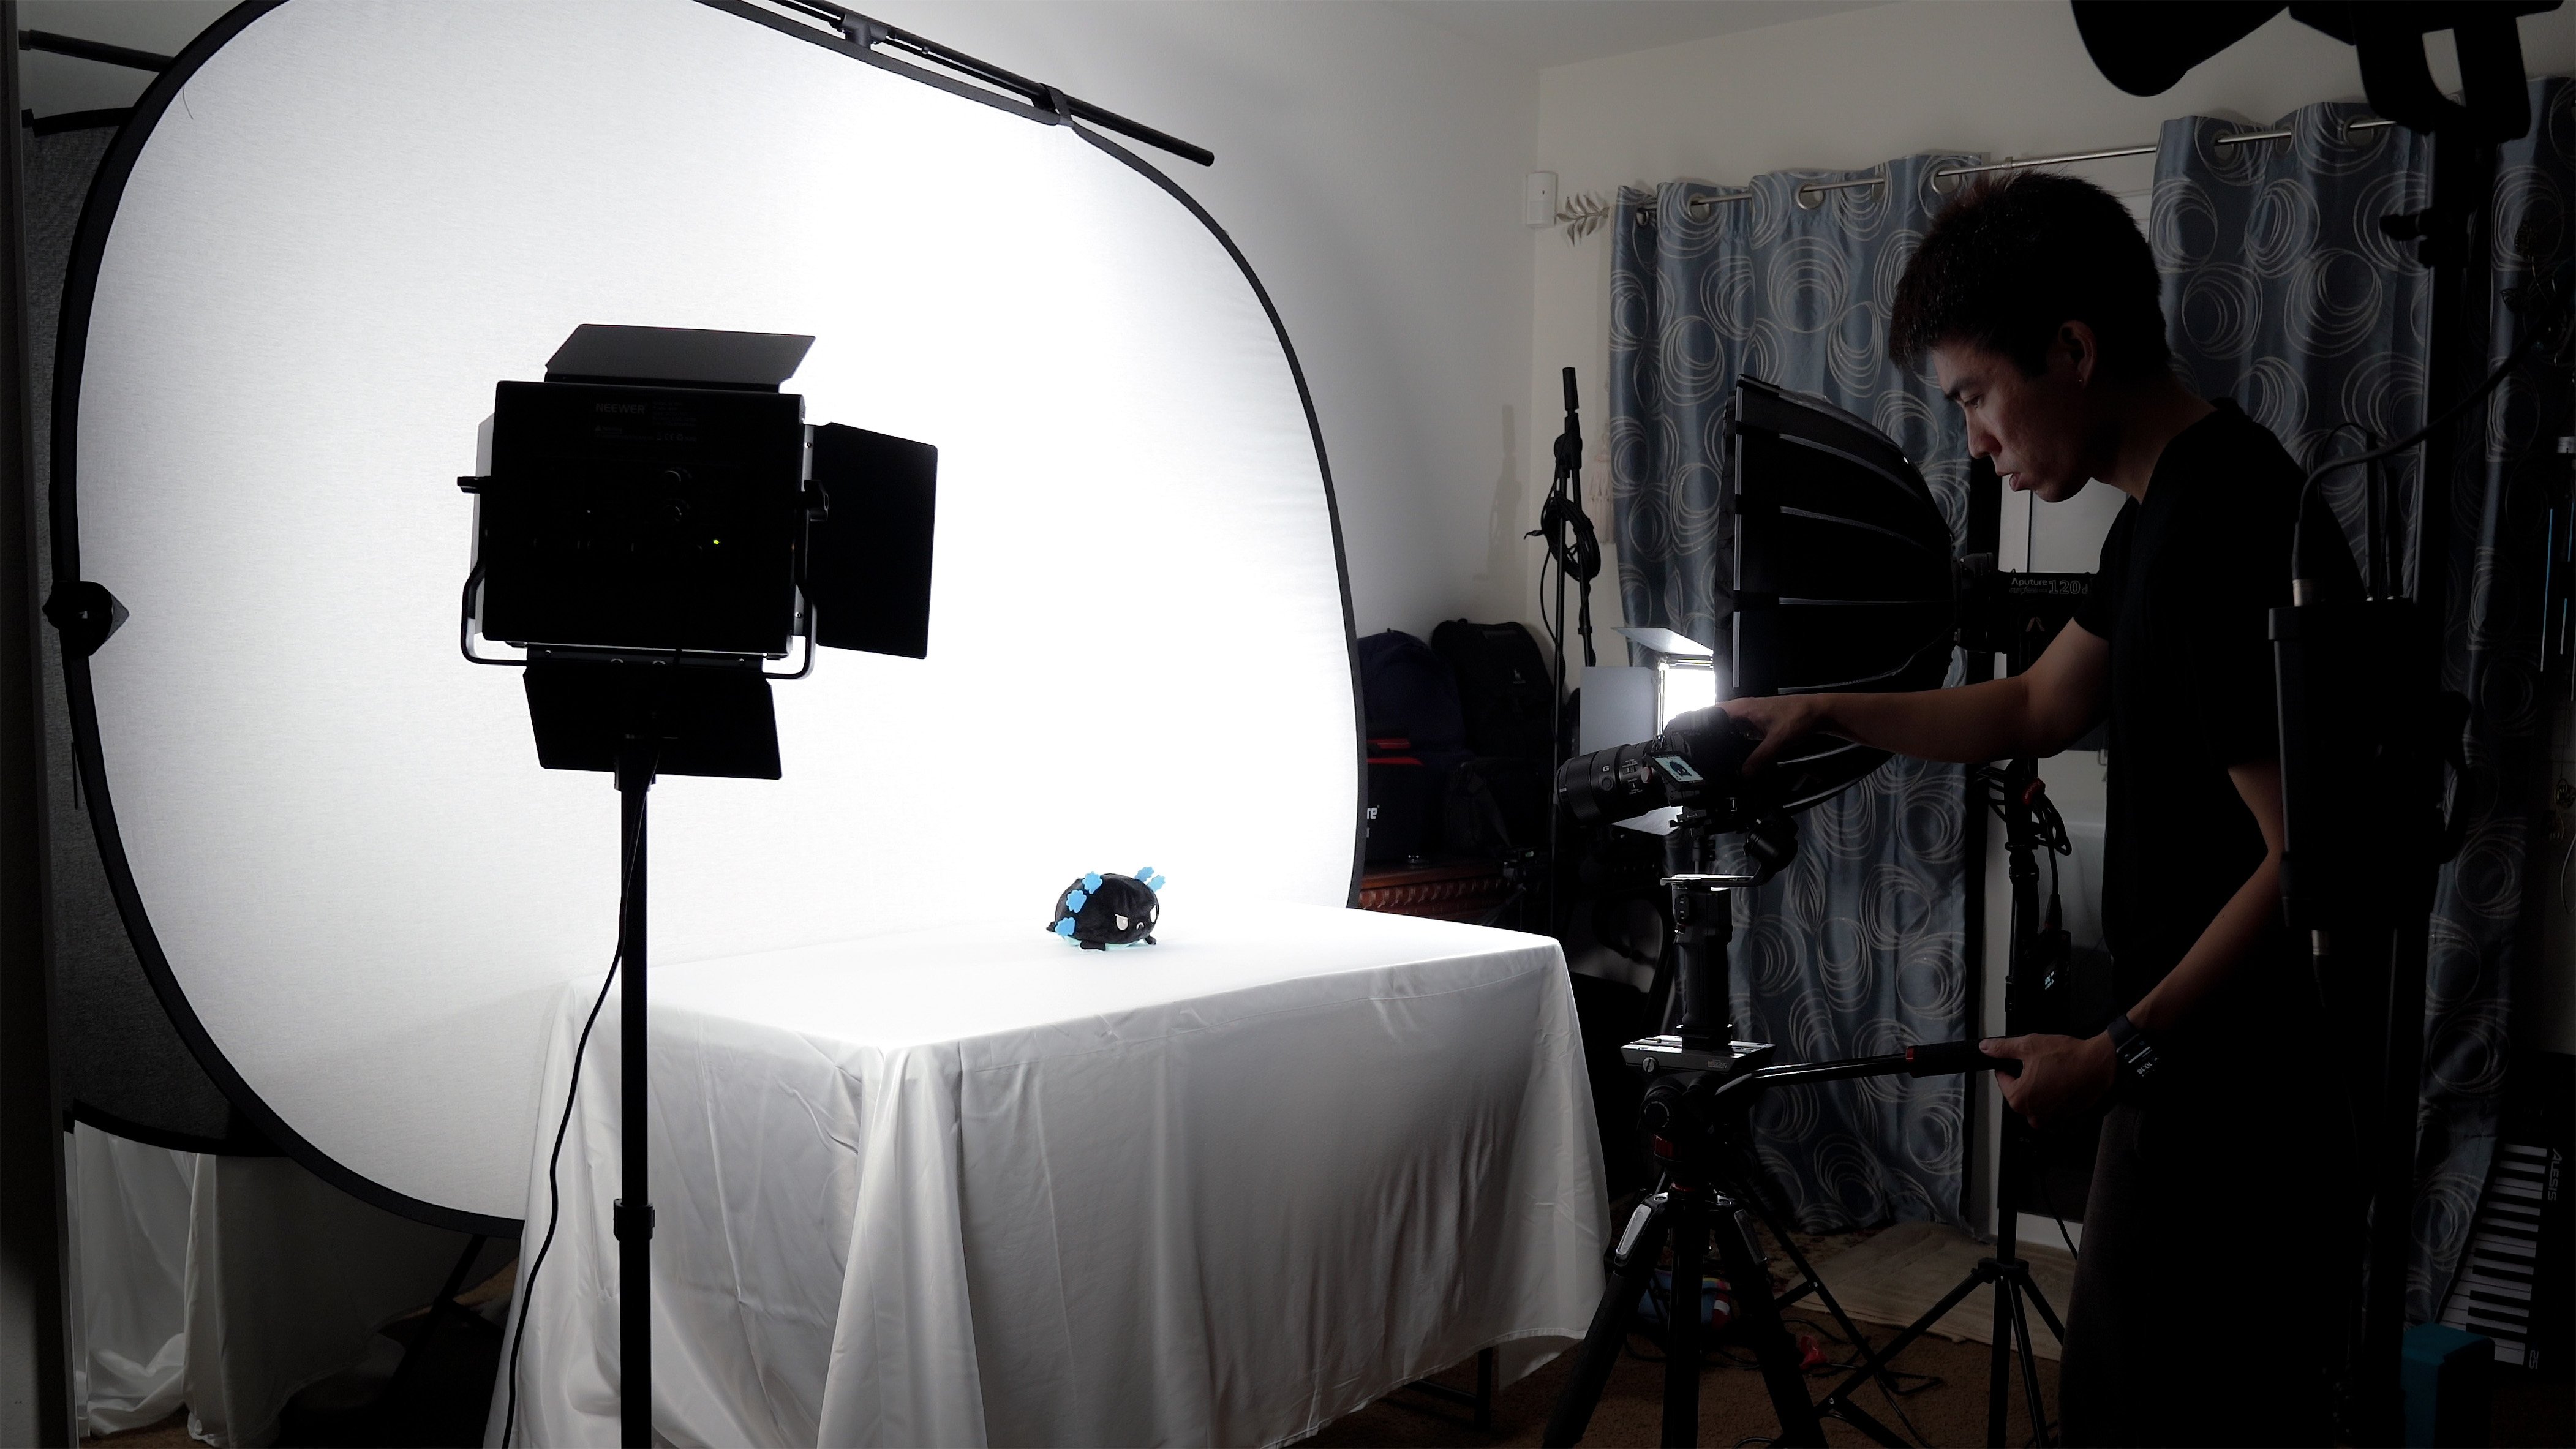
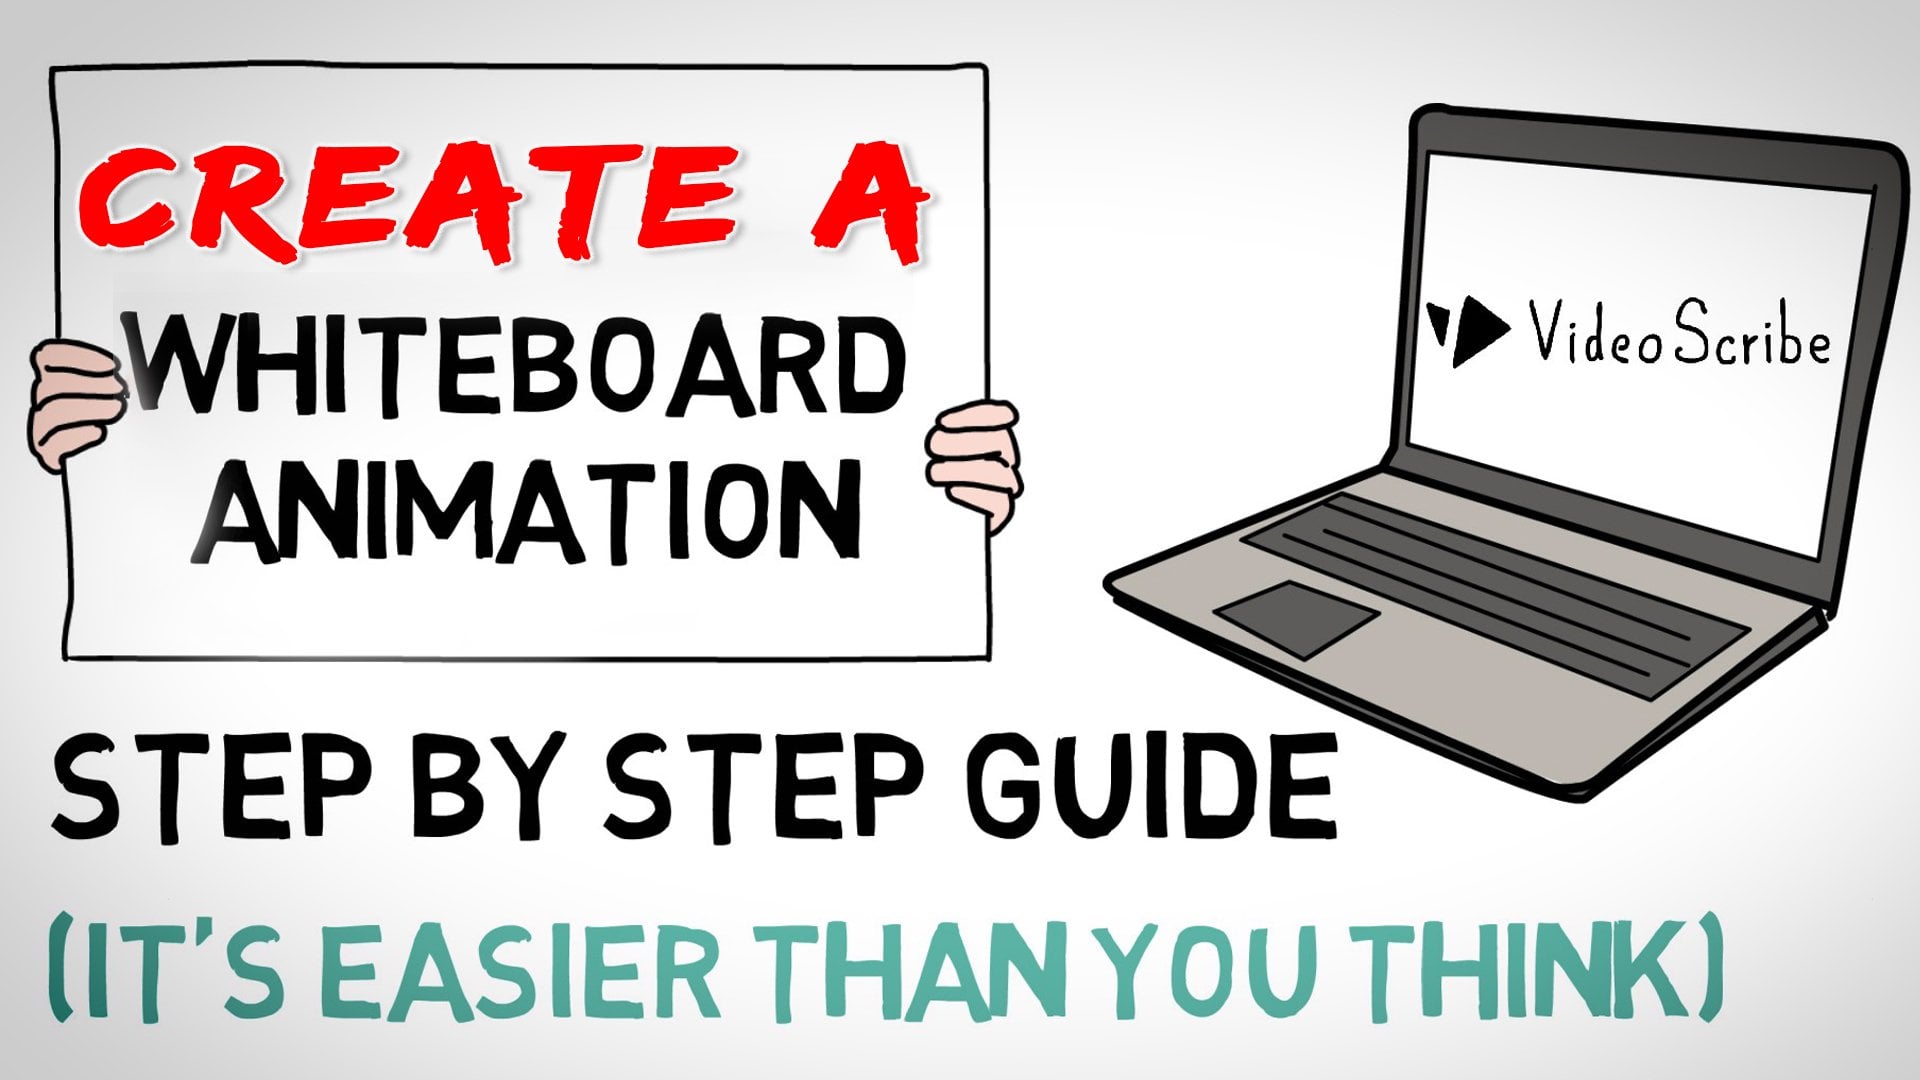
the primary objective. Let's take my how to create a whiteboard animation in
one day as an example. In that video, my
primary objective was simply the
title of the video. So the outline for that
script was a list of tasks or many objectives
that needed to be accomplished in order to
create a whiteboard animation. Here's the example
outline number one, introduce the challenge number to decide on a video topic. Number three, write
the script number for record the voice-over. Number five, edit using the
whiteboard animation program. And finally number six
at it in Premier Pro, this list is essentially
all you really need for an outline hover. You could expand on
that outline and create even more subheaders for
each mini objective. For instance, number one, decide on a video topic, subtask a, create a list of
topics that interest you. Subtask B, look at
what's trending. Remember to write the
script subtask a, literally it's the
lessons of this class. So you can follow those
for the subtasks. And then number three, record
the voice-over subtask. A. It's literally my
adobe Addition class, but it's to choose a good microphone record in
your DAW edit and so on. Number four, using the whiteboard animation
program, subtask a, how to purchase video
scribe subtask B, how to use the programs, have tests to see, how to export, and so on. I think you guys get the point. I can keep breaking down
the mini objectives into even more subtasks until we're at the most
basic elements. And you can go pretty
deep depending on how complex each step is. However, whether or not
you wanna do this depends on how in-depth you want to go. And that is decided by
your primary objective. If your primary objective is to explain something as
thoroughly as possible, then go as deep as you
can with your outline. If your primary objective,
on the other hand, is simply to give
them a quick idea of how to create a whiteboard
animation in one day, then you'll probably
want to talk about each step in a more broad way. Like I did. My video
was not meant to be a full-on walk-through
tutorial of how it was done. I save that for my class
about whiteboard animations, which if you look at each lessons title is
an outline in itself. And this applies to pretty much any well-organized online course or a single video lesson. So if you're ever stuck on
how to create an outline, examples of outlines are
pretty much everywhere. So don't overthink. It, just makes sure
that the level at which you're going into depth matches with your
primary objective. So the assignment for
this lesson is to choose a primary objective for your script and then
create the outline. If you're struggling
with how to format your scripts or what to
use to write your script. Feel free to adapt my methods. I personally typed
everything out on a Google Drive document, since it gives me access
to it on all my devices, I would like to change
the color of the page because white is blinding. And I like to color
my objective and many objectives a
different color as well. I personally use the font
L mastery at size 14. Of course, this specific format is just personal preference. You can write on
a piece of paper, use of regular Word document or type it in notes
on your phone, whatever works best for you. Once you're done
with your outline, we'll move on to
the first draft.
3. Writing The First Draft: I think the first draft
is actually one of the easier steps when it
comes to writing a script. A lot of people get stuck at this step because
they overthink it. To make the process
as easy as possible. Skip the introduction
and head straight to the first main point,
creating a good hook. And introduction is a
lot easier when you know the contents of your
script exactly. If you still feel a little stuck writing your
first main point, try to think of your
first draft as more of a conversation that you're
having with a friend. You don't need to worry
about grammar mistakes, sentence structure, typos, or any writing techniques just spill out as much knowledge as you can about the topic to fulfill the primary objective. This is called
free-flow reading. And by doing this, you give
yourself permission to make mistakes and just write in the way that you think or talk. It's not going to be the most
eloquent piece of writing, but it's the easiest
and fastest way to get the first draft done. We'll worry about
fixing it up in the later drafts after you're done writing about
the first main point, continue to write
the entirety of the first draft using free-flow
writing your outlines, the sub points will also act as a very helpful roadmap of the
topics you want to cover. With that said, there
are two things I almost always add to my scripts while
writing the first draft. They are examples and stories. Let's start off by
talking about examples. The strategy here
is start with a general and then close
in on the specific. For most scripts, I explain the general ideas of
the main topic first, to help my audience gain a
rough understanding of it. After I do that, I provide the specifics to solidify
their understanding. The best way to do that
is to provide an example. So I'll go ahead and
practice what I'm saying by providing an example to
demonstrate this idea, let's use my YouTube video called first-principle,
thinking. After a quick hook, I
began the video by asking, what is a first-principle. The objective was to
answer that question. And the outline I created
was a list of steps that breaks down how to
apply first principles. I started off with
the general steps. Identify your vision or goal. Step two lists all
obstacles and actions. Step three, discover
first principles. And then step four, built a new creative solutions. After talking about those
steps in the general sense, I gave an example of showing
how Elon Musk started SpaceX using specific
versions of those four steps. So in the end,
there was a list of general first-principle
steps and then a list of specific actions that Elon Musk took that represented each step. Examples are powerful
because they really help reinforce what
you're trying to say. It's like going from
the abstract or theory to practical
applications. The next element
to keep in mind, one free writing is
telling stories. This is very similar
to providing examples. In fact, for the first principle is videos that I mentioned. What I did was tell Elon Musk
story with SpaceX hover. I like to think of stories as its own category and approach. Instead of starting
with the general and closing in on the specific. By providing an example, you can write your script like a story itself and highlight the big points that
you're trying to make while telling that story. Some simple examples are fables, like the story about the
tortoise and the hare. One takeaway from that story
is that being slow, steady, and consistent is better
than moving forward too quickly and carelessly and
eventually burning out. It is essentially a story
that highlights a big point. So while writing your scripts, keep examples and
stories in mind. So after finishing the
main body of your script, it should be easier to
write the introduction. Most of the time I start off the introduction with a hook. That is a question or
interesting statement. Creating the perfect hooks is a very difficult task or that is highly
dependent on the topic. But the general
rule is surprise. Something that makes the
viewer feel like they absolutely need to know what
you're going to say next. Here's an example. The
tallest man that ever lived on earth was
named Robert Webflow, who is about 9 ft tall, hover. He passed away at age 22 because of an unexpected
complication due to his height. And at that point, I would hope that the viewer is interested to know what that unexpected
complication is. And from there I would transition
into the introduction. The introduction is
purpose is to communicate the primary objective and give an overview
of what's to come. Since you've already
written the main body, this should be
really easy to do. And finally, the last step of writing the first draft
is the conclusion. While the introduction
makes the viewers curious about what's to come, the conclusion serves as a
summary of the main points. Similar but slightly different. It's like the introduction
proposes a lot of questions on each main point
while the conclusion reiterate the answers that were given during the main body. Alright, so the assignment for this lesson is to finish
writing your first draft. Start by free-flow writing with the first main point all the
way to the last main point. Then go back to the introduction and finish off by
writing the conclusion. Remember to just write
whatever comes to mind for the first draft and
don't overthink it.
4. 2nd Draft - Writing Elements: Now that your first
draft has been created, the next step is to read through it while making some changes. The changes we will
be focusing on in the second draft
will be grammar, word choice, rhythm, and flow. Let's start by talking
about grammar. Grammar is a set of
language rules used to create phrases and sentences
that convey meaning. They're essentially rules
on how to write properly. Here's an example
of a grammar rule. A complete sentence must
contain a noun and a verb. It's a simple rule
that you probably already follow for most
of your sentences. Another aspect of
grammar to keep in mind is using good syntax. Syntax is the structure
of a sentence and how the words are
ordered in that sentence. The general rule for
good syntax is this, subject plus verb plus object compared to object plus
verb plus subject. The first formula is
called active voice, while the second one is
called passive voice. Here's a specific example. The dog caught the ball is in active voice while the ball
was caught by the dog, which is in passive voice, it's good practice to
use the active voice the majority of the time. But it doesn't
necessarily mean that you can't ever use passive voice. It does have its uses. One instance is one, the subject wants to
be kept ambiguous. The ball was caught
is in passive voice. You don't know who
caught the ball, but that might be the point. If you're writing a
suspenseful scene. That is a quick lesson
in grammar and syntax. I'm mentioning the more
fundamental rules, since it's easy to explain
and to apply immediately. But there's way more to
grammar than just that. Hover personally, I can see how understanding
grammar rules can help, but I don't think you need to go out of your way to study them. From my experience,
the best way to learn grammar is
through osmosis, read books or articles by good writers in subjects
that you're interested in. The more you read,
the easier it will become to gain an
intuition for grammar. However, if that doesn't
seem to be helping, There's a rule that I
place above good grammar, as long as the reader
or viewer understands what you're saying
and it sounds good. One read out loud. Who cares if it's
grammatically correct? I'll leave it at
that for grammar. Next is word choice. The words you choose
to use will be heavily dependent on your audience
and your objective. Hover. There is a general
rule I like to follow. Replace week are common words with more impactful
or colorful words. Don't start replacing
every word with a synonym that you've
never heard of before. Stick to words that you
feel comfortable using. If you don't know many words. Again, reading more
will seriously help. Here's an example I made. Grammar is a very
confusing topic that I want to learn more about. I was too lazy in
school to really try. But now that I'm older, I feel like I want to
get back into it. So that's a pretty
normal sentence, but let's go ahead
and spice it up for the sake of an example. Grammar is a nebulous topic
that I yearn to study. I was unmotivated in school, but now that I've aged, I feel renewed sense
of inspiration. I changed up some of the
structure for it to fit the new words and
it is subjective. But I personally think that the second sentence has more
color and interests to it. It feels more expressive. That's the power of word choice. Being able to say
something similar with a different dynamic or level of expressiveness that brings
us to rhythm and flow. I'll describe what they
are using an example. Rhythm is a pattern. Here. Fast speeds that fly bye, thanks to these words with
just one syllable, speed, a single word and
sentence placed in a careful area in
the paragraph can offer a much needed break from
a longer sentence length. Try mixing up different
lengths and speeds to offer a good reading or
listening experience. Finally, Flow. Wait, hold on. I think someone's calling me. Okay. Hello. Pizza toppings, chicken
and pineapple. Okay? That example is the
equivalent of jumping to a different topic too abruptly due to a weak
bridge or transition, it disrupts flow and creates
a break from the content. So in order to prevent
this from happening, restructure your
drafts by adding sentences for
better transitions. Or try moving sentences around so it doesn't
feel like a jolt. Hopefully these
examples help you understand the rhythm and flow. Riding with good rhythm
and flow is definitely a trickier and more
advanced skill to master. It will take a lot
of time and practice before it becomes second nature. Alright, that's all
the elements to pay attention to for
your second draft. For your lesson
assignment, read over the first draft while fixing
or changing your grammar. Word choice is rhythm and flow. At first it might be
difficult to think about everything at once, but eventually you'll realize how synchronous all
of these things are. After you're done. We'll move on to
the final draft.
5. 3rd Draft - Conciseness: Alright, We've made it
to the final draft, where you'll be going
through the entire script while viewing it as
your target audience. The goal is to make it valuable and also entertaining
for the viewer. So the first step to
do that is to cut the fat and make
the script concise. But what does that look like? Let me explain the general
idea of conciseness. Nobody likes to feel like
their time was wasted. Usually that feeling comes
from consuming content that has a lot of fluff and
irrelevant information. For entertainment
content, fluff is one. There are periods of not
so entertaining moments. For informational content. Fluff is one. There are moments that don't contain any useful information. Instead of making this mistake, the goal is to be in the complete opposite
side of the spectrum. Make it feel like
almost every moment is entertaining or insightful. It's certainly easier
said than done, but there are strong signs that tell you when
you've achieved it. Firstly, people were rewatch
certain parts of the video because there was so much
value in those parts. Secondly, people will most
likely comments about how they found in the content
informative or entertaining. Lastly, it should feel like a breeze to watch through
the entirety of the video. For the viewer, those
are signs for one, you've achieved a concise
script that contains no fluff. But how do you get there? The simplest way is to
pretend that you're reading through your
script as your audience. In the second draft, you
transformed your script into its most expressive form by utilizing different
writing techniques. But in this draft, you pretend that you're reading
a stranger's work. And whenever you
feel lost or bored, or you just don't like
something about the script. Cut it, be absolutely
brutal with your cutting. Detach yourself from this read through and really ask yourself, is this part of the script going to be valuable to my viewers? Does this add anything to my script or will it just
be the same without it? Applying this method will
help you effectively cut out all the fat
from your script. Finally, I strongly recommend reading your script out loud. Once you've made
all the changes, reading your script
out loud will make it clear if you've written
a script with good flow, which will be important
for the voiceover or talking head video later on. And that's it. The lesson assignment is to read through the script again, from the perspective
of the viewer. Make your script
concise and read it out loud one final time to
make any final changes. From there, you finally
reach your scripts. Final form.
6. Method Flexibility: In this lesson, we'll discuss alternative methods to
reaching your final draft. Firstly, understand
that the methods I've outlined in this class
are my personal methods. Nobody really actually taught
me how to write scripts. I naturally came to the
methods from this class after scripting well over
100 videos at this point, my method isn't the only method out there to write
a good script. That's why I recommend experimenting with
the methods I've outlined so that you can
discover what works for you. Everything I said it
in this class are simple guidelines, not rules. For instance, the steps
from drafts 2.3 can be done at the same
time so that you only really need to
create two drafts. After all, word choice is an important element to
making a scripts and concise. Here's an example. My dog really doesn't
like taking baths. My dog loads bats. The first sentence contains three more words
than the second one. The average words spoken in
a minute is about 150 words. So if you were to transform
every single sentence in your script into
a more concise form. You'd be saving minutes
if your script is long. So that's an example
of how the steps from draft 2.3 can be done
at the same time. I separated it for the purposes of this class
because it's easier to do all the steps one at a time when you're first
learning these methods. But once you've become
accustomed to doing them, the order in which you do
them is really up to you. You can even just create one draft and have it
be your final one. After each paragraph, go back to the beginning of it and make immediate alterations based on the steps outlined in draft 2.3. This way, you don't
really need to go back to change anything at the very end. If you're in a rush, of course, it's still best practice
to read through your entire script at least once to make any final changes. This was just a quick lesson on the flexibility of scripting. There's no one correct way. So if any of my
methods don't suit, you, feel free to alter them.
7. Scripting How to Videos: Let's discuss one of the most common video types out there. Tutorials or how-to videos. For these types of videos, the objective is to teach the viewer how to
accomplish a certain task. Will specifically be
discussing the tablet tutorial that is straight to the
point and straightforward. So let's begin before starting the outline
for how to video. I pretend that I'm a
beginner that knows nothing about how to
accomplish the task. This is an essential perspective to adopt that will prevent you from overlooking important steps that seem obvious to you, but not to a beginner. So with that
perspective in mind, create the outline based on the steps to
accomplish the task. My how to create a whiteboard
animation in one day video. As a good example of how to
organize a tutorial video. However, let's talk about
some qualities that are more unique to how to
end tutorial videos. Firstly, keep your
objective front and center. You'll most likely be teaching something you'd know
how to do well, which means you probably
encountered a lot of different variables
in your experience. If you want to bring up
these variables and you have extra things to say or special
cases you want to mention. I recommend talking about
them in a different video. But if you do want to do
it within the same video, just make sure not to
ruin the flow by spending too much time on
non-essential details. Your objective is not to
demonstrate your knowledge, but rather to give the viewer a good experience understanding and digesting new information. Next, when giving
examples in the tutorial, I highly recommend you
show common use cases. First, for instance, in my
tutorials on microphones, I have an entire
section dedicated to how that specific
microphone is used. I show whether it's for
indoor or outdoor use, spoken into the top or the
side of it, and so on. For this type of video, I tend to use less
story-based examples and stick to very
clear examples. Another attribute that needs extra attention for
how-to videos is clarity. Proper grammar, simple and straightforward word
choice, a faster rhythm, and a continuous flow
are all important in supporting a high level of
clarity in your script. It also really helps
to be concise. I can't stress that enough. And that's another
big point in itself. Repeat any very
important information to make it stick for the viewer. Remember that a good
amount of people will probably be new to the topic. So instead of just saying
something is important, one time, emphasize
important points a couple times to
really drill it in. Alright, so that is it in terms of the extra
things I wanted to mention for tutorial
and how-to videos, they're generally pretty
straightforward to create. Just remember to
introduce a list of steps described the
essentials of each step in order give examples of the most common uses and be as clear and concise as possible. Presenting things in a very
organized and structured way is the key to making
a good tutorial.
8. Conclusion & Summary: Congratulations on making it
to the end of this class. Here's a summary of
what you've learned. First, you learn how to
create a well-defined, objective and structured outline as your foundation for the rest of your scripting process. Next, you learned how to write the first draft using
the free flow technique. After that, we covered grammar, syntax, word choice,
rhythm, and flow. You learned how
manipulating these things can change the feel
of your script, allowing you to express what you want to say in different ways. Next, you entered the
perspective of a viewer and read your script
out loud to make it more concise and flow better. You also learned that
this method is flexible. There are guidelines, not rules. I hope you were able to
finish the class project and create your own script based
on the three draft method. Please feel free to submit
your class project below, and I'll try my best to review
it and give you feedback. Finally, I want to thank you for making it to the
end of this class. It's been fun getting to talk
about scripting with you. If you learn something
or enjoyed the class, I'd appreciate it
if you gave this class a review and hit
that follow button. I'm looking forward to
making more classes and I love for you
to be a part of it. In the meantime, if you'd like to check out what I'm up to, you can find me on YouTube. By channels are called
dreamland and Scottie looted. Anyways, best of luck
with writing your script, and I hope to see you
in the next class.
 Scott Luu, Video Creator