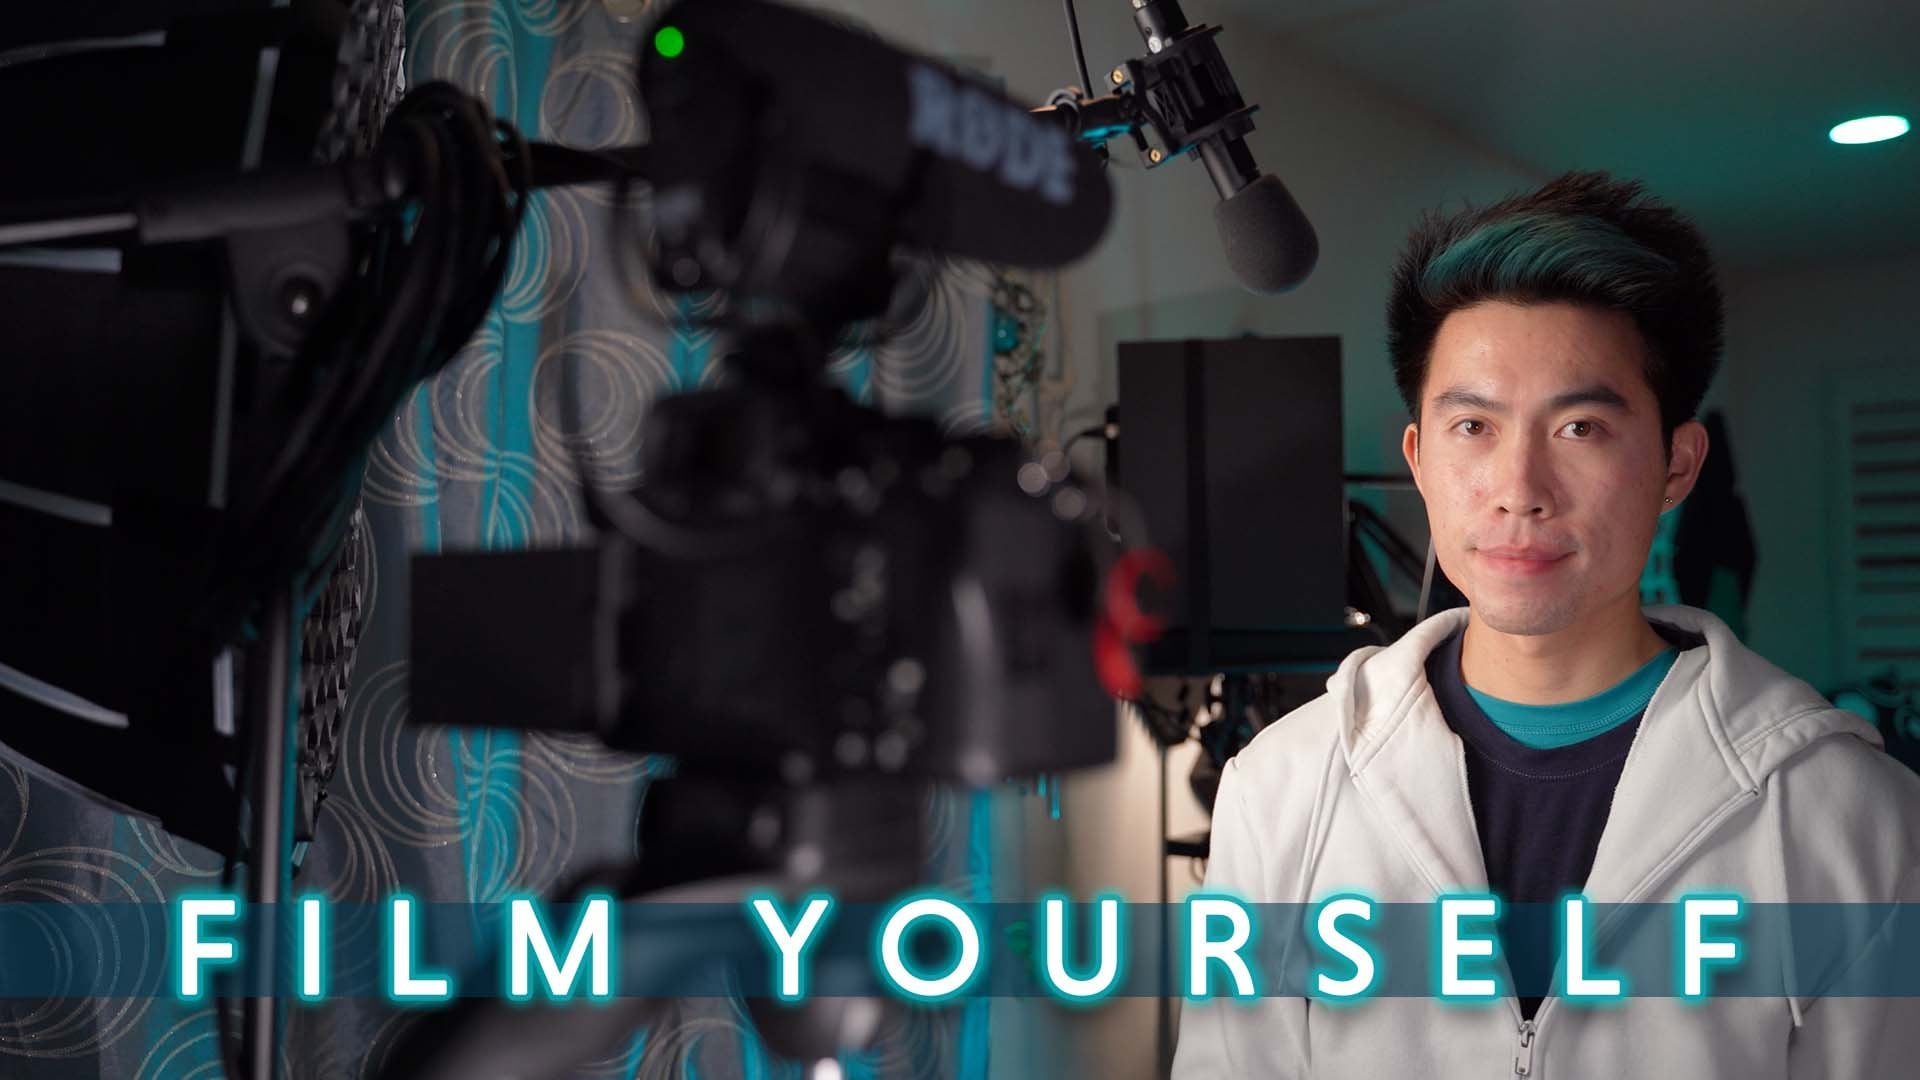
Transcripts
1. Class Introduction: Want to utilize your video creation skills to
make some money, consider looking into creating
product showcase videos. These videos are
generally shown as advertisements or quick
guides on product pages, and they're actually not that difficult to create,
if you know how. And that's what this
course is all about. How to create a
professional product video. Hi, my name is Scott Lou, and I'm a video
creator on YouTube. Been creating videos
of various types for about six years now, and I've been exploring
more ways to make money with my video creation
skills these recent years, which led me to product videos. So this course will contain
all the knowledge and tips that I've learned
based on my experience. So what will you learn exactly? Here's a quick outline. First, you'll learn about how to set up the environment for a product video and
how to add lights to that environment to make
it look more professional. Next, I'll guide you
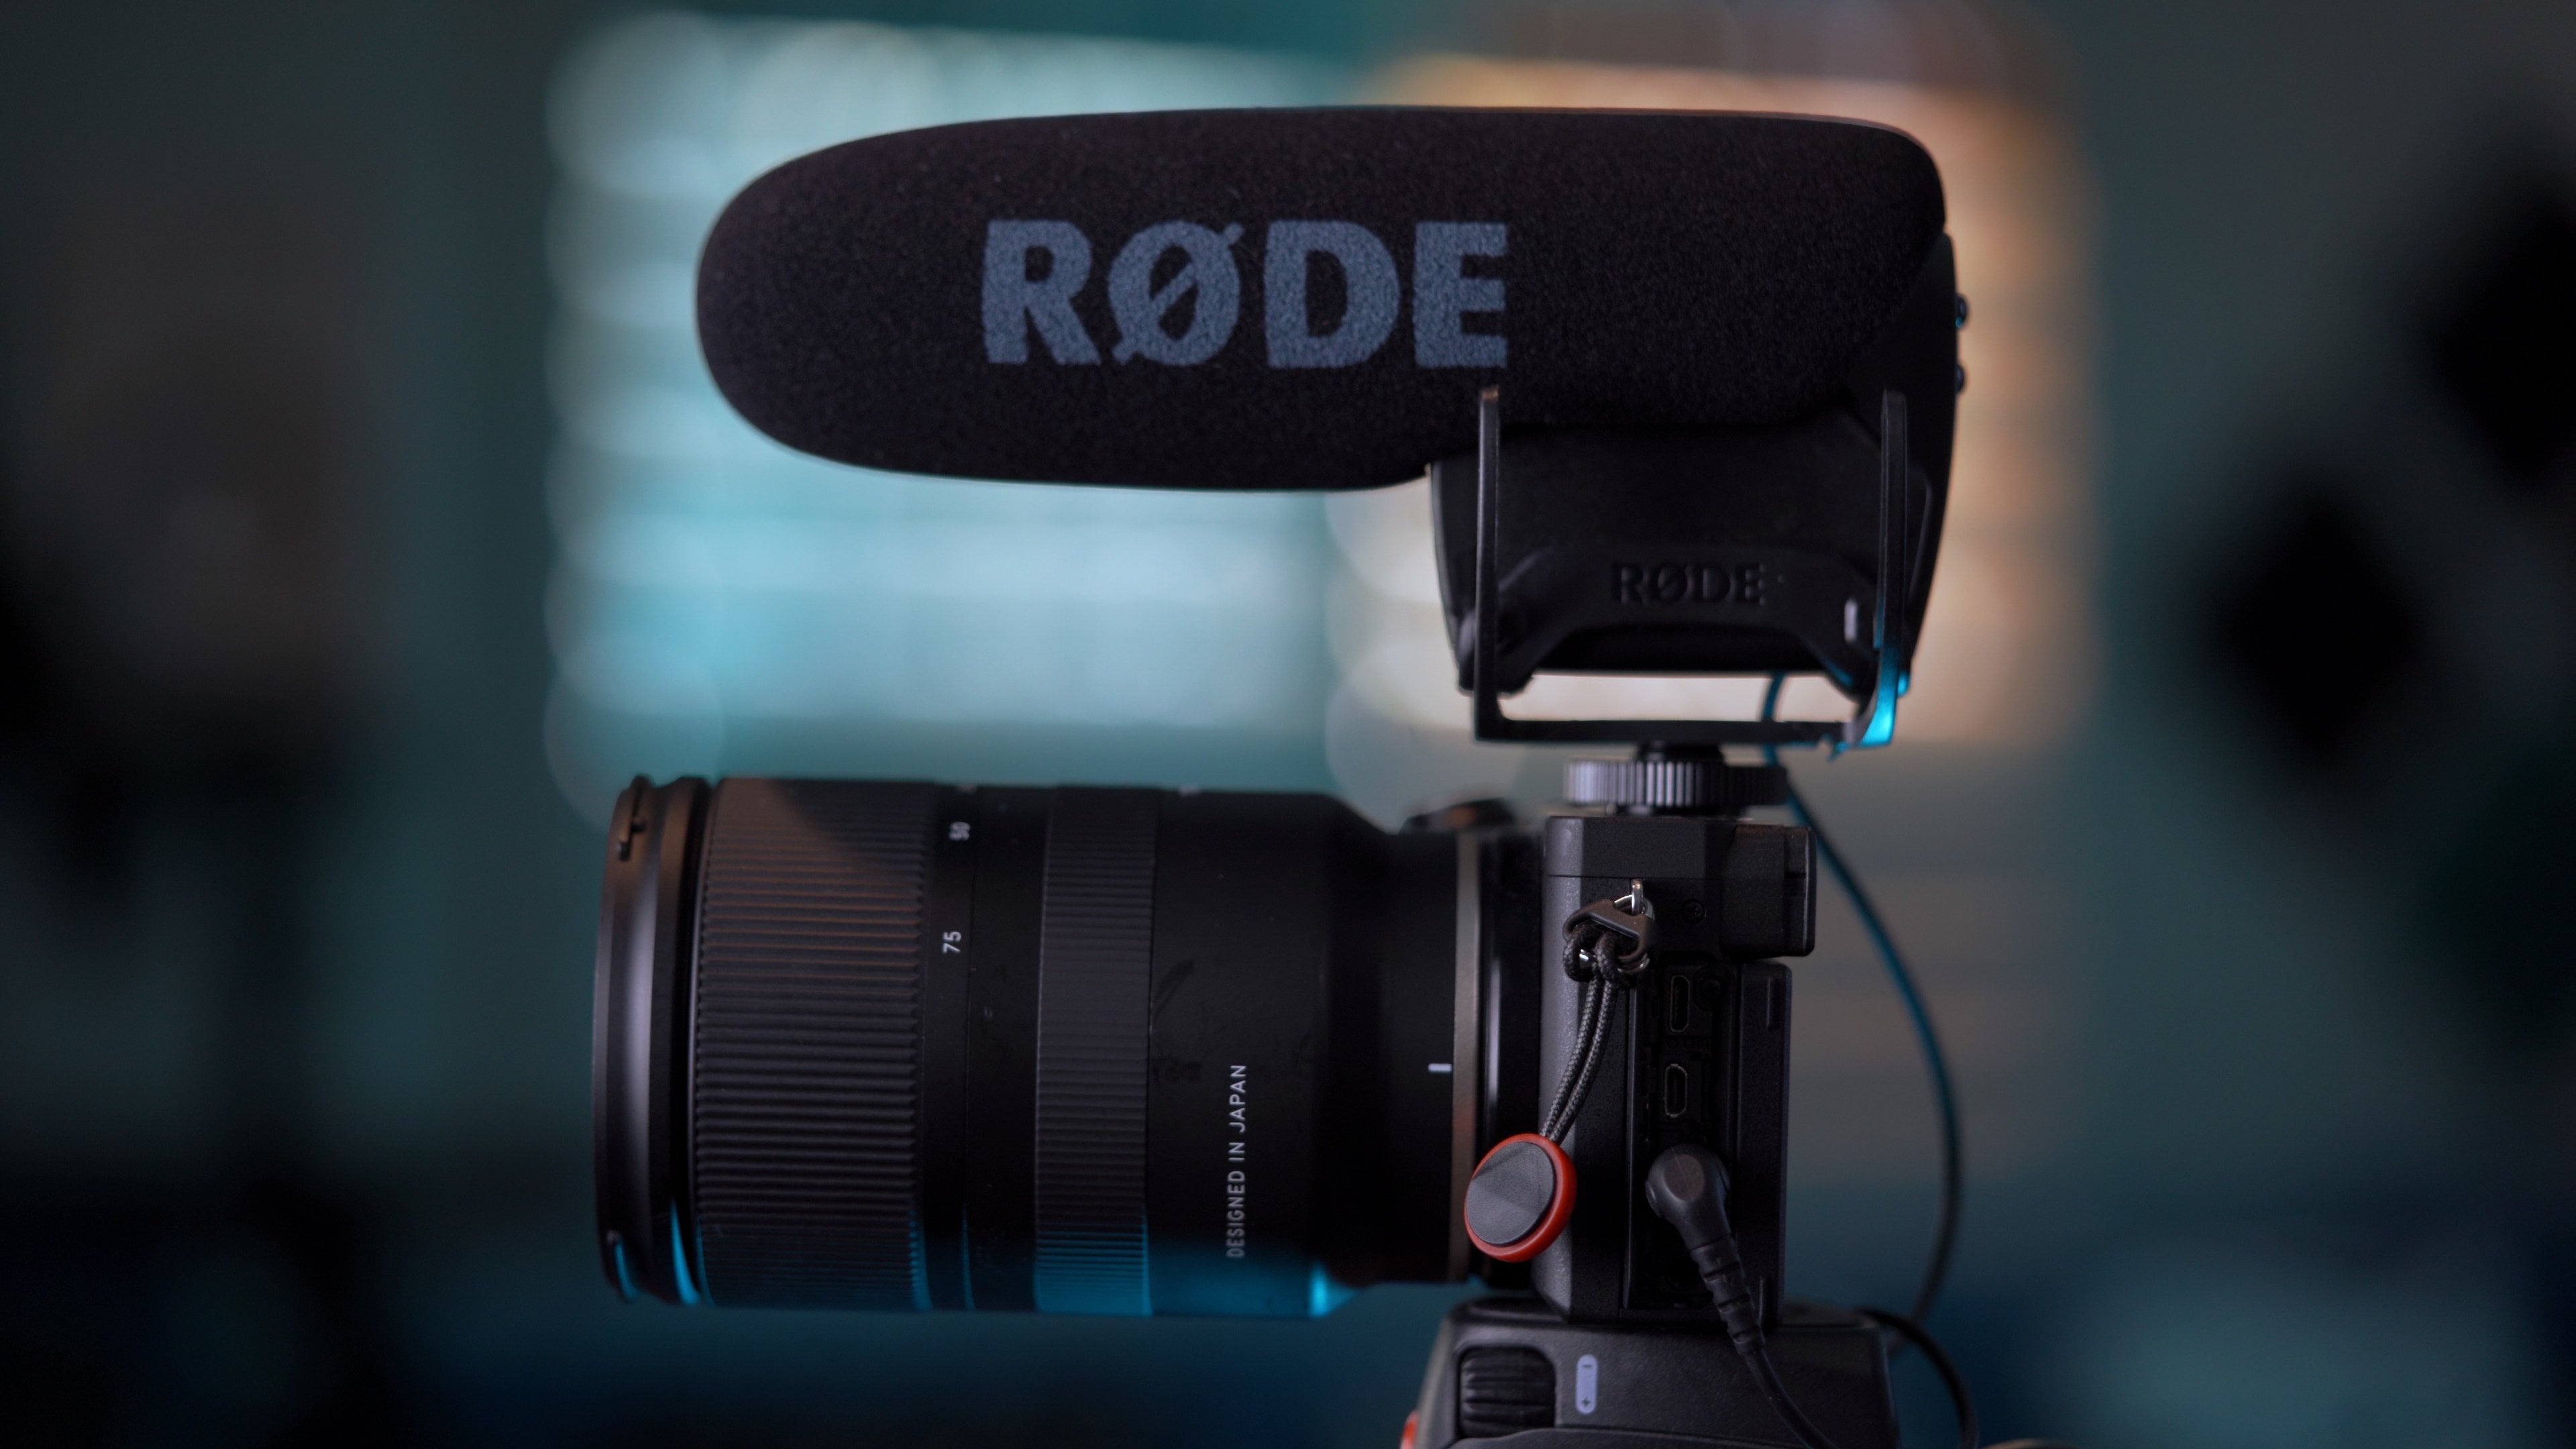
through how to find the right camera for the
job and how to set it up. Also mention supplemental
equipment that I find very useful for filming
smooth and clean shots. After that, I'll discuss how to communicate with
clients and how to approach the execution phase for the product video based
on what they say. From there, I'll go over a
quick guide on how to edit the footage to finalize and deliver your product
video to your client. And to close things off, there will be a walk through
section where I personally show you how I set up
my equipment and film. Right. So that's the overview for this class. Who
is this class for? I will say that I do go over some camera settings and
camera terms quite fast. So this may not be the
course for you if you're an absolute beginner with
no experience at all. But if you know the basics like ISO, aperture, focal length, the difference between 24
SPS and 30 FPS and so on, you'll be able to keep
up with no issues. I'll primarily be focusing on the product video
aspects rather than the generic camera and
editing tutorial stuff. So it's still very much beginner
friendly in that regard. Just not very friendly
to absolute beginners. With that said, anyone
who's interested in creating product videos will
likely learn something. The class project will
be to follow along each lesson and create your
own practice product video. There's also a worksheet
available that outlines the class lessons
and class resources, so be sure to download that. Creating videos has always
been a fun hobby of mine. However, knowing that
I'm also able to create videos for clients and make money from it is a nice bonus. So if you're ready to
also have that skill set, I'll see you in
the first lesson.
2. Set Up - Environment & Lighting: I lesson, we're going to cover how to set up
the environment, as well as the lighting for
the product showcase video. Let's get started.
First things first. Let's talk about how to set up the environment for the video. For this course,
I'll primarily be showing you guys
how to achieve this all white background look that a lot of product
showcases use. However, feel free to
replace these with any other solid color or patterns that fit your
product video more. The method that I'll
show you guys requires two flat surfaces that are more or less the
same shade of white. The first surface is what
the product stands on, and the second is
the background. Keep in mind that there are many ways that you can achieve this, but I'll show you
my personal method. I do is I use a
foldable table as the ground surface and place
a white sheet on top of it. And then I use a five by seven foldable white screen
as the background. Place both surfaces
as close to each other as possible to
create the best effect. Quite honestly, this
is probably one of the most flexible
elements in the setup. The foldable screen
could have easily been replaced with another white
sheet, but in any case, having some stands
like these photography stands to hold the sheets
or screen is very handy. Be sure to check out
the worksheet in the class resources that will list the specific
equipment that I have. Basically, a table,
two white surfaces, and the stands are all we need
to set up the environment. However, without any lighting, the surfaces don't exactly
look the most professional. But once we place the
lights in the right places, they'll look a lot better. So let's talk about
lighting next. Lighting is probably one of the most difficult aspects
about this whole setup. That's because it's
highly dependent on what kind of product
you're reviewing, how much you're able to spend
on the amounts of lights, whether your camera is
shooting in eight bit, ten bit, or raw, and what kind of shots you're
going for and so on. I'll go over the most
simple setup and some principles that will help guide you in how to approach it. Firstly, positioning
of the lights. At the bare minimum,
you will probably need two pretty strong lights. The first goal is to light
up the background so that it is one stop away from
pure white to the camera. Your camera's dynamic range is going to come into play here. My two main cameras
at the moment are the Sony A 74 and
the Sony E V one, which both have the capability of shooting in ten bit 422, which has a higher dynamic
range compared to eight bit. Basically just means that the maximum brightness
it can capture is higher before it clips into pure uneditable and
unrecoverable white. I use a tool in
the camera called Zebras in order to tell
when something is clipping. Each camera will have
different settings here, but for the Sony A 74, I set it to 94 plus while it is in the S log three
picture profile mode. I also have the ISO set
to the minimum value, and I have the shutter speed
set to the 180 degree rule. I'll explain the camera settings a bit more in a
different lesson. Now, this is all we need as a measurement for how bright
the lights need to be. Next is the second goal, which is to light up the
product so that there isn't a huge contrast in exposure between the
background and the product. This light will ideally
also light up some of the ground surface so that its exposure matches that
of the background. This way, it'll look as if the
two surfaces are seamless. To achieve both of these goals, I use an aperture
marked two lights with a soft box placed
to either the right, left or top of the
camera so that the product doesn't
create any harsh shadows. And I use a Gdox light with the cone directed at
the background surface. Take note that the placement
of these lights will change depending on the product and angle that you
want to capture. The rule of thumb is,
you'll want to adjust the intensity and angle
to avoid harsh shadows, reflections, and to achieve
the maximum image quality. Also, if you're
using a macro lens with a long focal length, you'll find that faster aperture settings will most of the time create too much depth of field because of the
thin focus plane, especially when you want to take a very close up macro shot. So in order to make this look better and have more
things in focus, you'll need to increase
the aperture number, which also lets in less light. Meaning you'll need to
increase the intensity of your lights if you want
the same image quality. And again, this is why
it's hard to follow just simple rules for what intensity your
lights should be, because it's highly dependent on the shot itself
and the product. It's better to
have the scale set of understanding how altering certain camera settings
and the positioning of lights can affect
the final image. With that said, with
these two lights, most of what I would want
to shoot would look good. Note that sometimes when
shooting at certain angles, the lights may not
be enough to cover some creases if you're
using a white sheet. In these cases, I use an iron to smooth out creases
on the sheet. Now, if you have more lights, it could help to add
them to the sides or place them in spots that can
help with removing shadows. Depending on the look
you're going for, you may want more
or less shadows, but if you want to
eliminate all shadows, having a really big
soft box or a light coming from the top of the
product would definitely help. Alright, the action step for
this lesson is to go ahead and try setting up the two
surfaces and the lighting. Trail different positions
and intensities for the light to see what works
for your camera and product. After that, I'll see
you in the next lesson.
3. Set Up - Camera: Okay, in this lesson, we're
going to cover the setup for the camera and the
supplemental equipment. Firstly, let's discuss
some essential specs for your camera when it comes
to filming a product video. This will help you understand whether you already
have a camera able to do the job well or
whether you need an upgrade. So when it comes to filming
a product showcase video, Clients tend to look
for someone who can deliver them sharp in focus, stabilized four K footage that can highlight the
details of a product. For me, the Sony A 74
checks these boxes. It has great auto focus, workable stabilization,
great four K settings, and there are high quality
sharp macro lenses available for Sony E Mount, that can honestly capture
the tiniest details. These days, most
mirrorless cameras have good auto focus and a
good selection of lenses. For stabilization, you can use a fluid head tripod to
film smoother shots, which is what I
initially did at first. For this, I used a man
froto heavyweight tripod, but I find that the
shot can sometimes still lack smoothness or
evenness due to shaking, and just overall human error or just me not
being good at it. A solution to this problem is using a higher frame rate
when you're filming, and then later slowing it
down in your editing program. This is where a camera that
has the setting of four K, 60 FPS or beyond
can really help. However, there is
another way of getting extremely smooth footage
with absolutely no shakes. Use a gimbal. With a gimbal, you
can basically use any tripod that's
capable of holding it. And the next step is kind of special to the Gimbal
brand that I have. The specific gimbal is
the DGI RS three Mini. Can hold most mirrorless
cameras with no issues. You simply need to balance it properly and then turn it on. And from there, you have the best stabilization
you can possibly get. What I personally do is use the DJI nan app to
control the gimble and create preset options
so that there's no room for any handling
error that causes shakes, creating the most professional
pans and tilts possible. I'll go over some of these
techniques in a later lesson. Now, let's talk about
the final elements necessary when choosing
what camera to film with. And that element is
simply image quality. On paper, even if
two cameras have the same exact specs with four K footage
recording capabilities, it doesn't mean that they will
produce the same results. Elements like dynamic
range, megapixel count, and especially what lens you use will play a big role
in image quality. The specific lens that I use
for my product videos is the 90 millimeter
Sony G macro lens that has an F stop
number of 2.8. Is a very high quality
lens that plays a huge role in why the
image looks so good. I really can't stress enough how important it is to
get the right lens. Finally, let's talk
about dynamic range which was mentioned before. The Sony A 74 has ten bit capabilities and
can record in S log three. This gives us more
flexibility during the editing phase to adjust
the contrast and colors. Order to turn on the setting, you need to navigate to the
picture profiles selections, which I set as the
trash can button, and adjust them to select S log three and essentially
just copy these settings. After doing that once, I just need to click on S log
three every single time. For me, I set this to
Picture profile one. And then I also make
sure that I'm recording in four K ten bit 422. For whether you're recording
in 24 FPS or 30 FPS, that really depends
on the project and what your client
is looking for. 24 FPS is known as the
very cinematic frame rate, and I view 30 FPS as more of a standard closer to
life kind of look. I personally prefer
recording in 30 FPS because it gives you the
most flexibility for what you want
to decide on later, since you can always slow down the footage to make
it 24 FPS in the end. After deciding on the
framemate, we are good to go. I'd say that overall, Tembe
isn't absolutely necessary, but it is helpful when
filming a white background. The end result will
simply be a cleaner image overall since the sensor
can take in more light, and that's pretty much
everything for the setup. The action step for
this lesson is to either set up your camera
with your tripod and gimble or upgrade it to match the minimum standards
of a product video. We'll discuss the execution
in the next lesson.
4. The Execution: All right. Now that we
have everything set up, it's time to execute and
film the product video. Let's talk about how
to approach this. Most likely, if you're
filming a product video, your client will
already have in mind what they want that
video to look like. In the best case, they have a reference video that they want you to take
inspiration from. In the worst case, ask them for a reference video before
you accept the job. The reference video is extremely helpful in
understanding what kind of video your client wants and
what they expect from you. So working without one is
kind of like working blind. Always be clear with
your communication from the beginning and ask the
client what they want exactly? Do they basically
want the same angles and shots as the
reference video, but with their product? Do they want a specific
colored background? Do they want text to be added, and do they have a preference for what font they want to use? Are they able to
create a storyboard for you of what
they're imagining, or are they giving
you creative freedom based on a script they have? Asking all of these
questions can help clarify a lot of things to make
the process a lot easier? Regardless of how your client
answers, before you begin, you want to have a
very clear shot list from beginning to end. Most product showcase videos are somewhere in between 30
seconds to 60 seconds, so this shouldn't
be a hard test. Usually, the product showcase
consists of talking points that show off the features
of the product or the specs. The simplest way to
approach this is to make a shot list
that consists of filming multiple
angles of the part of the product that represents
the feature mentioned. Client was very clear with
their storyboard or shot list, getting a few takes
of the exact angle and closeness that they
want is good enough. In other cases,
if you don't have a very clear direction
from your client, you'll want to take
even more shots of the same feature just to have extra footage to work with in case your client doesn't like a certain angle or
would have preferred that you took a closer up shot of a certain part
of the product. I think a good rule
of thumb is to at least do one full view shot. One medium close up shot of the parts of the product
you're highlighting, and then one detailed close
up of that same part. And depending on the product, you may want to get a
few different angles as well for each distance. Of course, there's no
magic formula for this, and I think part of
what actually makes this fun is just trying
different angles, trying to create Zoom effects in different ways or trying
different gimble functions. If they're giving you
creative freedom, then you have the freedom to be creative and
have fun with it. Right. The action step
for this lesson is to practice what it would be
like to work with a client. Perhaps find a reference
video of a product you like and try to
create a similar video, but with a different product. Create a shotlist
that's based around the features of the
product and begin filming.
5. Gimbal Guide: In this lesson, I'll
guide you through how I personally use the DJI RS three Mini and the DJI Ronan app to
film product videos. Before we begin, I
want to mention that even if you don't
have a DGI gimble, I think watching this
lesson will help offer some insights
on how to approach achieving hyper smooth shots
or perhaps convince you that it's worth investing in one if you want to create a
lot of product videos. Right. So the DGI RS three Mini. The first step is to
balance the DGI gimbal, which is done in pretty much the same way as any other gimbal. It takes just a
little bit of time, but make sure not to skip
this step because it's an important step to make sure everything runs smoothly
for your gimbal. And one thing I
really like about this specific one is that it has an indicator
telling you whether or not something is
off in the gimbal, and whether or not
you need a correct After you finish balancing it, you can go into motor parameters
either in the app or on the gimble itself and adjust the stiffness settings
to your liking. I set everything to
a pretty low number because I want smooth shots that feel like they're gliding. But feel free to adjust
them as you like to see how each setting affects the look and movements
of your shot. Now everything from here on
will be in the DGI nan app. After you're connected, go
ahead and click Create. You'll see some different
options on how to basically control the
Gimble using the app. As a demonstration,
let's go ahead and go into the virtual joystick. This is what I use on occasion
to control the Gimble freely without worrying about causing a shake by holding it. Of course, if you have
very study hands, it's definitely possible
to do this with the actual gimble itself
without causing any shakes, but I do find that the
virtual joystick can offer some advantages when it comes
to fine motor controls. Also another option
called Force Mobile, which is a setting that makes your Gimble follow
your mobile phone. It's a pretty cool
function that can be used more for complex shots, but I hardly use it at
the current moment. Okay, F here, let's
jump into track. This is the number one
tool that I use the most. Basically, what you
can do is create a preset path for the
Gimbal to move on. We recenter it and start at the middle and reset the points. We can move the camera with
the joystick to the left, create point number one, then move the camera with the
joystick to the right, then create point number two. From there, you can hit
the record button and it'll move the camera
from 0.1 to 0.2, sort of like how keyframes
work when you edit. You can also adjust the time and duration that it takes moving from 0.1 to 0.2 for
an even smooer shot. And this function isn't
just limited to two points. You can add pretty much
as much as you want. As you can see, by
using this tool, you can achieve any
pan or tilt that a fluid head tripod
would do without any of the shake caused by human error or an uneven
ground or whatever, and you can do it with ultra precise timing and smoothness. That is pretty much
all there is to how I use this gimble for
my product videos. Of course, there's a lot more potential here than
what I've shown you. Definitely have fun
with it and try to be as creative as you can be.
6. Quick Editing Guide: Everything filmed, we move
on to the editing phase. So for this lesson,
I'll go over how I approach editing product videos. Before we begin, I want to mention that if
you're looking for a more in depth editing guide on how to use
Adobe Premiere Pro, I have a different course
that covers how to do just that in blazing speeds. This will simply be
an overview of what the process is like when
I edit a product video. Also take note that for this, it doesn't really
matter too much what your editing program is, as long as it can export four K footage and do
some color grading. I'll be using Adobe
Premiere Pro, but something like
the free version of Da Vnci Resolve should be able to achieve
the same results. Okay. After importing
your footage, create a timeline and
drag in all your footage. If you have a shot list created and you shot in
chronological order, according to your shot list, you pretty much don't have to do any reorganization
of your footage. All you need to do is
look through them. Find the money
shots and then trim it and either delete the rest or disable it on another layer to keep it there just in case
you want to use it again. Basically, repeat
this process until your timeline matches
the shot list, and you're done with
the cutting part. Also, while you're
doing the cutting, you can add some
effects as well. The simplest effect that
you can add to most shots, especially static
shots is to zoom in very slightly by using
keyframes for scale. Go into the effect
window and make sure that you're at the
beginning of the clip that you want to add the
zoom effect to and then hit the scale keyframe and then move the cursor to
the end of the clip, and then increase
the scale by a bit. I personally prefer
a subtle zoom, so something like plus
seven should work fine. Of course, this also depends
on the length of the clip, so just be careful here. The shorter it is, the smaller the number
you want it to be. Okay. After that's done, the next step is to color
correct and color grade. Personally, I like using Luts. So I just pretty much drag and drop a preset ut
that I've created. Again, my other course has a more detailed guide on how to do this for
Adobe Premiere Pro. However, for this one, specifically to product videos, there are more steps
that need to be done to make the
footage look good. The reason being is
because for this one, we're working with
a white background, and sometimes that means we have to adjust the
highlights and shadows of the image so that the darker parts don't
look too washed out. Opening luer color and
increasing contrast and decreasing the shadow sliders
can help with that a lot. You can also adjust
the whites, blacks, and highlights just to see how they change
the image overall. The effects of this
will definitely vary depending on your setup. For instance, for mine, if you decrease the
highlights by a lot, you'll actually see the
texture of the background, which is definitely
not what we want. So adjust all of
these accordingly to the vision of the
video that you want. And another effect that you
might want to adjust in the lumetri coolor panel is
the vibrancy and saturation. This can help add
an extra punch to your image depending on
the needs of your client, as well as the products Niche. After color, the next step is to add text if your client
is asking for it. For me, I use a tool
called Premiere composer that has some preset
made text animations. I found that
sometimes my clients prefer simple fade
ins and fade outs. So I was able to create a simple text graphic
in Premiere Pro natively and simply
copy and paste it to other places
in the timeline. Sometimes something as simple as cross dissolve
can do the job. If you're on a MAC, you can
add the cross dissolve effect by hitting command D while
highlighting the clips. Keep in mind that this part
is really up to taste. I think a good rule of
thumb is to not have too many variations in text size and to try keeping it
looking consistent. Perhaps something
like two sizes like a main header and
a paragraph size, if smaller text is necessary. But usually, the less
text, the better. The final step is to add music. There are a lot of
royalty free music out there that you
can find online, like from YouTube's
music library. Another option is to
sign up for one of the music licensing
subscriptions or to just buy a single music license and
add it to the cost for the client if they want a more professional
sounding track. Usually categories and tags
in each of those platforms, and sometimes they
even state like corporate videos or
inspiring music. And that is basically it. From there, it's
just a process of exporting drafts to
send to your client, letting them review it, and then adjusting things
to their liking. Sometimes that even might
mean reshooting some things, so just be prepared for that. Alright, so the final
step is to take your practice footage
and stitch it up together to create your
own product video. Best of luck.
7. Walkthrough: Setting Up: All right, so we're
about to begin the walk through
section of this course. And for the walk
through section, it's going to be a bit
different of a style. It's not going to be really me talking to the
camera like this. You're going to see me
do it in real time. So it's going to be a bit
slower and a bit more detailed compared to the summaries and explanations I've been
giving you guys so far. Okay, so here we are
starting from scratch. Right now, I'm going to go
over basically the entire class entire course,
and step by step, create what you have
seen in the examples. So, let's go ahead
and start off. I have everything
scattered about, but the easiest
thing to start off with is the table right here. I'll also have another
camera recording, so it's not just this really, really wide view shot, so you can see some
of the details. I'll go ahead and cut in
between that and this so that you guys have a better
idea of what I'm doing. Right now, I'm
basically just going to unfold this table right here. And these ones are
pretty cheap overall. I'll go ahead and describe in more detail, like
what I'm using. So I found this table
right here on Amazon. It's a pretty overall
easy table to unfold and also stack back in to wherever storage space
that you want it to be. It's not really a tutorial on how to unfold and
unstack a table, but it's good to know exactly the resources
that I'm using. Again, I'll link these in my worksheet so that
you have access to it. And for this one, I'll go ahead and increase
the height just a bit because it's going to be a little too short, the
way it is right now. So a very simple table
like this works very well. It's already white, so
potentially it could work, but I like to add an even, like, sort of purer white on top of it because I think it
looks better overall. So as you can see
from the other shot, this is a folded white sheet, and there are indeed
creases on it. But fortunately, when you
do shine light on it, and film it using the camera. You don't really see
the creases that much. But let's go ahead and see how
it goes if it's necessary. If you know, if we
can see the creases, we will need to use this iron and just iron it out a
bit. It's very simple. You just put water, plug it in, and wait for it to
heat a little bit, and literally just go over it. And then right after this is the back portion.
Right now, I have I'm going to use is an
e marked sort of stand. So these ones are very, very compact, which I like. Sometimes for the photography
stands, you know, there's two of them, two stands, and then 1 bar in the middle. That one also works pretty well, but sometimes I like
the more compactness of just one stand and just 1 bar. Because most of the time for
product videos that I shoot, they're for smaller products, and I don't really need a
huge white background. So One stand like this
does pretty well. So basically, it just
looks like that. We'll go ahead and center
this table a little bit more. Then the next thing is this background right here
in the second surface. So this thing is it looks small, but once you fold it out, and I got to be
careful with this. It's actually pretty big
when you fold it out. And let's go ahead and just
get it over the table. Then luckily there are
straps right here. This specific one
is five by seven. The brand is from E Mart. And as you can see,
the texture of this thing is not
actually pure white, not as white as the
table, the table cloth, but it still does the job well if you shine
ar light on it. It's one thing to
know is if you have the table like slightly
away from this thing, you'll begin to see
a lot of shadows casted right near the
vertices where they touch. So that's just something
to be careful of you. That is pretty much it for
setting up the environment. Pretty quick, and the
next step is lighting. I'm going to go ahead and use this sort of camera right here. Let's add, I'm going to
add a stand right here. Okay, now that we have it here, we can use it as an example. Test out exposure, test out
a lot of things, basically. And the next step is
to add the light. Right now, I have it
already on the stands. I have the aperture
120 d right here. This one I've had for
a very long time, and it does the job quite well, and I have the mini on it, the aperture dome mini. I also have the
much bigger version that I might take out later. And then this is the other one, the Go Doc V L 150. I actually don't really remember the names of some of the
equipment that I have sometimes. I just use it, but I always
do research beforehand, and this light, in particular is Pretty similar to the
aperture 120 d two. But we'll go ahead and put
this on the side right there, and this one needs
to be shining on the background without
hitting the product. So the best way to do that is to have it
come in from the top. So this thing needs to
increase in height by a lot. Still casting somewhat shadows, so we could center this
a bit more, but for now, we'll leave it, since we will be using this light as well. So you can see that that
thing is pretty high up, and it's shining down like that, and you can see the shadows. So let's see if we
can fix that later. But for now, this light is here. And let's set up the camera so we can
actually test the exposure. So right now, we're going to be moving around different steps because I'm going to
just show you guys the camera stuff since we
need to set it up right now. In the lesson order,
it's slightly different. So let's go ahead and
set it up on the table. Move this aside a little bit, and then you can
see everything that I have right here
for the equipment. So I'll go ahead and
set up the gimble first. I have it out already. The nice thing about this gimble is that
it can lock itself, and it's not just moving around. But in order to get
it onto this gimble, attaching that to the tripod first makes more sense.
So let's do that. So the tripod right
here has a plate, and for the plate. What I like doing is
because the tripod has or the Gimble has three
by four screw right here. It's easy to just attach something like
this onto it first. So this is like a quick
release plate, basically. And everything that I have, I have as quick
release at this point. It's just a nice touch. It's like every
camera that I have, I have a quick
release plate on it. Every tripod that I have
usually already has this on it, but I took it off for
recording purposes. But let's go ahead
and tighten this. It's important that
it doesn't fall off. So this one right here just
goes on the plate right here. Got to make sure I'm doing
this on the right side. Okay. That should be fine. I have a quick
release right here. I can put this plate on, and from here on, I basically don't need
to take the plate off. All I need to do is slide
this in and tighten it. Just giving you
guys a closer view. So the quick release
plate right here is attached now to sort
of like a different. So this is a quick
release plate, yeah, but I'm putting a quick release a smaller one on another one. So that it's easier to just slide this on like this
and just tighten it. Now it's ready to go. Normally, you would
put this on the camera itself or put this attached
to the gimble itself, but it kind of takes
more time to do that. Okay, so from here, we
can balance the gimble. And as you can see, I have
the lens that I mentioned, which is the F 2.8 90
macro G lens from Sony. And again, this lens is a
really, really great one. So in order to balance
it, right now, I'm going to release
all the locks. So that it can move. And let's position this as if I'm holding the gimble so
that I don't get confused. And what you do is
you slide it on. I already have the
plate on the camera. It pretty much lives on
this camera specifically. So that's easy. So, what am I actually going
to do is lock the ones that I'm not trying to
adjust at the moment. So this one seems okay. It's still moving, so I should
adjust it a little bit. But honestly, sometimes,
I don't mind having it just as long as it's not like full tilt going one
way or the other. Having it a little bit
loose like that, it's okay. Like, I personally don't
think it matters that much for a better gimble and
for a lighter camera. The next step is this access, so let's slide it out. And I sort of already
know where some of the numbers should be
based on just experience. So the more that you do this, the more it's just
going to feel easier. So it's definitely leaning
towards the left side, meaning it needs to go
to the right side more. Now it's going to
the right side, I'm going to go back
right side again. And sometimes adjusting
it just a little bit causes it to change
quite drastically, so that should be good enough. It's not perfect again, but it's good enough. We don't want to
waste too much time just balancing the gimble. And for the most part,
this other side won't really be needed too much because it's going
to be kept straight. So I'm going to go
ahead and turn it on. And you can see right here that it'll tell you whether or not it's balanced
well enough. Right now, the icon is green, so there are no issues.
So there we have it. That is the Gimble setup. And just from doing that,
I'm going to go ahead and show you guys like what
it already looks like. I didn't change
any of the lights. I didn't change the
positioning that much. I didn't adjust intensity. I didn't even adjust
camera settings, but this is what it
looks like right away. And to me, that already
looks really good.
8. Walkthrough: Camera Settings: I'm going to do is also turn on my bluetooth on my
camera right here. There's a Bluetooth
function that you can look for
inside the settings. This is a camera recording a
camera, recording a camera. Well, actually a
camera recording a camera recording a
camera recording a camera. It's crazy. Here we go. So right now, as you can see, I have four K 30. There's also proxies
turned on, 422 bit, 42210 bit, and then autofocus is currently on four Bluetooth
settings right here. I created it and
made it a favorite, but you can find it on the connectivity stuff.
There it is Bluetooth. That's where you find
Bluetooth function, and you can turn it on. That way, it connects
to the gimble itself, and you can just press this
record button right here. And theoretically,
it should Yep. There you go. It should record
it without me touching. Yeah. But that also means that we can access it
through our phone. But we're not quite
at that step yet. Let's go ahead and show you guys the Zebras. So right now, you can see that I
made a custom zebra. It's lower limit right now. You can change the settings
by going right and you can change like standard
range or lower limit. I choose lower limit 94 plus. And let's actually
change the ISO a bit. Since we're doing S log
three on this camera, 800 is actually the base ISO. So we adjusted that. We're using F 2.8, and as you
can see, picture profile, one is where I set S log three to be. I'll
go ahead and go into it. You can see that the gamma
is set to S log three, and then everything else
remains pretty much the same color mode is s gamma three dot
s, saturation 00. And the only thing
that changed is detail is set to minus seven. So that's all you
really need to do for that and hit
picture profile one, and you have basically
the highest dynamic range you can get out of this camera. So now you can also see on the histogram right here. Like, we're exposing
to the right, like, maybe too
much to the right. But at the moment, there's no zebras right now showing
us that it's over exposed. Let's actually try to cause
some zebras to happen. So I don't know why I'm
holding this thing. I should just set it up so
that I don't have to hold it. 1 second. Okay. And then we're just going to increase the
intensity of this light. There you go. Now you
can see the zebras. I've increased the intensity so much that it's visible, and I can adjust the light using
this wheel right here. So let's go ahead
and show you guys. 49% is right around and I
can adjust up and down, and that is the Kelvin for
what color the light is. So 49% is right about where
we start seeing some zebras. And you can even see zebras
on this camera as well. So they're definitely
different levels. Your camera is going to be
the one determining it. The dynamic range
will be different. So this is the ZV one, ZV E one, and this is the Sony A 74, and they do have different
dynamic range levels. Okay. So right around
there should be good. Again, let's go ahead and
show you guys what it looks like at a lower here. I'll just record, hit record, and now you guys can see what it looks like when I
decrease the light. At that point, the background
is no longer white, and closely, you can see more of the texture
of the background. For the time being, let's
move this a little bit back. So that we can see
more of the product. But yeah, especially
when you back up, you can see more of the texture. So let's go ahead and
increase that light again. And even at a lower percentage, it already looks significantly better with the light
versus without the light. Let's go ahead and turn
off this light right here. And as you can see,
some details are Well, at the moment, we actually
have that light hitting both the product
and the background. That's why without this light, it still looks pretty good. I also have a golden tins right here coming
off of the dome, so you can sort of see it. And let's actually
move the light so that it's where it should be, because so far we
have just been doing camera demonstrations
without actually optimizing the
position of the light. So this way, it's more just
on the background right here. And to be honest, it if we
move it to this position, it doesn't need to be as high. So I've been having
this record so you can sort of see
the difference now. The background is much brighter. And we can go ahead
and move this one in a little bit.
Let's turn it on. One thing that's really
hard about this is sometimes if you have it too
direct next to the camera, it does cause reflections, depending on what
the product is. So for something like
this, it might be better to just angle it so that the light doesn't
shine right back into the lens versus the
let's go ahead. Actually film this so
you can see it properly. So this is right here. You can sort of see more that the light is
being reflected. And then the more that
we go towards the left, you see that reflection
being cut off, but we're still
getting the product to have more light in the front. But overall, because
it is black, it doesn't seem to change
that much for this occasion. Let's go ahead and try
to add something that's a bit more shiny or not shiny, but just brighter in color. Now you can sort of see that, you can see the edge of the back background
and the front one. The floor surface and
the background surface. For this, it's not too bad. Like, you don't actually see
much of the creases at all, and the shadows aren't
really that bothersome, but we could adjust
it accordingly. To make it to make the
shadows less visible. So sometimes for each shot, you might have to
reposition the light. Ideally, you do reposition the light so that
it looks the best. So I moved the light
over there so that it's casting less shadows on the fox. Let's actually lower the
background a little bit. This is how it looks
without any light, turning it on just a little bit. If you were to try to
get out of the shot, without any editing,
something like this actually works
totally fine. And because I'm
using a cone light, it's actually hitting the
surface of the doll's face. So in a lot of ways,
I could just use this light right now for
this product in particular. But it depends again on
what you're filming. This one's intensity
is pretty high, so let's turn it down a bit, but you don't see too big of a difference. Looks pretty good.
9. Walkthrough: Gimbal: Okay, F here, what
I'm going to do is use my DGI Run in app. I'll go ahead and record
my phone as well. Okay, so I have the
DGI Run in app. I'm going to click
it, and it's going to connect automatically because
I already set that up. And if you haven't done it yet, it should be pretty simple, as long as you have this gimble on and this thing right here. There's a way to adjust the
stiffness of everything. So I'll go ahead and zoom in on this a little bit so
that you can see it. But as you can see,
it's green right here, so that means it's
balanced well, and then you can record hitting
this button right here. And if you click
on the left side, you can either calibrate it or just hit stiffness
right there, and you can change the
settings as you like. So these are the settings
that I have right now, but I may adjust them in my phone by clicking motor
parameters right here. It's the same thing, basically. Then now we can click Create, and the first thing
we're going to try is the virtual joystick. With the virtual joystick, you can see right here that I'm moving it and this
thing is also moving. The gimble is also moving. You can also hit
record from here. If you hit that button,
it's now recording as long as you have all the bluetooth functions connected properly, and now I can get the
shot that I want like that.'s also smoothness and
speed that you can adjust. So if I were to increase the
speed or lower the speed. I prefer lower speed because most things are not
filmed like super fast. So something like
let's try five. Something around five
looks pretty good. And then for smoothness, everything being
pretty high is solid. So these numbers right here. Let's go ahead and
hit Stop recording. And we can also now go back to filming the
camera and stand. So I'll do another example
for the virtual joystick, and it's a shot where I'm
simply panning upwards. And it's out of
focus, unfortunately. Sometimes this can happen
with this lens, especially, and when I move from
one thing to another. So and the tilt speed
is pretty slow, so let's turn it up,
and there we go. I felt like that
was a little fast, so I would need to do it again. But let's go ahead and
do the other ones. Let's try force mobile now. Again, force mobile is a
very, very interesting thing. So let's enable force mobile. What's going to
happen now is that it follows what my phone is doing, which is actually
really, really cool. So you can do some pretty
cool things with that. It's unfortunate that it's
very difficult to control. Like, it would be more useful if my hands were
steadier basically. So I don't really use
that mode too much, but it can be pretty cool
for certain creative shots. Finally, the last
thing is track, like I mentioned in my Tutorial. Okay, so first, I'm
going to reset this. In order to do that,
I have to click on my previous ones and click
this trash button right here. I from there, the camera has
basically recentered itself. I can move this with the
joystick on my phone, but I'm going to just move
the joystick right here. It completely out of the camera. Create a waypoint by
clicking this plus button. I wanted to stop right there, so I'll hit another waypoint. And you can have, as you saw
earlier, a lot of waypoints. There's also number two has a movement
duration of 2 seconds. You can sort of preview
it right right now, actually, but I'm going
to hit the record button. And it does it on
his own like that. And it also stops the recording, too, which is super cool. So that felt a
little fast to me. So what I'm going to do is increase the seconds
to 6 seconds instead. Hit one hit record. And there was some
funny business with the focus, unfortunately. So let's do that one more time. Yeah. So it starts out of focus, and then it becomes
in focus afterwards. So, I actually don't want that. Let's turn this
into manual focus, and I want it to
be I want it to be already in focus
once we get there. So that's pretty
much it right there. So now it's a manual focus, and we can just hit
the record button. As you can see, now it
looks a lot better. The focus isn't changing. Especially as important with
this lens because this lens, it's very long and
it's a macro lens. So it has a tendency
to just focus on, if there's any depth
whatsoever to the product, Like, there's going to be some changes in focus sometimes. So manual focus will be useful. I'll go ahead and
change it back to auto focus, and that's
pretty much it. Like, there are so many
things you can do with this that you don't need to do anything with the tripod at all. So this right here is
not very useful anymore. In fact, I am likely
going to sell this tripod because
it's very heavy. It's good for this actually if your gimble is really heavy, but this gimble is really light. So it's good for this method
if your gimble is heavy. But for me, this gimble
is really light. My camera is really light. So having a super heavy
tripod is not necessary, like a normal tripod
could also do the job
10. Walkthrough: Fluid head Tripod: Case you don't want to
do this gimbal method. I'm going to just
show you guys how I use this tripod on its own. Tripod usage is
very, very simple. You basically just
need to move this. But for this thing,
a fluid head tripod, there's ways to loosen
it and tighten it so that it's more fluid,
it's more smooth. So let's bring the camera up a little bit
and show you guys where I change the settings
for this fluid head tripod. This one right here is the
stiffness for the tilt. It's the same sort of
idea as the gimbal. So tilt right here is
going up and down, and the stiffer it is or
the less stiff it is, the more I can, like,
just move like that. The faster I can move. And the more stiff it is, I can move only this fast. I'm putting all the
force I can on it, but it's moving
slowly, basically. So, again, very pretty much
the same as the gimble, but have to control it by tilting using this
stick right here, which if I were to like stutter, like I would just
like accidentally stop or not go the
correct speed, you know, like, it would
not look perfectly smooth. That's why using
the remote control is so much better in my opinion, but let's go ahead
and actually show an example of the techniques. Just going up like that. Okay. And I probably should not put my hand on the camera that adds more factor or room for error. Just like that. And that's
the tilt right there. There's another way to adjust
the camera and is the pen, so going left and
right like that, and then loosening it so
I can go even faster. So let's tighten it.
Basically, for me, what I do is I keep
it pretty tight so that we're getting the shots
more in a smoother way. So let's try to replicate the shot that I was trying
to get earlier. And it's pretty good. It's not bad. Like, I can get similar shots as
with the Gimbal. There just might just
be more tries involved. I might stutter
sometime, so I'm like, Oh, I need to redo that. Whereas the Gimble, there's
like zero room for error as long as you create the keypoints and use that preset method. But yeah, the lens right here
is very, very important. It is the thing that does a lot of the job
regarding image quality. And of course, the camera itself does a lot of work
as well, A 74.
11. Walkthrough: Different Angles: This set up right here, I would just record that, perhaps adjust the
height sometimes if I'm trying to get a
specific part of the camera, like the back of it, need to go closer for close up shots. And this is another
aspect to why I don't like heaviness
in the camera. But for a shot like this, probably want to be facing the direction of the
light just a little bit, so there's less reflections, and I can turn up this one because the
background is higher. See, this is a situation where the light is closer to the lens. So it really depends on where you're shooting
from the angles. You have to move the
lights accordingly. I don't like the
way this is tilted. So I'm gonna just adjust
this a little bit. Right now, I'm using the tripod. So what I'm going to do
is just put one finger on it and have it slide
from left to right, and that is the shot. And then, like I said, in the example lessons, what you can do is get even closer for more detailed shots, especially if you
have a macro lens. It's really cool to do. But it's hard to do sometimes
because of the focus. So you might need to add
extra light and turn this aperture down a bit to
get more stuff in focus. But that also means increasing the intensity of the light so that you're not
working with a shot that has a dirty image because you don't
have enough light. So moving the light here, increasing the aperture, so
more things are in focus, and even spilling
a little bit of this cone light would help with that
difference in aperture. So now my aperture is at 6.3, and more things are
in focus in the shot. As you can see, I'm just
moving it with my finger. And if I were to, for instance, change this to a sorry
wrong. Lower aperture. You can see that a
lot of things are no longer in focus
compared to before. So the F N was in focus
earlier. There you like that. 6.3. Yeah. So that's
one thing to note. And that's actually a very,
very important thing to note. The lighting will shift around as you're shooting
different angles, and if you're shooting at an angle where you want
more things to be in focus, you're going to need to increase the aperture of your lens, especially a macro lens, and especially if you're up
close, shooting great detail. But yeah, I can go on with filming all of
this and making a very, very long walk through, but I think you guys
get the gist of it. So this is essentially how I personally shoot
my product videos. I know from this angle, it looks kind of like
not professional, but I think the only thing
that really matters is the final video
that you deliver to your client looks professional, not the setup itself. So this is sort of like using
a very, very budget setup, not like a studio
setting and still filming a good
product video because everything here is other than the camera and the lens,
relatively inexpensive. So hopefully this walk through
can help you guys out. Looking into the
process in more detail, compared to the lessons where most of the things were the essentials
and the summary. Okay, that's pretty much it.
12. Conclusion: Congratulations on making it
to the end of this course. Here's a summary of
what you've learned. First, you learned
about how to set up the environment for
your product video and how to add lights to that environment to make
it look more professional. Next, you learned
about how to set up the camera and supplemental
equipment properly, where I also threw
in a quick guide on how to use a gimble
for product videos. After that, we talked about how to communicate with clients and what the steps are for executing in the filming phase. From there, we quickly overviewed
how to edit the video. And to close things off, I walked you through
how I personally set things up and film in
more or less real time. Hope you were also able to finish the class
project by creating your own practice video while following along
with the class. Feel free to post
your finished project in the class projects section. Finally, I want to thank you for making it to the
end of this course. If you feel like you've learned something useful or
enjoyed the class, I really appreciate it if you
give this class a review. And hit that follow button. It really does help a lot
to get some feedback. And once again, thank you and best of luck with your projects. I hope to see you
in the next class.