Transcripts
1. Class Introduction: Guys, check this out. I got a camera right here, a camera right there, and a camera right here. Right now you're seeing me using the Premiere Pro Multicam tool. As you can see, it's definitely a pretty cool tool to use, and I definitely think you should be using it if you're editing in Premiere Pro and you have multiple camera angles recording at the same time. I'm going to go ahead and put this down now. Anyways, my name is Scott and I'm a video creator on YouTube. For one of my channels in particular, I use the multicam function quite a lot, so I've gotten the chance to learn the ins and out of the tool. I've also come up with a couple of techniques using multicam that I've never seen other people do, so you'll learn that as well. But before I get ahead of myself, here's what you're going to learn in this class. First, you'll learn how to create a multicam sequence. Then I'll walk you through how multicam works. It can be a little tricky if you're a beginner. After that, I'll show you guys my bag of tricks that I've come up with after working with this tool for a long time, then we'll talk about how to apply effects to multicam sequences effectively. Finally, we'll cover how to edit more efficiently while using this tool. Take note that I will be assuming that you know the basics of Premiere Pro during this class. However, the lessons should be easy enough to follow even if you're still a beginner at Premier Pro. For the class project, you will be creating your very first video using the multicam function. Each lesson will have an action step that will get you one step closer to completing the project, so be sure to follow along to get the most out of the class. There's also a worksheet attachment for the class to help you keep track of the assignments. It's time to learn some multicam. You can see my microphone right there.
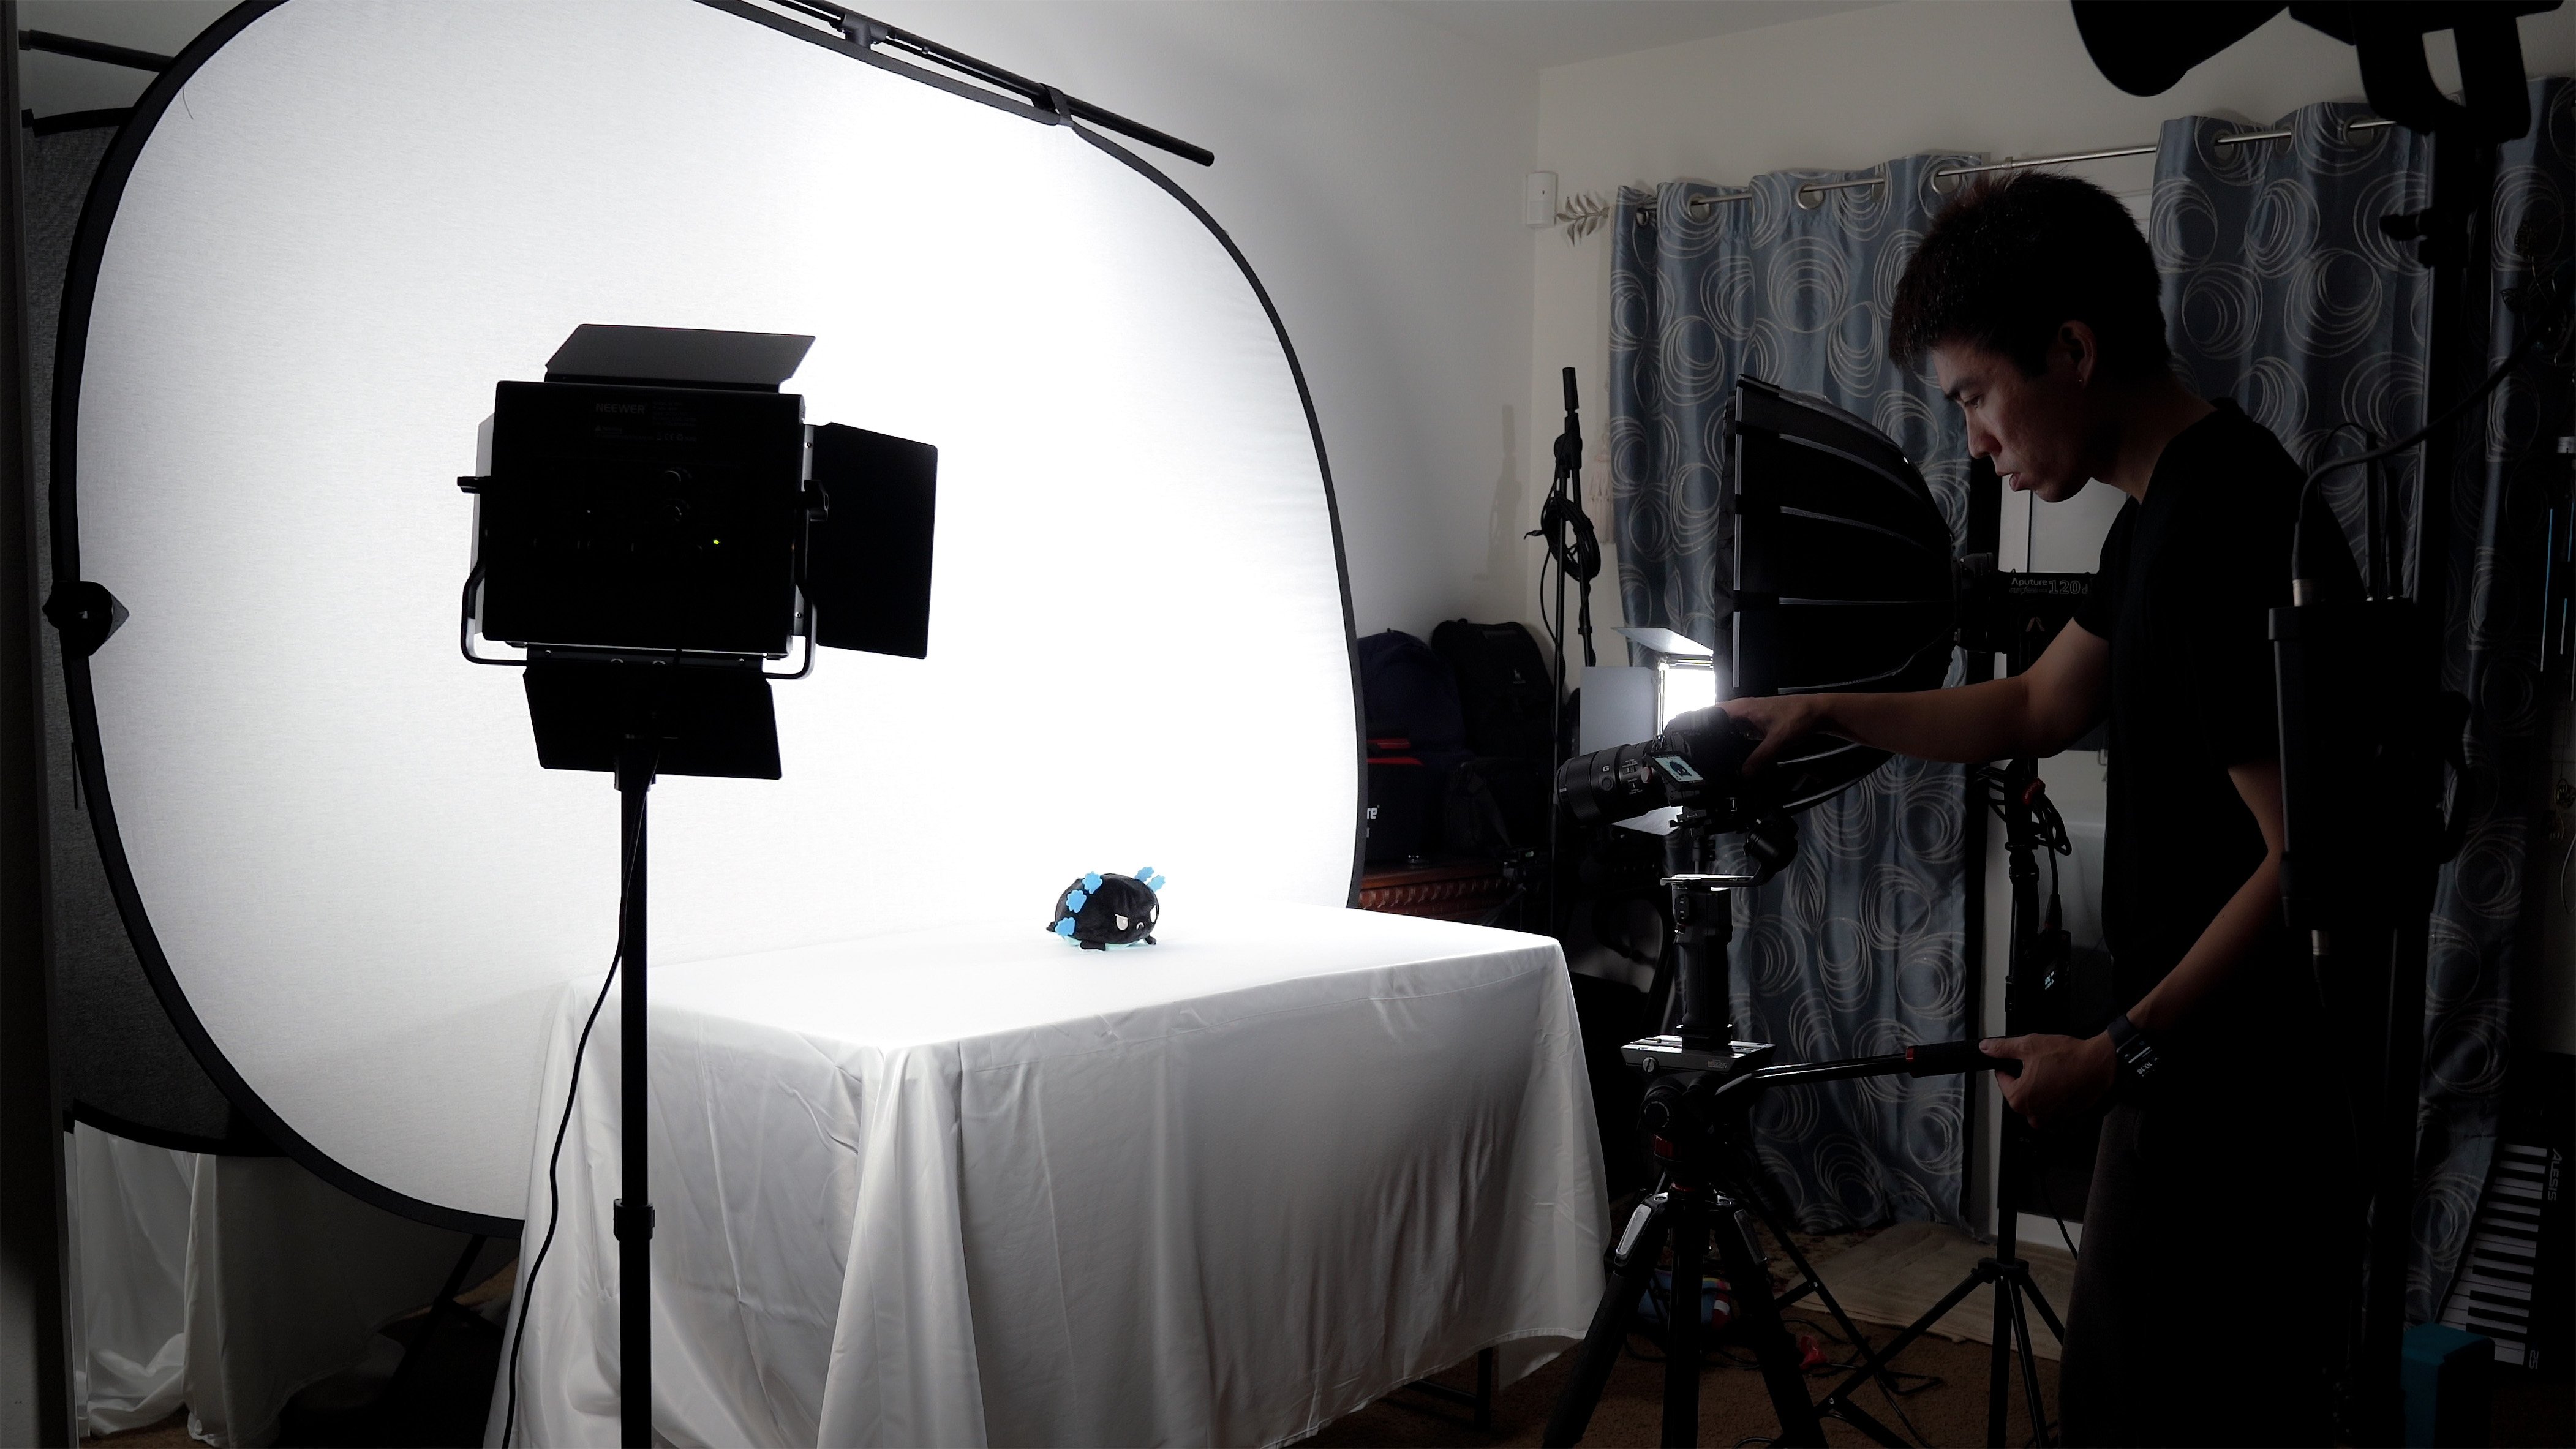
2. Creating a Multicam Source Sequence: In this first lesson, we're going to cover how to create a multi-cam source sequence. All right guys. Before we start with Premiere Pro, I wanted to let you guys know my recommended settings for the camera. What I have is a Sony Alpha 7C right now. For the settings, I set it to 4K and at 24 FPS, sometimes 30 FPS, but I usually go with the highest bit rate. I also make sure that the audio levels are at a good level so the camera can hear us, this is important for sinking when creating the multi-camera sequence. Another suggestion that you don't really have to follow. People say that you should have at least 30 degrees apart from your camera views. That's pretty much it for my recommendations. Now let's go ahead and open up Premiere Pro. Again, as the intro stated, I'm going to assume that you have basic knowledge of Premiere Pro. The first thing we're going to do is import the video and audio. Right now I have two folders with me. I'm on a MacBook Pro, by the way, this one is just a different camera views for the same shot. Then this one is a recording session where every number matches with the same recording so one is the same as this one and then two is the same as this one. I separate the folders into the angle of the camera. Let's go ahead and bring these two in. I'll start off with the single sets and then I'll show you guys how doing it for multiple works. But basically, all you need to do is highlight all of them. Right-click and then Create Multi-Camera Source Sequence and for this window, it's pretty simple. All you need to do is hit "Audio". I personally leave the sequence preset to automatic. That'll basically just take at the footage here and figure out what you want your settings as. But what I do usually is just change it after the multi-cam source sequence is created. I like checking the move source clips to process clips bin. This is because sometimes you might have added something that isn't actually a part of it and that thing won't get moved into the process clip spins, so it'll just be easier to organize later. For the audio settings, you can leave it as Camera 1, I usually just change whatever the audio is later. But you can also change it to all cameras or switch audio if you have multiple audio sources that you're going to work with. But usually, I mix the audio before I work with the multi-cam source sequence. Then next we have the audio channels present. I actually recommend you keep this at stereo and then camera names I just keep it as enumerate cameras. I'm going to go ahead and change the name right here and call it Example 1, and then click ''Okay''. Right now it says could not synchronize one or more clips in the current selection because a match could not be found. That's because this footage right here was recorded a little bit beforehand and did not actually recorded at the same time as these ones. I did that purposely so that you guys can see what happens if you include one by accident that wasn't a part of it. I'm actually going to go and delete this one. It's not needed and right now we have this one. If you double-click this, it shows you this. Gets confusing if you don't know how this works, you just don't know what to do with this thing. But the way you work with it is right-click and then open in timeline. Now you can see all the footage synced up based on the audio. I know it is a little strange right now because of the sequence settings. Like I said, I usually change the sequence settings afterwards. To do that, and you just need to hit "Sequence", sequence settings right here. I'm actually going to change this to 1920 by 1080 because some of the footage is not 4K. I'm going to change the FPS to 29.97, and that's pretty much it. I'm going to click ''Okay''. Now it's going to be what I want it to be. The easiest way to change all of it to 1920 by 1080 if you have 4K footage is to just hit "Set to Frame Size". Now everything should be the same size. For the audio channels, you can see that it comes in muted except for the audio layer 1. Whatever you have as audio layer 1 is going to be your main audio right now it's only this thing which I don't want. If you prefer using a different audio from a different camera, all you got to do is move it up and there you go. For now, let's go ahead and move on to creating the master sequence, or that's what I like to call it personally. Go here, right-click, and then it just say, New Sequence From Clip, and there you go. You've created a sequence where basically this one video layer right here acts as a carrier for all the footage that's inside right here. Your audio layer 1 will be one right here, like this. Then your audio layer 2 will be the next video layer right here. Let's not jump too far ahead. I'll dive deeper into how to edit the master sequence later. But for now, let's create another set of multi-camera source sequences, so as you can see here, I had four different recordings that had three different angles. Right now I'm actually going to highlight all of them. I'm going to unhighlight the folders and then right-click "Create Multi-Camera Source Sequence" and call it Example 2 Multi, going to leave it as the same settings right here because basically once you do it once you don't have to do it again, click "Okay", and that's pretty much it. Now we just got to wait a decent amount of time because it does take some time for Premiere Pro to sync up all the audio for a lot of footage. As you can see, basically all the footage was taken from these folders, so we don't actually really need them anymore. They all entered a process clip folder if you set the setting that way. Now you can see four different multi-cam source sequences because we recorded for different times. Again, you can go into each of them and see how they synced up. I actually created a shortcut for this, which is Command and Control and then Return. It's a weird shortcut, but I'll show you guys how to do that and you can open keyboard shortcuts in Premiere Pro right here, and then you can type in open, in timeline. As you can see, it's Command, Control, and Return. For me, I just do that and it feels pretty natural. As you can see, there's this view of us. I'm just going to disable this real quick. You can disable by right-clicking unchecking enable. I set that up as Command Shift E. Then we have a middle view like that. That's just three camera reviews. Basically, it's the same camera view for all four of them. One thing that is pretty cool, let's say you had to stop one of the cameras for a second and it's like this where you know it's the same camera but it's just separated because one camera had to turn off for whatever reason, maybe it had a recording limit. That's the case for the Sony a7 III, which I have. Then the Sony a7c does not have a recording limit. Sometimes this is actually the case. What you can do is just move this camera to the same layer, even though there's a space in there. It's a lot easier to work with later on. Guys, that was how to create a multi-cam source sequence. For the assignment of this lesson, go ahead and record your footage, gather it, and then put it inside Premiere Pro, and then create your first multi-cam source sequence.
3. The Basics of Multicam: In this lesson, we're going to talk about the basics of how the Multicam tool works. As you can see, we are currently in the master sequence and not the Multicam sequence. First thing you want to do is set your workspace up so that it's easier to view it because what's going to happen is you want to click this wrench tool and then you want to go to the top where it says Multi-Camera. Then you're going to see all the cameras that's going on at the same time. Right now they're very small and this is what I mean by you want to set your workspace up so it just looks better. I created a personal workspace for multi-camera stuff. I call it multi. As you can see, it's a lot bigger now, all I did was basically drag. I'll go back to my other workspace. Basically drag this entire box right here down to this area right here, so that this can take up the entire top part. You can do that by just dragging around the panels. We have a camera view of me right here. If I switch by pressing the numbers or first, you got to make sure you're in the right panel. You can see that these corresponds to the numbers 1, 2, 3, and 4. You can actually show that if you want. Just click the wrench tool here and go all the way down where it says overlays and then click on "Overlays". You can also click the "Overlay Settings" and change them up if you want to. These are the settings that I use personally, I just have it as none because I don't like keeping things busy. It's just cleaner this way for me to just have the numbers. So 1, 2, 3, and 4. Now, you can see the numbers clearly and you can see that only Camera 2 is active right now as I move my play head and then I turn on my other camera. Now everything is going on at the same time at once. You can just tell that it's synced up and it's working well. That's the first thing you want to do. You want to check that Multicam actually sync things up correctly. Then from there, here's how the Multicam function works. What I can do is hit the space button to just play it and then I can change the view to whatever I want. Let's say I want to go to one, I'll hit one. Then I want to go to two, I hit two. Then I'll go to four. Then I'll go back to one. Then I'll go to three and then two and then I'll stop it. Everything that I just did in real-time, the edits are going to appear after you hit the spacebar again so after you pause it. While you're doing it like right now, I had one and two, and as you can see right here, nothing changed, but right after I pause it, that's when the edits will appear. Now it'll do exactly what I just did. If I just play it, I'm not touching anything now. Multicam is a pretty cool function if you're working with a lot of cameras and you just want to edit it quickly. Because the alternative would be like editing it as if you were editing it like this. Like you had three cameras stacked on top of each other and then you don't want this view to be on, so you have to cut it. You have to move it away so that you have it on this view. Then you keep going until you want this view or something again, and then you have to move it. It's just a lot of work to just get the view that you want if you have the video layers stacked on top of each other like this. Multicam basically makes it super easy by letting you see every camera at once and then choosing which one. Let's say that I don't want three because it doesn't look good. My decision before was bad. I went four instead. I can just click four now while it's not playing. It just makes the entire process easier if you want to edit with multiple cameras going on at once. Just as another example, let's go ahead and do this again for one of the ones over here. I'm going to right-click and "New Sequence From Clip". As you can see, there's the middle view, the right view, and then the left view. To me, this is unintuitive. The numbers are unintuitive. Clicking one, in my opinion, should either be left. I think of one is left. That's just my intuition. Nothing else. I'm going to go to the one that, so it was C0001, so I'm going to go into that one. What I'm going to do is actually change around the sequences so that the left view is at the very bottom. I'm just going to add a track, move this one up, and then move these two down. I'm also holding Shift while I do this. Anytime you're moving a clip down and up, you don't want to accidentally drag it to the left or right. Just hold Shift and it makes it easier for you to just go directly downwards. I'm going to save that. Go back to the master sequence. Now you can see that this is one, instead of this being one because I just moved everything over. To me, this is a lot more intuitive. Two is now the middle and then three is the right side. It aligns with where the numbers are placed on my keyboard. One is left, two is in the middle, and then three is right. If you have an unintuitive numbering. You can re-sequence it by going into the multi-camera sequence and then just reordering the video layers. Video 1 will be one, video 2 will be two, video 3 will be three, and so on. If you're editing something like this where it's like a podcast and it's just people talking a lot, you can do something cool where you hit L to make it two times speed. It's hard to see me zoom in a little bit. But you can definitely see right here that it's going pretty fast. You can even go faster. I'm going to hit L a third time, and that's going to make a triple speed. You can still change the cameras while it's going on a triple speed. Then I'll stop and it'll still make the edits for you. Of course, they're going to be a little less accurate, but if that's the style of editing you're going for, like you have a lot to edit, this might just be what you want to do. If you want to adjust it, you can always hold Command and just click the edges, drag the edges like left or right, like this. Now you know how to use the full functionality of Multicam, however, don't actually edit your footage quite yet. You'll want to go through the next lessons before advancing because I'm going to teach you guys a pretty neat trick in the next lesson. See you guys there.
4. Turning 1 Camera Into 3: Guys, here it is. The trick that I've been talking about in the past lessons and intro. I call it turning one camera into three. Here's how it works. Right now I'm inside the multi-camera source sequence, and I'm actually going to clean it up a bit. By the way, make sure you do this before you start editing in the master sequence, because whatever you change in the multi-camera sequence, like if I move this, it's going to affect the edits that I made in the master one. Just don't move stuff around after you started, You always want to do it beforehand. I'm going to cut all of this. I'm just going to cut out the beginnings just so everything just looks cleaner this way in my opinion. I'm also going to reorder this to the very top, because, again, it just looks cleaner that way. Again, you want to do this stuff before you edit the master sequence. Because as you can see, everything has changed now and this is gone because I moved everything over, easily fixed all this by deleting all of it and moving this one here. You wouldn't have needed to do that in the first place if you make sure you follow the rules and change it up first. Now, what I'm going to do is turn one camera into three, like I said. The reason I recommended recording in 4K in the first place was, as you can see, I'm going to go into effects control, I know it's a little small right now, but as you can see it's 50 percent. That's because at 100 percent, that would be the actual 4K footage. As you can see, this is a 1080 sequence, you have to go 50 percent to fit a 4K footage. But because of that, you can also, what I'm going to do is hold Option or Alt if you're on Windows, and create a duplicate of it by holding Shift and moving up. Now I have two of the same footage, but instead of leaving it as exactly the same, what I'm going to do is scale this up to 100. I'm not the one I want to scale it up to, but I could be, let's say I wanted to focus on a certain product or a side of the product. Let's say this side. Then the next one, I'm just going to do the same thing, duplicate it again and then I'm going to move this to this side like that. I don't lose any resolution because I'm working with 4K footage and the scale is now 100 instead of 50 percent. There was also another good one. What I'm going to do is disable everything so I can see the particular footage that I want by just enabling that single one. This view right here, I'm going to go ahead and duplicate it. By the way, I'm using the squiggly thing, this key right here next to number 1. You just have to hover over the panel you want to maximize and it'll maximize it that way, it's easier for me to work with all these video layers. I'm going to click on this one, and I'm going to scale this up to 100 percent so it focuses on a certain area of the table, say this box right here. What I'm going to do is go back to the master sequence. This is something that you need to know as well if you did what I did, which was enables and disable stuff, it won't show up anymore so you have to re-enable it. Now you can see everything except for four, because that's the small part where I'm recording on my phone. Now you can see it. But basically I started off with four cameras, and now I have three more because I zoomed in on certain parts of the frame. If I wanted a larger view of this area, I'll switch to this one versus number 2 which is a zoomed out version. This can be a pretty useful technique if you're recording multiple people. Say you have a view of four people like I do in this video and you wanted to zoom in specifically on to people, this shot right here is the exact same camera and angle as us zooming in to us to right here. But it creates a completely different field, because we're zoomed in to our faces right here versus a zoomed out view like this and this is also the same camera as this one. This is what I mean by turning one camera into three. I can also do the same thing for say, this footage right here. I can make a duplicate. If you can only record and 1080, you can still do this as long as you recorded it decently and you have a decent camera. If you wanted it to be specifically on one person instead of both people, then you can do a zoomed in version of it, and then let's go ahead and create a master sequence for that one right here, and I can see an extra camera was added for my friend right here. If I wanted to, I could just go to him talking and then go back to the middle view and it's really focused on him, and we can back it up, goes to the middle view. It still looks pretty good even though it's zoomed in 1080 version. Again, I recommend 4K, but if you have a good camera zooming in on 1080 it's still going to be pretty good. It's still an option. This technique has a lot of applications that if you're creative, you can definitely do a lot with. Be sure to keep it in mind when you use the multi-cam tool. Now that you know the duplication technique, I want you to list out some ways that you think you can creatively use that technique to make your footage more interesting. The second assignment of this lesson is to go ahead and apply what you listed out.
5. Applying Effects Correctly in Multicam: In this lesson, we're going to talk about how to apply effects efficiently if you're using the multicam tool. Whenever you're applying effects, usually what you do is apply the effects to whatever is right here on your main timeline. Let's say you wanted to change the color. Let's make temperature a little bit colder and add a little bit more magenta. That's not going to look very good. But the point is, basically what happens is you're doing it to every single camera. If I go to two, now, it's a lot colder and there's a lot more magenta, again with three and four and five and basically every single other camera, and that's not what we want. Let's go ahead and reset that. Going to double-click. The best way to apply effects would be to go inside the actual multicam source sequence. You can do this after you've done the edits, as long as you're not moving the layers left and right or changing the order up and down, you should be fine. First things first, let's go ahead and change the workspace up so that we have a more ideal setup. Because right now we have the color panel and every effects really, really small and it's not ideal. What I'm going to do is go back to my original workspace and then click the wrench and go back to composite view. From here, I can access Lumetri color, where it usually is for me, which is the top-left, and as you can see, it's much easier to work with now. Now, let's go ahead and start apply the effects. What I'm going to do is go inside the multicamera source sequence, disable everything that's above video layer 1 so that we can isolate video layer 1 and edit just that one. From here, I'm not going to really explain what I'm doing too much, it's just me messing around with Lumetri color. Right now I'm not actually trying to make it look good, I'm just trying to make it look different so that you guys can see the difference. Now that we're done with editing the first video layer, we're going to move on to the second one and this is basically the editing process. You start with video layer 1, then move up and then keep moving up until you finish editing every individual clip. You will see this being reflected on the master sequence. However, if you did use the duplication technique, turning one camera into three, a faster way to edit would be to edit the source instead of editing the clip itself. To do this, you can see something that says source at the very top left, click on it and edit that and you'll see that basically, even though there's nothing changed on the clip itself, every clip with the same name will still be changed because we changed it at the source. I'll go ahead and make this very evident by decreasing the exposure by a lot. This isn't only exclusively for Lumetri color, you can do this in effects control as well. You actually see the Lumetri color effect in the source. From here, you can see that the effects have been applied to the master sequence to every individual clip. The assignment for this lesson is to go ahead and apply your effects in the multicam source sequence.
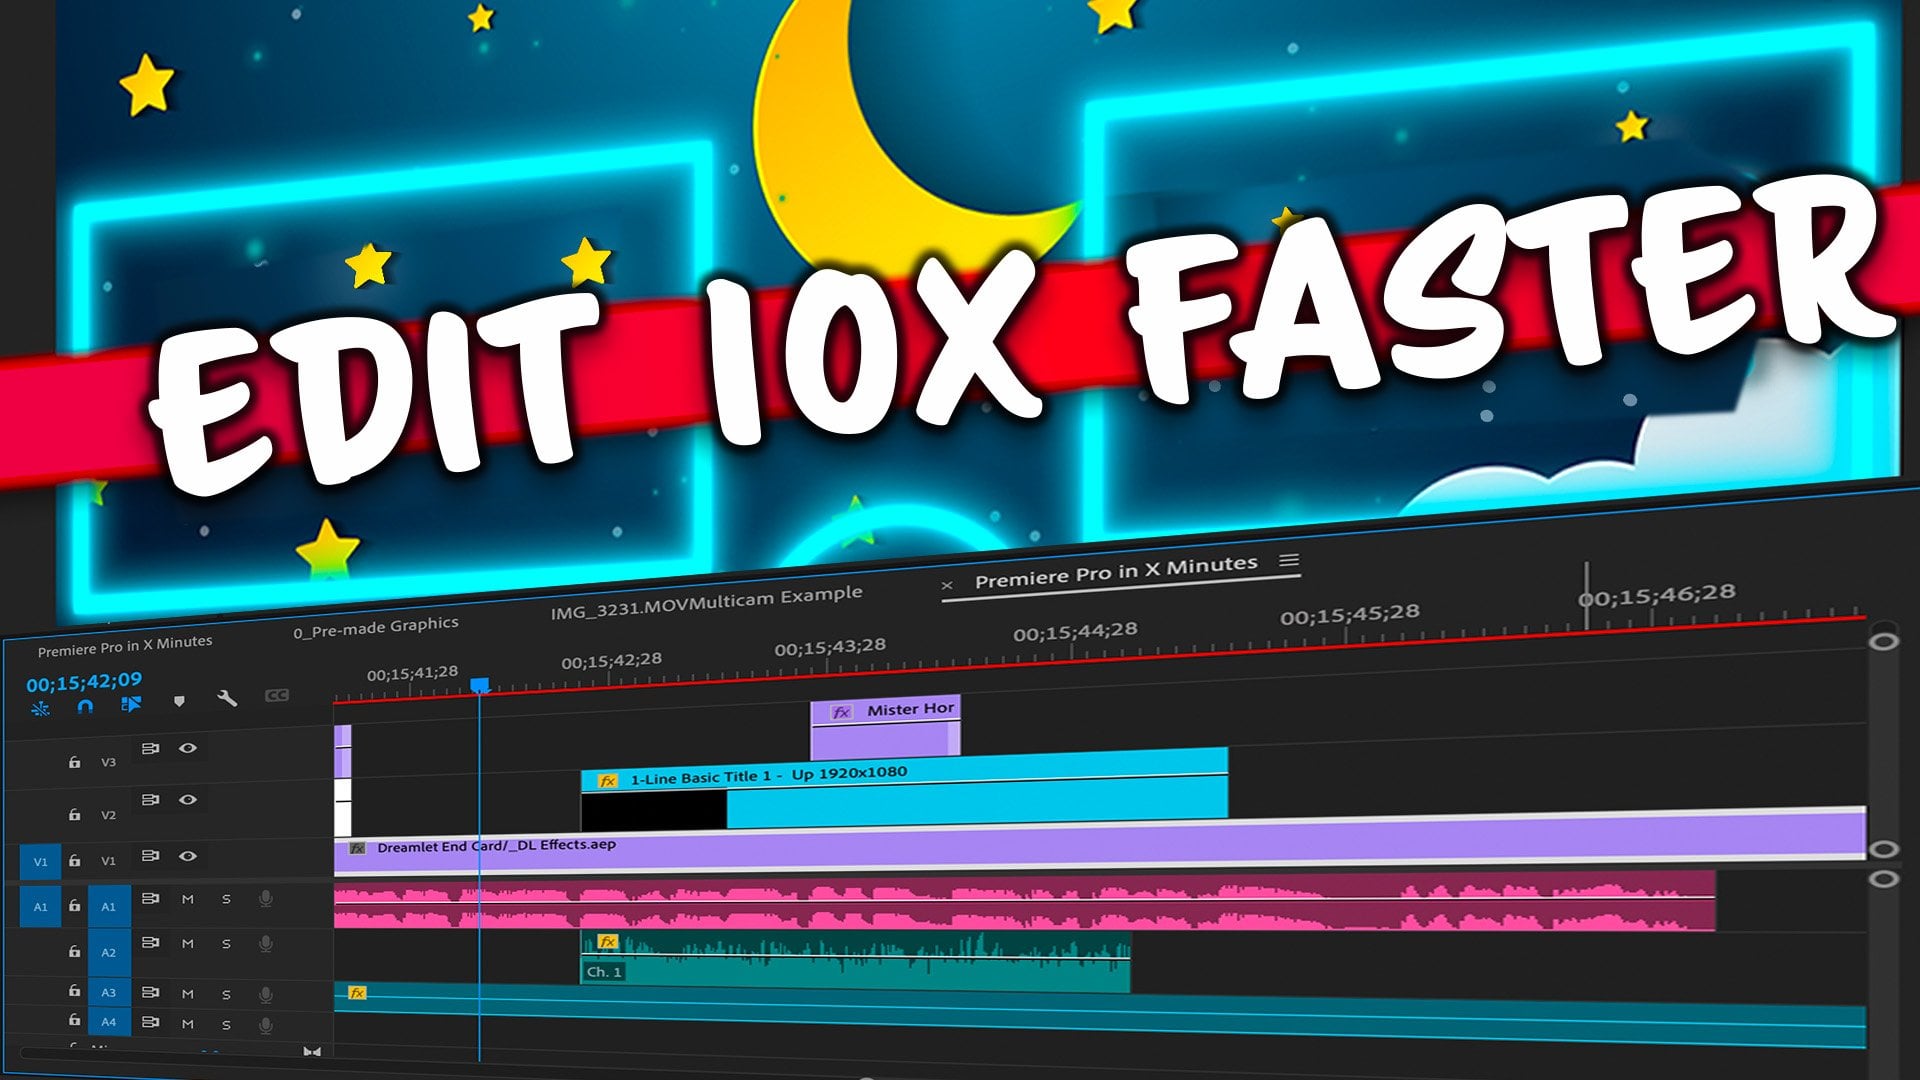
6. Editing Efficiently Using Multicam: For this lesson, we're going to talk about how to edit more efficiently using the multicam tool. After creating the multicam and creating as many views as you want, it's time to finally edit. I'm just going to walk through what I normally do for one of these multicam editing sessions and give you guys tips on how to edit more efficiently. The first thing that I do is look at when the other cameras come in because that's the point where we're actually starting to record instead of me pressing the record button. I'm in now, so I just cut it by pressing E. I set that to add edit. This is what I said it to, add edit to all track. Then from there I can just go ahead and delete this entire thing by ripple deleting it. I set that to Shift F. Again, ripple delete. You can see right here. I'm also going into keyboard shortcuts quickly because I set that to be option L. Everything is keyboard shortcuts, guys. If you're not editing fast, it's because you're not using keyboard shortcuts. I can see that we are still discussing stuff and then we start, I think around here. I can click Q to just erase all the parts that I just passed right here. I'm going to zoom in by clicking equal a lot, Q again. If I wanted to, I can add a transition right here, Command D. Since it's my friend talking right here, I'm going to switch it to camera 3. That's when someone else started talking, which was, I believe, me. You can just go to my view and he's also talking too. This is like a point where I would probably go middle because we're all talking at once. Then he's talking again. I'm stopping because I want to tell you guys what I'm doing. That's when I would go hit three. I also basically always do this at two times speed so I'm clicking L twice. I click spacebar and then I click L. A lot of the times because of that, I miss one, the person starts talking, so I have to just go back just a little bit. In order to not have to like click "Play", change the view and then have it appear like that. You can actually go a little bit faster than that by just E, click this one. It's a bit more precise of a switch because if you were to just stop, like you're not playing it, and then you click a button like two, it would change the entire thing if there are no cuts. If I undo that and I make a cut here, and then I press a different number because this is the one that's highlighted, it's going to change. You can see it right here. It's number three right now and two or one, I'm changing it. Then if you click this one instead, it changes that one. That's how you change the camera view while it's not playing. I think that's pretty important to know because I actually edit quite a lot like that. Right now I'm playing it, but it's really slow. Sometimes what you need to do is change this playback resolution to something smaller like one-fourth. If you see any space or something, because you can just see it in the audio waveform, you can just drag this to make it smaller or bigger. If you see spaces, you can definitely cut it. Let's pretend that this is a space right here. I would press E, then I would press Q and then I would change the camera view to avoid being on the same frame when the cut was made. If someone made a mistake like they had to repeat what they said, you can definitely do the same thing. Say my friend was talking and he had to repeat himself during this section right here. If this was the same phrase right here and you wanted to cut it out, you definitely can. You just cut it out like that. If you don't want it to jump cut like that, then you can change the view and it makes it a lot more like an invisible cut. People don't notice that you made a cut there unless they pay a really close attention to his hands. In that case, yeah, they'll notice the cut. But you could also make it even more invisible by just showing our reaction to what he's saying and then go to him like that. Those are just some techniques for multicam editing and that's basically what I would do for the entire thing. I just go it through like that and if things are really slow, like say you have a lot of 4K stuff because multicam is showing you a lot of video at once, things can get slow, so what I tend to do is, I go ahead and go here. You can see it clearer. Is for the process clips, I would highlight them. Let's say that these are 4K. I would highlight the 4K footage, right-click and then create a proxy for them. For proxies, I just customize it to be 1280 by 720, but creating anything, any smaller proxy will definitely be better. I use the QuickTime format and then click "Okay". You have to have Media Encoder for this to work. If you don't have Media Encoder then and I believe you can't create a proxy, but I do have Media Encoder and if I wanted to, this is how I would create the proxy to make the whole editing process faster. Guys, the final assignment is to use these editing techniques to finish off your project and then export it. Be sure to export the master sequence and not the multicam source sequence. With that, you guys basically know everything I know about multicam.
7. Class Conclusion: Congratulations guys, you have made it to the end of this class. By now, you should have a good understanding of how the Multicam tool works. Hopefully, you were able to complete the class project, coming out with a well-polished video that was edited using Multicam. At this stage, you should be able to create a Multicam sequence with the correct settings, edit using the Multicam tools, turn one camera view into multiple, manage effects easily, and edit quickly using the techniques I covered. If you feel like any of these areas are weak for you, just practice that specific lesson until it becomes second nature. Guys, don't forget that if you enjoyed the class and got something out of it, be sure to give it a review and hit that "Follow" button. Feel free to suggest any other topics that you want me to cover in the future as well. You can also check out my previous courses talking specifically about voice-over audio, dialogue audio, and how to enhance it, as well as how to edit podcasts audio. If you're looking for more frequent video tutorials, I do have a YouTube channel called Dreamlet that you guys can check out. One of my favorite things to do there is to upload the entire process of how I completed a project, so you guys can get very specific insights on different types of videos. All right guys, time to close off. Best of luck with your projects, hope to see you guys in the next class.
 Scott Luu, Video Creator