Transcripts
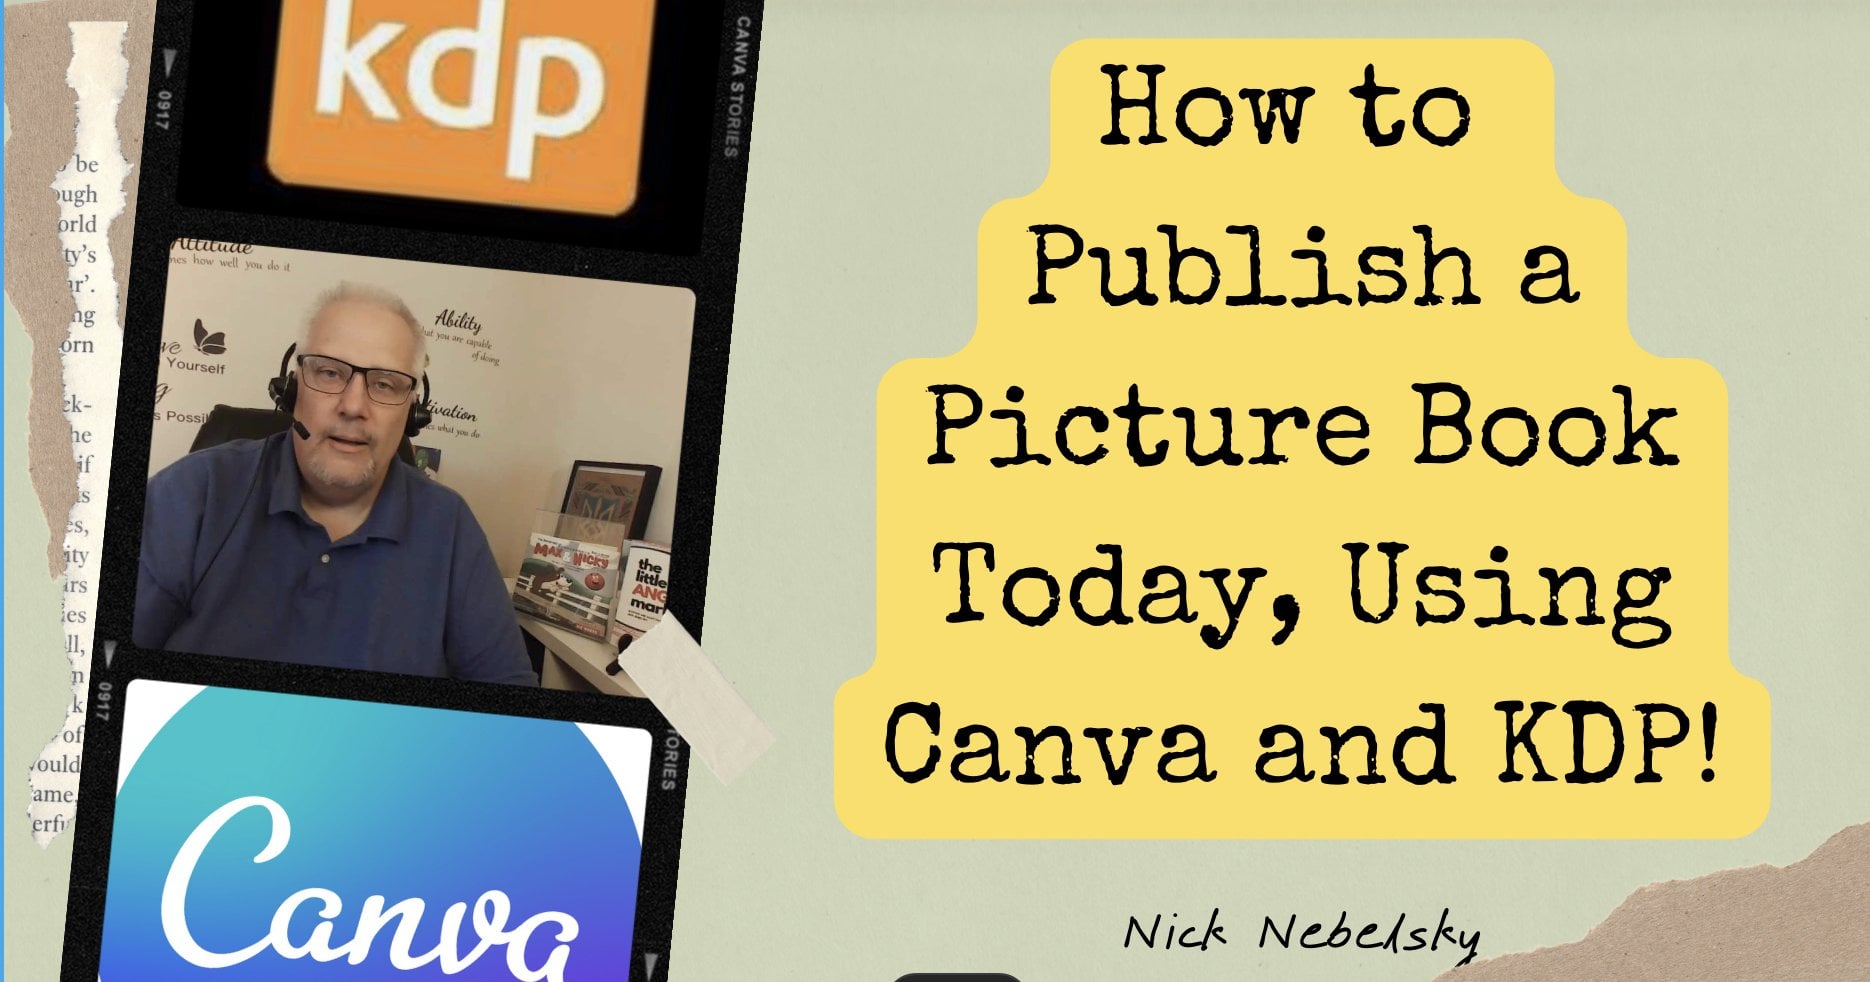
1. Ebook Intro: Hey everybody, this
is teacher Nick. Yes, I have another
great video here for you about adding some
flavor to your e-books. So listen, this is
really, really cool. So Katie P just change
their way of doing things. These are dual, use MOV file
before now we've upgraded to a user-friendly format and we're going to
show you how to do it. So we're going to start in
Canada and we're going to show you how to
create your e-book. And we're going to
save it and print it, and then show you how
to put it up on Amazon. It's going to be adding a little bit more flavor than
you might expect. I hope to see you in class and I'm looking
forward to meeting you and seeing what you
have for the class project. I can't wait to see your work.
2. After Intro: So welcome to my
class on e-books. I wanted to briefly tell you, we're not going to
spend too much time on actually how to
produce any book. Why? Because it's really simple. What I usually do
is I start with a paperback version first. And my paperback versions
are about 8.5 by 8.5 inches. But you couldn't do any
book size you want. You can do 8.5 by 11. In fact, I probably strongly
recommend you do it in 8.55 by 11 paper back. Because I realized that 8.5 by 11 is a really good
size for e-books. And that way you
wouldn't have to worry about re-sizing the eBook. You'll see in the
subsequent videos. There's a big border on top
and a big bar on the bottom. And then your book
is in the middle, and mind being square. That's how it comes together. So I use Canva for
my paperbacks. And it's really simple,
it's really easy. I think is a page layout
slash illustration company. And there's Pro versions
and educational versions. I use the pro version. That gives me unlimited use of graphics and that type of thing. Work, it tends to be a hybrid. So it's a mixture of what they
have at Canva and then I, if I wanna make it my
own, I'll do that. And some of these
pictures, I've done that. So then once we get to this point and we're all set and we've followed
the directions. And I strongly
recommend you look at the other class on paper bag publishing because
it goes into more detail. But once you're done here, then you'd go in and do your
share and create a PDF file. So you've got the whole book, the whole book,
and the only page. If you don't want to keep it, keep the size down a little bit. Title page, which is this page, it's not really
technically needed, or do this or move this to my copyright page because
it takes up too much room. And then I go to
Share and I create, I go to download over here. And then I do All Pages and I pick the
ones that I don't want. For instance, I would get
rid of this one, page two, and page for everything
else I publish. And I do cannabis nice. It gives you all these
different formats. You save it as a
PDF for the e-book, PDF Standard, not PDF print. And that's it for the e-book. So I don't go into much detail how to create it in the book. I just used the exact same file that I would use
for the paperback. The only difference between the two files is
when I go to print, when I go to Save I, when
I, when I go to print. Paperback will be a PDF print. E-book is PDF Standard. Those the only two
differences other than that, everything is the same. Alright? And that's that.
3. Converting Your Ebook for Publishing: Hey everybody, this
is teacher Nick. We have another video on
how to create an eBook. Today, folks, it couldn't be any easier to create your e-book. In the past, KT P required
you to have a movie file. But today we have three choices. We can have a doc file, which you can get
from Microsoft Word, an ePub file which
InDesign will save two, and a k p k CB file, I
believe it's called. And that's the one
we'll be using today. And it's very simple. So we start here with
the one of my books, truth behind number
one and number two, which is a science
book on pooping, pooping and ping, or peeing
and pooping should I say. And so we're gonna
do two things. We need to save a cover. And so the cover will be saved
as a separate file again, just like we did
with the print book, but will be saved as a JPEG. And remember when
e-books we want the smallest file size possible. And so what we're going to do is go up to the
Share button here, which I'm going to
highlight for you. There it is. And we're going to hit
that share button. And we're going
to save to files. So we're going to save the
first one will be a ping file, but a JPEG file. Ping files tend to be larger. So JPEG file, and we
want not all pages, we're going to click that off. We want to click just one page. And unfortunately,
I am covering that. So let me bring myself over
here so I can do that. We just want page one as a JPEG and we're
going to do that. I've already done that, so
I'm not going to hit done. Now the second way
to do it is we need to create a PDF file. So we're going to choose
PDF standard on PDF print. Pdf print would be too large. So PDFs standard in this
case we're going to do All Pages and we're going to hit done and I've
already done that as well. So those two files we've done in Canva and we are
done with Canva. The next thing we don't want
you to do is I want you to go to the Kindle
create homepage, which I have here. And it's under Amazon. You just go to kindle
create and you download this for either
the PC or the Mac. It's not available yet on iOS, so you can only do it
on a desktop computer. Then we're going to
open up Kindle create, kindle create is o, so I already have
kindled create open. Here's kennel create, um, and so let's go back
so we can start a new. So you can see this
for the first time. That's what confused me. I don't want you to see that what I see,
but what you see, let me just give me a
second to open the app. In practice, it went
really quickly. There we go. So we have this really simple
little landing page here. And there are four ways that we're
gonna be able to do this. Now here's the file
that I just created. It is a k cp file we're
gonna do is we're going to create new shoes. And then I want to show, to show you this landing page here. And now you have
four choices really. We have the format
as a textbook, novel, novella is chapter books. Any kind of
non-fiction book type of thing where
it's mostly texts, you will use this. Then we have Comics. Comics are a fixed page setup. You have a big chunk of this really depends
on your book size. My book sizes squares. So if it was a longer file
size, maybe 8.5 by 11, I might get a better ratio of borders on the
top and the bottom. Then within this, they have this thing
called guided view, which I don't really like it. What you do is you select portions of your page
that they can zoom in on. But the only problem is it
blackens everything else. So I don't really care
for that and that much. So then we have print replica, which is what I'll
be using today. Now print replica is what
we really want to do. We want to replicate whatever
our paperback looks like. And so this is a
nice way to do this. Now this one has something interesting that we've
never done before, and this is something that,
to be honest with you, I'm going to explore
even further and maybe I'll do another video on how that worked out for us. But I'm not gonna go into
too much detail here. I just wanted to
show you briefly what everything looks like. It looks like this. Basically
it looks like a PDF reader. It's got the pages on the
left and the pages here, and then up here it's got some things will
be using a little bit later when we
generate our final print. Now, this is a brief
thing I want to show you. You can insert a movie, audio, and picture from a file. So let's say you have
an e-book and you want additional information that is not in the e-book,
the original book. Can you want to add some
flavor to your e-book? You can do that very easily. We're going to say
a movie from file. I have a real simple little. Video here, breaking
news video to show you, just to show you how it works. And what it does is
it gives you this little movie icon so that when you go there and
you go to preview this, that video button is there
and when they click on it, the video will play. And of course, this
is very boring video, but just wanted to
show you how it works and then you close it. So that's pretty
much how that works. So you can have pop-ups, which is nice, something
we haven't done before. And it's gonna make it a little
bit more interesting and add some flavor to your e-book. And I recommend doing that. So for this instance, just to show you how this all works is not really much to it. This is pretty much it. You open it and you
can preview it. For our purposes. I'm going to actually
delete that. So I don't want that in there. We're all we're gonna
do now is just generate our first week to save it. Let's save our file. Receiving to the Downloads. I already have this saved,
so I'm gonna go ahead and just you already
have this saved. So I'm just gonna go
ahead and do that. So it says the type
of file is a ECB, but the final file is a KPF
file that it saves it to. So you generate it again, and that's what it's gonna do. It's gonna create this
file that you will need to upload to Katie P. Bookshelf, and that's where
we're going to next. So let's get out of here. And we're gonna go to the kVp Bookshelf,
which is right here. And so now I'm going
to upload my files. It's probably this
one. No. It's got my name on there and
it's what I wanted. We got the cover going in. The longest part of this video really is going to
be previewing it. So now we have the upload,
the book manuscript. You can see here that we've
got the DOC ex ePub or KPF is what our file was that we want, which
is right there. And we just open that.
How many megabytes? Only 5.8 megabytes,
which is great when he's going to go into bookshelf. I can show you
that's going to be a really small file size, which is really,
really important. It's going to make your, your profit margin go up. So alright, so that's that now we're going to do is just like we would do
in the print version. And the only see you get
the same same issues here. But it's not black, it's white. So I don't know if that's a
good thing or a bad thing. And so there it is. So
we know that it works. And then now we
can just go back. And that's the main focus is making sure
there's no oddities. Just going to show
a couple of pages. And then we go into
we got that saved. And so we have to
go to the bottom of the page here and
Save and Continue. And then we are going to do the e-book pricing now
going to enrolling KT P, always do that because GDP, if a customer buys, I think they have a
Kindle unlimited package, like $10 a month. And if if people buy that
and read your book on that, you get a portion
of their revenue. And it's really nice because
Amazon will give out $40 million a month to authors. So some authors out
there are killing it. And it's dumped me right now. Unfortunately, we want
worldwide, worldwide rights. If possible. This is gonna
be on Amazon.com primarily. Then we have two
choices for royalties. We have 3570% 70. What I typically do is I like
to look into test market, which one is going to work for
me and I'm gonna pick just to 99 for right now and
see what that gives me. I just leave it at 70% and
that's a 299. Alright? And this just pre-populates all the prices into this,
these different countries. And then you can allow
book lending if you want. And then then we're done. See how simple that was. It wasn't even ten
minute ten minute video. And it would take a
lot less if I wasn't talking so much right
here. I want to go back. I want to say, okay, this
is for ages eight to 11, which I believe that's
third grade to fifth grade. And then Save and Continue. And then we're gonna
go all the way to the end here and polish it. So we're going to skip
over the content. We've already done
that and go to the pricing and publish
your Kindle book. You'll get a little notice
here that it's been accepted. There it is. Congratulations. And then it takes about
three days, roughly two. Sometimes it happens in a day, Sometimes it happens in an hour, depending how long what's
going on over there with them. And then you find
out if it's going to work for you with the
great thing about it here now is you're going to, these will be linked
together eventually. And then once they're linked, any reviews that you
get from the e-book will go over into the paperback, which is nice because if you, There's a couple of
different things you can do when it comes to promotion. I can't show you now because
we're in this review. But there's some
promotion where you get five free days of the Omega-3
money, but you get reviews. It's all like the whole
name of the game is to get as many reviews as possible. And so you have five
days where you can have a free e-book per
quarter? I believe it is. It might be for six months, but I think it's per
quarter and five free days and does some other
things as well as some other types of
promotions that you can use. Check on that a little
bit later, and that's it. So I hope you've enjoyed this. I know I've gotten a
little quick quickly here, but it's so much easier
than ever before. You need kVp. You need Canada,
which is what we've been using in our class. And we need Kindle,
Kindle create. So those are the
three main things. And then, and then we're done. So thanks for watching.
4. Ebook Promo: Hello everyone, I'm back.
I wanted to show you. I just wanted to follow
up on the books we were looking at earlier that I said would take up to three days. It took less than two hours, probably less than one hour. And they are both live. And I did these just today, which was a nice So this one and this one are both live now. And then we can go and verify
that on the Amazon store, this is by clicking under us. And then we can see
here that it is live. It's funny that it says print replica and not Kindle e-book, which is really strange. Why would it say print replica? But it does say Kindle
edition the least. So that's, it's, it's, it really seems funny. That's one thing
I've learned today. And it was a simple
process as you saw in that production video that
we had in class earlier. And so you're going to know that they do it pretty quickly. I wanted to go back to bookshelf and show you
really quickly here. Now that this is open or not being an under
review anymore, we can go now and talk about
promote and advertise. Promote and advertise is
a place now where it has different types of projects you can do now Katie deselect? I'm pretty sure. Yeah, right there. So it gives us a
three month timeframe from July to October where
it's in its enrolled in. If you do, when it becomes
time for it to expire, it will automatically
renew itself. I believe. I don't think I have
to go in and do that. You can run a price promotion. You can do a Kindle
countdown deal. For instance, let's
say you have a book. My book is 299 and seeded a three-day
book Countdown deal. The first day it would be $0.99 and the second
day would be 199. And the third day
would be to 99. And gives the
incentive that, hey, it's on sale for $0.99
is gonna go back up to 29 if buy it today kind of
gives them an incentive. And then of course, we get
the free book promotion, which is the one we talked
about where you can. I don't want to do this yet because I'm not
ready to do one. But it gives you, you
have like five days per enrollment free
that you can do it. It's a no brainer not to do it. You should do it because
it's, like I said, you won't make any
money at the time, but the idea is
degenerate activity. Some downloads
I've, I've received number one sales categories, number one rating, rankings and downloads because of
these promotions. And then you just throw
them out to all of your social media, Instagram, Twitter, facebook groups,
and you can do that. They also have the ad campaign running through here as well. If you want to run an
ad, I've done ads, I've been 50%, um, I would say a broken even. Now I've had lots of sales, but then it costs me a lot
of money to people that I know rely on ads for
continuous sales. And if that's what you wanna do, spend money to get money
than go ahead and do that. Now there's one other
thing that we didn't talk about are a couple
of different things. Here is the a Plus Content. You should definitely
do this for all of your books because it gives you additional information
about you as the author. And you can put
in more pictures, maybe how you created the book. And it just gives you
a lot more stuff so the customer can get
to know you better. And so for this one
would be Amazon.com. And you can go here getting started
with eight plus content. And you can decide, and here's just some examples. I'm not going to play
this, but you can see that's a little more. That's the author bio. And then it's got some other information
that you can add to make your site look, your author page look
really, really good. So that's some of the promos and also at the bottom here, we
didn't talk about it, but KTB, KT p select fund, that comes from When Let's see. You'll be paid for each page. Individual customers
read of your book. The first time they read it. If they downloaded a book
and they read it ten times, they'll only get paid the first time that they've read the book. But it is from if they do buy if they do go into Kindle
Unlimited and pay for it, the $10, that's the way they take a percentage
of their sales. And that's it. So I hope you enjoy, I hope you're having fun
creating your e-book. It was amazing how
fast this was. I'm just I'm just I'm
just laughing still, but it's called but they
called it the replica. I'm wondering now, when we
went back to that one video, I'm wondering if I go back to I'm wondering if I just chose comic book than it probably
would say comic book, which is kinda cool because people don't think of
this as a comic book. And it would say comic book. So maybe I'll do a comic
book version of this. Who knows and just
have some fun with it. So this is teacher
next signing off. I hope you enjoy
yourself and making more e-books and having
fun while doing it.
5. Ebook Project: Okay, peeps, you've seen all how easy it is for the
class project. I want you to create
your own e-book using kVp create
can't be any easier. Showed you how to
do it step-by-step. And I want you to post the
links or post a screenshot of the published book
on this courseware. And that is the project. It shouldn't take you very
long if you've already done a paper back
using my other system, than you should have a file
that you can do very quickly. And let's say you haven't
created anything. Just go through
the steps and show me that you know
what you're doing. Short little video. I
really appreciate it. I hope you get a
lot of value out of this class and keep watching. Take care, Bye bye.
 Nick Nebelsky, Writer/Director/Author/Illustrator/AI Enthusiast