Transcripts
1. Introduction: Hello and welcome to my
life to Skillshare course. I'm Kelly and I work here in my home studio
on the family farm, which is in Cambria in
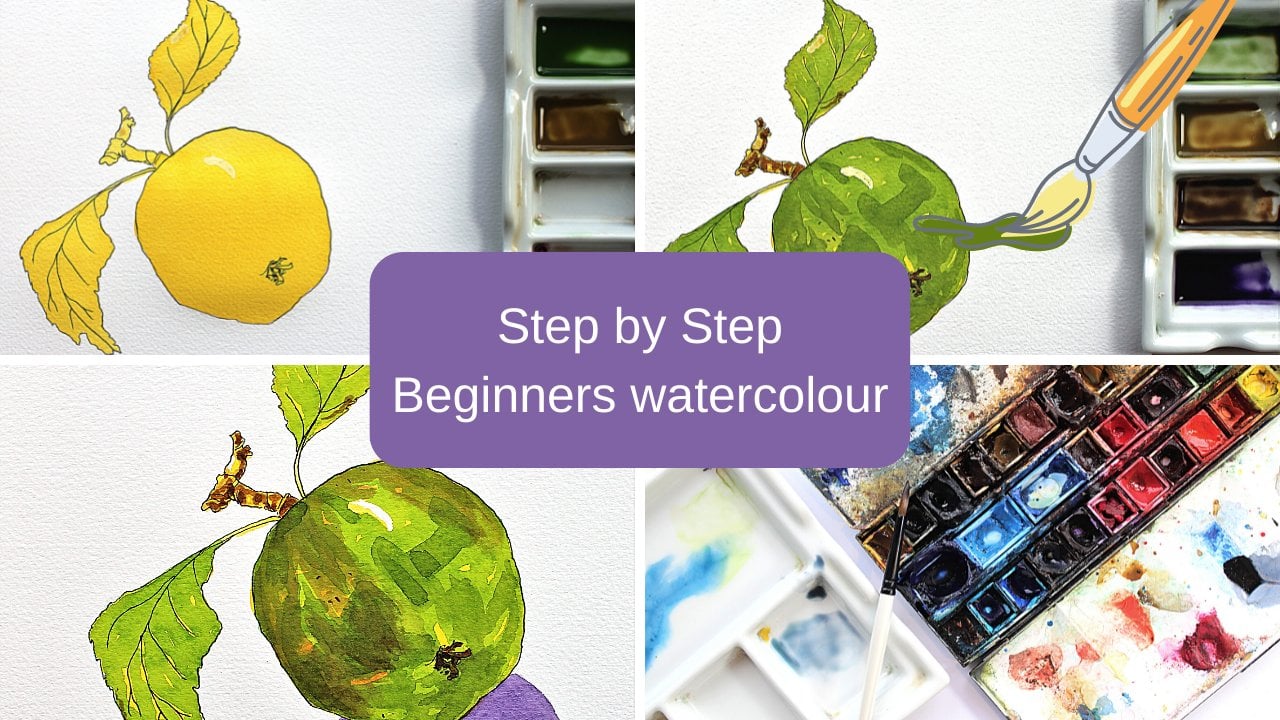
the northwest of England. This particular course is going
to be looking at creating shadows in watercolor using
complementary colors. Complementary colors
are simply mean the colors that you can be
found on the opposite side of the color wheel to the cooler
that you wanted to create a shadow for to keep it simple. And to Amy Scott really
at beginners today, we're going to be using
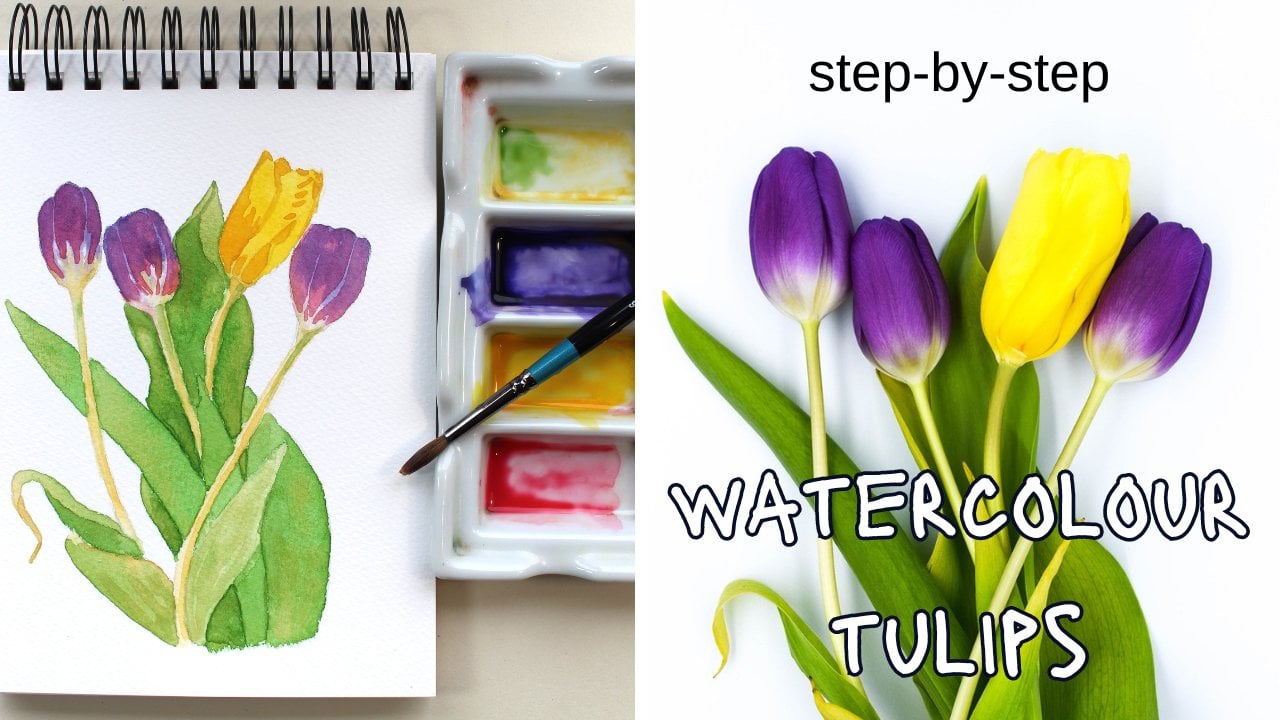
the three primary colors. I have attached three
really nice photographs of some flowers, one in yellow, one in red, and one in blue. And it'd be nice at the end
of this if you could upload your finished work and have those three paintings completed. I'm not going to do
them all step-by-step. I'm just going to talk to you
about those shadow colors. And you can go on and enjoy painting the
rest of the picture. If you're not familiar
with the color wheel, you might want to go
back and have a look at my previous Skillshare
course on color. I've got a very
simple color wheel and you can make one
of these yourself. You can buy them, but you
don't really need to buy them. You could just look one
up on the Internet. The three primary course we
have yellow, blue, and red. The complimentary colors to the opposite ones are
the secondary colors. So violet is opposite to yellow, orange is opposite to blue and
green is opposite to read. And if you have
that in your mind, you'll find your painting and choosing coolers
and you're doing your color mixes will become
so much easier over time. We'll go ahead now with the first step in
these exercises. I'll come back to you a little bit later on and talk a bit more in depth about
these color choices.
2. Introduction to exercise: There are two ways that we
can create a shadow color using the complementary color
to the one that you using. Like I said, I'm going
to use the yellow. So in this case it
will be violet. To create your shadow color. You can either mix yellow
and violet together or you can just use
violet on top of the yellow that's previously
there that has dried. Going to go ahead now
and do this exercise. I'm doing a very quick, simple sketch in ink. You might want to take
considerably more time doing much more detailed sketch or drawing onto some
watercolor paper. I will put a full list
of the materials that I've used for in the
attachments there. But it's best to use
a watercolor paper, preferably over a
£140 in weight, but definitely over a £100, will make your
painting much more easier but better
materials you have, the easier your painting will become and allow your paints to dry in-between the
layers that's gonna make life a lot
easier as a beginner, working wet on dry is a good way to learn
with your colors and you just build
them up because of course you call us
or transparent. So when we have the
yellow underneath and we put the violet on top, you're actually mixing
those two colors because the white of the
paper is shining through. The color below is
shining through because it's transparent because we've got all that water added. That wouldn't work if you're
using an acrylic or oil, if you wanted to use
these principles using oils and
acrylics, of course, reduce just the colors mixed on the palette and then putting
them onto the painting, usually yellow and purple mixed and put them
onto your painting. This is specifically for
watercolor, like I said, because the transparent, you can just layer them up gradually.
3. Exercise part 1: Before you begin any
of these exercises, whether it's the yellow, the red, or the blue, you need to start by
making up three mixes. Your first mix is
your primary color. In this case, we've chosen
yellow to do the tulips. Your second mix is your
primary color with the color from the opposite
side of the color wheel, complimentary color added to it. So here we've got
a mix of cadmium yellow with the Winsor violet. So any yellow and
violet will be fine, whichever your
yellow you choose, just choose a violet
to go with it. And then your third one is
just the violet on its own. If you make those ready
before you do your painting, of course, when you do yours, you're going to be needing
things like green. And for this picture, you're going to be
needing some pinks and browns and things
with a rope as well. You may not want to do all that. You might just want
to concentrate on the flowers for this
purpose of this exercise. But if you do want to go
on and do the whole thing, you're going to need to mix
up these colors as well. But for the color
shadow exercise, which is concentrating
on the yellow, if you're new to watercolor, the easiest way to do these exercises is to
do them wet on dry, leaving everything to dry
completely between each stage. Of course, if you want
to do the wet on wet, you can do that as well. Just make sure that
your subsequent colors thicker in paint and less
water than the previous one. To begin with, I'm just going
to paint the flower yellow using that first mix and then leave that to completely dry. And I'm also going to do some blocks down the side as well to further demonstrate
these little exercises. And then you could
do that and make notes in your sketch book. If you've got a
watercolor sketch book, these are good exercises
to keep in there with some notes saying how
you've done them. This brush, let me just say is a number six sable round brush
with a nice point on it. Of course, I did this
sketch very quickly in ink. It's not the most accurate, but sometimes when you do it in ink and you have to be certain, you can't alter things. You actually get quite a
free, loose little sketch. But if you lack that
confidence to do it in ink straightaway,
of course, you can do it in pencil first, put your ink lines over the top, and then go ahead and erase
your pencil lines afterwards. Once you've got that
nice sketch there, the painting is
the enjoyable part really because
you're not worrying. You've got your lines
where they should be and you choose
putting in that color. Don't worry if
you've not brought a sable brush like this. There's lots and lots of
nice synthetic brushes on the market that
you can use also. This is one of my favorite
ones because it's got a lovely point to it. I'm not going to worry
at all about the leaves. Like I said, you can do a completed painting and
it would be lovely to see some completed
paintings of all three of these lovely
photographs that we've got. The three different color ways for everybody else to take
a look at those afterwards. Once they've been uploaded. You'll see that this cheerleader here is a little thinner than it should be looking
at the photograph. But again, that's
because I've done it in ink and once I've
committed to that line, that was how it was. But when you're
doing a painting, don't forget that the
person that's going to be looking at your work afterwards isn't gonna have the
original photograph. So it's sometimes nice
to alter things as well. Make it your own artwork, not just to a photograph because we're not
doing a photograph. Okay. So I'm just going
to put a few blocks of yellow down the side
so we can demonstrate these different ways
of doing shadows. The three different
ways, three blocks. Then we'll leave this
to completely dry.
4. Exercise part 2: Once they are completely
dry and you can see the dry because they've gone a lot
paler than when they went on. And just check them with the back of your hand to see if the dry you can go on and
do some of the shadows. So we'll do this one
using this mixed, this is just to show the
difference in it's gonna be your choice of how you use
these complimentary colors. It's just a tip that they
are very, very handy, uses shadow colors, obviously, casting shade on itself
under here this petal. This is the cadmium yellow
mixed with its opposite, which in this case is
the Winsor violet. Just look at where those shadows are and you might want
to make them deeper. You might want to come back
and put a third layer on, allow that to dry. That's the way we'll
do shadows using that. And we'll do that on
the top one here. Put halfway across. You can see that makes a nice shadow color for
that. Cadmium yellow. Clean my brush out. And on the next one down we're
going to use the violet. I'm actually going to
just pop a little bit more water in that it's quite, quite strong, but it
will dry, lighter. The same thing. We've got the shadows
where the petals are casting shadows on themselves. And around the base
here a little bit, farms the shape
of it a bit there where the light's not
get into the base. Look very carefully,
keep looking back and you'll
have more time than ME to just check out exactly
where those shadows are. And you can use it
for some of these lines and things as well. Again, we'll just trust
purposes of demonstration. We'll put that up there as well. You can see the yellow
shining through that violet. So essentially this
is a similar term, two colors, but you just layering them on
top of each other. The third way is just to
use the same color again. Like I said, this isn't
the best drawing here. And I don't actually think
it's just as effective, but it does work and
it's a useful tool. I prefer this one if you
want a more natural look, I prefer this one. This one's a little bit more quirky and I think a bit
more character to it. So it really depends
again on your style. You can use a combination of
these two actually as well, which is probably
what I would go for. Allow those to dry. And if you want to, you can come back
and build that up. So if you look, it's actually darker in here than it
is right at the tip. So you might want to
put another layer of that just in here and build and build and build your layers
until you get that depth. Now, if you've got your
flowers on a white surface, which is what I would suggest. You've got light from
all different sources. So you may have light from
actual lights in the ceiling. You may have a window, you may have another
window behind you. You're gonna get shadows in
all different directions. So really think
about that and look, think about where
your light sources are and where those shadows are. You could actually use
these shadow colors to make the shadows
of the leaves, etc, on the table. If you just look
at those as well. Again, the shadows themselves
are not a block of color. They have lighter areas and darker areas depending on how much light you've
got going into them. So you might want to
lay those up as well. You might want to leave
that to completely dry and then put another, another layer on there. Again, you might want to, you might prefer
to use this one. If we look in here,
there's some shadows underneath that
leaf, leaf there. A little bit more
subtle than the purple, sari, the violet. But again, it depends on your style and build
up and build up. I hope all that makes
sense and it be great to see what you can do with
your reds and blues as well. I might go ahead and put a little bit of green
on this actually now.
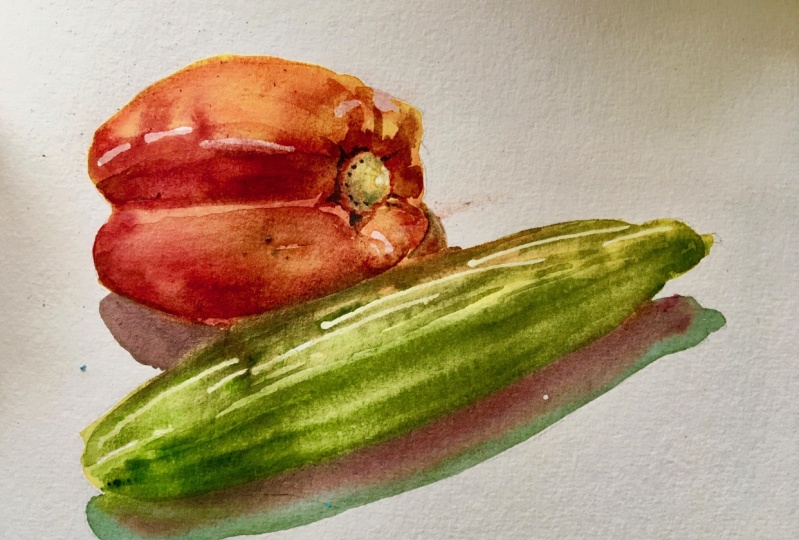
5. Practical applications: Once you've got to
grips with making no shadow colors
for your yellow, in this case with the two lips. If you wanted to go ahead
and put those leaves on, if you want to think about
the cause for those, obviously the leaves are
green, the opposite. Greens are secondary color, but the opposite is
your primary of red. So your shadow colors for your green leaves want
to be green and red. This is a very handy shadow to know that you add the
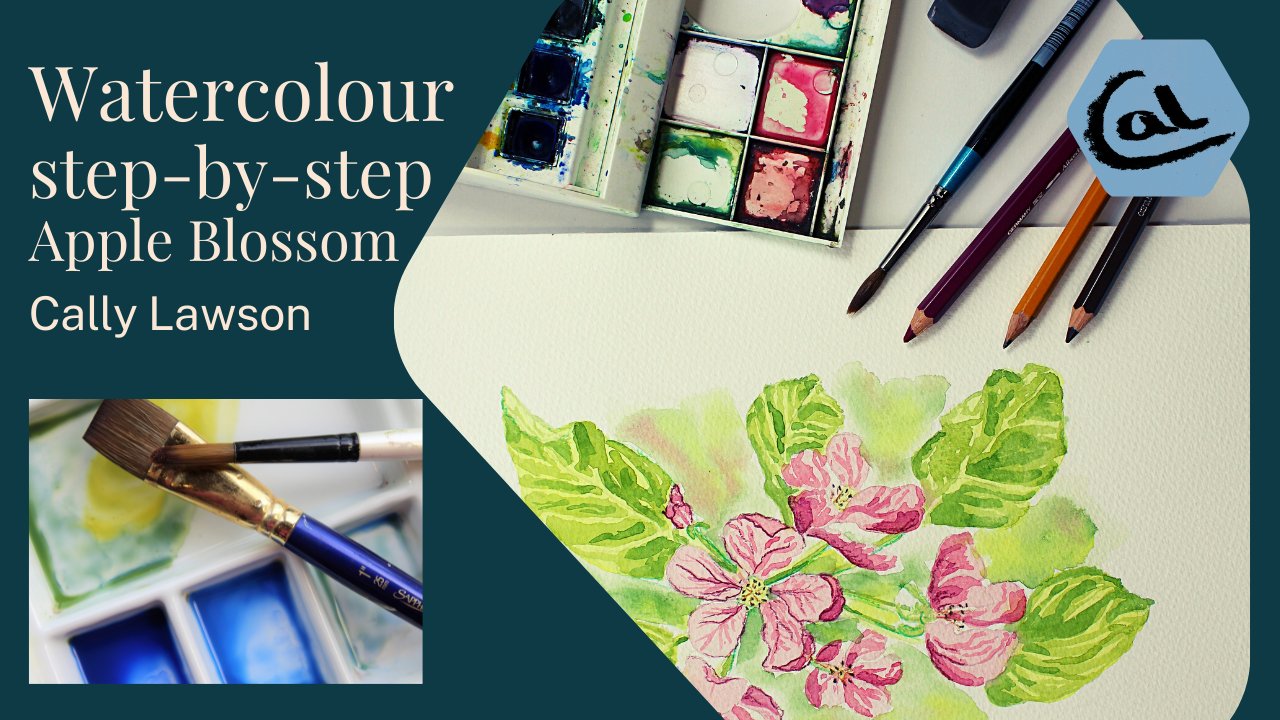
green and red together. Because if you think about it, a lot of us enjoy
doing landscapes. When you're doing a landscape very often you'll have shadows. You may have shadows,
costume clouds passing by. You might have a
shadow cast from an overhanging clear
for another hill. And from a tree, there are so many
shadows in a landscape. Just adding that
little touch of red to green can make a
really natural shadow for your landscapes when you've completed your tulips and you're nice to go on
and do the other two. If you've got time
with your red roses, you want to go and use the
green line as we did for the leaves in the
opposite way around. And then of course,
with your blue, you wanted to add
your orange to it. And this can be a really
subtle color as well. It can be a really nice color depending on which blue
and orange you use. You can find some really,
really natural colors. And quite often I'll
use those in a sky. So I've got a blue sky, got a little bit of shadow or a gaining water in
a lake or a river. You've got lots of
shadows there with way things are reflecting on
things from the bank, etc. So if you add a little bit
of orange to your blue, that can again be really
good in a landscape, in something like water. Or really, really
useful things to take on further into other
paintings as you progress. Like I said earlier, keep notes. Keep a watercolor
sketch book if you can, and put notes about what you've done in which cause you've used, like I said, I use cadmium
yellow and Winsor violet, but you might be using
something totally different. So just make notes. And actually you could try a
few different yellows with a few different violets and see which ones you
like the best. If you can. I would really advise that
you actually go out and pick some flowers as well
to do this exercise, as well as using
the photographs. Obviously the
photographs are there, so you've all got
the same reference and it's easy way
of me teaching you. But if you've got access to some nice flowers either from a supermarket or from
your own garden. Have a go at doing
them from life, you'll find your drawing. Drawing improves
if you're drawing from life rather
than a photograph. If you bring a yellow
tulip into the house, for example, makes you've
got a wide surface. I talked earlier about all
the different light sources. You're gonna see your shadows better if you've got
a white surface. So again, it's just a white
piece of paper and put your little VAR.S of tulips or
whatever on top of that. And then the shadows cast,
like I said earlier, you could use that violence and make those shadows that you can make a very quirky
character fall. Little painting like that. So have a go at
drawing from life. It really will improve
your drawing skills.
6. Conclusion: So to conclude this
course, as I said, it would be really
good if you could take those skills forward, use those complementary colors to make your shadows
in other things, in some landscapes, maybe go and get a nice
big bunch of flowers. I'll do a painting
of your garden even. And think about what's
on the opposite side of the color wheel
that you can make those shadow colors
come to life. When you're painting,
you need to be quite bold with the differences between your lights
and your dark. So your darkest to
lightest lights by using those shadow cause and
getting that depth in Japan's and you're
gonna make your lighter areas look lighter. And your paintings is
gonna come to life more. The shadows are equally as important as the actual drawing, the form of the
flower because it's gonna make it more 3D
and bringing it to life. So really think about
that, like I said, taken them forward into
your landscapes, etc. Like I said, the water, the sky, the grass with your red and your green is
really, really helped. Useful things to know. I'll look forward to seeing
all your work as I always do. And as I've said before, it's great to see that
they're all different and you've all developed your
own personal style really, I really liked seeing
that some of you have got some really lovely vivid
ways of using your pen, a lot of character
into your drawing. And I really like to see those. Again, some of you are
much more stylistic, so it's nice to
see how different they all are and I look
forward to seeing those. If you've any
questions whatsoever, please do reach out and ask. You can contact me
through my website, through email or more than
most easy way regulate is on Instagram because that's
my preferred social media. And I'll put the link
to Instagram appear. Hope you've enjoyed that class. I hope you've learned
something from it and I'll see you again soon
here on Skillshare. Bye, bye for now.
 Cally Lawson, “Paint like no one is watching"