Watercolour Flowers: Paint Elegant Anemone with Wet on Wet Techniques | Kanchan Kaul | Skillshare

Playback Speed


1.0x


  • 0.5x
  • 0.75x
  • 1x (Normal)
  • 1.25x
  • 1.5x
  • 1.75x
  • 2x

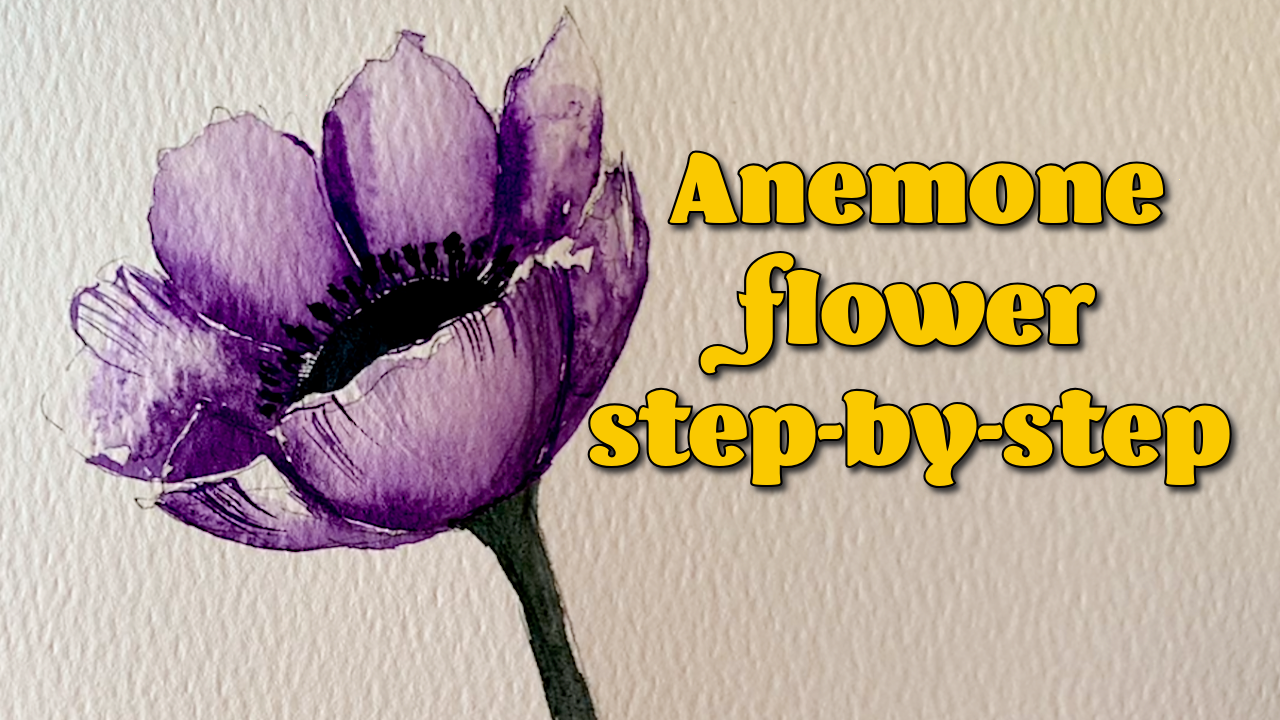
Watercolour Flowers: Paint Elegant Anemone with Wet on Wet Techniques

teacher avatar Kanchan Kaul, Artist and Illustrator

Watch this class and thousands more

Get unlimited access to every class
Taught by industry leaders & working professionals
Topics include illustration, design, photography, and more

Watch this class and thousands more

Get unlimited access to every class
Taught by industry leaders & working professionals
Topics include illustration, design, photography, and more

Lessons in This Class

    • 1.

      Welcome

      0:38

    • 2.

      Anemone Drawing

      1:59

    • 3.

      Layering & Detailing

      8:04

  • --
  • Beginner level
  • Intermediate level
  • Advanced level
  • All levels

Community Generated

The level is determined by a majority opinion of students who have reviewed this class. The teacher's recommendation is shown until at least 5 student responses are collected.

21

Students

3

Projects

About This Class

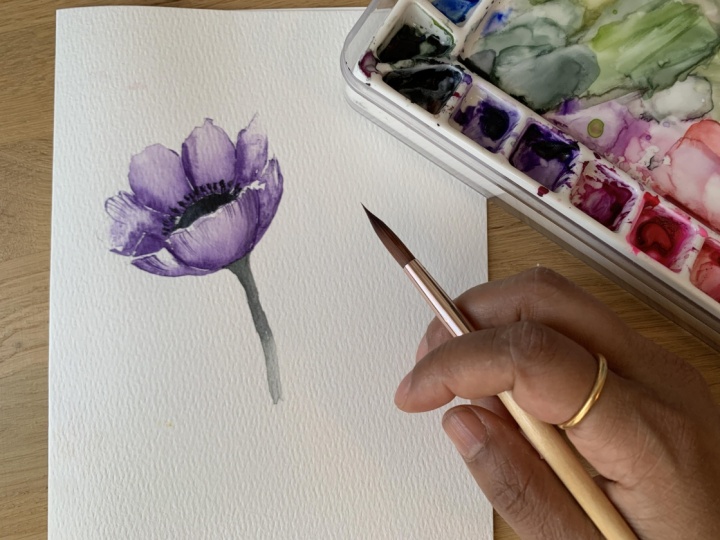
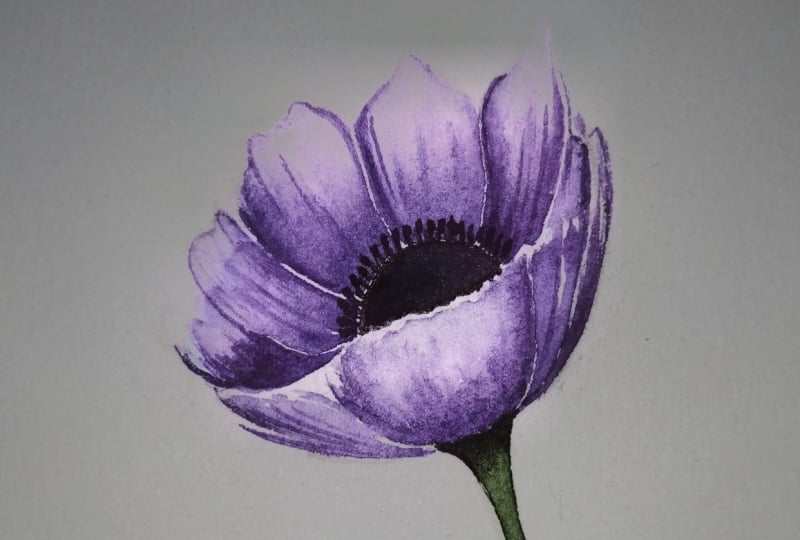
Have you always wanted to paint soft, elegant watercolour flowers but felt intimidated by complicated techniques? In this class, you'll learn how to draw and paint a beautiful anemone using simple wet on wet watercolour techniques that create soft blends and natural looking petals.

We'll begin with an easy line drawing, breaking the flower into simple shapes so you can sketch it with confidence. Then I'll guide you through my favourite wet on wet method for painting delicate petals with beautiful colour transitions, soft textures and subtle highlights. Finally, we'll bring the flower to life by adding the dark centre, stem and optional finishing details.

In this class you'll learn:

• How to draw an anemone using simple, beginner friendly shapes
• How to control water for successful wet on wet painting
• How to create soft gradients and realistic petal textures
• How to avoid common watercolour mistakes
• How to paint the flower centre and add fine finishing details
• Simple techniques you can apply to many other watercolour flowers

This class is perfect for beginners as well as anyone looking to build confidence with loose floral watercolours. If you've struggled with controlling water or creating soft petals, you'll find plenty of practical tips throughout the lesson.

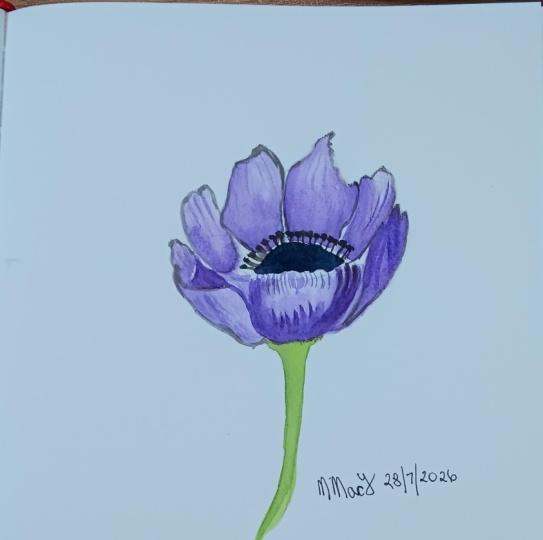
By the end of the class, you'll have a beautiful watercolour anemone and a solid understanding of wet on wet painting techniques that you can use in your future floral paintings.

Meet Your Teacher

Teacher Profile Image

Kanchan Kaul

Artist and Illustrator

Teacher
Level: Beginner

Class Ratings

Expectations Met?
    Exceeded!
  • 0%
  • Yes
  • 0%
  • Somewhat
  • 0%
  • Not really
  • 0%

Why Join Skillshare?

Take award-winning Skillshare Original Classes

Each class has short lessons, hands-on projects

Your membership supports Skillshare teachers

Learn From Anywhere

Take classes on the go with the Skillshare app. Stream or download to watch on the plane, the subway, or wherever you learn best.

Transcripts

1. Welcome: Hi, everyone, and welcome to my class. In this class, we will be painting this beautiful Anemone flower. This is the second class in my series, my viral reels in which I go into detail of how to draw and paint my reels which went viral on Instagram. So the first class in this series was painting this cosmos flower. Do go check it out. And now in this class, we will be drawing and painting this Anemone flower. We will be using the wet on wet technique to paint this flower. So it's going to be a lot of fun, loose, and flowy watercolors. So I'll see you in the class. 2. Anemone Drawing: Let's start with the drawing for the animin. It's going to be really simple. Just make a semicircle kind of thing, which is the center. And I always like to get my petals out from the center to have some symmetry. So it's a cup shaped drawing that we are making. And I will have the back leaves petals like this. And then here in the front, I'll make another petal. So let's start with one petal here, one petal here, another half petal here, kind of a half petal. And then let's add one petal here. So this is the back, and then here we will add another petal, which is kind of showing the front. So let's start with the middle one. So just make a cup like this and a center like that. And then here to cover up, there will be one more petal. So something like this. In the end, it'll have you can always correct it a little bit if you think the symmetry is off so something like this. So start with creating those lines and then a cup in front of that semicircle. So this will give you a rough picture of where you want to place your water and paint. So I'm just going to add one stem as well just to give you a little bit better context of what this flower looks like. So it's a very simple one. It will help you practice your drawing. I'll help you practice your painting a slightly different type of painting. 3. Layering & Detailing: So in this viral reel that I made, I painted it with wet on wet technique. So let's try that. So for wet on wet, all you need is clean water. But for you to be able to see it clearly in the camera, I'm going to use slightly pigmented water, but you can use clean water. And what you do is just add the water to the petals. This is too much pigment. Of course, make sure you make the line drawing a little lighter, but I want you to be able to see it clearly in the camera so I'm not erasing it. But once you place the water, all you have to do is place some pigmented purple shade, take it at the tip of your brush, place it at the bottom of this water pool. So it'll kind of pull it automatically and a little bit towards the edge like this. But leave the tip of the petal. Like this. Then before it dries up, take another brush, damp brush. Don't use the same brush because you'll probably lose some of the pigment. You don't want there. And just pull this up to create some texture. So let's do that again. I'm going to take another brush to drop some water on the big petal. So this one and drop it again at the edge, just like this. Then again, plate the clean brush, which doesn't have any paint on it, and just pull this a little bit to give some shape. Now, let's just repeat this for the rest of the petals. Again, take a clean brush with some water and use two different brushes so that you don't have to keep washing off that brush with pigment on it. Pigments can be expensive. So again, put some water. So it shouldn't be too watery and it shouldn't be too dry either. So once you practice this, you will know exactly what I mean. It should be the water should not move around if you move the paper, but at the same time, it shouldn't be dry because you want the pigment to get pulled by the water. So what I'll do again is just place the pigment. At the edge. Try to leave a little bit of a gap here so that the paint doesn't get pulled into the other petal as well if it's still wet, then again, do the same thing. Just pull it a little bit to give some shape to it so that it's not just going randomly in any direction. If you think it's too dark, you can always pull in some of the paint by using a clean brush like this. So you get some highlights. If it has moved too much the pigment and you want some highlights on your petal. So all I'm doing is pulling it. My brush is damp, not completely dry. Okay. Now, let's again, take some water and do the rest of the petals. So I'll speed it up a bit because the process is pretty much the same. Now, this petal is the inside of the petal, so I want it to be dark. So I have not put any water there, and I'm just placing them some dark paint directly. You can do this right at the end, as well. You don't have to do it when the flower is wet. So let this dry, and then we will do the center. Make sure the flour is dry before you do the center because you don't want that dark center color to get into the wet petals, so it needs to be completely dry. Okay, now, the flour has dried completely, so I'm going to take a dark indigo shade or maybe pains grain. You can take any and drop it on the centers like this. My brush has a really sharp tip, so I'm going to use the same one to make the stamens, but you can use a smaller brush to do this. So just pull this paint to make these little tiny lines. Next, just add some stems at the end. So I'm using the same brush because my brush has a sharp tip, but you can use a smaller brush for this. And the idea is just to randomly add some bit of details and texture to this. And next, I'm going to take some green and add the stem as well. Nothing fancy, pulling the paint after dropping it my usual technique. And that's the stem. I think it's a bit dark. Try to use a lighter color green. One last finishing touch is you can add some little bit of lines or texture to the petal, which is dried up. So here, I'll just add some lines. Use a small brush for this, and this is completely optional. I just love doing this, so I'm going to add some details like veins to the petals, but this is completely optional. If you enjoy it, you can add it. If you don't want it and you think it's looking nice, then you can just leave it. And just make the edges sharper wherever it's dried up a bit. The sharpness is lost, you can always add that sharpness back. And this will just add that little finishing touches. And that is all. This is all this is. And yeah, this is one of my vital reels. I hope you enjoyed painting it with.